Love this? Save it for later!
Share the inspiration with your friends
Introduction
My brother had claimed for years that pickles were just soggy, sour things that had no business on a sandwich. For nearly a decade. Then one slow Sunday afternoon, I made these crispy refrigerator dill pickles ready in 24 hours “just for myself,” and found him sneaking slices straight from the jar while I was busy chopping herbs. Honestly, I didn’t expect him to change his tune so fast.
The crunch was undeniable — that perfect snap when you bite in, not the usual limp pickle you find in most stores. The tang had this subtle brightness that wasn’t overwhelming, and the dill? Oh, the dill was just right — fresh, not too heavy-handed. I mean, I’ve made pickles before but this recipe? It’s like the pickles finally grew up.
Maybe you’ve been there, thinking making pickles at home takes forever or feels complicated. I get it. But these are different — they’re quick, fridge-friendly, and honestly, a bit of a game-changer. There was even a moment when I forgot to add part of the garlic (classic me), but the pickles still turned out with that magic crunchy punch.
Since that day, I keep coming back to this recipe, not just because it changed my brother’s mind, but because it’s become a little kitchen ritual — simple, satisfying, and unexpectedly addictive. Let me tell you, if you’re on the fence about homemade pickles, this recipe might just make you a believer too.
Why You’ll Love This Recipe
After testing countless pickle recipes, this one stands out for all the right reasons. Here’s why it’s a keeper:
- Quick & Easy: Ready in just 24 hours, perfect for when you want fresh pickles without the wait.
- Simple Ingredients: No obscure spices or fancy tools — just pantry staples you probably already have.
- Perfect for Snacking & Meals: Great on sandwiches, burgers, or simply as a crunchy snack.
- Crowd-Pleaser: Even pickle skeptics (like my brother) end up loving these.
- Unbelievably Crispy: Thanks to a few kitchen tricks, these pickles stay crunchy, not soggy.
What sets this recipe apart from the rest? It’s the balance — a perfectly sharp yet mellow brine with fresh dill and garlic that doesn’t overpower. Plus, the refrigerator method means no canning fuss and no waiting weeks for flavor. I’ve tried blending different vinegars and adjusting salt levels over time, and this version nails the flavor every time.
Honestly, it’s the kind of pickle that makes you close your eyes on the first bite, savoring that crisp tang. Whether you’re prepping for a backyard BBQ or just want a quick pickle fix after work, this recipe delivers that satisfying crunch and brightness without the stress.
What Ingredients You Will Need
This recipe uses straightforward, wholesome ingredients to get that bold dill pickle flavor and crunchy texture without any hassle. Most are pantry staples, and substitutions are easy if needed.
- Kirby cucumbers: about 6 medium-sized (roughly 1.5 lbs / 700 g), firm and fresh — these are best for pickling due to their size and crunch.
- Water: 2 cups (480 ml), preferably filtered for the cleanest taste.
- White distilled vinegar: 1 cup (240 ml), gives that classic tangy bite.
- Pickling salt: 2 tablespoons (30 g), or kosher salt if pickling salt is unavailable; avoids additives that cloud the brine.
- Fresh dill: 4-5 sprigs, including some flower heads if you can find them (adds authentic dill flavor).
- Garlic cloves: 3, peeled and lightly smashed (for aroma and a subtle spicy note).
- Black peppercorns: 1 teaspoon (optional, for a gentle peppery hint).
- Red pepper flakes: 1/2 teaspoon (optional, if you like a little heat).
- Bay leaf: 1 small leaf (optional, for a subtle herbal background).
If you want to swap things up, you can use apple cider vinegar for a fruitier tang, or add mustard seeds for an extra layer of flavor. For a low-sodium version, reduce the salt slightly but keep enough for proper preservation and crunch.
Equipment Needed
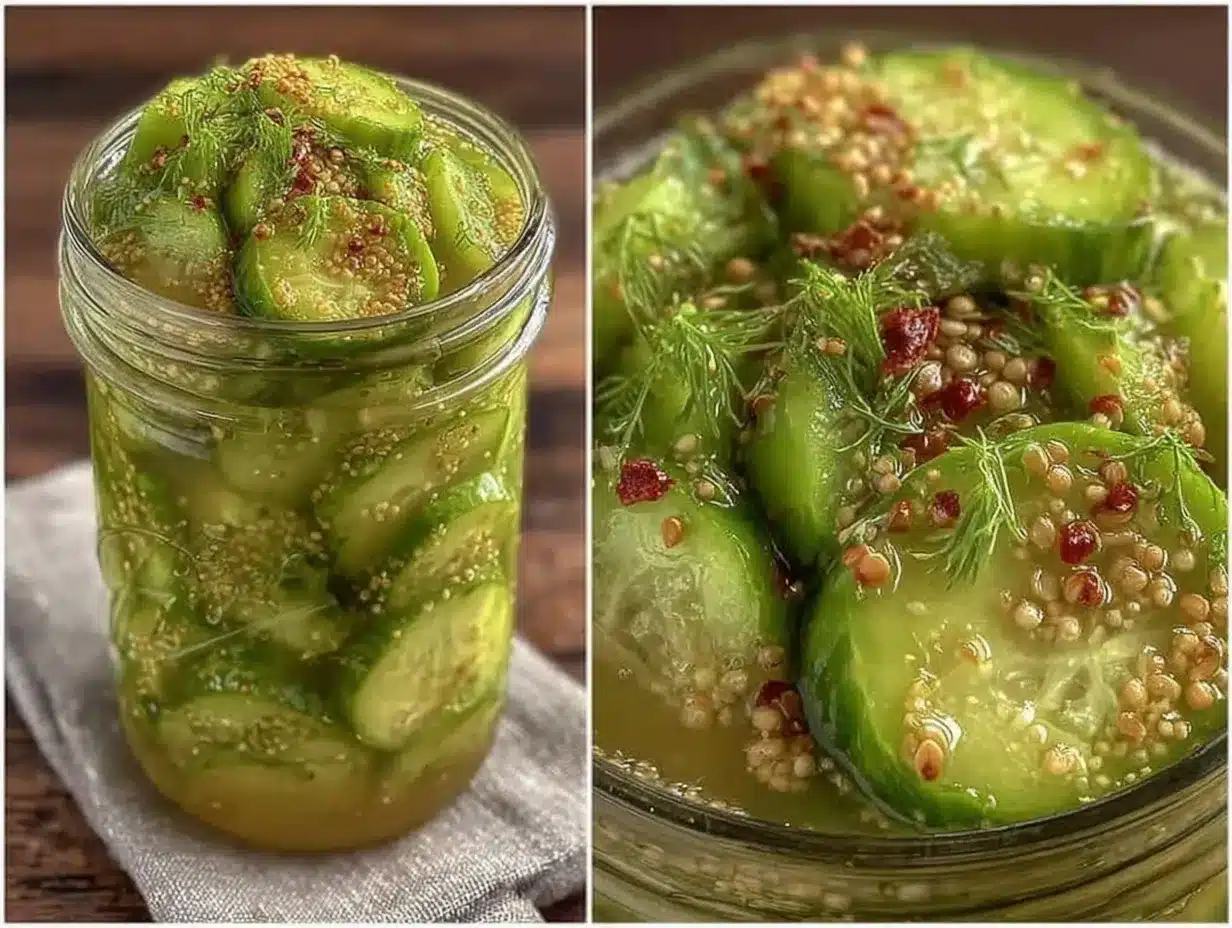
Making these crisp refrigerator dill pickles doesn’t require fancy gadgets — just a few basic tools that you likely have on hand.
- Glass jar or container: A quart-sized (about 1 liter) glass jar with a tight-fitting lid works best to store the pickles.
- Measuring cups and spoons: For accuracy with vinegar and salt.
- Knife and cutting board: To slice the cucumbers evenly.
- Mixing bowl: For combining the brine ingredients.
- Small saucepan (optional): If you want to warm the brine slightly to dissolve salt faster, but it’s not necessary.
I often use a wide-mouth jar because it’s easier to pack the cucumbers and add spices without a mess. If you don’t have a glass jar, a food-grade plastic container is fine, but glass is preferable to avoid any off-flavors. Also, keeping your utensils and jars clean helps the pickles last longer without spoilage — I learned that the hard way once!
Preparation Method
- Prepare the cucumbers: Wash the Kirby cucumbers thoroughly to remove any dirt. Slice off the blossom end (the opposite end from the stem) — it contains enzymes that can soften pickles. Then, cut the cucumbers into 1/4-inch (6 mm) thick slices or spears, depending on your preference. This step should take about 10 minutes.
- Make the brine: In a mixing bowl, combine 2 cups (480 ml) cold water, 1 cup (240 ml) white distilled vinegar, and 2 tablespoons (30 g) pickling salt. Stir until the salt dissolves. If you’re in a hurry, warming the brine slightly (not boiling) can help, but cold brine works just fine. This should take about 5 minutes.
- Pack the jar: Place the fresh dill sprigs, smashed garlic cloves, black peppercorns, red pepper flakes, and bay leaf at the bottom of your clean glass jar. Then, tightly pack the cucumber slices or spears in, leaving about 1 inch (2.5 cm) of headspace at the top.
- Pour the brine: Pour the brine over the cucumbers, making sure all slices are submerged. You might need to press the cucumbers down with a clean spoon to keep them under the liquid. Seal the jar tightly.
- Refrigerate: Place the jar in the refrigerator and let the pickles sit for at least 24 hours before tasting. The flavors intensify the longer they sit, but 24 hours is the magic minimum for great crunch and flavor. This waiting time is the hardest part — I know, because I’ve checked them every hour!
After 24 hours, your pickles should have that satisfying snap and bright dill flavor. If they feel too soft, wait another day or two; if too salty, rinse briefly before serving. Keep refrigerated and enjoy within 2-3 weeks for best texture.
Cooking Tips & Techniques
Making crispy refrigerator dill pickles has its little quirks, but a few tricks can make all the difference:
- Use fresh, firm cucumbers: Old or soft cucumbers lead to mushy pickles. Kirby cucumbers are ideal because of their dense flesh.
- Remove the blossom end: That tiny cut you make at the end helps prevent softening enzymes from ruining your crunch.
- Salt matters: Pickling salt dissolves cleanly without additives that cloud the brine. If you don’t have it, kosher salt is fine, but avoid iodized table salt.
- Keep cucumbers submerged: Exposure to air can lead to uneven pickling or spoilage. Press them down or use a fermentation weight if you have one handy.
- Don’t skip the dill flower heads: They add an intense aromatic kick that fresh dill sprigs alone can’t match.
- Patience is key: While the recipe is ready in 24 hours, letting the pickles rest 48 hours enhances flavor without losing crispness.
One time, I rushed and didn’t press down the cucumbers properly. Result? A few slices floated above the brine and turned soft. Lesson learned: take a moment to press and seal tightly. Also, I prefer cold brine because it keeps the cucumbers from wilting during prep, but a slightly warm brine dissolves salt faster if you’re in a rush.
Variations & Adaptations
This recipe is a great base, and you can customize it in several ways to suit your taste or dietary needs.
- Spicy variation: Add extra red pepper flakes or a sliced jalapeño for a fiery kick.
- Garlic lovers: Double the garlic cloves or toss in some thinly sliced shallots for more pungent flavor.
- Low sodium: Reduce pickling salt by half, but keep at least 1 tablespoon for safety and crunch.
- Vinegar swap: Use apple cider vinegar instead of white vinegar for a milder, fruitier note.
- Herbal twists: Try tarragon or fresh thyme in place of dill for a unique spin.
I once experimented with adding fresh lemon slices to the jar. It gave a bright citrus zing that was surprisingly refreshing with the dill. Also, if you’re short on time, slicing cucumbers thinner (1/8 inch or 3 mm) speeds up the pickling process, but watch for softer texture.
Serving & Storage Suggestions
Serve these crispy refrigerator dill pickles chilled straight from the fridge. They’re fantastic on sandwiches, burgers, or as a tangy snack alongside cheese and crackers.
For a fun appetizer, try stacking pickle slices with cream cheese and smoked salmon or wrapping them in prosciutto. They also brighten up potato salad or deviled eggs wonderfully.
Store pickles in the refrigerator for up to 3 weeks. Keep them fully submerged in brine to maintain crispness and prevent spoilage. If the brine becomes cloudy or if there’s any off smell, it’s time to toss.
When reheating (not common for pickles, but if you want to warm them for a recipe), avoid heat directly as it softens cucumbers. Instead, use them cold or at room temperature to preserve their texture.
The flavors actually develop over time, so if you can wait 48-72 hours, you’ll notice a deeper, more aromatic pickle that’s still satisfyingly crunchy.
Nutritional Information & Benefits
These refrigerator dill pickles are low in calories—about 5-10 calories per slice—making them a guilt-free snack. They’re naturally fat-free, gluten-free, and vegan-friendly.
The cucumbers provide hydration and small amounts of vitamins K and C. The pickling process introduces probiotics when fermented, but since this is a quick fridge pickle, probiotic levels are minimal.
Pickling salt is used in moderation, so watch sodium intake if you’re on a low-salt diet. Garlic and dill offer antioxidants and antimicrobial benefits, contributing to overall wellness.
From a wellness perspective, these pickles satisfy cravings for something crunchy and salty without processed additives or preservatives you find in store brands.
Conclusion
Making crispy refrigerator dill pickles ready in 24 hours is one of those kitchen wins that feels like a secret worth sharing. They’re simple, quick, and reliably delicious, perfect for anyone who’s ever thought pickling was complicated or time-consuming.
Feel free to tweak the garlic, spice, and vinegar to your liking—this recipe is forgiving and flexible enough to handle your personal touch. I keep coming back to it because it fits effortlessly into my routine and makes every sandwich or snack a little more special.
If you try it, I’d love to hear how your pickles turned out or what twists you added. Share your experience below or send me a message — it’s always fun to swap pickle stories!
Happy pickling, and here’s to finding that perfect crunch in every bite.
Frequently Asked Questions
How long do refrigerator dill pickles last?
Stored properly in the fridge and fully submerged in brine, these pickles last about 2 to 3 weeks. Always check for off smells or mold before eating.
Can I use regular cucumbers instead of Kirby cucumbers?
You can, but Kirby cucumbers are preferred because they’re firmer and have fewer seeds, which helps keep pickles crisp. Regular slicing cucumbers might result in softer pickles.
Do I need to boil the brine?
No, for refrigerator pickles, boiling the brine isn’t necessary. Stirring salt into cold or slightly warm water and vinegar dissolves the salt well enough for quick pickling.
Why do my pickles get soft?
Soft pickles often result from using old cucumbers, not removing the blossom end, or not keeping cucumbers submerged in brine. Also, using iodized salt can cause cloudiness and softness.
Can I make these pickles spicy?
Definitely! Add more red pepper flakes, a sliced jalapeño, or even some mustard seeds to the jar for a spicy kick that builds with time.
Pin This Recipe!
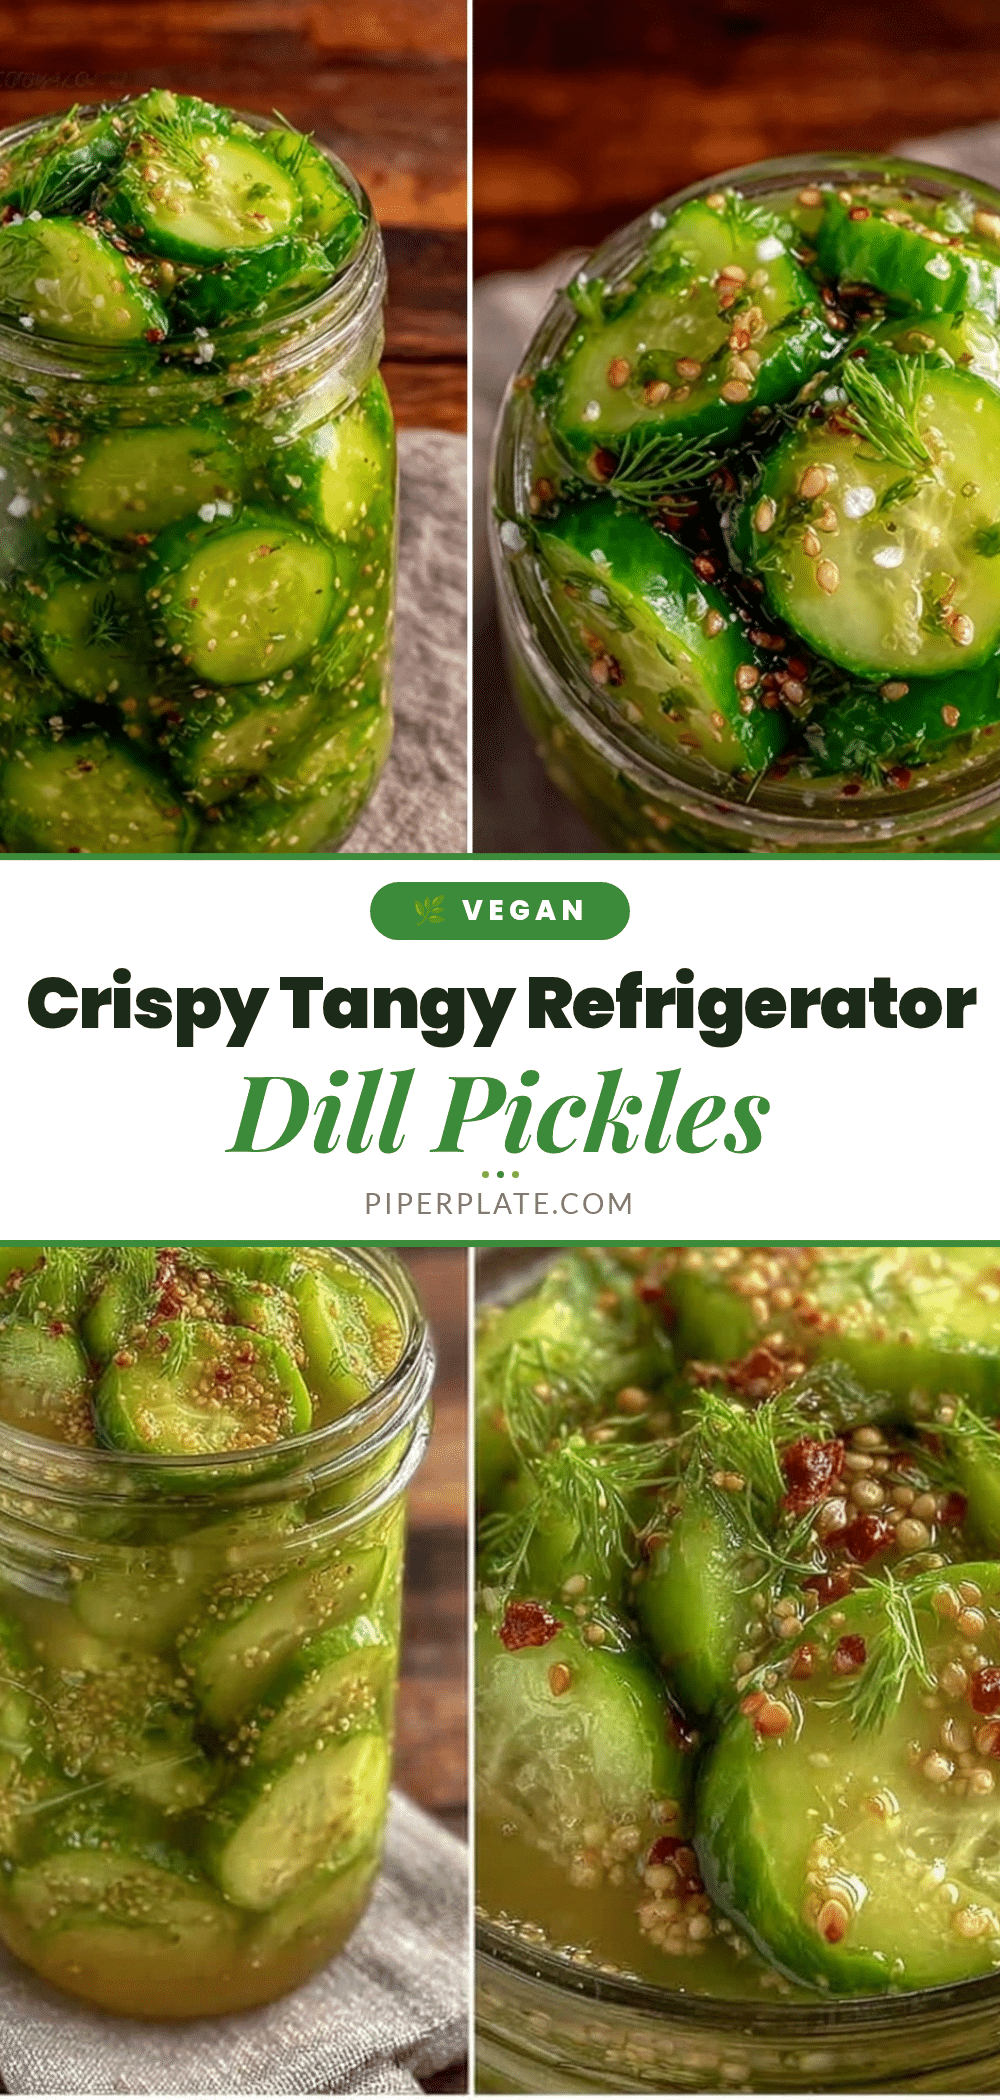
Crispy Refrigerator Dill Pickles Recipe Easy Ready in 24 Hours
A quick and easy recipe for crispy refrigerator dill pickles that are ready in 24 hours, perfect for snacking or adding to sandwiches with a satisfying crunch and bright dill flavor.
- Prep Time: 15 minutes
- Cook Time: 0 minutes
- Total Time: 24 hours
- Yield: About 4 servings 1x
- Category: Snack
- Cuisine: American
Ingredients
- 6 medium Kirby cucumbers (about 1.5 lbs / 700 g), firm and fresh
- 2 cups (480 ml) water, preferably filtered
- 1 cup (240 ml) white distilled vinegar
- 2 tablespoons (30 g) pickling salt or kosher salt
- 4–5 sprigs fresh dill, including flower heads if available
- 3 garlic cloves, peeled and lightly smashed
- 1 teaspoon black peppercorns (optional)
- 1/2 teaspoon red pepper flakes (optional)
- 1 small bay leaf (optional)
Instructions
- Wash the Kirby cucumbers thoroughly to remove any dirt. Slice off the blossom end to prevent softening enzymes. Cut cucumbers into 1/4-inch (6 mm) thick slices or spears as preferred.
- In a mixing bowl, combine 2 cups cold water, 1 cup white distilled vinegar, and 2 tablespoons pickling salt. Stir until the salt dissolves. Warming the brine slightly is optional.
- Place fresh dill sprigs, smashed garlic cloves, black peppercorns, red pepper flakes, and bay leaf at the bottom of a clean quart-sized glass jar.
- Tightly pack the cucumber slices or spears into the jar, leaving about 1 inch of headspace at the top.
- Pour the brine over the cucumbers, ensuring all slices are submerged. Press down with a clean spoon if needed. Seal the jar tightly.
- Refrigerate the jar for at least 24 hours before tasting. For best flavor and crunch, wait 48-72 hours. Keep refrigerated and consume within 2-3 weeks.
Notes
Use fresh, firm Kirby cucumbers and remove the blossom end to maintain crunch. Keep cucumbers fully submerged in brine to avoid softening. The pickles improve in flavor and texture if left for 48-72 hours. Avoid iodized salt to prevent cloudiness and softness. Store refrigerated and consume within 2-3 weeks.
Nutrition
- Serving Size: Approximately 1/4 of
- Calories: 10
- Sugar: 1
- Sodium: 600
- Carbohydrates: 2
- Fiber: 0.5
Keywords: crispy pickles, refrigerator pickles, dill pickles, quick pickles, easy pickling, homemade pickles, crunchy pickles


