Love this? Save it for later!
Share the inspiration with your friends
A friend asked me why I couldn’t just mix flour and water and let it sit on the counter. I started to explain why that wouldn’t work — then stopped. I had been making sourdough for years at that point, using a starter I’d babied through temperature swings, feeding schedules, and one particularly stressful move across town. The idea of just… mixing flour and water felt too simple. Too reckless. Like trusting a stranger with your house key.
But she was persistent. “It’s just wild yeast, right? It finds the flour and water. What’s the complicated part?” Honestly, I didn’t have a good answer. So I handed her a bag of whole wheat flour, a jar, and a printed schedule I’d made myself. She texted me a photo five days later. Bubbly. Active. Smelling like ripe apples and patience. And I felt like a complete idiot — in the best possible way.
That’s when I realized I’d been overcomplicating this whole thing. Sourdough starter isn’t a science experiment you need to pass. It’s a process you participate in. You don’t need a kitchen scale that measures to the decimal point or a specific brand of flour. You just need consistency, a little attention, and the willingness to let nature do most of the work. Maybe you’ve been scared off by the stories of starters dying or taking weeks to get going. I get it. I was that person too.
This easy beginner’s sourdough starter from scratch is the method I wish I’d started with. It’s forgiving, straightforward, and surprisingly hard to mess up. And three years later, that friend’s starter is still going strong — she named it Barnaby. So let’s get you your own Barnaby.
Why You’ll Love This Recipe
Let me tell you why this method works when others feel like a chemistry exam you didn’t study for. I’ve tested this approach with three different flours, two different tap waters, and even during a humid summer week when my kitchen felt like a greenhouse. Every single time, it worked.
- Incredibly Simple: You only need two ingredients. Flour and water. That’s it. No sugar, no potato flakes, no yogurt, no fancy “starter booster” packets. Just the basics.
- Forgiving Schedule: Miss a feeding by a few hours? It’s fine. This starter doesn’t hold a grudge. The flexible schedule makes it perfect for real life — not a perfectly controlled lab.
- Fast Results: You’ll see bubbles by day three, and you can bake with it by day seven. Some methods take two weeks. This one respects your time.
- No Special Equipment: A jar, a spoon, and some flour. You probably already own everything you need. No fancy thermometers or proofing baskets required for the starter itself.
- Built to Last: Once established, this starter is resilient. I’ve neglected mine for two weeks in the fridge and brought it back to life in two feedings. It wants to survive.
- Perfect for Beginners: I made every mistake you can imagine with my first starter — and I’ll tell you exactly how to avoid them. This recipe assumes you’ve never done this before.
What makes this different from every other starter guide out there is the philosophy. I’m not trying to impress you with technical jargon. I want you to actually bake bread. This is the method that got my friend baking loaves that made her neighbors jealous. And it can do the same for you.
What Ingredients You Will Need
This recipe uses the simplest possible ingredients to create something alive and active. The magic isn’t in exotic additions — it’s in the process and the patience.
- Whole Wheat Flour (100g per feeding initially): I recommend starting with whole wheat flour because it has more natural yeasts and nutrients than all-purpose flour. The extra bran particles give the wild yeast more to feed on. I prefer King Arthur or Bob’s Red Mill for consistency, but any brand works. The whole wheat gives the starter a slightly nutty, earthy aroma that I’ve grown to love.
- All-Purpose Flour (100g per feeding after day 4): Once the starter is active, switching to all-purpose flour makes it more predictable and less tangy. You can stick with whole wheat the whole time, but I find the all-purpose transition creates a milder flavor that works better in sandwich breads. Again, King Arthur is my go-to, but store brands work fine.
- Filtered Water (100g per feeding, room temperature): Tap water can work, but if yours is heavily chlorinated, it might slow down the fermentation. Let tap water sit out overnight to dechlorinate, or just use filtered water. The water should be room temperature — cold water slows down the yeast activity, and hot water can kill it. I learned that one the hard way.
- A Clean Glass Jar (at least 1-quart size): You need room for the starter to double or triple in size. A too-small jar leads to overflow disasters. I use a wide-mouth mason jar. Plastic works too, but glass is easier to clean and lets you see the bubbles forming.
That’s genuinely everything. No sugar to “feed” the yeast (the flour provides all the carbohydrates they need). No pineapple juice to adjust pH (that’s for complicated methods). No commercial yeast to jumpstart things (we want wild yeast only).
The ingredient selection matters more than you might think. Whole wheat flour gives you a head start because it hasn’t been stripped of the bran and germ where wild yeasts live. Think of it as a crowded neighborhood — more potential roommates for your starter. Once the colony is established, you can move them to the suburbs (all-purpose flour) for a more predictable routine.
Equipment Needed
You don’t need a lot of gear for this, which is exactly the point. Here’s what I actually use:
- A 1-Quart Glass Jar: A wide-mouth mason jar is perfect. The wide opening makes it easy to stir and scrape down the sides. I use a Ball brand jar, but any brand works. Just make sure it’s clean and dry before you start.
- A Kitchen Scale: This is the one piece of equipment I strongly recommend. Measuring flour by volume (cups) is inconsistent — you can get 20-30% more flour depending on how you scoop. A scale ensures accuracy. A simple digital scale that measures grams costs about $15. It’s worth it.
- A Wooden or Silicone Spoon: Metal can react with the acidic starter over time. Wood or silicone is safer. I use a small silicone spatula that I keep dedicated to starter feedings.
- A Clean Cloth or Paper Towel: You’ll cover the jar loosely to keep out dust and fruit flies while allowing airflow. A coffee filter works great too. Secure it with a rubber band or the jar ring.
- A Rubber Band: Place it around the jar at the level of the starter after feeding. This lets you see how much it rises — a key indicator of activity.
If you don’t have a scale, you can use measuring cups, but be aware that the results will be less consistent. I’ve done it both ways, and the scale method is noticeably more reliable. That said, my friend’s first starter was made entirely with measuring cups, and Barnaby is still alive. So don’t let the lack of a scale stop you.
Preparation Method
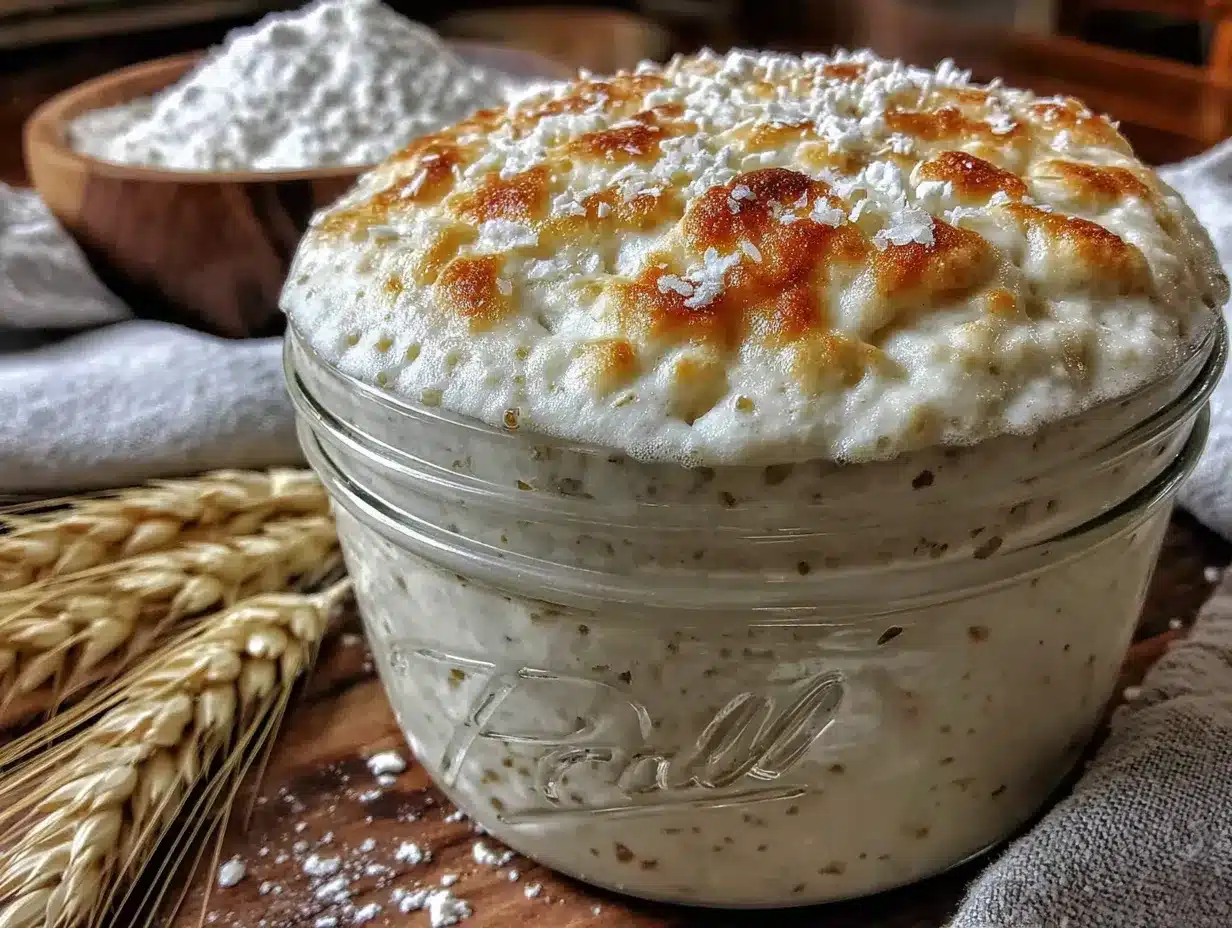
This is the step-by-step process. Follow it exactly for the first week, and you’ll have a bubbly, active starter ready for baking.
Day 1: The Beginning
In your clean jar, combine 100g of whole wheat flour and 100g of room temperature filtered water. Stir vigorously until no dry flour remains. The mixture should look like thick pancake batter. Scrape down the sides of the jar, cover loosely with a cloth or paper towel, and place it in a warm spot in your kitchen (around 70-75°F is ideal). Mark the level with a rubber band.
Leave it alone for 24 hours. You might see a few tiny bubbles by the end of the day, or you might see nothing. Both are normal. Don’t panic if it looks the same as when you started.
Day 2: The Waiting Game
Check your starter. You might see some bubbles and a slight sour smell. Or you might see nothing at all. It’s okay. Discard half of the mixture (about 100g) and feed it with 100g of whole wheat flour and 100g of water. Stir well, mark the level, and cover again.
Here’s a tip: don’t skip the discard step. You need to remove some of the existing mixture to make room for fresh food. If you just keep adding flour and water, the jar will overflow and the yeast-to-food ratio gets thrown off.
Day 3: Signs of Life
By now, you should see bubbles on the surface and along the sides of the jar. The smell might be a little funky — like yogurt or even cheese. That’s good. It means fermentation is happening. Discard half, feed with 100g whole wheat flour and 100g water, stir, mark, cover.
If you don’t see any bubbles, don’t give up. Some starters take longer. Move the jar to a slightly warmer spot. A cupboard above the refrigerator works well.
Day 4: The Rise Begins
You should see the starter rising noticeably within 6-12 hours of feeding. It might double in size. The smell should be more pleasant now — slightly sour but fruity. Switch to all-purpose flour for the feedings starting today. Discard half, feed with 100g all-purpose flour and 100g water.
This is where things get exciting. You’ll see the rubber band mark you left — and the starter will be well above it. That’s the moment you realize you’ve created something alive.
Day 5-6: Consistent Growth
Your starter should be reliably doubling within 6-8 hours of feeding. It should have a domed top when it’s at its peak, and it might start to deflate slightly after that peak. Continue the same routine: discard half, feed 100g all-purpose flour and 100g water, twice a day if possible (morning and evening).
If you can only feed once a day, that’s fine. Just keep the jar in a warm spot and feed at the same time each day.
Day 7: Ready to Bake
Your starter is ready when it doubles in size within 4-6 hours of feeding, has a pleasant sour aroma, and passes the “float test.” Drop a small spoonful of starter into a bowl of water. If it floats, it’s full of gas and ready to leaven bread. If it sinks, give it another day or two of feedings.
Congratulations. You now have an active sourdough starter. You can use it immediately or move it to the refrigerator for weekly feedings.
Cooking Tips & Techniques
I’ve made every mistake in the book with sourdough starter. Let me save you the trouble with these tips.
Temperature matters more than you think. A cold kitchen (below 65°F) will slow fermentation dramatically. If your house is cool, find the warmest spot — on top of the refrigerator, near the stove (but not too close), or even inside the microwave with the door slightly cracked. I once placed my starter jar on a seedling heat mat set to low, and it took off like crazy. Just don’t let it get above 85°F or you risk killing the yeast.
Don’t overthink the discard. The first few days, you’re throwing away a lot of flour. It feels wasteful. But you can save the discard in a separate container in the fridge and use it for pancakes, waffles, crackers, or quick breads. Discard sourdough pancakes are honestly better than the bread sometimes.
The consistency should be like thick pancake batter. If your starter looks too stiff after feeding, add a tablespoon of water. If it looks too runny, add a tablespoon of flour. You’ll develop a feel for it after a few days. The starter should be thick enough that it leaves a trail when you drag a spoon through it, but not so thick that it doesn’t settle back.
Don’t worry about the “hooch.” That’s the dark liquid that forms on top of a hungry starter. It’s a sign your starter needs to be fed, not a sign of death. Just pour it off or stir it back in before feeding. I usually pour it off because it can make the starter overly sour.
Trust your senses. Your starter will tell you what it needs. If it smells like acetone or nail polish remover, it’s starving — feed it more frequently. If it smells like rotten eggs, it might be too warm or need a larger discard. A healthy starter smells pleasantly sour, like yogurt or ripe fruit.
I killed my first starter by keeping it in a drafty window. My second one survived a week-long vacation with no feeding. The difference was just paying attention to the signs and adjusting accordingly.
Variations & Adaptations
Once you’ve mastered the basic starter, you can experiment with different approaches. Here are some variations I’ve tried and loved.
Rye Flour Starter: Rye flour is even more nutritious for wild yeast than whole wheat. If you want a super active starter that ferments quickly, use 100% rye flour for the first week. The flavor will be darker and more complex. I made a rye starter once that was ready to bake on day five. It was almost too fast.
Gluten-Free Starter: You can make a gluten-free starter using brown rice flour or buckwheat flour. The process is the same, but the texture will be different — thinner and less elastic. It still works for gluten-free sourdough bread. My sister has been using a brown rice flour starter for two years, and her bread is genuinely good.
Stiff Starter: Instead of a 1:1 ratio of flour to water, try a 2:1 ratio (200g flour to 100g water). This creates a stiffer, less liquid starter that some bakers prefer for certain recipes. It ferments more slowly and has a milder flavor. I use a stiff starter for bagels and English muffins.
Cold Fermentation: Once your starter is established, you can store it in the refrigerator and feed it once a week. This slows down the fermentation and develops a more complex, tangy flavor. Just take it out a day before you want to bake, feed it, and let it come to room temperature.
Flavor Variations: Add a tablespoon of pineapple juice on day two to create a more acidic environment that discourages unwanted bacteria. Or add a teaspoon of honey on day one to give the yeast an extra sugar boost. I’ve tried both, and while they’re not necessary, they can help in cooler climates.
Serving & Storage Suggestions
Your finished starter is a living thing, and it needs proper care to stay healthy.
Storing in the Refrigerator: Once your starter is active and reliable (after day 7), you can store it in the fridge. Feed it, let it sit at room temperature for 2 hours, then cover tightly and refrigerate. Feed it once a week with 50g flour and 50g water. I keep mine in the back of the fridge where the temperature is most stable.
Before Baking: Take the starter out of the fridge the night before you want to bake. Feed it and let it sit at room temperature overnight. By morning, it should be active and bubbly. Use what you need for your recipe, then feed the remaining starter and return it to the fridge.
Freezing Starter: You can freeze a backup portion of your starter. Spread it thin on parchment paper, freeze until solid, then break into pieces and store in a freezer bag. When you want to revive it, thaw a piece and feed it for a few days until active. I keep a frozen backup of my starter in case of emergencies.
Drying Starter: Spread a thin layer of active starter on parchment paper and let it dry completely at room temperature (about 2-3 days). Break it into flakes and store in an airtight jar. To revive, mix a few flakes with flour and water and feed for 3-4 days. This is how ancient bakers preserved their starters.
Flavor Development: The flavor of your starter will deepen over time. A starter that’s been alive for a month will have a noticeably more complex sourness than a week-old starter. I’ve tasted starters that were decades old, and the depth of flavor is incredible. Your starter will only get better with age.
Nutritional Information & Benefits
Sourdough starter itself isn’t something you eat directly, but the bread made from it has distinct nutritional advantages over commercially yeasted bread.
Estimated Nutritional Values (per 100g of sourdough bread made with this starter):
| Nutrient | Amount |
|---|---|
| Calories | 250-270 |
| Protein | 8-10g |
| Carbohydrates | 48-52g |
| Fiber | 2-4g |
| Fat | 1-2g |
| Sodium | 400-500mg |
Health Benefits: The fermentation process in sourdough breaks down phytic acid, a compound in grains that can block mineral absorption. This means your body can actually absorb more of the iron, zinc, and magnesium from sourdough bread. The lactic acid bacteria in sourdough also produce compounds that are beneficial for gut health.
Glycemic Index: Sourdough bread has a lower glycemic index than regular bread because the fermentation process changes the structure of the carbohydrates. This means it causes a slower, more gradual rise in blood sugar. For anyone watching their blood sugar, sourdough is a better choice.
Dietary Considerations: This starter is naturally vegan and contains no added sugars or preservatives. If you use whole wheat flour, the bread will be higher in fiber and nutrients. For gluten-free versions, use brown rice or buckwheat flour in the starter and the bread recipe.
Allergens: Standard sourdough contains gluten. The fermentation process doesn’t eliminate gluten, so it’s not suitable for celiac disease. However, some people with mild gluten sensitivities find sourdough easier to digest due to the breakdown of gluten proteins during fermentation.
Conclusion
Starting your own sourdough starter from scratch feels like a small miracle every single time. You take two basic ingredients, add a little patience, and create something alive that can sustain you for years. I honestly still get a thrill every time I see those first bubbles appear on day three.
This method works because it respects both the science and the simplicity of fermentation. You don’t need to be a professional baker or own expensive equipment. You just need a jar, some flour, water, and the willingness to let nature do its thing. The easy beginner’s sourdough starter from scratch is forgiving enough for your first attempt and reliable enough for your hundredth.
I want to hear about your starter journey. What did you name yours? Did it take off quickly or need some extra encouragement? Drop a comment below and share your experience. And if you run into trouble, don’t hesitate to ask — I’ve probably made the same mistake and can help you fix it.
Go ahead and mix that flour and water. Your future bread is waiting.
Frequently Asked Questions
Why isn’t my starter showing any bubbles after three days?
This is completely normal, especially in cooler kitchens. Make sure your starter is in a warm spot (70-75°F is ideal). If your house is cold, try placing the jar on top of the refrigerator or near a warm appliance. Also check that your water isn’t too cold — room temperature water is important. Give it another 2-3 days before worrying.
Can I use bleached all-purpose flour to start my starter?
You can, but it’s not ideal. Bleached flour has fewer natural yeasts and nutrients than whole wheat or unbleached flour. If bleached flour is all you have, start with it, but expect the process to take a few days longer. Switching to whole wheat for the first few days will give you much faster results.
How do I know if my starter has gone bad?
A healthy starter smells pleasantly sour, like yogurt or ripe fruit. If it smells like rotten eggs, vomit, or has visible mold (fuzzy spots in colors other than white or cream), it’s gone bad and should be discarded. Pink or orange streaks are also signs of contamination. When in doubt, throw it out and start fresh.
Can I use my starter straight from the refrigerator?
It’s better to feed it and let it come to room temperature first. Cold starter is sluggish and won’t give you the best rise. Take it out of the fridge, feed it, and let it sit at room temperature for 6-8 hours until it’s bubbly and active before using it in a recipe.
How often do I need to feed my starter once it’s established?
If you keep it on the counter, feed it once a day. If you keep it in the refrigerator, feed it once a week. I prefer refrigerator storage because it’s less work and develops better flavor. Just remember to feed it after using some for baking — you want to keep the colony healthy and strong.
Pin This Recipe!
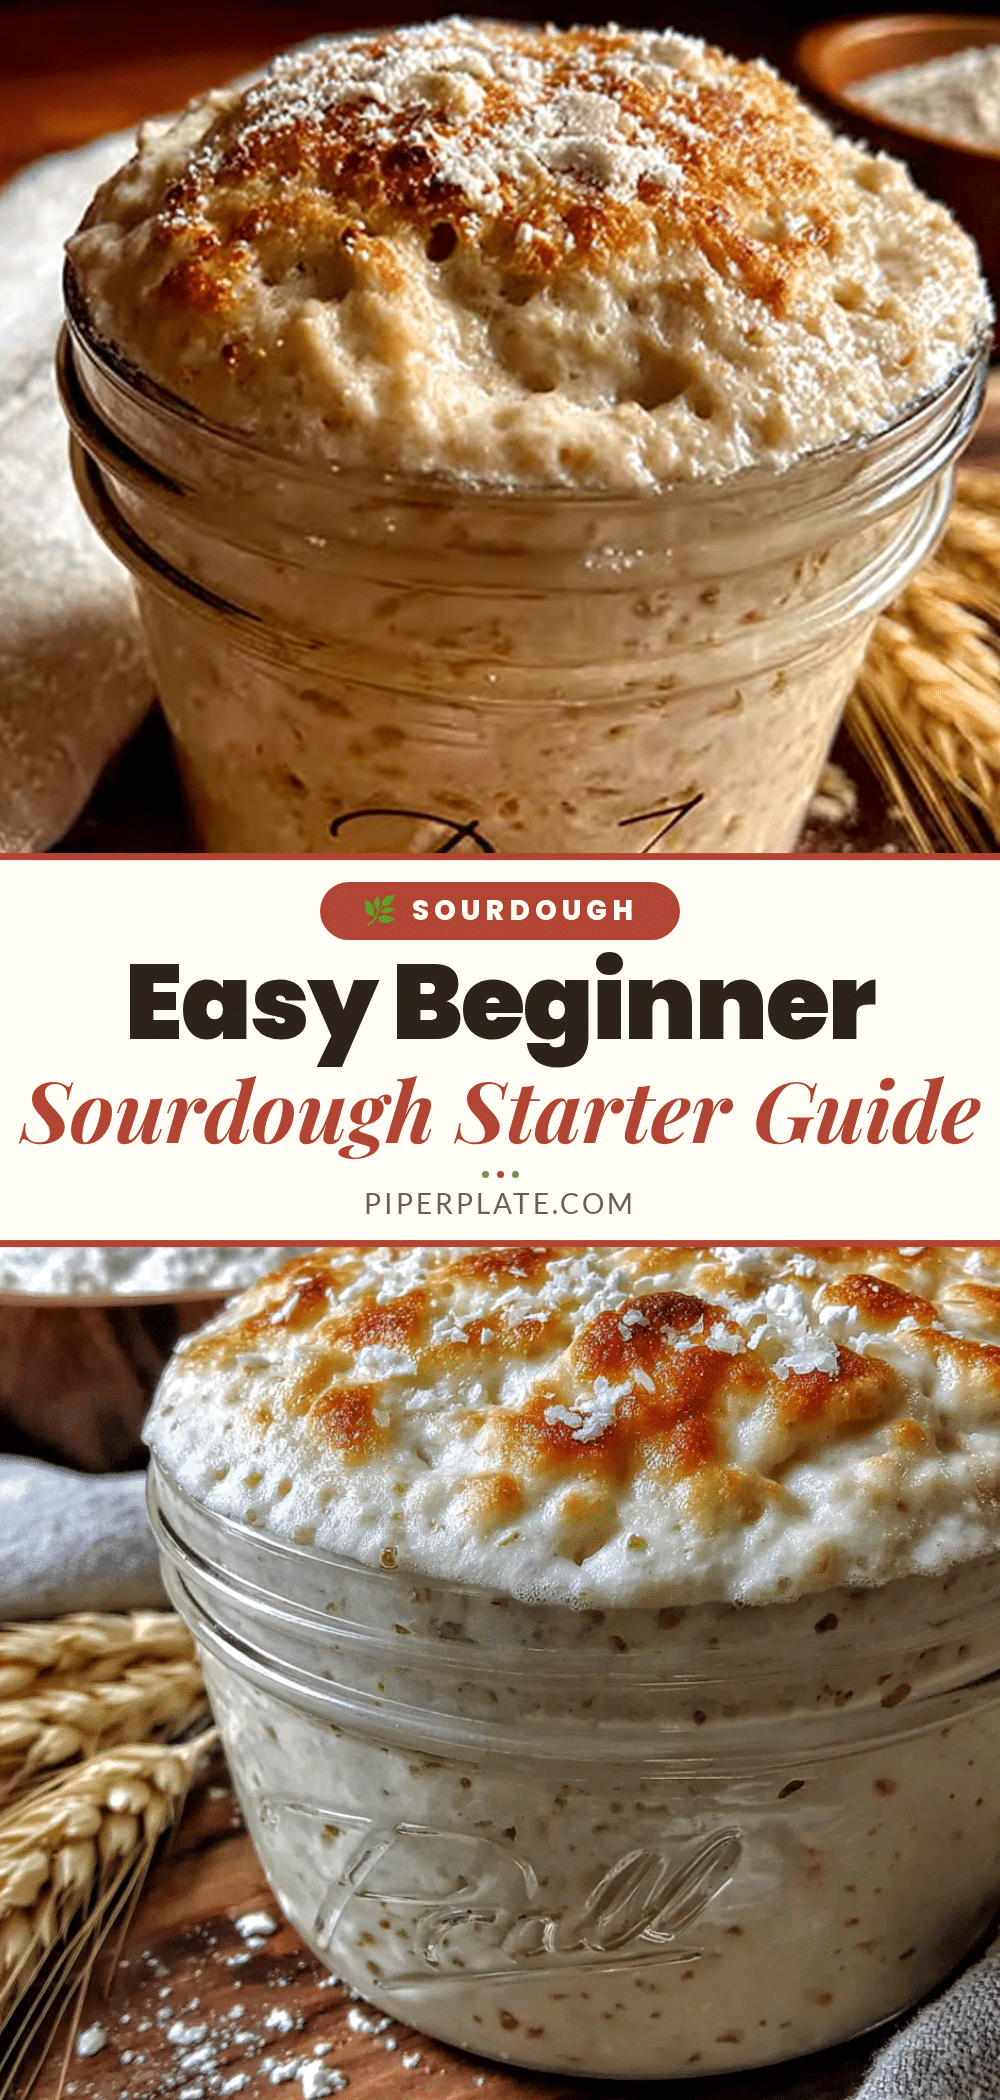
Easy Beginners Sourdough Starter from Scratch
This forgiving, straightforward method creates a bubbly, active sourdough starter in just seven days using only flour and water. Perfect for beginners, it requires no special equipment and respects your time.
- Prep Time: 10 minutes
- Cook Time: 0 minutes
- Total Time: 7 days
- Yield: 1 active sourdough starter (about 200g) 1x
- Category: Starter
- Cuisine: American
Ingredients
- 100g whole wheat flour (per feeding initially)
- 100g all-purpose flour (per feeding after day 4)
- 100g filtered water, room temperature (per feeding)
Instructions
- Day 1: In a clean 1-quart glass jar, combine 100g whole wheat flour and 100g room temperature filtered water. Stir vigorously until no dry flour remains. Scrape down sides, cover loosely with a cloth or paper towel, and place in a warm spot (70-75°F). Mark the level with a rubber band. Leave alone for 24 hours.
- Day 2: Discard half of the mixture (about 100g). Feed with 100g whole wheat flour and 100g water. Stir well, mark level, and cover.
- Day 3: Discard half, feed with 100g whole wheat flour and 100g water. Stir, mark, cover. Bubbles should appear; a funky smell is normal.
- Day 4: Switch to all-purpose flour. Discard half, feed with 100g all-purpose flour and 100g water. The starter should rise noticeably within 6-12 hours.
- Day 5-6: Continue discarding half and feeding with 100g all-purpose flour and 100g water twice daily (morning and evening). The starter should double in size within 6-8 hours.
- Day 7: The starter is ready when it doubles in size within 4-6 hours, has a pleasant sour aroma, and passes the float test (a spoonful floats in water). Use immediately or refrigerate for weekly feedings.
Notes
Temperature matters: keep starter in a warm spot (70-75°F). Don’t skip the discard step. The consistency should be like thick pancake batter. If hooch (dark liquid) forms, pour it off before feeding. A healthy starter smells pleasantly sour, like yogurt or ripe fruit.
Nutrition
- Serving Size: 100g of sourdough br
- Calories: 260
- Sodium: 450
- Fat: 1.5
- Saturated Fat: 0.3
- Carbohydrates: 50
- Fiber: 3
- Protein: 9
Keywords: sourdough starter, beginner sourdough, easy sourdough starter, homemade starter, wild yeast starter


