Love this? Save it for later!
Share the inspiration with your friends
This was supposed to be a gentle, mild pickled pepper situation. I had this vision of crisp, barely-warm jalapeño rings floating in a sweet vinegar brine, something my spice-averse aunt could pile onto a sandwich without reaching for her water glass. I grabbed the wrong bag of dried chilies from the pantry—the ones labeled ” árbol ” that I usually save for chili oil—and tossed them into the pot without a second thought. The kitchen filled with this sharp, almost aggressive heat that made my eyes water before the vinegar even hit the stove. I was already late for a work call, the phone was buzzing in my pocket, and I remember thinking, well, this is a complete waste of good jalapeños.
I almost dumped the whole batch into the compost. Honestly, I had the colander out. But I figured I’d let them cool and give one a try before admitting defeat. You know that moment when you taste something and your brain just stops? That was it. The heat wasn’t harsh or one-dimensional—it had this smoky depth from those accidental árbol chilies, and the vinegar cut through it just enough to keep you coming back for more. I mean, I stood there in my messy kitchen, eating ring after ring straight from the jar, completely stunned.
That happy accident turned into my most-requested recipe. These Easy Spicy Canned Jalapeño Pepper Rings take exactly 15 minutes of active time, and they deliver that same complex, fiery kick without needing any secret ingredients. Whether you’re nacho-obsessed, a Bloody Mary enthusiast, or just someone who wants to add serious flavor to tacos without a lot of fuss, this recipe is for you. Maybe you’ve had a kitchen mishap that turned out better than the plan—that’s exactly what these peppers are. A mistake I’m so glad I made.
Why You’ll Love This Recipe
I’ve tested this method at least a dozen times, tweaking the brine ratio, the spice level, and the processing time until it was absolutely foolproof. Here is why this version stands out from every other pickled jalapeño recipe you’ll find online.
- Quick & Easy: From start to finish, you’re looking at about 15 minutes of hands-on work. No complicated canning equipment, no water bath processing, no waiting weeks for the flavors to develop. These are ready to eat as soon as they cool.
- Simple Ingredients: You need fresh jalapeños, vinegar, water, salt, sugar, and a few pantry spices. That’s it. No trips to a specialty grocery store, no obscure ingredients you’ll never use again.
- Perfect for Meal Prep: Make a double batch on Sunday, and you have spicy toppings for tacos, nachos, burgers, salads, and grain bowls all week long. They keep beautifully in the fridge for up to a month.
- Crowd-Pleaser: I’ve brought these to potlucks and barbecues, and they disappear faster than almost anything else on the table. Even people who claim they “don’t like spicy food” end up reaching for just one more ring.
- Unbelievably Customizable: This recipe is a template, not a rigid formula. You can adjust the heat, the sweetness, the spice profile—whatever suits your taste. It’s forgiving and flexible.
What makes this recipe different from the rest is the technique. Most pickled jalapeño recipes call for a long, slow simmer that turns the peppers mushy. My method uses a quick hot brine poured over raw rings, which keeps them crisp and snappy with a fresh, bright flavor. It’s a small tweak that makes a huge difference in texture. Honestly, once you try it this way, you won’t go back to those sad, soft rings from a jar.
This isn’t just a condiment—it is the kind of thing that makes you look forward to leftovers. It’s the pop of acidity and heat that turns a boring bowl of black beans into something exciting. It’s comfort food reimagined as a pantry staple, faster and more satisfying than anything you can buy at the store.
What Ingredients You Will Need
This recipe relies on a handful of simple, wholesome ingredients that work together to create a brine that is tangy, spicy, and slightly sweet. The jalapeños are the star, but every component plays a role in building that signature flavor.
- Fresh Jalapeño Peppers (1 pound / about 450g): Look for firm, glossy peppers with smooth skin. Avoid any that are soft, wrinkled, or have blemishes. The size doesn’t matter much, but try to pick ones that are similar in thickness so they pickle evenly. I usually buy a mix of green and red jalapeños for a prettier jar, but all green works just fine too.
- White Vinegar (1 cup / 240ml): Use standard 5% acidity white vinegar for the cleanest, sharpest flavor. It provides the backbone of the brine without overpowering the peppers. I’ve tried apple cider vinegar in a pinch, and it works, but it adds a fruity note that changes the character of the final product. Stick with white vinegar for the classic taste.
- Water (1 cup / 240ml): Filtered or tap water is fine. The water dilutes the vinegar just enough so the brine isn’t overwhelmingly acidic.
- Granulated Sugar (2 tablespoons / 25g): This balances the heat and acidity. Don’t skip it! The sugar doesn’t make the peppers sweet—it rounds out the sharp edges of the vinegar and lets the jalapeño flavor shine. If you prefer a less sweet brine, reduce it to 1 tablespoon.
- Kosher Salt (1 tablespoon / 18g): Use a coarse salt like Diamond Crystal or Morton. Table salt is much denser and will make the brine overly salty. The salt enhances the natural flavor of the peppers and helps preserve their texture.
- Garlic (4 cloves, smashed): Fresh garlic adds a pungent, savory depth that complements the heat beautifully. Smash the cloves with the flat side of your knife to release their oils, but leave them whole so they don’t make the brine cloudy.
- Dried Oregano (1 teaspoon): This is my secret ingredient. It adds a subtle, earthy, almost floral note that pairs perfectly with the jalapeños. Mexican oregano is ideal if you have it, but standard Mediterranean oregano works great too.
- Black Peppercorns (1 teaspoon): Whole peppercorns provide a gentle, aromatic heat that builds as the peppers sit in the brine. Don’t use pre-ground pepper—it will make the brine gritty and muddy the flavor.
- Optional: Dried Chili Flakes (1/2 to 1 teaspoon): For extra heat, add red pepper flakes or crushed dried chilies like árbol or cayenne. This is where you can really dial up the spice level. I add a full teaspoon because I like my peppers with a serious kick.
Ingredient Selection Tip: I recommend using a brand like Heinz for the white vinegar—it has a consistent 5% acidity that I trust. For the salt, Diamond Crystal kosher salt is my go-to because it dissolves evenly and isn’t too salty. If you can find Mexican oregano at a Latin grocery store or online, grab it. The flavor is more robust and slightly citrusy compared to the Mediterranean variety.
Substitution Guidance: Need a low-sodium option? Use half the salt. Want a sweeter brine? Increase the sugar to 3 tablespoons. If you don’t have fresh garlic, you can use 1 teaspoon of garlic powder, but the flavor won’t be as bright. For a completely different flavor profile, try substituting half the white vinegar with apple cider vinegar and adding a cinnamon stick and a few allspice berries—it makes a fantastic sweet-and-spicy pickled pepper.
Equipment Needed
You don’t need a fancy canning setup for this recipe. Here is exactly what you’ll need, along with some alternatives if you’re working with a limited kitchen.
- Sharp Knife and Cutting Board: A good chef’s knife makes slicing the jalapeños quick and safe. Use a stable cutting board—preferably one that won’t absorb the spicy oils.
- Medium Saucepan: For heating the brine. A 2-quart saucepan is perfect. Any pot will do, as long as it’s non-reactive (stainless steel, enameled, or anodized aluminum). Avoid bare aluminum or uncoated cast iron, which can react with the vinegar and give the brine a metallic taste.
- Glass Jars with Lids: Two 16-ounce (pint) jars or one 32-ounce (quart) jar. Wide-mouth jars are easier to fill. Make sure the jars and lids are clean and dry. I reuse pasta sauce jars all the time—just wash them thoroughly with hot, soapy water and dry completely.
- Measuring Cups and Spoons: For accurate brine measurements. A liquid measuring cup for the vinegar and water, and dry measuring spoons for the salt, sugar, and spices.
- Funnel (Optional but Helpful): A wide-mouth funnel makes pouring the hot brine into the jars much less messy. If you don’t have one, you can pour carefully from the saucepan, or use a ladle.
- Tongs or a Slotted Spoon: For packing the jalapeño rings into the jars. Tongs give you more control and keep your hands away from the spicy juices.
- Oven Mitts or a Kitchen Towel: The jars will get hot when you pour in the brine. Protect your hands.
Personal Tip: I have a set of cheap glass jars that I’ve used for years. They’re not fancy, but they seal well and they’re the perfect size for a single batch. Don’t feel pressured to buy expensive canning jars—any clean, airtight glass container will work for refrigerator pickling.
Preparation Method
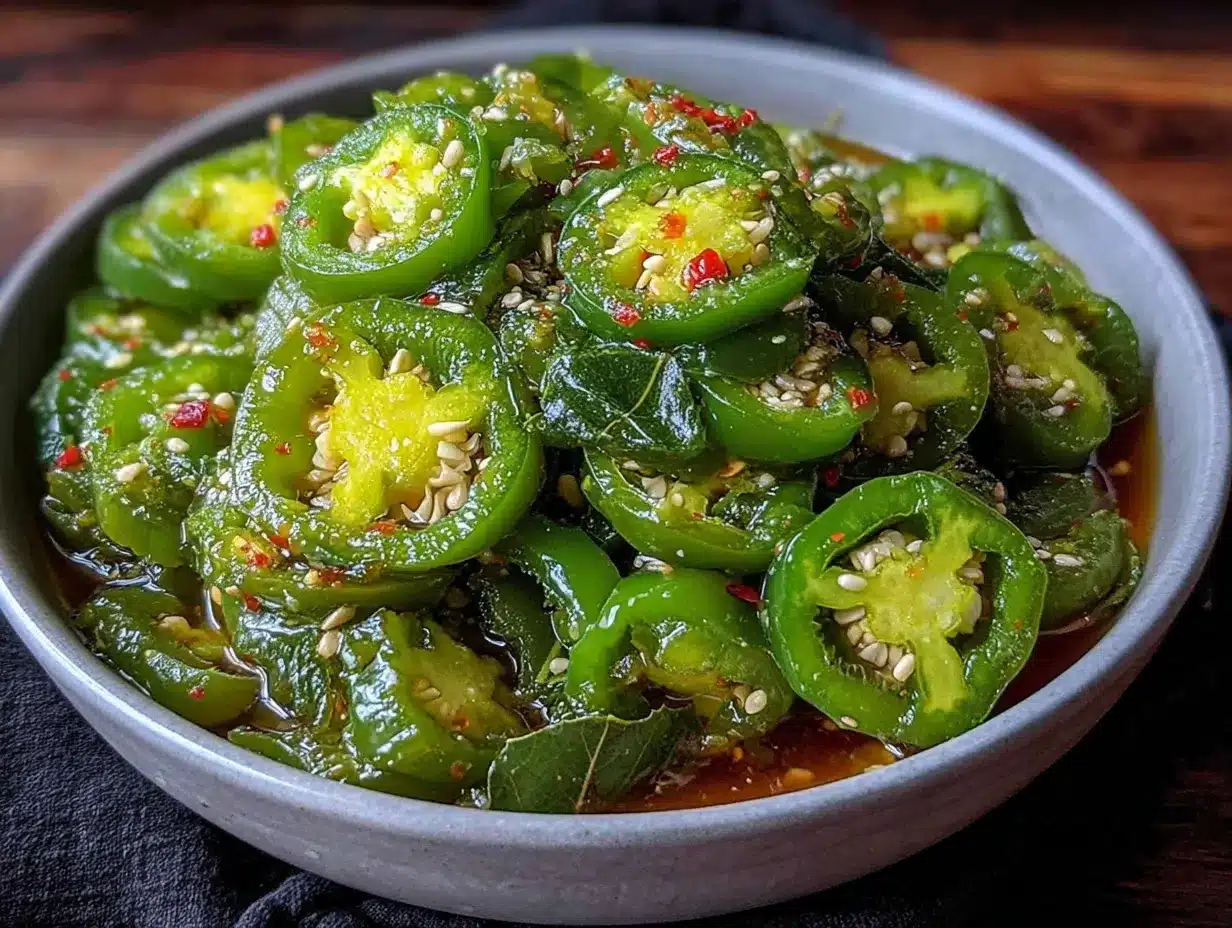
This recipe moves fast. Have everything prepped and measured before you start, and you’ll have these peppers jarred and cooling in under 20 minutes.
- Prepare the Jalapeños (5 minutes): Wash the jalapeños thoroughly under cool water and pat them dry. Using a sharp knife, slice off the stems. For milder rings, cut the peppers in half lengthwise and scrape out the white membranes and seeds with a small spoon. For full heat, leave the seeds and membranes intact. Slice the peppers crosswise into uniform rings, about 1/4-inch thick. Try to keep them consistent so they pickle evenly. You should end up with roughly 3 to 4 cups of rings.
- Pack the Jars (2 minutes): Divide the sliced jalapeño rings evenly between your clean jars. Add the smashed garlic cloves, dried oregano, and black peppercorns to the jars, distributing them as evenly as possible. If you’re using dried chili flakes, add them now. Don’t overpack the jars—leave a little room at the top for the brine to circulate.
- Make the Brine (5 minutes): In a medium saucepan, combine the white vinegar, water, granulated sugar, and kosher salt. Place the saucepan over high heat and bring the mixture to a rolling boil, stirring occasionally to dissolve the sugar and salt. Once it’s boiling, let it bubble for 1 minute, then remove it from the heat. The brine should be clear and steaming hot.
- Pour the Brine (2 minutes): Carefully pour the hot brine over the jalapeño rings in the jars, filling them to about 1/2 inch from the rim. Make sure all the rings are fully submerged. Use a chopstick or a butter knife to gently poke around the jar and release any trapped air bubbles. Wipe the rims of the jars clean with a damp paper towel, then screw on the lids tightly.
- Cool and Store (5 minutes + cooling time): Let the jars cool to room temperature on the counter. You’ll hear the lids pop as they seal—that’s normal and satisfying. Once they’re cool, transfer the jars to the refrigerator. The peppers are technically ready to eat once they’re cool, but they develop the best flavor after 24 hours. They’ll keep in the fridge for up to 1 month.
Important Note: The brine will initially look a little cloudy from the spices, but it will clear up as it cools. This is completely normal. Also, don’t worry if the jalapeño rings float to the top of the jar—they’ll settle down after a few hours in the fridge.
Sensory Cue: When you pour the hot brine over the peppers, you’ll hear a satisfying sizzle and see the color of the jalapeños brighten almost instantly. The vinegar smell will be sharp at first, but it mellows as the brine cools. After 24 hours, the peppers should be crisp-tender, with a pop of acidity followed by a slow-building warmth.
Troubleshooting Tip: If your rings turn out mushy, you likely simmered the brine too long with the peppers in it, or you used older, softer jalapeños. Next time, make sure the peppers are firm and fresh, and pour the brine over them immediately after it comes to a boil—don’t let it sit.
Cooking Tips & Techniques
Over the years, I’ve made every mistake you can imagine with pickled peppers. I’ve used the wrong vinegar, I’ve forgotten the salt, I’ve left them on the counter for three days (don’t do that). Here is what I’ve learned so you don’t have to repeat my errors.
Slice for Consistency: The thickness of your rings matters more than you think. Slices that are too thin will turn soft and lose their crunch within a day. Slices that are too thick won’t absorb the brine properly. Aim for a uniform 1/4-inch thickness. I use a mandoline slicer for speed and consistency, but a steady hand with a sharp knife works just as well.
Don’t Overheat the Brine: The key to crisp pickles is a quick, hot brine that cooks the peppers just enough without breaking down their cell structure. Bring the brine to a full boil, pour it over the raw peppers, and stop. If you let the brine simmer with the peppers in the pot, you’ll end up with cooked, limp rings. Trust the process—the residual heat from the brine is all you need.
Let Them Rest: I know it’s tempting to crack open a jar as soon as it’s cool, but patience pays off. The flavors need time to meld and mellow. After 24 hours, the harsh vinegar bite softens, the garlic infuses the brine, and the heat becomes more complex. If you can wait 48 hours, even better. I usually make a batch on Sunday and start eating them on Tuesday.
Use the Leftover Brine: Don’t throw away the brine when the peppers are gone. It’s liquid gold. Use it to marinate chicken or pork, add a splash to salad dressings, or mix it into a Bloody Mary. I’ve even used it to brine hard-boiled eggs—they come out tangy and slightly spicy, and they’re incredible on a salad.
Scale Up Easily: This recipe doubles and triples effortlessly. Just make sure you have a pot large enough to hold the brine, and enough jars to hold the peppers. The proportions stay the same—just multiply all the brine ingredients by the number of batches you’re making.
Variations & Adaptations
This recipe is a canvas, not a finished painting. Here are some of my favorite ways to change it up.
Smoky Chipotle Version: Replace the dried oregano with 1 teaspoon of ground chipotle powder and add 1/2 teaspoon of liquid smoke to the brine. The chipotle gives the peppers a deep, smoky heat, and the liquid smoke reinforces that campfire flavor. This is my go-to for topping loaded nachos or mixing into black bean soup.
Sweet and Spicy Habenero: Substitute half the jalapeños with habanero peppers (use gloves when handling them—seriously, don’t touch your face). Increase the sugar to 3 tablespoons and add a 2-inch strip of orange zest to the brine. The fruity heat of the habaneros combined with the orange and sugar makes an incredible glaze for grilled chicken or pork chops.
Mexican Escabeche Style: Add sliced carrots, onion wedges, and whole garlic cloves to the jars along with the jalapeños. Use Mexican oregano and add a bay leaf to each jar. This turns the pickles into a full-on vegetable medley that’s perfect for tacos or as a side dish for grilled meats. The carrots take on a beautiful orange hue and absorb the spicy brine wonderfully.
Low-Sodium Option: Reduce the salt to 1 teaspoon and add an extra tablespoon of vinegar to maintain the acidity. The peppers won’t be as shelf-stable (not that they last long anyway), but they’ll still be delicious. I’ve made this version for friends watching their salt intake, and they didn’t miss the salt at all.
Quick Water Bath Canning: If you want to make shelf-stable jars for gift-giving or long-term storage, you can process these in a water bath canner. Increase the vinegar to 1 1/2 cups and reduce the water to 1/2 cup to ensure the brine is acidic enough for safe canning. Process pint jars for 10 minutes in a boiling water bath. This is the only way to make them shelf-stable—refrigerator pickles are not safe for long-term pantry storage.
Serving & Storage Suggestions
These Easy Spicy Canned Jalapeño Pepper Rings are incredibly versatile. Here is how I use them throughout the week.
Serving Temperature: I prefer them cold, straight from the fridge. The chill keeps the rings crisp and the brine refreshing. If you’re adding them to a hot dish like nachos or a burger, let them sit at room temperature for 10 minutes first so they don’t cool down your food too much.
Classic Pairings: Pile them on tacos, nachos, burgers, hot dogs, or pulled pork sandwiches. They’re essential on a bowl of chili, and they add a fantastic kick to a simple cheese quesadilla. I also love chopping them up and folding them into tuna salad or egg salad for a spicy, tangy twist.
Beverage Pairing: These peppers are a natural fit for a Bloody Mary—use the brine as a substitute for Worcestershire sauce. The spicy, vinegary brine also makes a fantastic addition to a Michelada. For a non-alcoholic option, add a few rings and a splash of brine to a glass of club soda for a spicy, refreshing drink.
Storage Instructions: Keep the jars tightly sealed in the refrigerator. They will stay fresh and crisp for up to 1 month. After that, the texture starts to soften, and the heat fades. I’ve never had a jar last that long, though—they’re usually gone within two weeks.
Reheating: These are best served cold or at room temperature. If you want to warm them for a specific dish, add them to the dish during the last minute of cooking. For example, toss them into a hot pan of fajitas just before serving, or layer them on a burger patty while it’s still on the grill.
Flavor Development: The peppers will continue to pickle and develop flavor as they sit. On day one, they’re bright and sharp. By day three, the heat has mellowed and integrated with the garlic and oregano. By day seven, they’re at their peak—complex, balanced, and deeply flavorful. I always try to save at least one jar for the second week.
Nutritional Information & Benefits
These peppers are a guilt-free way to add massive flavor to your meals. Here is a rough estimate of the nutritional breakdown per 1/4 cup serving (about 6 rings).
| Nutrient | Amount per Serving |
|---|---|
| Calories | 15 |
| Total Fat | 0g |
| Sodium | 290mg |
| Total Carbohydrates | 3g |
| Dietary Fiber | 1g |
| Sugars | 2g |
| Protein | 0g |
Health Benefits: Jalapeños are packed with vitamin C—one pepper provides about 65% of your daily recommended intake. They also contain capsaicin, the compound responsible for their heat, which has been linked to boosting metabolism and reducing inflammation. The vinegar in the brine may also help with digestion and blood sugar regulation.
Dietary Considerations: This recipe is naturally gluten-free, vegan, and dairy-free. The low-sodium variation makes it suitable for those watching their salt intake. The only potential allergen is the garlic, which is a common sensitivity for some people. If you’re avoiding garlic, simply omit it—the peppers will still be delicious, just a little less complex.
Personal Perspective: I love that these peppers let me add serious flavor without adding a lot of calories or processed ingredients. They’re a whole-food condiment that makes healthy eating feel indulgent. A handful of these rings on a simple bowl of rice and beans turns it into a meal I actually look forward to.
Conclusion
These Easy Spicy Canned Jalapeño Pepper Rings are proof that the best recipes often come from happy accidents. What started as a rushed, distracted mistake turned into the most versatile condiment in my kitchen. They’re quick, they’re customizable, and they deliver a punch of flavor that makes every meal more exciting.
I hope you give this recipe a try and make it your own. Add more garlic, dial up the heat, throw in some carrots—whatever feels right to you. That’s the beauty of a simple, forgiving recipe like this one. It’s a starting point, not a rulebook.
I’d love to hear how yours turn out. Drop a comment below and let me know what you put them on, or share a photo of your jars on Pinterest. Tag me so I can see your creations! And if you have a favorite variation, please share it—I’m always looking for new ways to use these little rings of fire.
Happy pickling, friends. May your jars always be full and your food always have a little kick.
Frequently Asked Questions
Can I use other types of peppers for this recipe?
Absolutely! This brine works beautifully with serranos, banana peppers, or even sliced habaneros. Just keep in mind that the heat level will change. For a milder option, use Anaheim or poblano peppers. The pickling time remains the same.
Do I need to sterilize the jars for refrigerator pickling?
No, you don’t need to sterilize jars for refrigerator pickles. Just make sure they are thoroughly washed with hot, soapy water and completely dry. Sterilization is only necessary if you plan to water bath can the jars for shelf-stable storage.
Why did my jalapeño rings turn soft?
Soft rings usually mean the brine was too hot for too long, or the jalapeños were not fresh. Always pour the boiling brine over raw rings and let them cool gradually. Also, use firm, crisp peppers—older or bruised jalapeños will turn mushy faster.
Can I reuse the brine for a second batch of peppers?
Technically yes, but the flavor will be much weaker and the brine will be cloudy. I recommend making a fresh batch of brine for each new batch of peppers. The leftover brine is better used as a marinade or in cocktails.
How long do these peppers last in the fridge?
Properly stored in a sealed jar, these peppers will stay fresh and crisp for up to 1 month. After that, the texture will soften and the flavor will fade. I recommend labeling your jars with the date so you know when you made them.
Pin This Recipe!
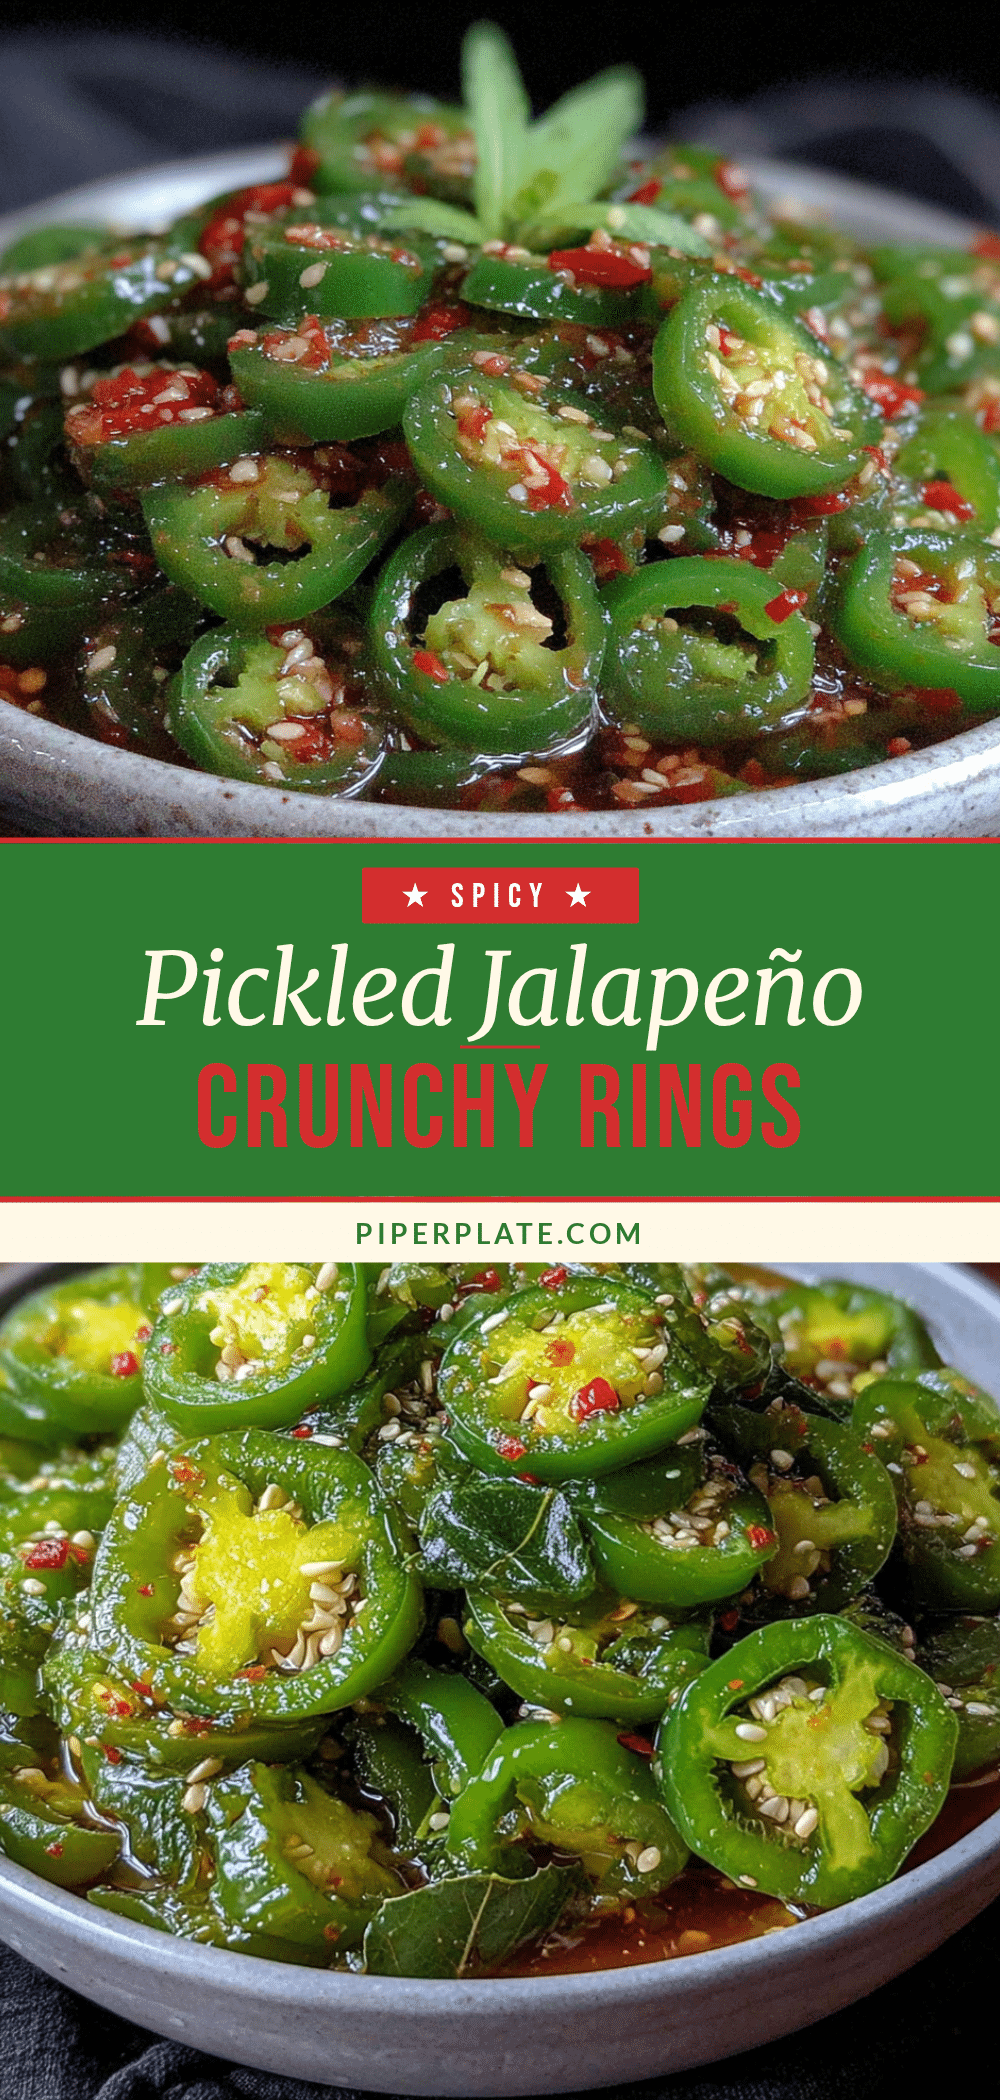
Easy Spicy Canned Jalapeno Pepper Rings: Perfect 15-Minute Recipe
These Easy Spicy Canned Jalapeño Pepper Rings take exactly 15 minutes of active time and deliver a complex, fiery kick without needing any secret ingredients. Perfect for nachos, Bloody Marys, tacos, and more.
- Prep Time: 15 minutes
- Cook Time: 5 minutes
- Total Time: 20 minutes
- Yield: 2 pints (32 ounces) 1x
- Category: Condiment
- Cuisine: Mexican
Ingredients
- 1 pound fresh jalapeño peppers (about 450g)
- 1 cup white vinegar (240ml)
- 1 cup water (240ml)
- 2 tablespoons granulated sugar (25g)
- 1 tablespoon kosher salt (18g)
- 4 cloves garlic, smashed
- 1 teaspoon dried oregano
- 1 teaspoon black peppercorns
- 1/2 to 1 teaspoon dried chili flakes (optional)
Instructions
- Prepare the Jalapeños (5 minutes): Wash the jalapeños thoroughly under cool water and pat them dry. Using a sharp knife, slice off the stems. For milder rings, cut the peppers in half lengthwise and scrape out the white membranes and seeds with a small spoon. For full heat, leave the seeds and membranes intact. Slice the peppers crosswise into uniform rings, about 1/4-inch thick. Try to keep them consistent so they pickle evenly. You should end up with roughly 3 to 4 cups of rings.
- Pack the Jars (2 minutes): Divide the sliced jalapeño rings evenly between your clean jars. Add the smashed garlic cloves, dried oregano, and black peppercorns to the jars, distributing them as evenly as possible. If you’re using dried chili flakes, add them now. Don’t overpack the jars—leave a little room at the top for the brine to circulate.
- Make the Brine (5 minutes): In a medium saucepan, combine the white vinegar, water, granulated sugar, and kosher salt. Place the saucepan over high heat and bring the mixture to a rolling boil, stirring occasionally to dissolve the sugar and salt. Once it’s boiling, let it bubble for 1 minute, then remove it from the heat. The brine should be clear and steaming hot.
- Pour the Brine (2 minutes): Carefully pour the hot brine over the jalapeño rings in the jars, filling them to about 1/2 inch from the rim. Make sure all the rings are fully submerged. Use a chopstick or a butter knife to gently poke around the jar and release any trapped air bubbles. Wipe the rims of the jars clean with a damp paper towel, then screw on the lids tightly.
- Cool and Store (5 minutes + cooling time): Let the jars cool to room temperature on the counter. You’ll hear the lids pop as they seal—that’s normal and satisfying. Once they’re cool, transfer the jars to the refrigerator. The peppers are technically ready to eat once they’re cool, but they develop the best flavor after 24 hours. They’ll keep in the fridge for up to 1 month.
Notes
The brine will initially look a little cloudy from the spices, but it will clear up as it cools. Don’t worry if the jalapeño rings float to the top of the jar—they’ll settle down after a few hours in the fridge. For crisp rings, pour the boiling brine over raw rings and let them cool gradually. If your rings turn out mushy, you likely simmered the brine too long with the peppers in it, or you used older, softer jalapeños.
Nutrition
- Serving Size: 1/4 cup (about 6 rin
- Calories: 15
- Sugar: 2
- Sodium: 290
- Carbohydrates: 3
- Fiber: 1
Keywords: pickled jalapeños, spicy pepper rings, easy pickling, homemade pickles, jalapeño recipe, quick pickles, refrigerator pickles


