Love this? Save it for later!
Share the inspiration with your friends
My neighbor, Beth, wasn’t trying to impress me. I’d stopped by to borrow a ladder on a drizzly Tuesday afternoon, and this deep, spicy-sweet smell hit me before I even got to her back door. She was standing over her stove, stirring a pot of something that looked like dark jewel-toned magic, and she just shrugged when I asked what it was. “Oh, just making my winter goop,” she said, like it was nothing. Honestly, it was anything but nothing. That smell—a mix of warm cinnamon, clove, and something deeply fruity—stayed with me for days. I mean, maybe you’ve been there, where a scent just latches onto your memory and won’t let go. I kept thinking about that pot of dark magic and how casual she was about it. It took me three more visits and a lot of polite hinting before she finally wrote down her proportions on a scrap of paper. That scrap is now stained and crinkled, living in my recipe box, because that “winter goop” turned out to be the most incredible homemade elderberry syrup for immune support. It’s the kind of recipe that feels like a secret weapon, and honestly, I don’t know how I got through cold season before it. I keep making it because it works, and because it reminds me that the best things often come from a neighbor who wasn’t trying to show off.
Why You’ll Love This Recipe
Let’s be real—there are a million immune support products on the market, but this homemade elderberry syrup is different. It’s not just another recipe; it’s the one I’ve tested and tweaked over several flu seasons to get just right. I’ve made this with fresh berries, dried berries, different sweeteners, and a whole lot of patience. This version is the winner.
- Quick & Easy: It comes together in about 45 minutes, most of which is hands-off simmering time. Perfect for a Sunday afternoon prep session.
- Simple Ingredients: No weird additives or hard-to-find extracts. You can find dried elderberries online or at health food stores, and the spices are probably already in your pantry.
- Perfect for Cold & Flu Season: This is my go-to at the first sign of a sniffle. It’s also great for keeping the whole family healthy during winter months.
- Crowd-Pleaser: Even my kids take it without a fuss. The honey and spices make it taste more like a dessert syrup than a medicinal tonic.
- Unbelievably Effective: I can’t make medical claims, but I can tell you that I’ve noticed a real difference in how often I get sick since I started taking this regularly. It’s my little bottle of liquid armor.
What makes this recipe stand out is the balance. It’s not too sweet, not too spicy, and the elderberry flavor is front and center. I’ve tried versions that are cloying or taste like nothing but cinnamon, but this one hits that perfect sweet spot. It’s comfort in a spoonful—a little bit of warmth and a whole lot of intention. You’ll feel good about giving this to your family because you know exactly what’s in it.
What Ingredients You Will Need
This recipe uses simple, wholesome ingredients to deliver a powerful, immune-supporting syrup. Most of these are pantry staples or easy to find, making it a practical addition to your wellness routine.
- Dried Elderberries: 1 cup (about 140g). Look for organic, deep purple-black berries. I prefer the brand Starwest Botanicals for their consistent quality. Dried berries are more concentrated than fresh, so they work perfectly here.
- Water: 4 cups (960ml). Filtered water is best for a clean taste.
- Fresh Ginger Root: 1 tablespoon, peeled and grated (about a 1-inch piece). This adds warmth and a little zing. (Adds anti-inflammatory benefits)
- Cinnamon Sticks: 2 whole sticks. They infuse a gentle, sweet spice without being overpowering.
- Whole Cloves: 1 teaspoon. Just a little goes a long way. They add that deep, aromatic complexity.
- Raw Honey: 1 cup (340g). Use local, raw honey if you can for added immune benefits. Do not add honey to the hot mixture—it destroys its beneficial enzymes. (Use agave or maple syrup for a vegan option)
- Optional: Orange Peel: 1 strip from a fresh orange. It brightens the flavor and adds a lovely citrus note.
- Optional: Rose Hips: 2 tablespoons, dried. These are packed with vitamin C and complement the elderberries beautifully.
Ingredient Selection Tips: When buying dried elderberries, make sure they are specifically for culinary use and not ornamental. They should smell fruity, not musty. For the honey, a mild-flavored one like clover or orange blossom works best so it doesn’t overpower the berries. If you’re using fresh ginger, you don’t even need to peel it if it’s organic—just give it a good scrub and grate it finely.
Substitution Guidance: If you can’t find whole cloves, use 1/4 teaspoon of ground cloves, but add it after straining to avoid a gritty texture. No cinnamon sticks? Use 1 teaspoon of ground cinnamon, stirred in at the very end.
Equipment Needed
You don’t need a fancy kitchen to make this syrup, which is part of its charm. Here’s what you’ll need:
- Medium-Sized Saucepan: A 3-quart pot is perfect. I use a stainless steel one because it heats evenly and doesn’t react with the acidic berries.
- Fine-Mesh Strainer: This is crucial for getting a smooth, sediment-free syrup. A nut milk bag or cheesecloth works even better if you have it.
- Wooden Spoon or Silicone Spatula: For stirring. Avoid metal utensils that might scratch your pot.
- Glass Measuring Cup: For measuring liquids. A Pyrex one is my favorite.
- Glass Jar or Bottle for Storage: A 16-ounce (500ml) swing-top bottle is ideal, but a regular mason jar works just fine. Make sure it’s sterilized.
- Funnel: A small funnel makes pouring the syrup into the bottle a mess-free experience. I learned this the hard way after cleaning sticky syrup off my counter three times.
Budget-Friendly Options: If you don’t have a fine-mesh strainer, you can use a colander lined with a clean, thin kitchen towel. Works like a charm. For storage, reuse a clean glass bottle from store-bought syrup or sauce.
Preparation Method
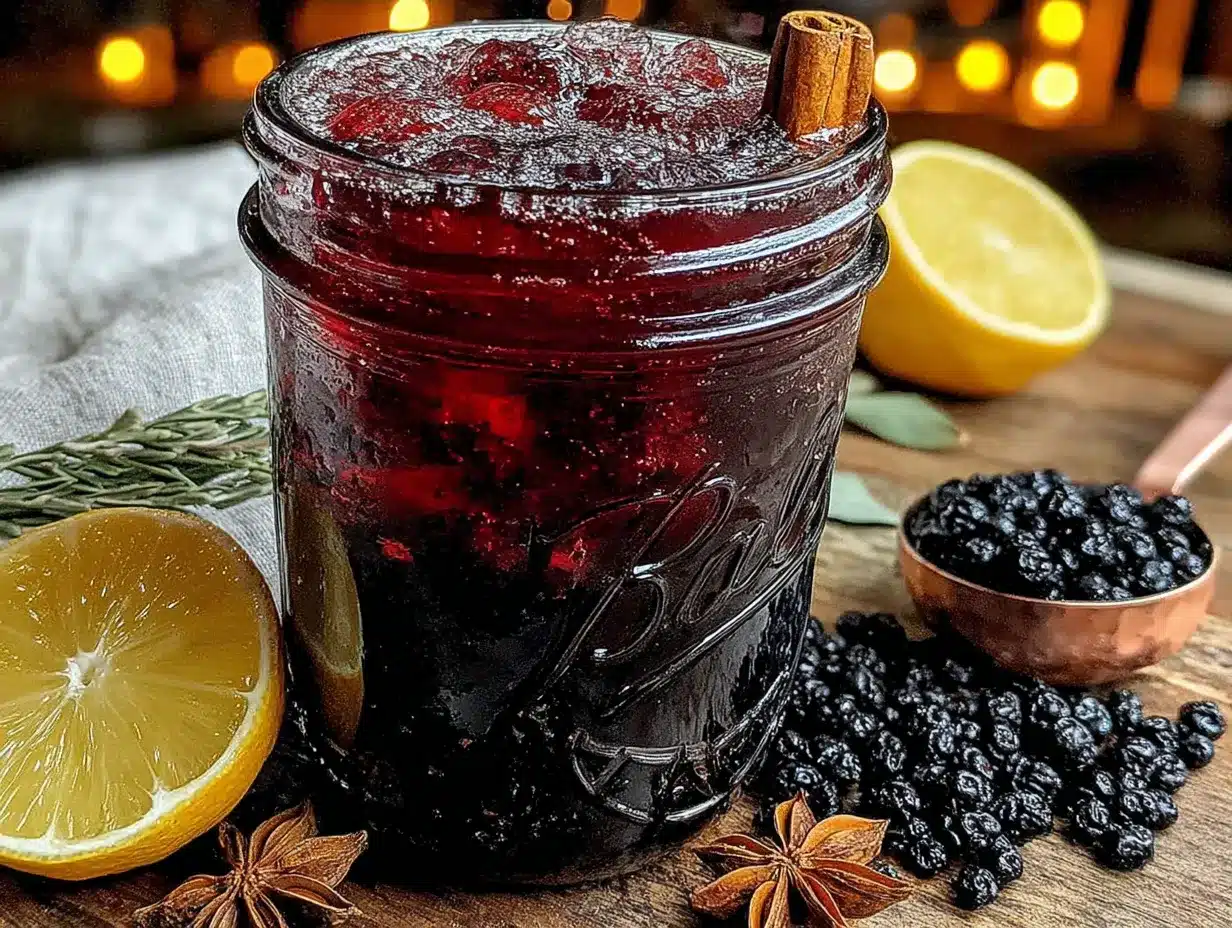
Follow these steps carefully, and you’ll have a beautiful, potent syrup that will last you through the season.
- Combine Berries and Spices: In your medium saucepan, add the 1 cup of dried elderberries, 4 cups of filtered water, the 2 cinnamon sticks, 1 teaspoon of whole cloves, and the 1 tablespoon of grated ginger. If you’re using the optional orange peel or rose hips, add them now. Give everything a good stir with your wooden spoon.
- Bring to a Boil: Place the saucepan over high heat and bring the mixture to a rolling boil. You’ll see the water turn a deep, inky purple almost immediately. Don’t walk away—it can boil over quickly.
- Reduce and Simmer: Once it’s boiling, reduce the heat to low, cover the pot with a lid slightly ajar, and let it simmer gently. Set a timer for 30 minutes. The liquid should be at a low, lazy bubble. You want to extract all the goodness from the berries without boiling it down too much. The kitchen will start to smell like a cozy winter hug.
- Mash the Berries: After 30 minutes, take the pot off the heat. Use the back of your wooden spoon or a potato masher to gently mash the softened elderberries against the side of the pot. This releases even more of their beneficial compounds and flavor. You should see the liquid get even darker and richer.
- Strain the Mixture: Place your fine-mesh strainer over a large glass measuring cup or a clean bowl. Carefully pour the entire mixture through the strainer. Let it sit for a few minutes to drain completely. Do not press down on the solids if you can help it, as this can make the syrup cloudy. Let gravity do the work. You should end up with about 2 1/2 to 3 cups of dark, fragrant liquid.
- Cool to Lukewarm: Let the strained liquid sit on the counter until it cools to just warm—around 100°F (38°C). This is a critical step. If you add the honey when the liquid is too hot, you’ll destroy its beneficial enzymes and it won’t be as effective for immune support. Patience, my friend.
- Add the Honey: Once the liquid is lukewarm, pour in the 1 cup of raw honey. Whisk gently but thoroughly until the honey is completely dissolved. The syrup will become glossy and slightly thicker. Taste it at this point—it should be sweet, spicy, and deeply fruity. If you want it sweeter, you can add a little more honey, but I find this ratio is perfect.
- Bottle and Store: Using your funnel, pour the finished elderberry syrup into your sterilized glass jar or bottle. Seal it tightly. Let it cool completely to room temperature before putting it in the refrigerator. It will thicken slightly as it chills.
Troubleshooting Tip: If your syrup is too thin after cooling, don’t worry. It’s meant to be a syrup, not a jelly. If it’s too thick, you can thin it with a little warm water next time you make a batch. If you forgot to let it cool before adding the honey, just add the honey anyway—it will still taste amazing, even if it loses some of its raw benefits.
Cooking Tips & Techniques
Over the years, I’ve made every mistake you can imagine with this recipe. I’ve burned the berries (the smell is awful), added honey to a boiling pot (total waste), and strained it through a colander with holes too big (ended up with seeds in my teeth). Here’s what I’ve learned so you don’t have to.
Don’t Over-Simmer: The biggest mistake is simmering the berries for too long. Thirty minutes is the sweet spot. If you go longer, you’ll start to break down the pectin in the berries, and your syrup will turn into a jelly-like consistency. It’s still usable, but it’s harder to pour.
Use a Timer: I cannot stress this enough. Set a timer for 30 minutes the moment you lower the heat. I got distracted by a phone call once and simmered it for almost an hour. The result was a thick, sticky mess that was more like fruit leather than syrup.
Strain Twice for Clarity: If you want a crystal-clear syrup (which looks beautiful in a glass bottle), strain the mixture once through your fine-mesh strainer, and then a second time through a coffee filter or a double layer of cheesecloth. It takes a little longer, but the result is stunning.
Timing and Multitasking: While the berries are simmering, this is the perfect time to sterilize your jar and bottle. Wash it in hot, soapy water, rinse it well, and then place it in a 200°F (93°C) oven for 10 minutes to dry and sterilize. By the time your syrup is ready to strain, your bottle will be ready to fill.
Consistency is Key: For the most consistent results, always use the same amount of water. I’ve tried reducing the water to make a more concentrated syrup, but it throws off the balance of flavors. Stick to the 4 cups of water for the best texture and potency.
Variations & Adaptations
This recipe is a fantastic base, and I love playing around with it depending on the season or what I’m feeling. Here are a few variations I’ve tried and loved.
- Spicy Immune Booster: Add a 1/2 teaspoon of cayenne pepper or a chopped fresh chili pepper along with the ginger. It adds a wonderful warmth that really clears the sinuses. I made this version last January when a cold hit our house, and it was a lifesaver.
- Herbal Infusion: Add 2 tablespoons of dried echinacea or astragalus root to the simmering mixture. Both are known for their immune-supporting properties. Just make sure to strain them out thoroughly. I find this version has a slightly earthier taste that I’ve grown to love.
- Berry Blend: Replace 1/2 cup of the dried elderberries with 1/2 cup of dried hibiscus flowers or dried tart cherries. Hibiscus adds a beautiful tartness and a gorgeous ruby-red color. The cherry version is a little sweeter and tastes like a fancy cordial.
- Low-Sugar Version: Instead of 1 cup of honey, use 1/2 cup of honey and 1/2 cup of monk fruit sweetener or stevia glycerite. The texture will be a little thinner, but it’s still delicious and effective. My aunt, who is diabetic, loves this version.
- Vegan Adaptation: Replace the honey with an equal amount of maple syrup or agave nectar. Maple syrup adds a lovely, woodsy flavor that pairs beautifully with the spices. Just make sure to let the liquid cool slightly before adding it, just like with honey.
Serving & Storage Suggestions
This syrup is so versatile, you’ll find yourself reaching for it for more than just immune support.
Serving: The standard dose for adults is 1 tablespoon per day for maintenance, and 1 tablespoon every 2-3 hours at the first sign of illness. For children over 1 year old, give 1 teaspoon per day. You can take it straight off a spoon, or mix it into a cup of hot water with a squeeze of lemon for a soothing tea. I also love drizzling it over pancakes, oatmeal, or yogurt. It’s incredible in a warm glass of sparkling water for a festive, non-alcoholic drink.
Storage: Because this syrup contains fresh ginger and raw honey, it must be stored in the refrigerator. It will keep for up to 3 months in a sealed glass jar. I write the date on the bottle with a permanent marker so I don’t forget. The flavors will actually deepen and meld together over the first week, so it gets even better with time.
Freezing: For longer storage, you can freeze the syrup. Pour it into an ice cube tray and freeze until solid. Pop the cubes out and store them in a freezer-safe bag. Each cube is about 1 tablespoon, making it easy to grab one for a quick dose. Thaw a cube in the fridge overnight or drop it directly into hot tea.
Reheating: Never microwave the syrup, as this will destroy the beneficial properties of the honey. If you want it warm, simply stir a tablespoon into a cup of hot water or tea. The warmth will release the aromatic spices beautifully.
Nutritional Information & Benefits
While I’m not a doctor, I can share what makes this syrup such a powerhouse from a nutritional standpoint. The values below are estimates for a 1-tablespoon serving.
| Nutrient | Approximate Value |
|---|---|
| Calories | 45 |
| Total Carbohydrates | 12g |
| Sugars | 11g (from honey) |
| Vitamin C | 2mg (from elderberries) |
| Antioxidants | High (from anthocyanins) |
Key Benefits: Elderberries are packed with antioxidants called anthocyanins, which help fight oxidative stress in the body. The raw honey provides natural enzymes and has its own antibacterial properties. Ginger is a well-known anti-inflammatory, and cinnamon helps regulate blood sugar. Together, they create a synergistic blend that supports your body’s natural defenses.
Dietary Considerations: This recipe is naturally gluten-free, dairy-free, and nut-free. For a vegan option, substitute the honey with maple syrup. It is not suitable for infants under 1 year old due to the risk of botulism from raw honey. If you have a known allergy to any of the spices, simply omit them.
Conclusion
Honestly, making this homemade elderberry syrup for immune support has become one of my favorite fall traditions. It’s a small act of care that pays off all winter long. I love that I can control exactly what goes into it, and I love the ritual of simmering the berries and filling the house with that warm, spicy aroma. It feels like I’m bottling up a little bit of protection for my family.
I encourage you to make this recipe your own. Adjust the spices, try different berries, or add a little extra honey if you like it sweeter. The beauty of homemade is that it bends to your preferences. Don’t be afraid to experiment.
Give this recipe a try, and let me know how it works for you! Drop a comment below and tell me about your favorite way to use it, or share a variation you’ve come up with. I genuinely love hearing from you. Stay healthy, my friends!
Frequently Asked Questions
Can I use fresh elderberries instead of dried?
Yes, you can! Use 2 cups of fresh elderberries instead of 1 cup of dried. Keep in mind that fresh elderberries have a higher water content, so you may need to simmer them for an extra 10-15 minutes to concentrate the flavor. Also, make sure to cook fresh elderberries thoroughly—they can be mildly toxic when raw, but cooking neutralizes that completely.
How long does homemade elderberry syrup last?
Stored properly in a sealed glass jar in the refrigerator, this syrup will last for up to 3 months. The honey acts as a natural preservative. If you see any mold or the syrup develops an off smell, discard it immediately. I always make a fresh batch at the beginning of cold season and another one mid-winter.
Can I give this syrup to my children?
Absolutely, but with two important caveats. First, do not give it to infants under 1 year old due to the risk of botulism from raw honey. Second, for children over 1, reduce the dose to 1 teaspoon per day for maintenance. Always consult with your pediatrician before introducing any new supplement to your child’s routine, especially if they have underlying health conditions.
Why did my syrup turn into a jelly?
This happens when the berries are simmered for too long. Elderberries contain natural pectin, which is released during cooking. If you simmer for more than 45 minutes, the pectin will cause the syrup to gel. The good news is that it’s still perfectly safe to eat—just use it as a spread on toast or stir it into hot water until it dissolves.
Do I have to use raw honey, or can I use regular honey?
You can use regular honey, but raw honey is preferred for its immune-supporting properties. Raw honey contains natural enzymes, pollen, and antioxidants that are often filtered out in processed honey. If you don’t have raw honey, regular honey will still make a delicious syrup. For a vegan option, maple syrup or agave are excellent substitutes.
Pin This Recipe!
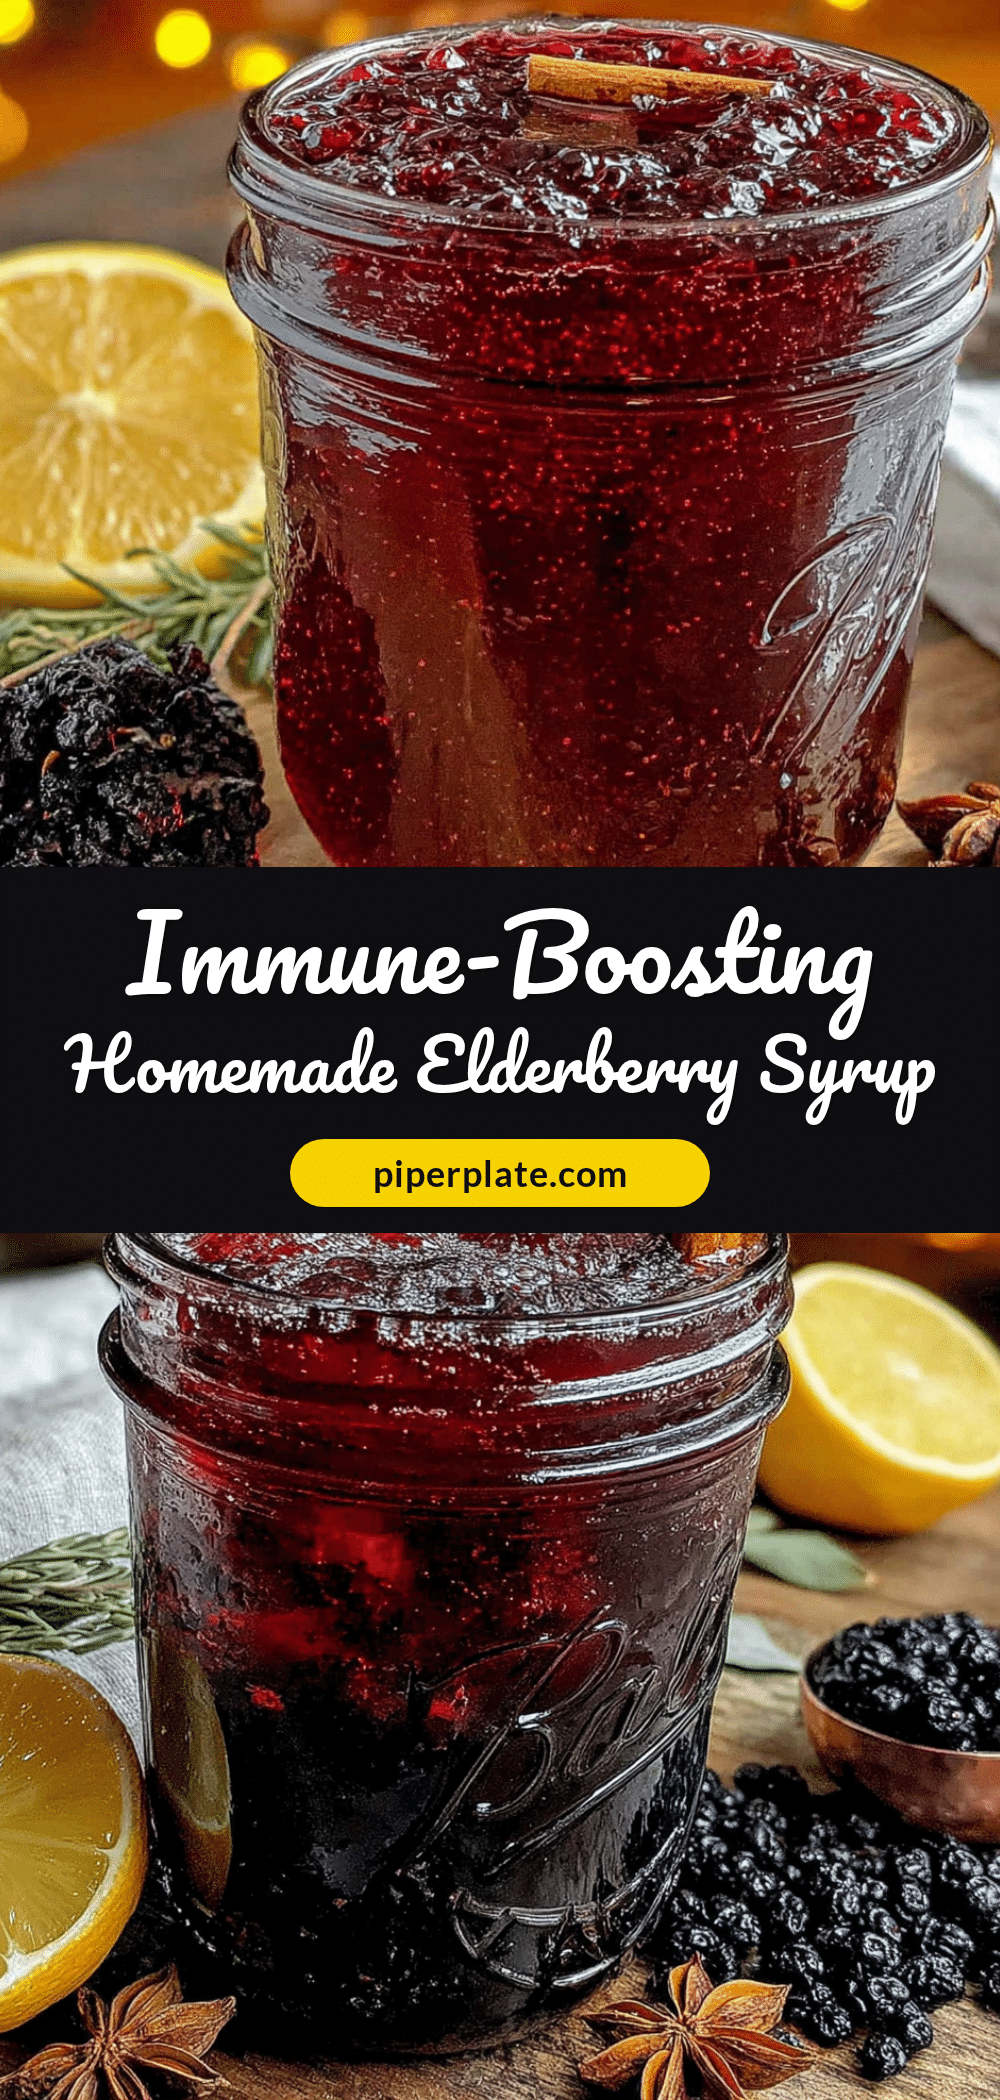
Best Immune Support: Easy Homemade Elderberry Syrup Recipe
This homemade elderberry syrup is a simple, effective immune support remedy made with dried elderberries, honey, and warm spices. It’s perfect for cold and flu season and tastes like a delicious dessert syrup.
- Prep Time: 10 minutes
- Cook Time: 30 minutes
- Total Time: 45 minutes
- Yield: 2 1/2 to 3 cups (about 24-48 servings of 1 tablespoon each) 1x
- Category: Condiment / Wellness Syrup
- Cuisine: American
Ingredients
- 1 cup (140g) dried elderberries
- 4 cups (960ml) filtered water
- 1 tablespoon fresh ginger root, peeled and grated (about 1-inch piece)
- 2 whole cinnamon sticks
- 1 teaspoon whole cloves
- 1 cup (340g) raw honey (use agave or maple syrup for vegan option)
- 1 strip orange peel (optional)
- 2 tablespoons dried rose hips (optional)
Instructions
- Combine dried elderberries, water, cinnamon sticks, cloves, grated ginger, and optional orange peel or rose hips in a medium saucepan. Stir well.
- Bring the mixture to a rolling boil over high heat. Watch carefully to prevent boiling over.
- Reduce heat to low, cover the pot with the lid slightly ajar, and simmer gently for 30 minutes. The liquid should be at a low, lazy bubble.
- Remove the pot from heat. Use the back of a wooden spoon or a potato masher to gently mash the softened elderberries against the side of the pot to release more flavor and beneficial compounds.
- Place a fine-mesh strainer over a large glass measuring cup or bowl. Pour the mixture through the strainer and let it drain completely. Do not press on the solids to avoid cloudiness. You should have about 2 1/2 to 3 cups of liquid.
- Let the strained liquid cool on the counter until it reaches around 100°F (38°C), just lukewarm.
- Once lukewarm, pour in the raw honey and whisk gently until completely dissolved. The syrup will become glossy and slightly thicker.
- Using a funnel, pour the finished syrup into a sterilized glass jar or bottle. Seal tightly and let cool completely to room temperature before refrigerating.
Notes
Do not add honey to the hot mixture; let it cool to lukewarm first to preserve beneficial enzymes. For a clearer syrup, strain twice (second time through a coffee filter or double layer of cheesecloth). Store in the refrigerator for up to 3 months. For longer storage, freeze in ice cube trays. Never microwave the syrup.
Nutrition
- Serving Size: 1 tablespoon
- Calories: 45
- Sugar: 11
- Carbohydrates: 12
Keywords: elderberry syrup, immune support, homemade syrup, cold and flu remedy, elderberry recipe, natural immune booster, honey syrup


