Love this? Save it for later!
Share the inspiration with your friends
There used to be a little health food store on the corner of Elm and 4th that made the most incredible elderberry gummies. When they closed their doors two winters ago—a casualty of rising rents and online shopping—I felt a genuine pang of loss. Not just because I had to find a new source for my favorite bulk granola, but because my kids had been happily gobbling up their immunity-supporting gummies without a single complaint for years. After about seven attempts—some way too tart, others a sticky, gelatinous mess—I finally cracked the code. Honestly, I never thought I’d be the person making gummy candies from scratch, but here we are. Let me tell you, the relief of finding a recipe that works—and that my kids actually *want* to take—is a feeling every parent knows.
I remember the exact day I perfected it. It was a rainy Thursday, the kids were bouncing off the walls, and I had a pot of elderberries simmering on the stove. My three-year-old kept asking, “Are they ready yet, Mama?” every five minutes. I was covered in a fine dust of gelatin powder and feeling a bit overwhelmed. But when I finally pulled that first batch of perfectly set, deep purple gummies out of the silicone mold, I knew I had something special. The texture was just right—not too hard, not too soft—and the flavor was a gentle, sweet-tart hug. It wasn’t just a recipe; it was a small victory. And honestly, that’s why I keep making them. It feels good to know exactly what’s going into my kids’ bodies, especially during cold and flu season.
Why You’ll Love This Recipe
Let’s be real for a second. Getting kids to take anything that’s good for them can feel like a full-time job. But these homemade elderberry gummies? They’re a game-changer. I’ve spent countless hours testing ratios and tweaking flavors, and this version is the one that finally got a unanimous thumbs-up from my two very picky eaters.
- Quick & Easy: This recipe comes together in under 30 minutes of active time. The hardest part is waiting for the gummies to set in the fridge!
- Simple Ingredients: No high-fructose corn syrup, artificial colors, or weird preservatives. You probably have most of these in your pantry already.
- Perfect for Busy Moms: Whether it’s for back-to-school season, winter sniffles, or just daily wellness, these gummies are a no-brainer.
- Crowd-Pleaser: My kids actually ask for these. I have to hide them in the back of the fridge so they don’t eat the whole batch in one day.
- Unbelievably Delicious: The combination of tart elderberry, sweet honey, and a hint of orange is next-level good. You might find yourself sneaking a few, too.
What makes this recipe different from all the others I tried? It’s the texture. I learned the hard way that using too much gelatin makes them rubbery, and not enough leaves you with a sticky puddle. This recipe hits that sweet spot—a soft, chewy gummy that feels just like the store-bought version. Plus, I use a little trick: blending the cooked elderberries before straining to get every last bit of immune-boosting goodness. It’s not just another recipe; it’s the one I trust for my own family.
What Ingredients You Will Need
This recipe uses simple, wholesome ingredients to deliver a powerful punch of immune support without the fuss. Most of these are pantry staples for anyone who does a bit of home cooking or natural wellness. Here’s what you’ll need to gather:
For the Elderberry Syrup Base
- Dried elderberries, ½ cup (I prefer the organic ones from Starwest Botanicals for their consistent quality)
- Filtered water, 3 cups (Tap water can sometimes have off-flavors that concentrate during simmering)
- Fresh ginger, 1-inch piece, thinly sliced (adds warmth and a gentle kick—plus its own anti-inflammatory benefits)
- Cinnamon stick, 1 (for flavor and a little extra antioxidant power)
- Whole cloves, 3 (optional, but I love the depth they add)
For the Gummies
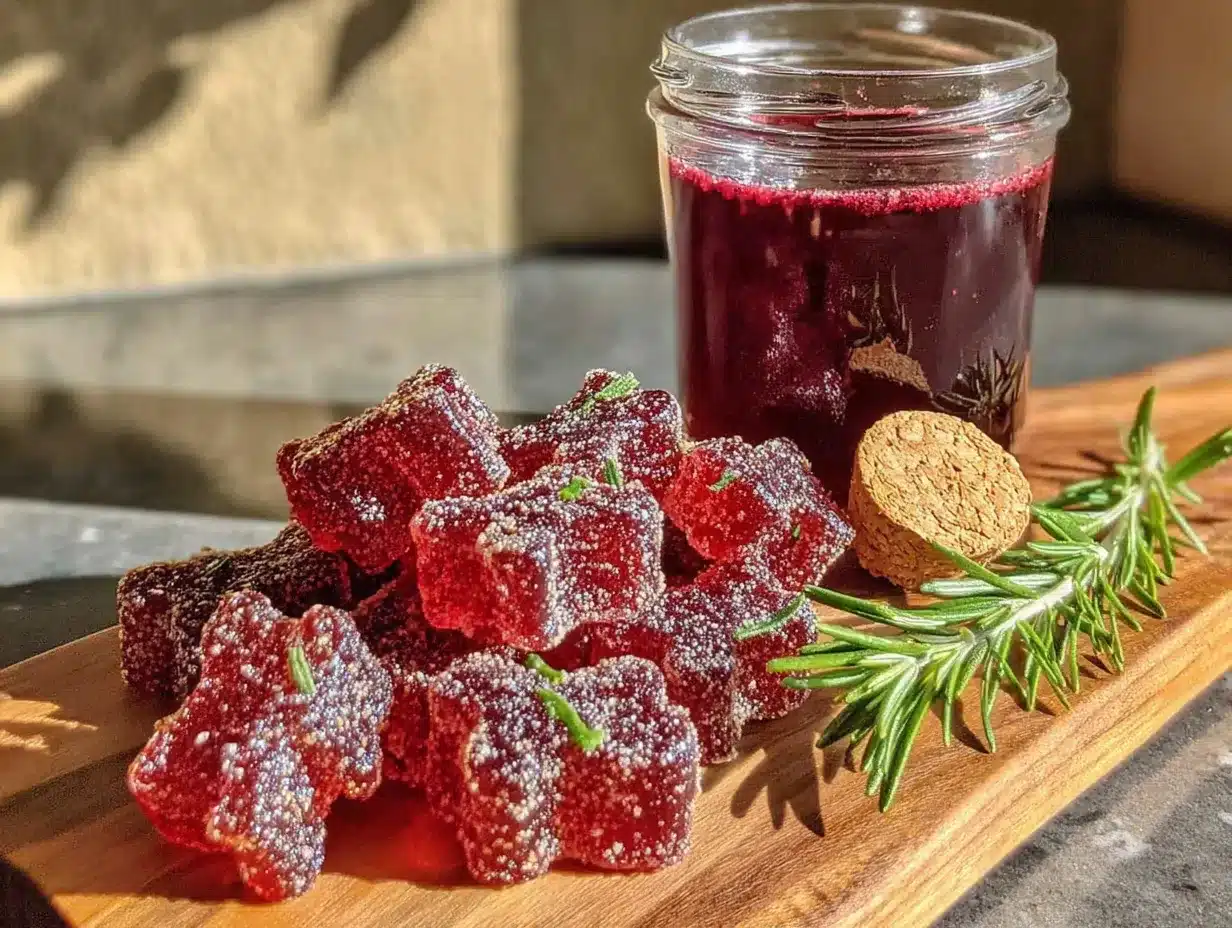
- Gelatin powder, ¼ cup (I use grass-fed gelatin from Vital Proteins for the best texture and clean ingredient list)
- Raw honey, ¼ cup (local honey is great for seasonal allergies, but any raw honey works; skip for babies under 1 year and use maple syrup instead)
- Fresh lemon juice, 2 tablespoons (helps preserve the gummies and brightens the flavor)
- Orange zest, 1 teaspoon (optional, but it adds a lovely citrus note that kids love)
Look for dried elderberries that are deep purple and not too dusty. If you only have fresh or frozen elderberries, you can use 1 cup of those instead—just know you’ll need to cook them a bit longer to soften them up. For a sweeter gummy, you can add another tablespoon of honey, but I find the balance here is just right for little palates. If you’re avoiding sugar entirely, monk fruit drops can work, but the texture might be slightly different.
Equipment Needed
You don’t need a fancy kitchen setup for this recipe, but a few specific tools will make your life a whole lot easier. I learned this after trying to pour hot liquid into a flimsy silicone mold and ending up with elderberry syrup all over my counter. Trust me on this one.
- Medium saucepan (for simmering the elderberries)
- Fine-mesh strainer or cheesecloth (for straining out the berries and spices)
- Wooden spoon (for stirring without scratching your pot)
- Silicone gummy molds (I got a set of four on Amazon for under ten bucks—the bear shapes are a hit with my kids)
- Small bowl (for blooming the gelatin)
- Whisk (for incorporating the gelatin smoothly)
- Liquid measuring cup with a spout (for easy pouring into the molds)
- Dropper or small pipette (optional, but it makes filling the tiny molds so much less messy)
If you don’t have silicone molds, don’t worry. You can pour the mixture into a small glass dish and cut it into squares once it’s set. Just grease the dish lightly with coconut oil first. My first batch was made in an ice cube tray, and while the cubes were a bit big for little mouths, they worked just fine. So get creative with what you have!
Preparation Method
Alright, let’s get to the fun part. I’m going to walk you through this step-by-step, including all the little things I wish someone had told me the first time around. Set aside about 20 minutes of active time, plus a few hours for the gummies to set.
- Make the elderberry syrup. In a medium saucepan, combine the dried elderberries, sliced ginger, cinnamon stick, and cloves with 3 cups of filtered water. Bring to a boil over medium-high heat, then reduce to a simmer. Let it bubble away gently for about 25-30 minutes, or until the liquid has reduced by about half. Your kitchen will smell amazing—like a cozy winter tea.
- Strain the mixture. Place your fine-mesh strainer over a large bowl or liquid measuring cup. Carefully pour the hot liquid through the strainer. Use the back of a wooden spoon to gently press on the berries to extract every last drop of that deep purple goodness. Discard the solids (or compost them!). You should have about 1½ cups of concentrated elderberry syrup.
- Cool the syrup slightly. Let the syrup cool for about 5-10 minutes. It should be warm but not hot—you don’t want to kill the beneficial enzymes in the honey or make the gelatin clump. A good test is to dip your pinky in; it should feel pleasantly warm, not burning.
- Bloom the gelatin. While the syrup is cooling, pour ½ cup of the warm elderberry syrup into a small bowl and sprinkle the gelatin powder evenly over the top. Don’t stir yet! Let it sit for about 5 minutes. This is called “blooming,” and it’s the secret to smooth, lump-free gummies. I once skipped this step and ended up with grainy gummies that nobody wanted to eat.
- Combine everything. After the gelatin has bloomed (it will look like a thick, jiggly paste), pour it back into the pot with the remaining syrup. Add the honey, lemon juice, and orange zest. Whisk everything together over very low heat for about 2-3 minutes, until the gelatin is completely dissolved and the mixture is smooth. Do not let it boil! High heat can break down the gelatin and ruin the texture.
- Fill the molds. Carefully pour the warm mixture into your liquid measuring cup with a spout (or use a dropper for precision). Fill each cavity of your silicone molds almost to the top. Don’t overfill, or you’ll have little gummy feet sticking out. If you get any bubbles on the surface, pop them with a toothpick.
- Set and unmold. Place the filled molds on a flat tray or baking sheet and carefully transfer them to the refrigerator. Let them set for at least 3-4 hours, or overnight if you have the patience. I know it’s tempting, but don’t rush this step! Once they’re firm to the touch, gently pop them out of the molds. They should release easily if the molds are good quality.
Cooking Tips & Techniques
I’ve made this recipe more times than I can count, and I’ve definitely had my share of failures. Here are the lessons I learned the hard way so you don’t have to.
Don’t skip the blooming step. I know it seems like an extra, fussy step, but it’s non-negotiable. When you sprinkle gelatin directly into hot liquid without blooming it first, you get those awful little white clumps that won’t dissolve no matter how much you whisk. It’s a rookie mistake I made exactly once.
Watch your temperature. Gelatin is a delicate protein. If you heat it above 180°F (about 82°C), it starts to lose its thickening power. That’s why I always let the syrup cool down before adding the gelatin, and I only warm the final mixture gently. If your gummies don’t set properly, this is probably why.
Use a dropper for small molds. Those cute little bear molds have tiny cavities that are a pain to fill. A dropper or pipette makes the job so much cleaner and faster. I bought a set of glass droppers on Amazon for like five bucks, and they’ve been worth every penny.
Grease your molds lightly. Even with good silicone molds, a very light spray of coconut oil can help the gummies release more easily. Just wipe off any excess with a paper towel before filling.
Store them properly. These gummies need to be kept in the refrigerator. They’ll last for about 2-3 weeks in an airtight container—if your kids don’t find them first. I’ve also frozen them successfully for up to 3 months. Just thaw them in the fridge overnight before serving.
Variations & Adaptations
One of the best things about this recipe is how flexible it is. You can tweak it to suit your family’s needs or whatever you have on hand. Here are some of my favorite variations:
- Berry Blast: Swap half the elderberries for dried hibiscus flowers or dried rose hips. It gives the gummies a brighter, fruitier flavor and adds even more vitamin C.
- Spice It Up: Add a pinch of cayenne pepper or a star anise pod to the simmering syrup for an extra warming kick. My husband loves this version, but my kids prefer the milder original.
- Citrus Twist: Replace the lemon juice with lime or grapefruit juice and add a teaspoon of grated fresh turmeric. It turns the gummies a gorgeous golden-orange color and adds anti-inflammatory benefits.
- No-Honey Version: For babies under 1 year or anyone avoiding honey, use maple syrup or agave nectar instead. The flavor will be slightly different, but it still works beautifully.
- Gummy Snacks: If you want a treat that’s more snack than supplement, reduce the elderberries to ¼ cup and add ¼ cup of unsweetened apple juice. The kids won’t know the difference, and you’ll still get a little immune support.
I once made a batch with pomegranate juice instead of water for the syrup base, and it was incredible. The flavor was deep and complex, and the color was almost black. It felt like a fancy adult gummy, but my kids still devoured them.
Serving & Storage Suggestions
These gummies are best served cold, straight from the fridge. I like to pop a few into a small bowl for the kids in the morning with their breakfast, or as a little afternoon treat. They’re also great for packing in lunchboxes—just make sure to include an ice pack if it’s a warm day.
For storage, keep them in an airtight container in the refrigerator. I use a small glass jar with a tight-fitting lid. They’ll stay fresh for about 2-3 weeks, though they rarely last that long in my house. If you notice any condensation forming on the lid, just wipe it dry to prevent mold.
You can also freeze these gummies for longer storage. Lay them out on a parchment-lined baking sheet in a single layer and freeze until solid, then transfer them to a freezer-safe bag or container. They’ll keep for up to 3 months. To thaw, just move them to the fridge overnight. The texture remains surprisingly good—not quite as firm as fresh, but still delicious.
One thing I love about this recipe is that the flavors actually deepen after a day or two in the fridge. The ginger and cinnamon become more pronounced, and the honey sweetness mellows out. So don’t worry if they taste a little strong right after you make them—they’ll settle into perfection.
Nutritional Information & Benefits
Here’s a rough estimate of what you’re getting in each serving (about 4-5 gummies, depending on your mold size). Remember, these are gummies, not a multivitamin, but every little bit helps!
| Nutrient | Amount per Serving |
|---|---|
| Calories | 45 |
| Total Carbohydrates | 11g |
| Sugars | 9g |
| Protein | 2g |
| Vitamin C | 15% DV |
| Zinc | 2% DV |
Elderberries are packed with antioxidants and flavonoids that support the immune system. They’ve been shown in some studies to reduce the duration and severity of cold symptoms. The ginger adds anti-inflammatory properties, while the honey provides natural antibacterial benefits. Just keep in mind that these gummies do contain sugar (from the honey), so they’re best enjoyed in moderation as part of a balanced diet. They’re gluten-free, dairy-free, and nut-free, making them a great option for many families with dietary restrictions.
Conclusion
Honestly, I never thought I’d be that mom making homemade gummies. But here I am, and I’m so glad I took the time to figure this recipe out. It’s one of those small things that makes me feel like I’m doing something good for my family, even on the days when everything else feels chaotic. The look on my kids’ faces when they see me pulling out the bear-shaped molds is priceless—they actually get excited about something that’s good for them!
I hope you give this recipe a try. Don’t be afraid to tweak it to suit your family’s tastes—that’s the beauty of homemade food. You get to control what goes in, and you get to make it exactly the way you like it. If you make a batch, I’d love to hear how it went. Drop a comment below and let me know if your kids loved them as much as mine do. And if you come up with a fun flavor combination, share that too! Happy gummy-making, friends.
Frequently Asked Questions
Can I use fresh elderberries instead of dried?
Yes, you can! Use 1 cup of fresh or frozen elderberries in place of the ½ cup of dried. Just know that fresh berries have more water content, so you may need to simmer them a little longer to get the syrup to the right concentration.
How many gummies should I give my child per day?
For general immune support, I give my kids 4-5 gummies per day. But it really depends on their age and size. For toddlers, start with 2-3 and see how they do. Always check with your pediatrician before starting any new supplement routine.
Can I use a different sweetener besides honey?
Absolutely! Maple syrup is a great substitute, especially for kids under 1 year old (honey isn’t safe for infants). You can also try agave nectar or a few drops of liquid stevia, though the texture might be slightly different.
My gummies didn’t set properly. What went wrong?
The most common reason is that the mixture got too hot after the gelatin was added. Gelatin loses its thickening power when heated above 180°F. Another possibility is that you didn’t use enough gelatin or didn’t let it bloom long enough. Try again with a lower heat and a full 5-minute bloom time.
How long do these gummies last?
Stored in an airtight container in the refrigerator, they’ll stay fresh for about 2-3 weeks. You can also freeze them for up to 3 months. Just thaw them in the fridge overnight before serving.
Pin This Recipe!
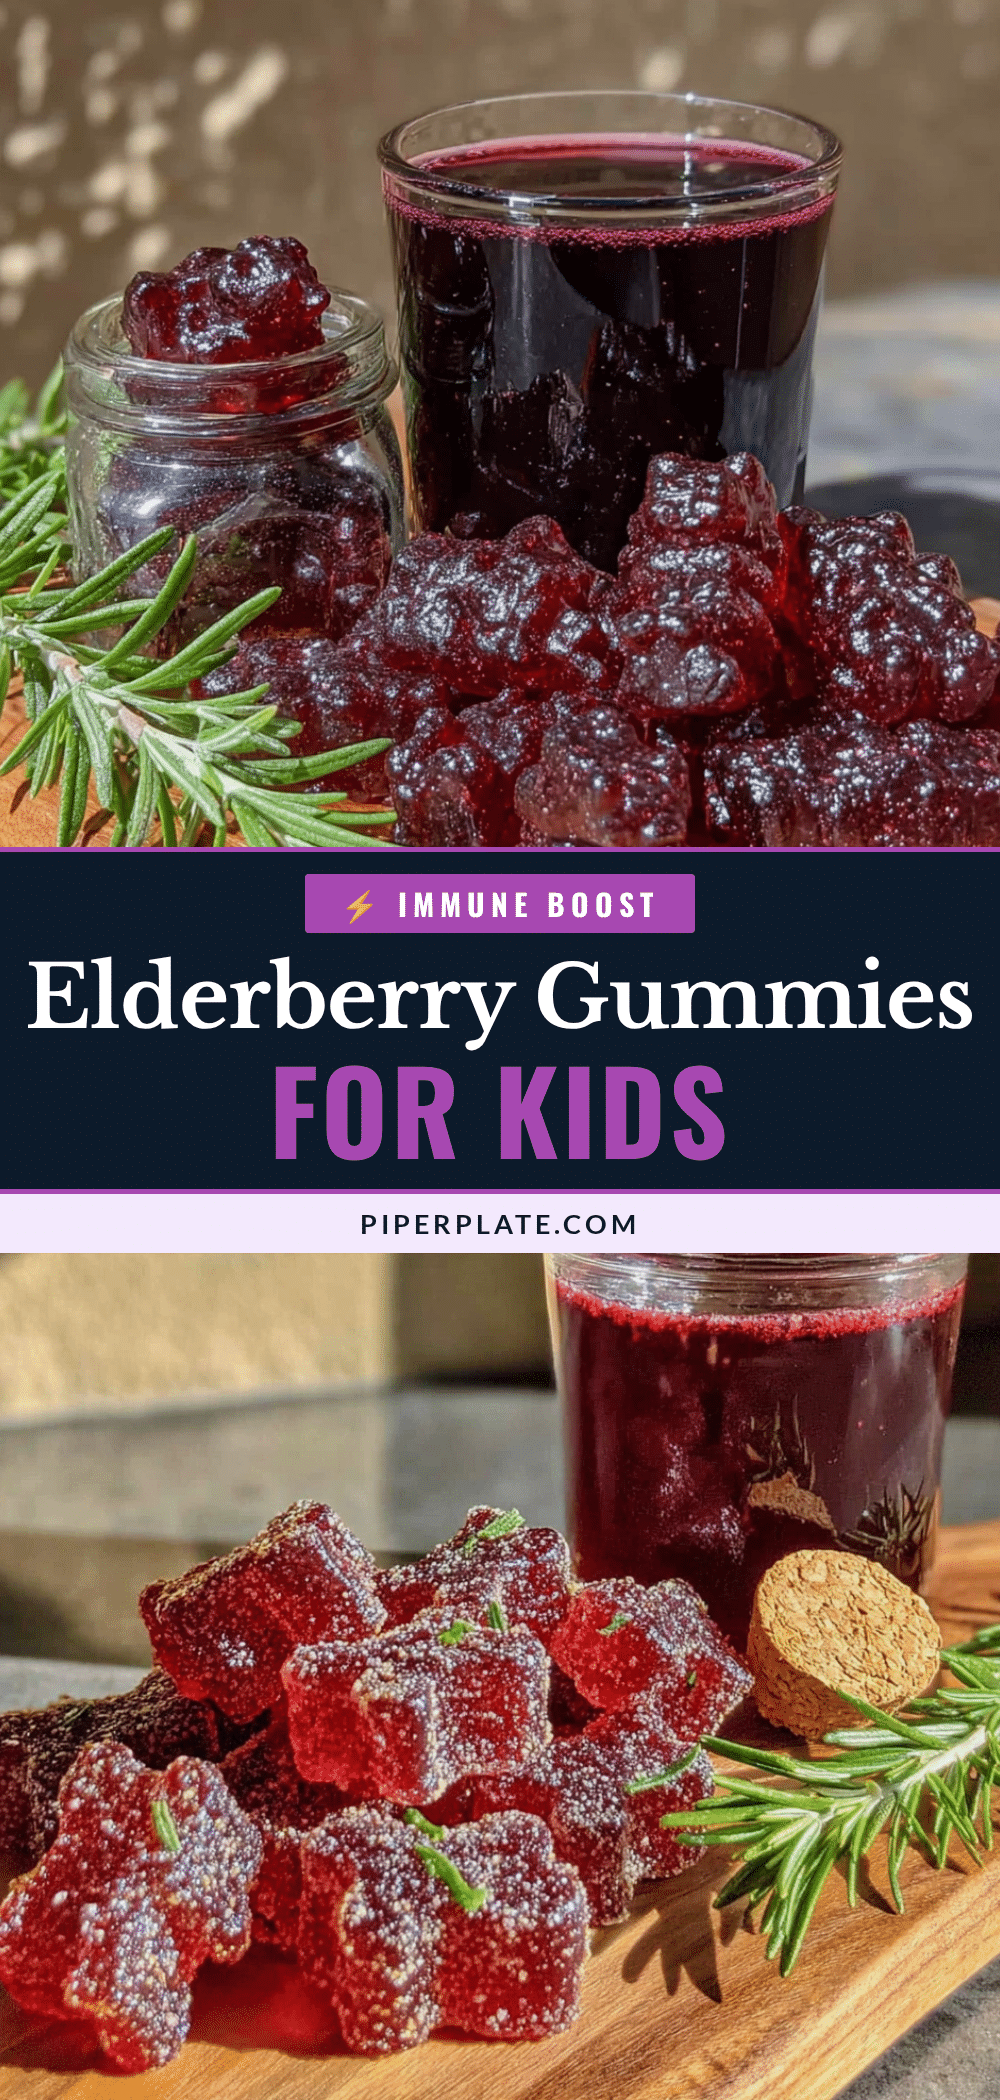
Homemade Elderberry Gummies for Kids: Easy Immune Support
These homemade elderberry gummies are a game-changer for getting kids to take their immune support. Made with simple, wholesome ingredients like dried elderberries, honey, and gelatin, they have a soft, chewy texture and a sweet-tart flavor that kids love.
- Prep Time: 20 minutes
- Cook Time: 30 minutes
- Total Time: 3 hours 50 minutes (including setting time)
- Yield: 4 servings 1x
- Category: Snack
- Cuisine: American
Ingredients
- ½ cup dried elderberries
- 3 cups filtered water
- 1-inch piece fresh ginger, thinly sliced
- 1 cinnamon stick
- 3 whole cloves (optional)
- ¼ cup gelatin powder (grass-fed, like Vital Proteins)
- ¼ cup raw honey (or maple syrup for babies under 1 year)
- 2 tablespoons fresh lemon juice
- 1 teaspoon orange zest (optional)
Instructions
- Make the elderberry syrup: In a medium saucepan, combine dried elderberries, sliced ginger, cinnamon stick, and cloves with 3 cups of filtered water. Bring to a boil over medium-high heat, then reduce to a simmer. Let it bubble gently for 25-30 minutes, or until the liquid has reduced by about half.
- Strain the mixture: Place a fine-mesh strainer over a large bowl or liquid measuring cup. Carefully pour the hot liquid through the strainer. Use the back of a wooden spoon to press on the berries to extract all the liquid. Discard the solids. You should have about 1½ cups of concentrated elderberry syrup.
- Cool the syrup slightly: Let the syrup cool for 5-10 minutes until it is warm but not hot (test with your pinky—it should feel pleasantly warm, not burning).
- Bloom the gelatin: Pour ½ cup of the warm elderberry syrup into a small bowl and sprinkle the gelatin powder evenly over the top. Do not stir. Let it sit for about 5 minutes until it forms a thick, jiggly paste.
- Combine everything: Pour the bloomed gelatin back into the pot with the remaining syrup. Add the honey, lemon juice, and orange zest. Whisk together over very low heat for 2-3 minutes until the gelatin is completely dissolved and the mixture is smooth. Do not let it boil.
- Fill the molds: Carefully pour the warm mixture into a liquid measuring cup with a spout (or use a dropper for precision). Fill each cavity of silicone molds almost to the top. Pop any surface bubbles with a toothpick.
- Set and unmold: Place the filled molds on a flat tray and refrigerate for at least 3-4 hours, or overnight, until firm. Gently pop the gummies out of the molds.
Notes
Don’t skip the blooming step—it prevents lumpy gummies. Keep the mixture below 180°F after adding gelatin to ensure proper setting. Store gummies in an airtight container in the refrigerator for up to 2-3 weeks, or freeze for up to 3 months. For babies under 1 year, replace honey with maple syrup.
Nutrition
- Serving Size: 4-5 gummies
- Calories: 45
- Sugar: 9
- Sodium: 5
- Carbohydrates: 11
- Protein: 2
Keywords: elderberry gummies, homemade gummies, immune support, kids snacks, healthy gummies, elderberry recipe, natural remedy


