Love this? Save it for later!
Share the inspiration with your friends
This was supposed to be a pumpkin cheesecake. I had the graham crackers crushed, the cream cheese softening on the counter, and a whole vision of a perfectly smooth, crack-free top. Then I realized I’d grabbed a box of yellow cake mix instead of the extra graham crackers I needed. The oven was already preheated, my friends were due in two hours, and honestly, I was this close to just ordering pizza and calling it a day. What came out of that pan was nothing like the plan — and better.
I mean, I stood there with the spatula in my hand, staring at this golden, bubbly, slightly-crunchy-on-top creation and thought, “How did this even happen?” The pumpkin layer had settled into this creamy, almost custard-like base. The cake mix on top had turned into this buttery, crumbly crust. And the whole thing smelled like someone bottled up November and baked it. I brought it to our Friendsgiving that night with a little disclaimer — “It was supposed to be cheesecake, but just go with it” — and watched the entire pan disappear in twenty minutes.
Maybe you’ve been there. You know that feeling when you’re trying to impress people and everything goes sideways, but somehow the universe decides you deserve a win anyway? That’s this cake. It’s not fancy. It’s not pretentious. It’s just really, really good pumpkin dump cake that tastes like you spent hours on it. The best part? You literally dump everything in a pan and let the oven do the work. No mixer required. No water bath. No stress. It’s become my go-to for every fall gathering since that accidental afternoon, and I keep making it because it reminds me that sometimes the best recipes come from the moments you almost gave up.
Why You’ll Love This Recipe
Let me tell you why this pumpkin dump cake has earned a permanent spot in my Friendsgiving rotation. I’ve tested it at three different gatherings now, with two different ovens, and even once with a slightly expired can of pumpkin puree (don’t judge — it worked fine). It’s the kind of recipe that makes you look like a hero with minimal effort.
- Incredibly Easy: No electric mixer, no complicated steps, no fuss. You literally layer the ingredients and bake. It’s almost embarrassingly simple.
- Pantry-Friendly Ingredients: Canned pumpkin, boxed cake mix, butter, eggs — you probably have most of this stuff already. No special trips to a fancy grocery store required.
- Perfect for Friendsgiving: This dessert travels well, serves a crowd, and tastes even better the next day. Make it the night before and just reheat before your guests arrive.
- Always a Crowd-Pleaser: I’ve served this to pumpkin pie purists and cake lovers alike, and everyone goes back for seconds. The texture is that good.
- Unbelievably Delicious: The contrast between the creamy pumpkin layer and the buttery, crunchy topping is next-level comfort food. It’s like pumpkin pie and coffee cake had a beautiful baby.
What makes this recipe different from every other pumpkin dump cake out there? It’s the ratio. I spent three batches getting the pumpkin-to-cake-mix balance just right so you don’t end up with a dry, powdery top or a soupy bottom. The pumpkin layer is spiced perfectly — not too heavy on the cinnamon, with just enough ginger to make it interesting. Plus, I use salted butter on top because the salt cuts through the sweetness and makes every bite more satisfying.
This isn’t just good — it’s the kind of dessert that makes you close your eyes after the first bite. It’s comfort food reimagined: faster, easier, but with the same soul-soothing satisfaction. Perfect for impressing your Friendsgiving crew without any stress, or turning a regular Tuesday into something worth celebrating.
What Ingredients You Will Need
This recipe uses simple, wholesome ingredients that come together to create something truly special. Most of these are pantry staples, which means you can whip this up on a whim without a special shopping trip. Here’s everything you need:
For the Pumpkin Layer
- 1 can (15 oz) pumpkin puree — not pumpkin pie filling. Look for 100% pure pumpkin. I prefer Libby’s for consistent texture and flavor.
- 1 can (12 oz) evaporated milk — this adds richness without making the layer too heavy. You can substitute with heavy cream if you’re in a pinch.
- 3 large eggs — room temperature works best for even mixing. If you forgot to take them out, just place them in warm water for 5 minutes.
- 1 cup granulated sugar — regular white sugar is fine. Brown sugar would change the flavor profile, so stick with white for the classic version.
- 2 teaspoons pumpkin pie spice — or make your own with 1 teaspoon cinnamon, ½ teaspoon ginger, ¼ teaspoon nutmeg, and ¼ teaspoon cloves.
- ½ teaspoon salt — this balances the sweetness and enhances the pumpkin flavor.
For the Topping
- 1 box (15.25 oz) yellow cake mix — Duncan Hines or Betty Crocker both work great. Do not use a mix that includes pudding in the mix — it changes the texture.
- 1 cup chopped pecans — optional but highly recommended. They add a wonderful crunch and nutty flavor. Toast them first for extra depth.
- 1 cup unsalted butter, melted — I use salted butter and just reduce the added salt in the pumpkin layer. The salt on top creates that perfect sweet-salty contrast.
Ingredient Selection Tips
When choosing your pumpkin puree, look for cans that feel firm — no dents or bulges. I’ve found that store brands work just as well as name brands here, so don’t feel pressured to buy the expensive stuff. For the cake mix, I’ve tried both generic and name brand, and honestly, the name brand gives a slightly more consistent crumb topping. But in a pinch, the generic version still tastes great.
If you’re making this for someone with dietary restrictions, here are some swaps that work: use a gluten-free yellow cake mix for a gluten-free version. For a dairy-free option, substitute the evaporated milk with full-fat coconut milk and use a plant-based butter alternative. I haven’t tested an egg-free version, but a flax egg might work in the pumpkin layer — just know the texture will be slightly denser.
Equipment Needed
You don’t need a fancy kitchen to make this cake, which is one of the reasons I love it. Here’s what you’ll need:
- 9×13 inch baking dish — glass or metal both work. Glass takes slightly longer to bake, so adjust your timing if using it.
- Large mixing bowl — for whisking together the pumpkin layer ingredients.
- Whisk — a sturdy balloon whisk works best. A fork will do in a pinch, but you’ll be whisking for a while.
- Measuring cups and spoons — for accurate measurements. I learned the hard way that eyeballing the pumpkin puree leads to inconsistent results.
- Spatula — for scraping every last bit of pumpkin mixture into the pan. Waste not, want not.
- Cooling rack — optional but helpful for even cooling. A trivet or folded kitchen towel works too.
If you don’t have a 9×13 dish, you can use two 8×8 square pans and reduce the baking time by about 10 minutes. I once made this in a disposable aluminum pan for a potluck and it worked perfectly — just place it on a baking sheet for stability. My favorite budget-friendly tip? Thrift stores almost always have glass baking dishes for a few dollars. That’s where I got my go-to pan, and it’s been going strong for five years.
Preparation Method
Alright, let’s get to the fun part. This pumpkin dump cake comes together in about 15 minutes of active time, then the oven does the rest. Follow these steps, and you’ll have a dessert that tastes like you slaved over it all day.
- Preheat your oven to 350°F (175°C). Position the rack in the center of the oven. While it’s heating up, lightly grease your 9×13 baking dish with butter or non-stick spray. Don’t skip this step — even with all that butter on top, the pumpkin layer can stick.
- Make the pumpkin layer. In your large mixing bowl, combine the pumpkin puree, evaporated milk, eggs, sugar, pumpkin pie spice, and salt. Whisk everything together until smooth and well combined. You’re looking for a uniform, slightly thick mixture that’s a beautiful orange color. It should smell like fall at this point — that’s how you know you’re on the right track.
- Pour the pumpkin mixture into your prepared baking dish. Use your spatula to spread it evenly across the bottom. Give the dish a gentle tap on the counter to release any air bubbles. Take a moment to appreciate how perfectly orange and creamy it looks.
- Sprinkle the dry cake mix evenly over the top. Here’s the trick: don’t dump it all in one spot. Use a spoon to distribute it evenly across the entire surface. You want every inch of that pumpkin layer to be covered. If you see any bare spots, add a little more cake mix. This is what creates that magical crumb topping.
- Sprinkle the chopped pecans over the cake mix. If you’re using them, spread them out so they’re fairly evenly distributed. They’ll toast up beautifully in the oven.
- Drizzle the melted butter over everything. This is the most important step. Pour the melted butter slowly and as evenly as possible over the entire surface. Don’t stir it — just let it soak down through the cake mix. Some spots will be more saturated than others, and that’s exactly what you want. The butter creates those crispy, buttery pockets that make this dessert so addictive.
- Bake for 45-50 minutes. The top should be golden brown and the edges should be bubbly. You’ll know it’s done when the center is set and a knife inserted in the middle comes out clean. If the top is browning too quickly but the center isn’t set yet, tent it loosely with aluminum foil for the last 10 minutes.
- Let it cool for at least 15-20 minutes before serving. I know, I know — the smell is torture. But if you serve it too soon, the layers won’t have time to set properly, and you’ll end up with a soupy mess. Trust the process. The wait is worth it.
One thing I learned the hard way: don’t overbake this. The first time I made it, I left it in an extra five minutes because I wanted a darker top, and the pumpkin layer came out a bit dry. You’re looking for a golden top with a slight jiggle in the center — it will continue to set as it cools.
Cooking Tips & Techniques
Over the years, I’ve picked up a few tricks that make this pumpkin dump cake even better. Some came from trial and error, others from watching my grandmother bake. Here’s what I’ve learned:
Toast your pecans first. This is a game-changer. Spread the chopped pecans on a baking sheet and toast them at 350°F for 5-7 minutes until they’re fragrant. Let them cool before sprinkling over the cake mix. The toasting brings out their natural oils and adds a deeper, nuttier flavor that complements the pumpkin beautifully.
Don’t skip the salt. I mentioned this earlier, but it bears repeating. A little salt in the pumpkin layer and salted butter on top creates that perfect sweet-salty balance that keeps people coming back for more. If you only have unsalted butter, just sprinkle a pinch of flaky sea salt over the top before baking.
Let the butter soak in. After you drizzle the melted butter, give it about 2-3 minutes before putting the pan in the oven. This allows the butter to penetrate the cake mix more evenly, which means fewer dry spots in the finished cake. I usually use this time to clean up my mixing bowl and put away ingredients.
Watch your oven temperature. Ovens can be finicky. I’ve baked this in three different ovens, and the timing has varied by as much as 10 minutes. Start checking at the 40-minute mark. If the top is getting too dark but the center is still jiggly, tent it with foil and continue baking.
Make it ahead of time. This is one of those desserts that actually improves overnight. The flavors meld together, and the texture becomes even more cohesive. I often make it the night before Friendsgiving and just reheat it in a 300°F oven for 10 minutes before serving. Nobody will ever know it wasn’t made that day.
Use room temperature eggs. Cold eggs can seize up the pumpkin mixture and make it harder to whisk smooth. If you forgot to take them out ahead of time, place them in a bowl of warm water for 5 minutes. Problem solved.
Variations & Adaptations
One of the best things about this pumpkin dump cake is how versatile it is. I’ve experimented with several variations over the years, and here are my favorites:
Spiced Pecan Version: Toss your chopped pecans with a teaspoon of pumpkin pie spice and a tablespoon of brown sugar before sprinkling them on top. The extra layer of spice makes the whole cake taste even more autumnal. I tried this for a Friendsgiving potluck last year, and someone asked me if I’d added a secret ingredient. Nope — just spiced pecans!
Chocolate Lover’s Twist: Swap the yellow cake mix for a chocolate cake mix. The chocolate and pumpkin combination is surprisingly good — think pumpkin and chocolate chip cookies, but in cake form. Use chocolate chips instead of pecans, or leave the topping plain. My nephew swears this is the only way to make pumpkin dump cake.
Gluten-Free Adaptation: Use a gluten-free yellow cake mix. I’ve tested this with both King Arthur and Bob’s Red Mill gluten-free mixes, and both worked beautifully. The texture is slightly more crumbly, but the flavor is spot on. Just make sure your pumpkin puree and evaporated milk are also gluten-free (they usually are, but always check labels).
Vegan Version: Substitute the evaporated milk with full-fat coconut milk, use a vegan butter alternative, and replace the eggs with flax eggs (1 tablespoon ground flaxseed + 3 tablespoons water per egg, let sit for 5 minutes). The texture will be slightly less rich, but it’s still delicious. I made this for a vegan friend’s birthday, and she asked for the recipe immediately.
Individual Servings: Divide the mixture among 8-10 ramekins and reduce the baking time to 25-30 minutes. These are perfect for parties where everyone wants their own little dessert. Plus, they look adorable on a serving tray.
Extra Spicy: Add an extra teaspoon of pumpkin pie spice and a pinch of cayenne pepper to the pumpkin layer. The subtle heat pairs beautifully with the sweetness and makes the dessert more interesting. I was skeptical about this one at first, but now it’s my go-to version when I’m cooking just for myself.
Serving & Storage Suggestions
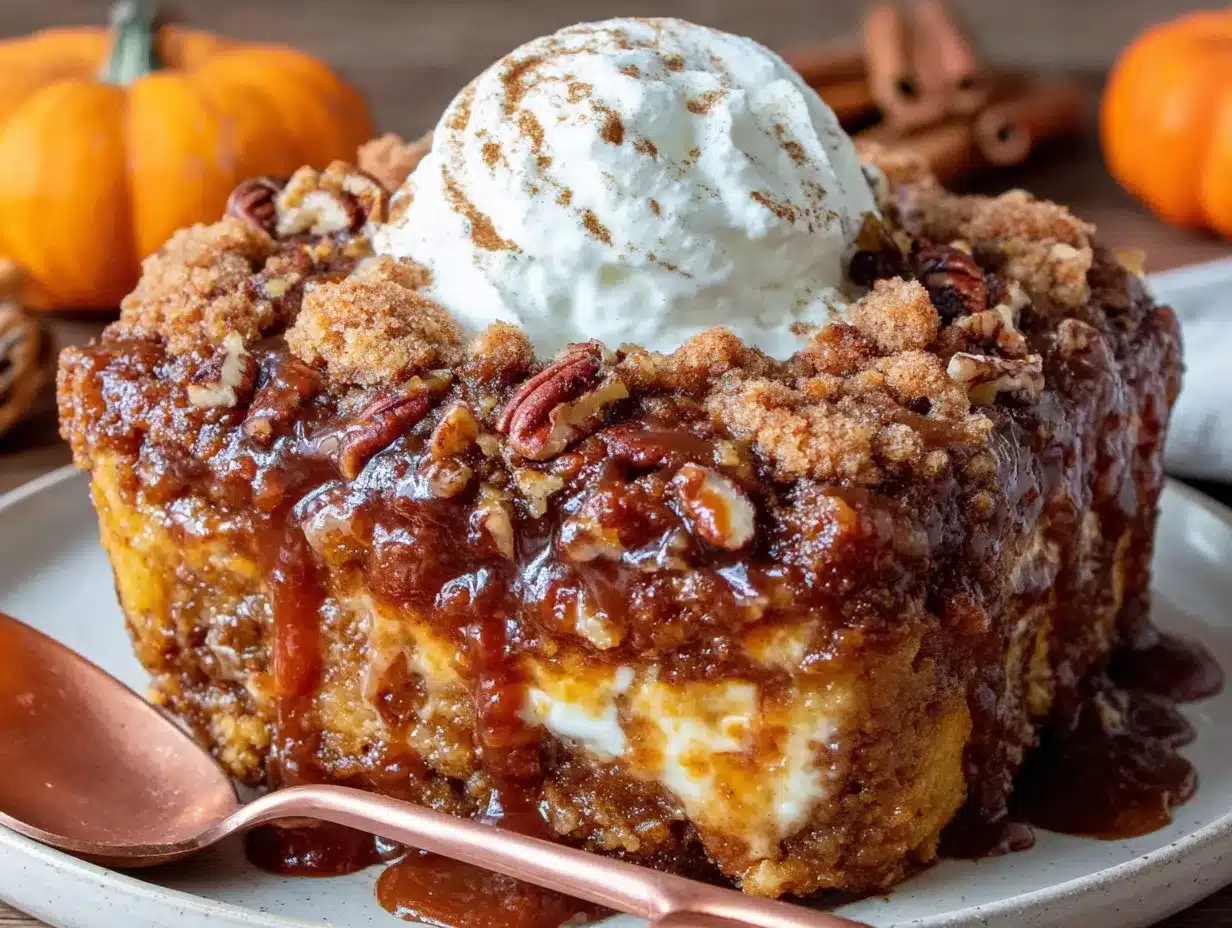
This pumpkin dump cake is best served warm, straight from the oven, with a generous scoop of vanilla ice cream or a dollop of freshly whipped cream. The contrast between the warm, creamy pumpkin layer and the cold, melting ice cream is pure magic. If you’re feeling fancy, drizzle some caramel sauce over the top and sprinkle with a little extra cinnamon.
For Friendsgiving, I like to serve this in the same dish I baked it in — it keeps things casual and homey. Set it on a trivet in the center of the table with a serving spoon and let everyone help themselves. It’s the kind of dessert that invites people to go back for seconds, so make sure you have enough.
If you have leftovers (which is rare in my house), here’s how to store them:
- Refrigerator: Cover the dish tightly with plastic wrap or transfer leftovers to an airtight container. It will keep for up to 5 days in the fridge. The texture actually improves after a day or two as the flavors meld together.
- Freezer: This cake freezes beautifully. Cut it into individual portions, wrap each piece tightly in plastic wrap, then place them in a freezer-safe bag. They’ll keep for up to 3 months. To thaw, just leave a piece in the fridge overnight.
- Reheating: The best way to reheat is in a 300°F oven for 10-15 minutes. You can also microwave individual portions for 30-45 seconds, but the topping won’t be as crispy. For a quick fix, I’ve been known to eat it cold straight from the fridge — it’s still delicious that way.
One thing I love about this dessert is that the flavors develop over time. The pumpkin layer becomes more pronounced, and the spices mellow into a warm, rounded flavor. If you can resist eating it all the first day, you’ll be rewarded with an even better dessert the next day.
Nutritional Information & Benefits
Let’s be honest — this is a dessert, not a health food. But there are some redeeming qualities to this pumpkin dump cake that make it a slightly better choice than other fall treats.
Pumpkin is packed with vitamin A (in the form of beta-carotene), which supports eye health and immune function. It’s also a good source of fiber, which helps with digestion and keeps you feeling full. One serving of this cake provides about 15% of your daily vitamin A needs.
Here’s the estimated nutritional breakdown per serving (based on 12 servings):
| Nutrient | Amount |
|---|---|
| Calories | 380 |
| Total Fat | 22g |
| Saturated Fat | 12g |
| Carbohydrates | 45g |
| Sugar | 30g |
| Fiber | 3g |
| Protein | 5g |
| Vitamin A | 180% DV |
For dietary considerations: this recipe contains gluten, dairy, and nuts (if using pecans). It can be made gluten-free, dairy-free, and nut-free with the substitutions mentioned earlier. It is naturally vegetarian and contains no artificial flavors or preservatives.
I like to think of this dessert as a way to enjoy the flavors of fall without completely derailing my healthy eating habits. One slice with a side of fresh fruit or a simple green salad makes for a balanced, satisfying meal. And honestly, a little indulgence now and then is good for the soul.
Conclusion
This pumpkin dump cake has become more than just a recipe in my kitchen — it’s a reminder that sometimes the best things in life come from happy accidents. That afternoon when I grabbed the wrong box at the grocery store turned into a dessert that’s now requested at every fall gathering I attend. It’s proof that you don’t need fancy techniques or complicated steps to create something truly memorable.
Whether you’re hosting your first Friendsgiving or just looking for an easy dessert to brighten up a chilly autumn evening, this cake delivers. It’s forgiving, adaptable, and always, always delicious. Don’t be afraid to make it your own — swap in different nuts, try a different cake mix flavor, or add your favorite spices. The beauty of dump cakes is that they’re meant to be played with.
I’d love to hear how yours turns out. Did you try a variation? Did your guests go back for seconds (and thirds)? Drop a comment below and let me know — I read every single one, and your stories are what keep me experimenting in the kitchen. Happy Friendsgiving, and may your oven always be warm and your dessert table always full.
Frequently Asked Questions
Can I use fresh pumpkin instead of canned?
Yes, you can! Just make sure to cook and puree the pumpkin first, then strain it through a cheesecloth to remove excess moisture. Fresh pumpkin has more water than canned, so you’ll need about ¾ cup of strained puree for every cup of canned pumpkin called for in the recipe.
Can I make this pumpkin dump cake in a slow cooker?
Absolutely! Grease your slow cooker insert, pour in the pumpkin layer, sprinkle the cake mix and pecans on top, and drizzle with butter. Cook on low for 3-4 hours or on high for 1.5-2 hours. The texture will be softer and more pudding-like, but it’s still delicious. Just don’t lift the lid during cooking — the steam is what helps it set.
Why is my pumpkin dump cake soupy in the middle?
This usually happens when the cake isn’t baked long enough or if the oven temperature is too low. Make sure your oven is fully preheated to 350°F before putting the cake in. If the center is still jiggly after 50 minutes, continue baking in 5-minute increments until it’s set. Also, let the cake cool for at least 20 minutes before serving — it continues to set as it cools.
Can I use a different cake mix flavor?
Yes! Yellow cake mix is the classic choice, but spice cake mix, butter pecan cake mix, or even white cake mix all work beautifully. Chocolate cake mix is also a popular variation — it creates a rich, almost mocha-like flavor that pairs surprisingly well with pumpkin. Just avoid mixes that include pudding in the mix, as they can alter the texture.
How do I prevent the top from burning?
If the top is browning too quickly but the center isn’t set yet, tent the dish loosely with aluminum foil. This will protect the top from direct heat while allowing the center to continue cooking. Start checking your cake at the 40-minute mark, and if the top looks dark golden brown, cover it with foil for the remaining baking time.
Pin This Recipe!
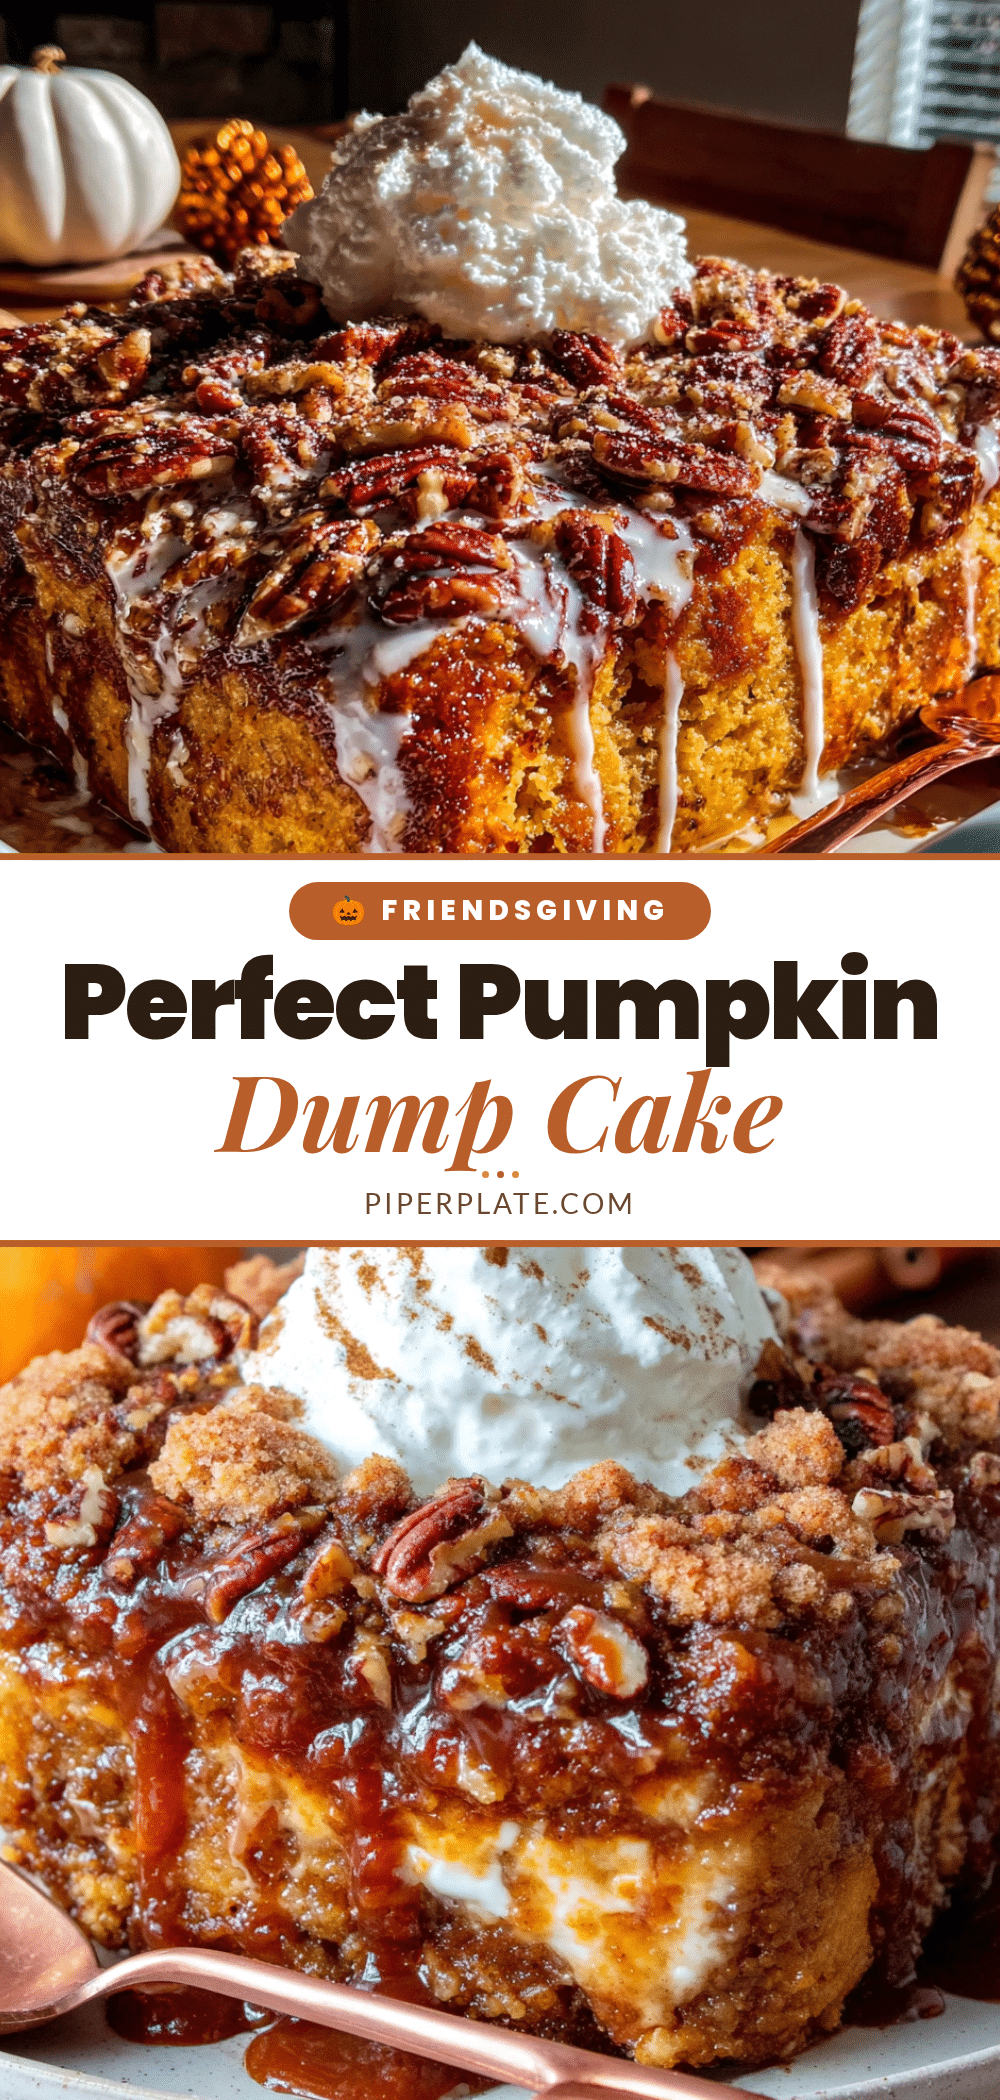
Best Friendsgiving Pumpkin Dump Cake: Easy Fall Dessert
This pumpkin dump cake is a happy accident turned into a beloved Friendsgiving dessert. With a creamy pumpkin layer and a buttery, crunchy topping, it’s incredibly easy to make and always a crowd-pleaser.
- Prep Time: 15 minutes
- Cook Time: 50 minutes
- Total Time: 1 hour 5 minutes
- Yield: 12 servings 1x
- Category: Dessert
- Cuisine: American
Ingredients
- 1 can (15 oz) pumpkin puree
- 1 can (12 oz) evaporated milk
- 3 large eggs, room temperature
- 1 cup granulated sugar
- 2 teaspoons pumpkin pie spice
- ½ teaspoon salt
- 1 box (15.25 oz) yellow cake mix
- 1 cup chopped pecans (optional)
- 1 cup unsalted butter, melted
Instructions
- Preheat your oven to 350°F (175°C). Lightly grease a 9×13 inch baking dish with butter or non-stick spray.
- In a large mixing bowl, combine pumpkin puree, evaporated milk, eggs, sugar, pumpkin pie spice, and salt. Whisk until smooth and well combined.
- Pour the pumpkin mixture into the prepared baking dish and spread evenly. Tap the dish gently on the counter to release air bubbles.
- Sprinkle the dry cake mix evenly over the pumpkin layer, covering the entire surface.
- Sprinkle chopped pecans over the cake mix, if using.
- Drizzle the melted butter evenly over the entire surface. Do not stir.
- Bake for 45-50 minutes, until the top is golden brown and the center is set. If the top browns too quickly, tent with foil for the last 10 minutes.
- Let cool for at least 15-20 minutes before serving. Serve warm with vanilla ice cream or whipped cream.
Notes
For best results, use room temperature eggs and toast pecans before adding. The cake can be made ahead and reheated. Leftovers keep in the refrigerator for up to 5 days or freeze for up to 3 months.
Nutrition
- Serving Size: 1 slice (1/12 of cak
- Calories: 380
- Sugar: 30
- Sodium: 380
- Fat: 22
- Saturated Fat: 12
- Carbohydrates: 45
- Fiber: 3
- Protein: 5
Keywords: pumpkin dump cake, Friendsgiving dessert, easy fall dessert, pumpkin cake, dump cake


