Love this? Save it for later!
Share the inspiration with your friends
There used to be a tiny farmstand on Highway 43, just past the old covered bridge, that made a pear preserves so hauntingly good I still dream about it. When they closed up shop three summers ago—just a handwritten sign on the door saying “Gone to seed, thanks for the memories”—I actually felt a little lost. That jar of golden, vanilla-speckled jam had been my secret weapon for everything from morning toast to last-minute glazes for pork chops. After seventeen tries—seventeen, including one batch that turned into what I can only call pear-flavored concrete—I finally got it. This Homemade Spiced Vanilla Pear Preserves is the one.
The funny thing is, I didn’t even like pears all that much before that farmstand. They always felt like the polite cousin of apples, you know? Nice enough, but nothing to write home about. But that first bite of their preserves changed my mind completely. The vanilla softened the pear’s natural shyness, and the spices—cinnamon and a whisper of cardamom—gave it this warmth that felt like a hug in a jar. I mean, honestly, I became obsessed. I’d show up every Thursday, hoping they’d have a new batch, and the lady running the stand, Mrs. Delgado, would just smile and say, “You keep coming back, don’t you?”
When they closed, I knew I had to figure it out myself. The first few batches were disasters—too runny, too thick, not enough vanilla, way too much clove. But I kept at it, scribbling notes on napkins and texting my sister photos of failed jars with captions like “Is this supposed to look like mud?” Eventually, I cracked the code. The secret turned out to be patience—letting the pears macerate overnight and cooking them low and slow. Maybe you’ve been there, chasing a flavor from your past, determined to bring it back to life. This recipe is that victory. It’s sweet, spiced, and deeply satisfying to make yourself.
Why You’ll Love This Recipe
Let me tell you why I keep making this recipe year after year, and why I think you’ll fall for it too. First off, it’s surprisingly simple. I know canning sounds intimidating, but this recipe comes together with basic pantry ingredients and about an hour of hands-on time. You don’t need a degree in food science—just a little patience and a big pot.
- Simple Ingredients: No fancy grocery trips needed. Pears, sugar, vanilla, and spices are all you really need. You probably have most of these in your kitchen right now.
- Perfect for Gifting: Homemade preserves make the most thoughtful holiday or hostess gift. I’ve given these as Christmas presents for years, and people genuinely get excited.
- Crowd-Pleaser: Kids love it on toast, adults love it on cheese boards, and everyone appreciates the effort. It’s one of those recipes that makes you look like a hero.
- Unbelievably Delicious: The combination of tender pears, real vanilla bean, and warm spices creates a flavor that’s both familiar and completely surprising. It’s not your average jam.
- Customizable: You can dial the spices up or down, swap in different pears, or add a splash of bourbon for a grown-up twist. This recipe is a starting point, not a rulebook.
What makes this version different from every other pear preserve recipe out there? It’s the overnight maceration. Most recipes skip this step, but letting the pears sit with sugar and vanilla overnight draws out their natural juices and concentrates their flavor. The result is a preserve that tastes intensely of pears—not just sugar. Plus, the vanilla bean adds those tiny, beautiful specks that make every jar look like it came from a fancy boutique. This isn’t just another recipe; it’s the one I wish I had when I was chasing that farmstand memory.
What Ingredients You Will Need
This recipe relies on simple, wholesome ingredients to create a preserve that’s packed with flavor. Most of these are pantry staples or easy to find at your local grocery store. Here’s what you’ll need and why each one matters.
- Ripe but Firm Pears (3 pounds, about 6-8 medium pears): The star of the show. I prefer Bartlett or Bosc pears for their sweetness and texture. They should be ripe enough to smell fragrant but still hold their shape when pressed. Overripe pears turn to mush; underripe ones lack flavor.
- Granulated Sugar (2 cups, 400 grams): Sugar does more than sweeten—it helps preserve the fruit and creates that lovely, thick syrup. Don’t reduce it if you’re canning for long-term storage; it’s essential for food safety.
- Vanilla Bean (1 whole bean): This is non-negotiable for me. The tiny seeds add a floral, aromatic quality that vanilla extract just can’t replicate. If you only have extract, use 2 teaspoons, but the bean really makes this special.
- Fresh Lemon Juice (3 tablespoons, about 1 large lemon): The acid balances the sweetness and helps the pectin set. It also keeps the pears from browning while you prep them.
- Ground Cinnamon (1 teaspoon): Warm and comforting, cinnamon is the backbone of the spice blend. I use Ceylon cinnamon when I can find it—it’s milder and more complex than the cassia variety.
- Ground Cardamom (½ teaspoon): This is my secret ingredient. Cardamom adds a subtle, almost floral note that pairs beautifully with pear and vanilla. Go easy—it’s potent.
- Ground Ginger (¼ teaspoon): A tiny pinch adds warmth without screaming “ginger.” It rounds out the other spices nicely.
- Pinch of Salt: Don’t skip this. Salt enhances all the other flavors and keeps the sweetness from being cloying.
A quick note on pears: I’ve tried this recipe with several varieties, and Bartlett pears consistently give the best texture and flavor. They break down just enough during cooking to create a luscious, spreadable consistency while still leaving some tender chunks. If you use Bosc pears, you’ll get a slightly firmer texture—still delicious, just different. For the vanilla bean, I recommend buying a small jar of whole beans online or from a spice shop. They keep for months in an airtight container and are worth the splurge for recipes like this.
Equipment Needed
You don’t need a professional kitchen to make these preserves, but having the right tools makes the process smoother and more enjoyable. Here’s what I use:
- Large, Heavy-Bottomed Pot or Dutch Oven: A wide pot allows the preserves to cook evenly and reduces faster. I use my 6-quart Le Creuset, but any heavy pot works.
- Wooden Spoon or Heatproof Spatula: You’ll be stirring frequently, and wooden spoons don’t conduct heat or scratch your pot.
- Chef’s Knife and Cutting Board: For peeling and chopping the pears. A sharp knife makes the job much faster.
- Vegetable Peeler: A good peeler saves time. I prefer a Y-shaped peeler for control.
- Measuring Cups and Spoons: Accurate measurements matter in preserving. Use dry measuring cups for sugar and liquid cups for lemon juice.
- Canning Jars with Lids (4-5 half-pint jars): For long-term storage, you’ll need sterilized jars. I reuse mason jars from previous preserves.
- Canning Funnel and Jar Lifter: These make filling jars and handling hot jars much safer. Worth the small investment.
- Large Stockpot for Water Bath Canning: If you plan to can for shelf storage, you’ll need a pot deep enough to cover jars by at least an inch of water.
If you don’t have a canning setup, don’t worry. You can store these preserves in the refrigerator for up to a month. I’ve done that plenty of times when I’m too lazy to haul out the canning pot. Just use clean jars with tight-fitting lids.
Preparation Method
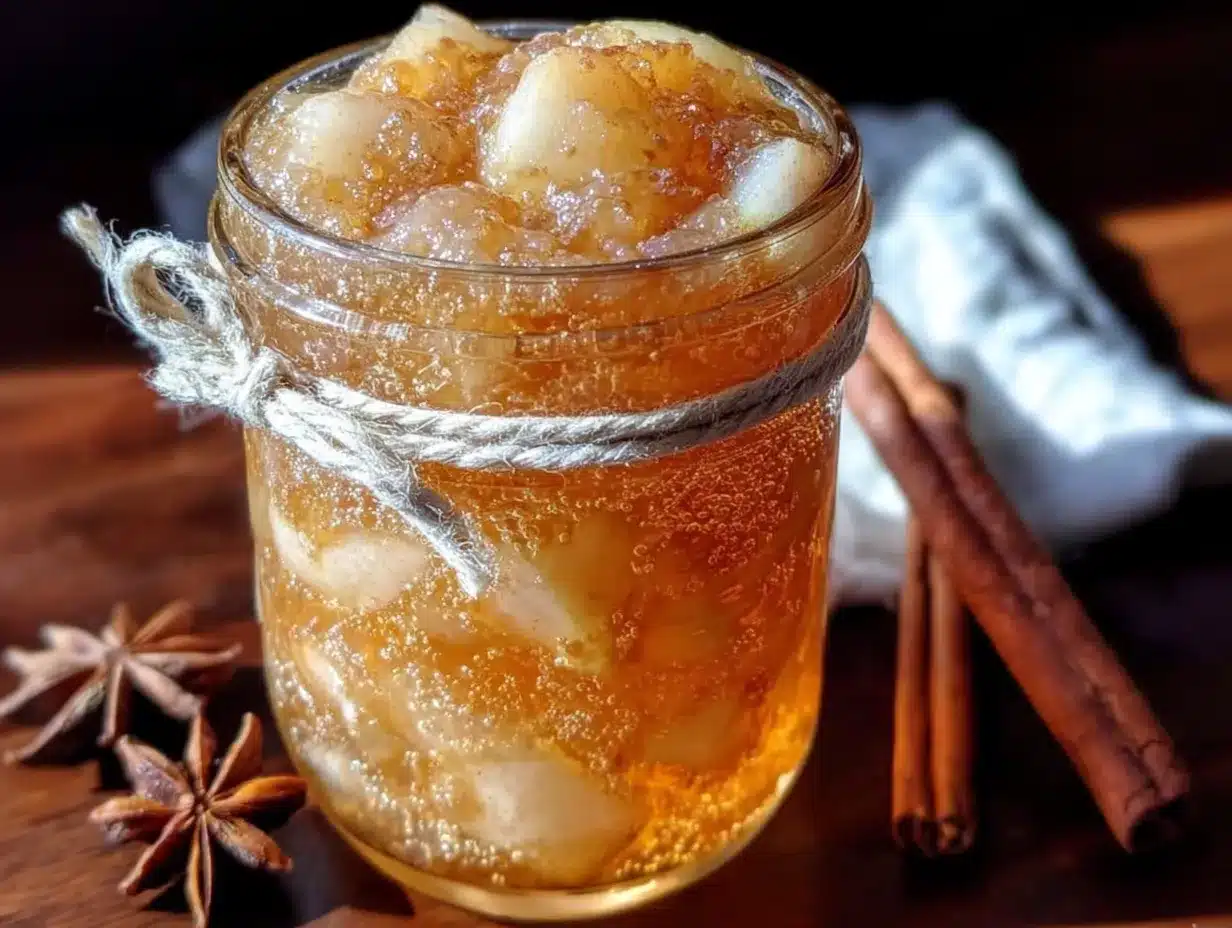
This method breaks down into two parts: the overnight maceration and the actual cooking. Trust me, the wait is worth it. Here’s how to make these Homemade Spiced Vanilla Pear Preserves step by step.
- Prep the Pears (15 minutes): Wash, peel, and core the pears. Cut them into ½-inch cubes. Don’t stress about uniformity—some smaller pieces will break down and thicken the preserves, while larger chunks stay intact for texture. Place the cubed pears in a large, non-reactive bowl (glass or stainless steel works best).
- Split the Vanilla Bean (2 minutes): Use a sharp paring knife to slice the vanilla bean lengthwise. Scrape out the tiny black seeds with the back of the knife. Add both the seeds and the empty pod to the bowl with the pears. The pod will continue to infuse flavor during maceration.
- Maceration (overnight, 8-12 hours): Add the sugar and lemon juice to the pears. Toss everything together until the pears are well coated. Cover the bowl with plastic wrap and refrigerate overnight. You’ll notice the pears release a lot of liquid—that’s exactly what you want. This step softens the fruit and builds deep flavor.
- Start Cooking (30-40 minutes): The next day, remove the vanilla bean pod from the pear mixture (rinse it off and let it dry—you can reuse it in sugar!). Transfer the pears and all their liquid to your large pot. Add the cinnamon, cardamom, ginger, and salt. Stir to combine.
- Bring to a Boil (5-7 minutes): Place the pot over medium-high heat and bring the mixture to a full, rolling boil. Stir occasionally to prevent sticking. Once boiling, reduce the heat to medium-low.
- Simmer and Stir (20-25 minutes): Let the preserves simmer gently, stirring every few minutes. The mixture will thicken as the liquid reduces. You’ll know it’s ready when the preserves coat the back of a spoon and leave a clean trail when you run your finger through it. It should look glossy and slightly translucent.
- Test for Doneness (2 minutes): Place a small plate in the freezer for a few minutes. Drop a spoonful of preserves onto the cold plate. Let it sit for 30 seconds, then tilt the plate. If it wrinkles and moves slowly, it’s done. If it runs like water, keep cooking for another 5 minutes and test again.
- Remove the Vanilla Pod (1 minute): Fish out the vanilla bean pod and discard it (or rinse and dry for vanilla sugar). The seeds are already in the preserves, so you won’t miss the pod.
- Fill the Jars (10 minutes): If you’re canning, ladle the hot preserves into sterilized jars, leaving ¼-inch headspace. Wipe the rims clean, screw on the lids, and process in a boiling water bath for 10 minutes. If you’re refrigerating, let the preserves cool slightly, then transfer to clean jars and refrigerate.
- Cool and Set (4-6 hours): Let the jars cool completely at room temperature. You’ll hear the satisfying “pop” of the lids sealing if you canned them. The preserves will continue to thicken as they cool. Don’t be alarmed if they seem a little loose at first—they’ll firm up overnight.
One thing I learned the hard way: don’t walk away during the simmering stage. I once got distracted by a phone call and came back to a pot of what looked like pear caramel. It was still tasty, but I had to scrape it off the bottom of the pot. Stay close, stir often, and you’ll be fine.
Cooking Tips & Techniques
After making this recipe more times than I care to count, I’ve picked up a few tricks that make the process easier and the results more consistent. Here are my best tips.
Don’t skip the maceration. I know it’s tempting to rush, especially when you’re craving preserves right now. But that overnight rest is what gives these preserves their deep, concentrated pear flavor. The sugar draws out the fruit’s natural juices, which means you don’t need to add any water. Less water equals more flavor. Period.
Watch your heat. Preserves can go from perfectly thickened to scorched in about 30 seconds. Keep the heat at a gentle simmer, not a violent boil. If you see dark specks forming on the bottom of the pot, you’re cooking too hot. Turn it down immediately and stir more frequently.
Use a heavy pot. Thin pots create hot spots that lead to burning. A heavy-bottomed Dutch oven distributes heat evenly and gives you more control. I learned this lesson after ruining a batch in a cheap stockpot. Now I use my enameled cast iron, and I never look back.
Skim the foam. As the preserves cook, a frothy foam will rise to the surface. This is just air bubbles and impurities, and it can make your preserves look cloudy. Use a spoon to skim it off during the last few minutes of cooking. Your jars will thank you for the clear, jewel-like appearance.
Trust your senses. A thermometer is helpful, but your eyes and nose are better guides. The preserves are ready when they look glossy, smell intensely fruity, and coat a spoon thickly. I’ve made this recipe so many times that I can tell by the way it bubbles—slow, lazy bubbles mean it’s close to done.
One of my biggest failures? I once tried to double the recipe in one pot. Big mistake. The preserves took forever to cook down, and the pears on the bottom overcooked while the top was still watery. Stick to single batches unless you have a massive pot and a lot of patience.
Variations & Adaptations
This recipe is a wonderful canvas for creativity. Here are some variations I’ve tried and loved, plus a few ideas for different dietary needs.
- Spiced Bourbon Pear Preserves: Add 2 tablespoons of bourbon along with the lemon juice during maceration. The alcohol cooks off, leaving behind a warm, smoky depth that’s incredible with sharp cheddar cheese. I made this for a holiday party last year, and people kept asking for the recipe.
- Low-Sugar Version: If you’re watching your sugar intake, reduce the sugar to 1 cup and add 1 tablespoon of Pomona’s Universal Pectin (which requires calcium water, included in the box). The texture will be slightly softer, but the pear flavor shines even brighter. Store this version in the refrigerator—it won’t keep as long on the shelf.
- Ginger-Pear Preserves: Replace the ground ginger with 2 tablespoons of finely minced fresh ginger. Add it during the maceration step for a spicy kick that cuts through the sweetness. This is my go-to for pairing with roast pork or spreading on warm scones.
- Apple-Pear Blend: Substitute half the pears with firm apples (like Granny Smith or Honeycrisp). Apples contain more natural pectin, so the preserves will set up firmer. It’s a great way to use up a mix of fall fruit.
- Vegan Version: This recipe is already vegan as written! Just make sure your sugar is certified vegan (some refined sugars are processed with bone char). Everything else is plant-based.
I once tried adding a star anise pod during cooking. The flavor was lovely—very licorice-forward—but it was a bit too strong for my taste. If you try it, remove the pod after 10 minutes to keep it subtle. Experimenting is half the fun, honestly.
Serving & Storage Suggestions
These preserves are incredibly versatile. Here’s how I like to serve and store them.
Serving: Spoon them over warm buttermilk biscuits or pancakes for a breakfast that feels special. They’re also fantastic on a cheese board—try them with aged cheddar, brie, or goat cheese. For a quick appetizer, spread a little on crostini and top with crumbled blue cheese and walnuts. I’ve even used them as a glaze for roasted chicken or pork chops. Just brush it on during the last 10 minutes of cooking.
Storage: If you processed the jars in a water bath, they’ll keep in a cool, dark pantry for up to 18 months. Once opened, refrigerate and use within 3 weeks. If you skipped the canning step, refrigerate the preserves immediately; they’ll stay fresh for about a month. I always label my jars with the date so I know which ones to use first.
Reheating: No need to reheat—just spoon out what you need. If the preserves have thickened too much in the fridge, let the jar sit at room temperature for 15 minutes, or microwave a small amount for 10 seconds. The flavors actually deepen after a week or two, so don’t be afraid to let them sit.
One thing I love: these preserves make amazing gifts. I tie a ribbon around the jar and attach a handwritten tag with serving suggestions. People genuinely appreciate homemade gifts, and this one always gets rave reviews.
Nutritional Information & Benefits
While preserves are a treat, they do offer some nutritional benefits. Here’s a quick breakdown per 1-tablespoon serving (based on the standard recipe).
| Nutrient | Amount |
|---|---|
| Calories | 45 |
| Total Fat | 0g |
| Sodium | 1mg |
| Total Carbohydrates | 12g |
| Sugars | 11g |
| Fiber | 1g |
| Vitamin C | 2% DV |
Pears are a good source of dietary fiber and vitamin C, and they contain antioxidants that support overall health. The vanilla bean adds a touch of antioxidants as well. Of course, this is a sweet treat, so enjoy it in moderation. I like to think of it as a way to make healthy foods (like yogurt or whole-grain toast) more exciting. A little goes a long way toward brightening up your morning.
If you’re managing diabetes or watching your sugar intake, consider the low-sugar variation I mentioned earlier. It cuts the sugar nearly in half while keeping most of the flavor.
Conclusion
This Homemade Spiced Vanilla Pear Preserves recipe is the result of a long, delicious obsession. I chased a memory from a little farmstand for years, and I’m so glad I did. Every time I open a jar, I’m transported back to that sunny Thursday afternoon when Mrs. Delgado handed me my first taste. Now, I get to share that feeling with you.
I hope you’ll give this recipe a try, even if you’ve never made preserves before. It’s more forgiving than you think, and the payoff is enormous. Customize the spices to your liking, experiment with different pears, and don’t be afraid to make a mess. That’s how you learn. And when you taste that first spoonful on a warm biscuit, you’ll understand why I kept making batch after batch until I got it right.
I’d love to hear how yours turn out. Did you add a twist? Use a different fruit? Share your stories in the comments below—I read every single one. And if you loved this recipe, please pass it along to a friend who needs a little homemade sweetness in their life. Happy preserving!
Frequently Asked Questions
Can I use frozen pears for this recipe?
Yes, you can use frozen pears, but thaw them completely and drain off any excess liquid before macerating. Frozen pears tend to be softer, so your preserves may have a slightly smoother texture. It still works beautifully.
Why did my preserves turn out too runny?
Runny preserves usually mean they weren’t cooked long enough. The mixture needs to reach 220°F (104°C) or pass the wrinkle test on a cold plate. Next time, cook it a few minutes longer and test frequently. Also, make sure you’re using ripe but firm pears—overripe pears have less natural pectin.
Do I have to use a vanilla bean, or can I use extract?
You can use 2 teaspoons of pure vanilla extract if you don’t have a bean. Add it after you remove the pot from the heat to preserve its flavor. The preserves won’t have those beautiful vanilla specks, but they’ll still taste wonderful.
How long do these preserves last in the pantry?
If you processed the jars in a boiling water bath for 10 minutes, they’ll keep in a cool, dark pantry for up to 18 months. Always check the seals before eating—if the lid doesn’t pop when pressed, refrigerate and use within 3 weeks.
Can I reduce the sugar in this recipe?
Yes, but it will affect both the texture and shelf life. For a reduced-sugar version, use 1 cup of sugar and add a low-sugar pectin like Pomona’s. Store any reduced-sugar preserves in the refrigerator and use within a month.
Pin This Recipe!
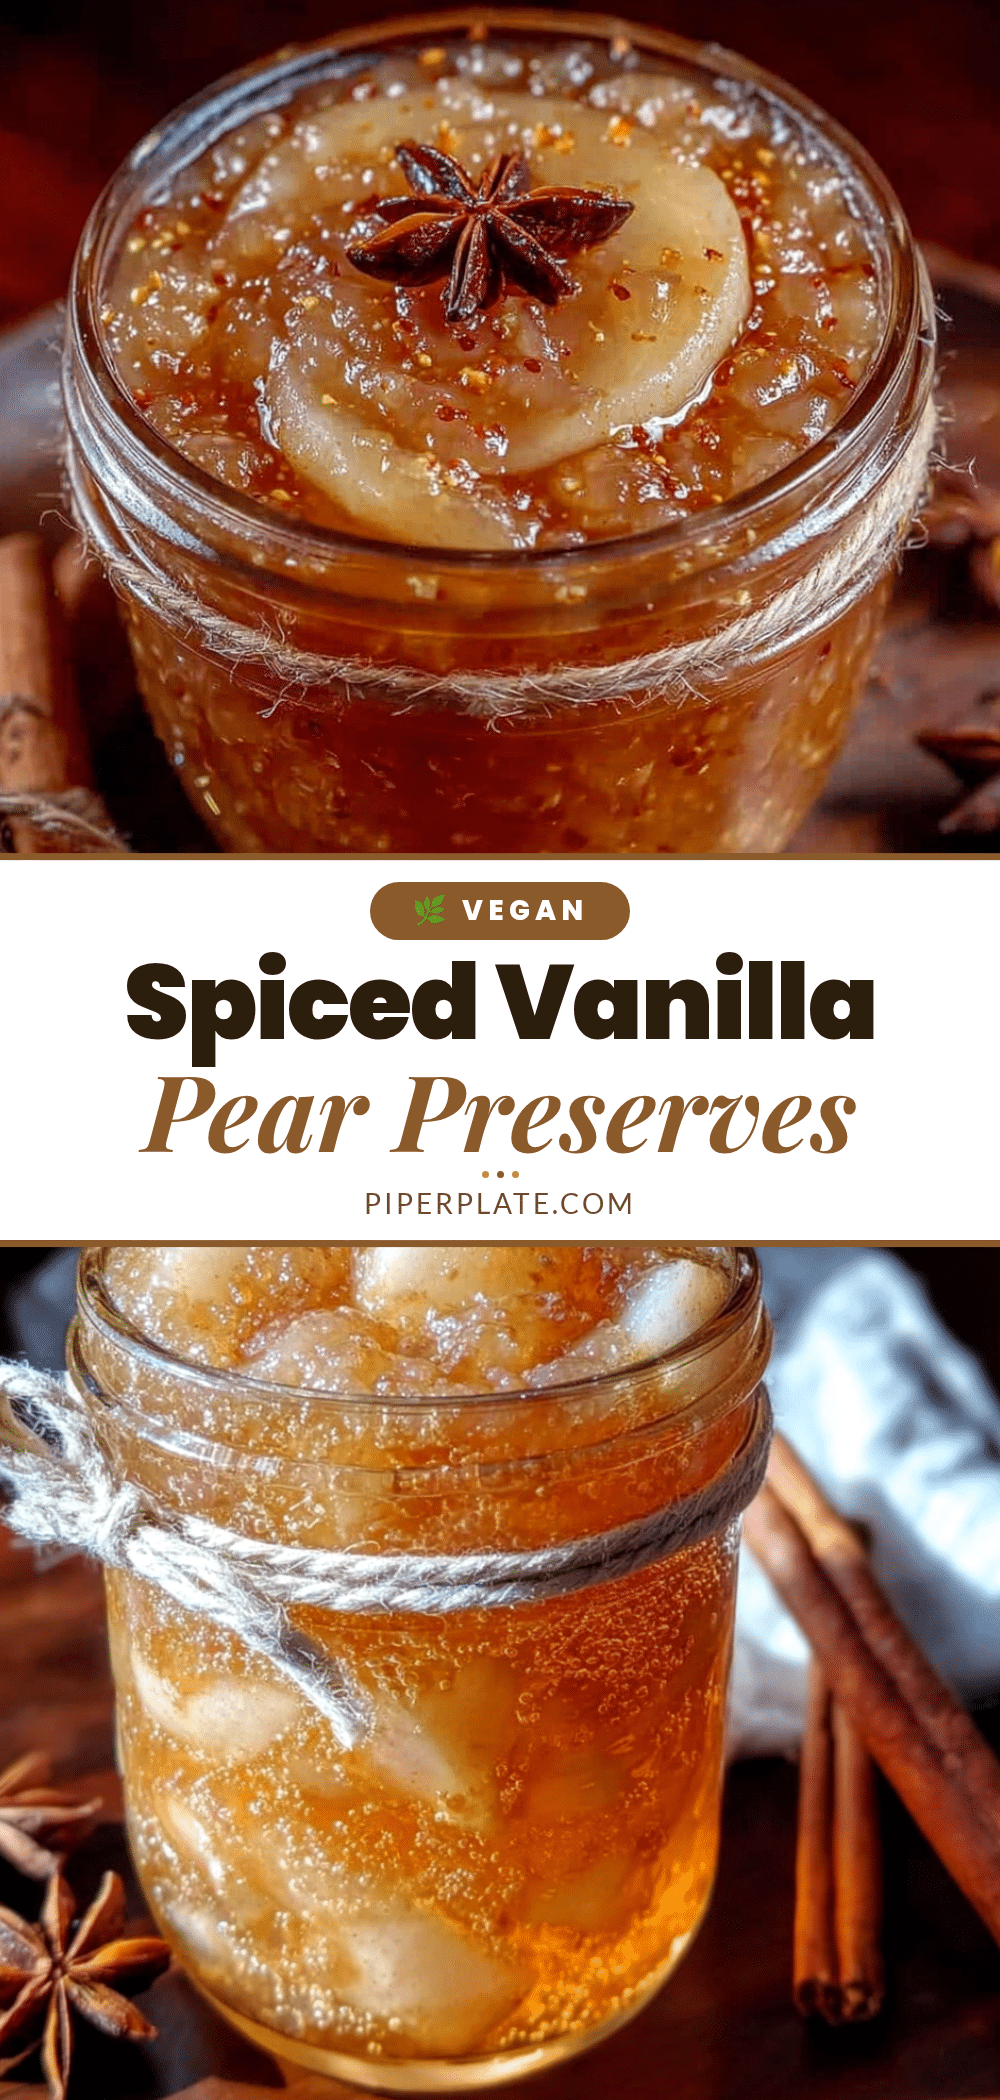
Easy Homemade Spiced Vanilla Pear Preserves
A deeply flavorful pear preserve made with vanilla bean, cinnamon, and cardamom. This recipe recreates a beloved farmstand memory with an overnight maceration technique for concentrated fruit flavor.
- Prep Time: 15 minutes
- Cook Time: 30 minutes
- Total Time: 45 minutes (plus overnight maceration)
- Yield: 4-5 half-pint jars 1x
- Category: Preserves
- Cuisine: American
Ingredients
- 3 pounds ripe but firm pears (about 6–8 medium), preferably Bartlett or Bosc
- 2 cups granulated sugar (400 grams)
- 1 whole vanilla bean
- 3 tablespoons fresh lemon juice (about 1 large lemon)
- 1 teaspoon ground cinnamon (preferably Ceylon)
- ½ teaspoon ground cardamom
- ¼ teaspoon ground ginger
- Pinch of salt
Instructions
- Wash, peel, and core the pears. Cut them into ½-inch cubes. Place in a large non-reactive bowl.
- Split the vanilla bean lengthwise and scrape out the seeds. Add both seeds and pod to the bowl with pears.
- Add sugar and lemon juice to the pears. Toss to coat. Cover and refrigerate overnight (8-12 hours) for maceration.
- The next day, remove the vanilla bean pod (rinse and dry for reuse). Transfer pear mixture and all liquid to a large heavy-bottomed pot.
- Add cinnamon, cardamom, ginger, and salt. Stir to combine.
- Bring to a full rolling boil over medium-high heat, stirring occasionally (5-7 minutes).
- Reduce heat to medium-low and simmer gently, stirring every few minutes, until mixture thickens and coats the back of a spoon (20-25 minutes).
- Test for doneness: place a small plate in the freezer, drop a spoonful of preserves on it, and let sit for 30 seconds. Tilt the plate; if it wrinkles and moves slowly, it’s done. If runny, cook 5 more minutes and test again.
- Remove the vanilla bean pod and discard (or reserve for vanilla sugar).
- If canning: ladle hot preserves into sterilized jars, leaving ¼-inch headspace. Wipe rims, screw on lids, and process in a boiling water bath for 10 minutes. If refrigerating: let cool slightly, transfer to clean jars, and refrigerate.
- Let jars cool completely at room temperature (4-6 hours). Preserves will thicken as they cool.
Notes
Don’t skip the overnight maceration—it concentrates the pear flavor. Use a heavy pot to prevent scorching. Skim foam during cooking for clear preserves. For a low-sugar version, reduce sugar to 1 cup and add low-sugar pectin. For bourbon variation, add 2 tablespoons bourbon during maceration. Store refrigerated preserves for up to 1 month; canned preserves keep up to 18 months in a cool, dark pantry.
Nutrition
- Serving Size: 1 tablespoon
- Calories: 45
- Sugar: 11
- Sodium: 1
- Carbohydrates: 12
- Fiber: 1
Keywords: pear preserves, homemade jam, vanilla pear jam, spiced preserves, canning recipe, holiday gift, pear recipe


