Love this? Save it for later!
Share the inspiration with your friends
There used to be a tiny bakery tucked between a laundromat and a hardware store on the corner of Elm and 4th that made the most incredible banana bread. When they closed suddenly three summers ago, I actually stood outside their locked door reading the “For Lease” sign, clutching a paper bag with my last crumbs. After twelve tries — and one truly sad loaf that my neighbor politely described as “dense” — I finally got it.
I mean, I chased this recipe for months. I tried adding yogurt, sour cream, even a splash of buttermilk. I tested different ratios of brown to white sugar. Let me tell you, my coworkers were very patient taste-testers, though I think they started hiding when they saw me walk in with yet another foil-wrapped loaf. The problem was always the same — my bread was either too dry or too gummy, and it never had that perfect crackly top that the bakery’s version had.
Then it hit me one Tuesday morning when I was rushing to get breakfast on the table. I had three overripe bananas sitting on the counter, a hungry family, and absolutely no patience for dirtying extra dishes. So I grabbed one bowl, threw everything in, and crossed my fingers. That first one-bowl attempt was the closest I’d come yet. After a few tweaks — the right amount of walnuts, a specific mixing technique, and trusting my oven instead of the clock — I had it. This is that recipe.
The thing about banana bread, you know, is that everyone thinks they have the best version. And honestly, I thought I’d never find one that matched that bakery’s loaf. But this one? This one makes me close my eyes after the first bite. It’s tender, perfectly moist, with just enough crunch from the walnuts and that golden, domed top that makes you feel like a professional baker. Maybe you’ve been there — chasing a flavor memory that feels just out of reach. Well, this is the one that finally stopped me from chasing.
Why You’ll Love This Recipe
I’ve tested this banana bread more times than I care to count, and I can tell you with complete confidence — this is the one. It’s not just another recipe floating around the internet. It’s the version I actually make for my family, for neighbors, for bake sales, and for those mornings when I need something good to go with my coffee.
- One Bowl, No Fuss: You read that right. Everything goes into a single mixing bowl. No separate bowls for dry and wet ingredients. Less cleanup means more time enjoying that warm slice.
- Perfectly Moist Every Time: The secret is using really ripe bananas and the right fat content. This bread stays moist for days — if it lasts that long.
- Simple Pantry Ingredients: You probably already have everything you need. Butter, sugar, eggs, flour, bananas, and walnuts. No weird ingredients or specialty store trips required.
- That Bakery-Style Crackly Top: You know the one I’m talking about. The golden, slightly crunchy top that gives way to a soft, tender crumb. This recipe nails it.
- Walnuts Add the Perfect Crunch: The toasted walnuts aren’t just an afterthought. They add texture, flavor, and make every bite interesting.
- Foolproof for Beginners: Even if you’ve never baked banana bread before, this recipe is forgiving and straightforward. I’ve had friends who claim they can’t bake make this with zero issues.
What makes this different from the dozens of other banana bread recipes out there? It’s the technique. Mixing the butter and sugar until truly light and fluffy, even though it’s one bowl. Using the right banana-to-flour ratio so the bread is moist but not gummy. And that little trick of letting the batter rest for five minutes before baking — it helps create that beautiful domed top. This isn’t just another version. It’s the best version I’ve ever made, and I’ve made a lot of banana bread.
What Ingredients You Will Need
This recipe uses simple, honest ingredients that work together to create something truly special. Most of these are pantry staples, which means you can whip up a loaf whenever those bananas on your counter start looking a little too spotted.
- Unsalted butter, softened (1/2 cup or 1 stick) — I use Land O’Lakes for consistent results. The butter needs to be at room temperature so it creams properly with the sugar. If you forget to take it out, cut it into small pieces and let it sit for 15 minutes.
- Granulated sugar (3/4 cup) — Regular white sugar works perfectly here. It gives the bread sweetness and helps create that tender crumb.
- Large eggs (2, room temperature) — Room temperature eggs incorporate better into the batter. If you’re in a hurry, place them in a bowl of warm water for 5 minutes.
- Ripe bananas (3 medium, mashed) — This is the most important ingredient. Your bananas should be heavily spotted, almost black. The riper they are, the sweeter and more flavorful your bread will be. I’m talking bananas that make you think, “Should I throw these away?” No! Those are perfect.
- All-purpose flour (1 1/2 cups) — Regular AP flour gives the best texture. I’ve tested this with whole wheat pastry flour and it works, but the texture is denser. For the classic version, stick with all-purpose.
- Baking soda (1 teaspoon) — This is our leavening agent. Make sure it’s fresh — if it’s been sitting in your cabinet for over a year, it might not work as well.
- Salt (1/2 teaspoon) — Salt balances the sweetness and enhances the banana flavor. Don’t skip it.
- Vanilla extract (1 teaspoon) — Pure vanilla extract is worth the splurge here. It adds depth and warmth to the flavor.
- Chopped walnuts (1/2 cup, plus extra for topping) — I prefer raw walnuts that I toast lightly before adding. Toasting brings out their natural oils and makes them crunchier. You can buy pre-chopped, but chopping your own gives you better control over the size.
A quick note on substitutions: If you’re allergic to walnuts, pecans work beautifully. You can also use chocolate chips for a sweeter twist. For a dairy-free version, substitute the butter with a good quality vegan butter stick — I’ve had success with Miyoko’s. And if you only have salted butter, reduce the added salt to 1/4 teaspoon.
Equipment Needed
One of the reasons I love this recipe is that it doesn’t require a lot of fancy equipment. Here’s what you’ll need:
- Large mixing bowl — Any medium-to-large bowl works. I use a ceramic one that belonged to my grandmother, but glass or stainless steel is fine.
- Wooden spoon or rubber spatula — A sturdy spoon for mixing the batter. I prefer a silicone spatula because it scrapes the sides well.
- 9×5-inch loaf pan — This is the standard size for banana bread. If you use an 8×4 pan, your bread will be taller and可能需要 longer baking time.
- Parchment paper — Lining the pan makes removing the bread so much easier. You can also grease the pan with butter and flour.
- Cooling rack — Essential for letting the bread cool evenly. If you don’t have one, you can use the oven rack turned upside down (I’ve done this in a pinch).
- Measuring cups and spoons — For accurate measurements. I cannot stress this enough — baking is a science, and eyeballing ingredients leads to inconsistent results.
- Fork or potato masher — For mashing the bananas. A fork works perfectly, but a potato masher makes it even faster.
I’ve made this bread with a hand mixer and without. Honestly, the hand mixer makes creaming the butter and sugar easier, but you can absolutely do it by hand with a little elbow grease. The key is to get the butter and sugar light and fluffy, whether you use a mixer or a spoon.
Preparation Method
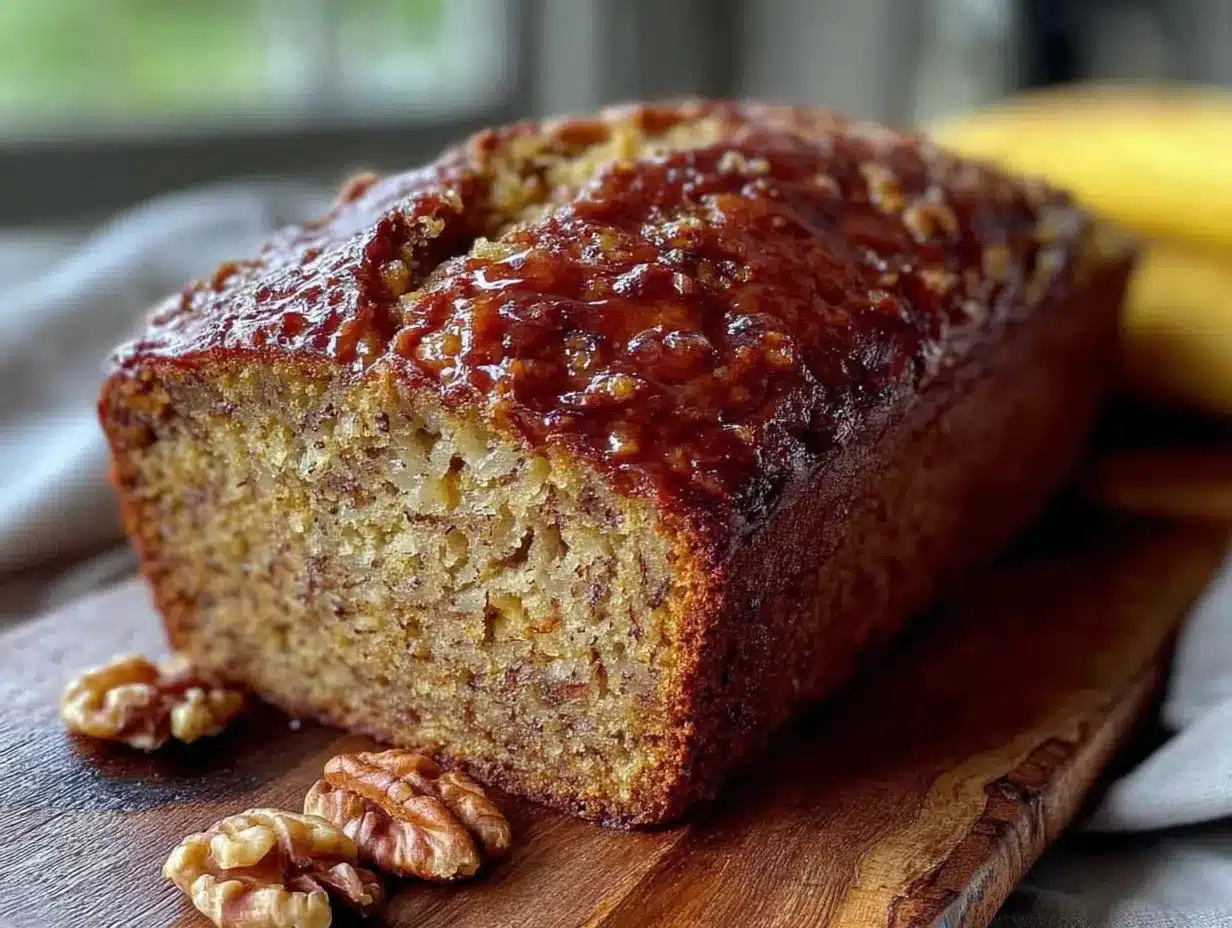
Let me walk you through this step by step. Trust me on the details — they make all the difference.
- Preheat your oven to 350°F (175°C). Get this done first so the oven is hot and ready. Position the rack in the center of the oven. While it’s heating, line your 9×5-inch loaf pan with parchment paper, leaving some overhang on the long sides — this creates handles for lifting the bread out later.
- Cream the butter and sugar. In your large mixing bowl, add the softened butter and granulated sugar. Beat them together with a wooden spoon or hand mixer until the mixture is light, fluffy, and pale in color. This takes about 2-3 minutes with a mixer, or 4-5 minutes by hand. Don’t rush this step — properly creamed butter and sugar creates air pockets that help the bread rise and stay tender.
- Add the eggs and vanilla. Crack both eggs into the bowl, add the vanilla extract, and mix until just combined. The batter might look a little separated at this point — that’s normal. It will come together once we add the bananas and flour.
- Mash and add the bananas. In a separate small bowl (yes, I know I said one bowl — this is the exception), mash your ripe bananas with a fork until they’re mostly smooth with a few small lumps remaining. Add the mashed bananas to the butter mixture and stir until incorporated. The batter will look a bit curdled — don’t panic, this is exactly what you want.
- Add the dry ingredients. Sprinkle the flour, baking soda, and salt over the wet mixture. Stir gently with your spatula or spoon until just combined. A few streaks of flour are okay — overmixing will make the bread tough. Fold until you can’t see any more dry flour, then stop.
- Fold in the walnuts. Add the chopped walnuts to the batter and fold them in with just a few strokes. Reserve a small handful of walnuts to sprinkle on top before baking.
- Let the batter rest. Here’s a trick I learned after too many flat loaves: let the batter sit in the bowl for 5 minutes before pouring it into the pan. This allows the flour to hydrate and the baking soda to start working. You’ll see tiny bubbles forming — that’s good.
- Pour and top. Scrape the batter into your prepared loaf pan and spread it evenly. Sprinkle the reserved walnuts on top, pressing them gently into the batter so they stick during baking.
- Bake. Place the pan in the preheated oven and bake for 55-65 minutes. The bread is done when a toothpick inserted into the center comes out clean or with just a few moist crumbs. If the top is browning too quickly (after about 40 minutes), tent the pan loosely with aluminum foil.
- Cool properly. Let the bread cool in the pan for 10 minutes. Then use the parchment handles to lift it out and transfer it to a cooling rack. Let it cool completely before slicing — I know it’s tempting, but cutting into warm banana bread makes it crumble. Patience, my friend.
Cooking Tips & Techniques
After making this recipe dozens of times, I’ve picked up a few tricks that make a real difference. Let me share them so you don’t have to learn the hard way like I did.
Don’t overmix the batter. This is the number one mistake I see home bakers make. Once you add the flour, mix only until it disappears. Overmixing develops gluten, which makes your banana bread tough and dense instead of tender and soft. I’ve ruined plenty of loaves this way — the bread comes out of the oven looking beautiful, but it’s heavy and almost rubbery. Stir gently, and stop when you can’t see flour anymore.
Toast your walnuts first. This is a small step that makes a huge difference. Spread the walnuts on a baking sheet and toast them at 350°F for 5-7 minutes, until they smell nutty and are lightly golden. Let them cool before adding to the batter. Toasted walnuts have a deeper, richer flavor and stay crunchier in the finished bread. I learned this after making a loaf where the walnuts were soft and almost mealy — never again.
Check for doneness early. Every oven runs differently. Start checking your bread at the 50-minute mark. Insert a toothpick into the center — if it comes out clean, it’s done. If there’s wet batter, give it another 5 minutes and check again. My old oven used to take exactly 55 minutes; my new one takes 62. Get to know your oven’s quirks.
Use the ripest bananas possible. I cannot emphasize this enough. The bananas should be so spotted they’re almost black. Green or yellow bananas won’t give you the sweetness or moisture you need. If your bananas aren’t ripe enough, you can speed things up by baking them (unpeeled) at 300°F for 15-20 minutes until they’re soft and blackened. Let them cool before mashing.
Let it cool completely. I know the smell of fresh banana bread is almost irresistible. But cutting into it while it’s still warm will result in a crumbly, gummy mess. The bread needs time to set its structure. Wait at least an hour after it comes out of the oven. Trust me, it’s worth it.
Variations & Adaptations
This recipe is wonderfully adaptable. Here are some of my favorite variations, each tested in my own kitchen.
Chocolate Chip Banana Bread: Swap the walnuts for 1/2 cup of semi-sweet chocolate chips. The combination of banana and chocolate is classic for a reason. I like to use mini chocolate chips because they distribute more evenly throughout the batter. If you’re feeling fancy, use dark chocolate chips for a less sweet, more sophisticated flavor.
Gluten-Free Version: Substitute the all-purpose flour with a good quality gluten-free flour blend that contains xanthan gum. I’ve had the best results with King Arthur’s Measure for Measure flour. The texture will be slightly more delicate, so be extra gentle when mixing. Add an extra 2 tablespoons of flour to compensate for the lack of gluten structure.
Vegan Banana Bread: Replace the butter with melted coconut oil or vegan butter, and use flax eggs (2 tablespoons ground flaxseed mixed with 6 tablespoons water, let sit for 5 minutes). The texture is slightly denser but still delicious. I’ve made this for vegan friends and they always ask for the recipe.
Spiced Banana Bread: Add 1 teaspoon of cinnamon, 1/2 teaspoon of nutmeg, and 1/4 teaspoon of ground ginger to the flour mixture. This gives the bread a warm, cozy flavor that’s perfect for fall. I made this version for Thanksgiving one year and it disappeared before the pumpkin pie.
Nut-Free Option: If you’re avoiding nuts, simply omit the walnuts. You can add 1/2 cup of raisins, dried cranberries, or even shredded coconut for texture. Or leave it plain — the banana bread is still incredibly good on its own.
Serving & Storage Suggestions
This banana bread is wonderful in so many ways. Here’s how I like to serve and store it.
Serving: I prefer this bread at room temperature or slightly warm. Toast a slice and spread it with a little butter — the contrast of warm, soft bread and cold butter is heavenly. For a dessert-like treat, top a slice with a scoop of vanilla ice cream and a drizzle of caramel sauce. It’s also perfect alongside a cup of coffee or tea for breakfast or an afternoon snack.
Storage: Once the bread is completely cool, wrap it tightly in plastic wrap or aluminum foil. Store it at room temperature for up to 4 days. I’ve found that the flavor actually improves on the second day — the banana flavor becomes more pronounced. Do not store it in the refrigerator, as that will dry it out.
Freezing: This bread freezes beautifully. Wrap the cooled loaf (or individual slices) tightly in plastic wrap, then again in aluminum foil. Place in a freezer-safe bag and freeze for up to 3 months. To thaw, leave it at room temperature for a few hours or pop a slice in the toaster. I always keep a loaf in the freezer for unexpected guests or busy mornings.
Reheating: For that fresh-from-the-oven experience, warm individual slices in the microwave for 10-15 seconds, or toast them in a toaster or oven at 350°F for 5 minutes. The toasting method gives you a slightly crispy exterior and soft interior — my preferred way to enjoy leftovers.
Nutritional Information & Benefits
While banana bread is definitely a treat, it does have some redeeming qualities. Here’s a rough breakdown per slice (assuming 10 slices per loaf):
| Nutrient | Amount Per Slice |
|---|---|
| Calories | 285 |
| Total Fat | 14g |
| Saturated Fat | 6g |
| Cholesterol | 55mg |
| Sodium | 220mg |
| Total Carbohydrates | 37g |
| Dietary Fiber | 2g |
| Sugars | 19g |
| Protein | 4g |
Bananas are a good source of potassium, vitamin B6, and vitamin C. Walnuts provide healthy omega-3 fatty acids and antioxidants. While this isn’t health food by any stretch, it’s a more wholesome option than many store-bought baked goods. I like to think of it as a comfort food that happens to have some nutritional value — and that’s good enough for me.
Dietary Considerations: This recipe contains gluten, dairy, eggs, and nuts. For allergen-friendly alternatives, see the variations section above.
Conclusion
This one-bowl banana bread with walnuts is the recipe I’ve been chasing for years. It’s the one that finally matched the memory of that little bakery on Elm Street — tender, moist, with a crackly top and just the right amount of crunch from the walnuts. And the best part? It comes together in one bowl with minimal fuss.
I hope you give this recipe a try. Don’t be afraid to make it your own — add chocolate chips, swap in pecans, or throw in some cinnamon. Banana bread is forgiving that way. The most important thing is to use really ripe bananas and not overmix the batter. Everything else is just details.
I’d love to hear how yours turns out. Did you make any changes? Was it as good as I promised? Drop a comment below and let me know. And if you share a photo on social media, tag me — I want to see your beautiful loaves. Happy baking, friends.
Frequently Asked Questions
Can I use frozen bananas for this recipe?
Absolutely! Frozen bananas work great. Thaw them completely at room temperature, then drain off any excess liquid before mashing. The texture might be a bit softer, but the flavor is just as good — sometimes even better because freezing concentrates the banana’s natural sweetness.
Why did my banana bread sink in the middle?
This usually happens for one of three reasons: the batter was overmixed, the bananas were too wet, or the bread was underbaked. Make sure your bananas are well-mashed but not watery, mix gently, and always test for doneness with a toothpick before pulling it out of the oven.
Can I make this into muffins instead of a loaf?
Yes! Divide the batter among a greased 12-cup muffin tin and bake at 350°F for 18-22 minutes, until a toothpick comes out clean. The baking time is much shorter, so keep an eye on them. You’ll get about 12 regular-sized muffins.
How do I know when my bananas are ripe enough?
Look for bananas that are heavily spotted with brown or black patches. The peel should be mostly brown, and the banana inside should be soft and almost mushy. If they still have any green or yellow without spots, they’re not ready. When in doubt, let them sit on the counter for another day or two.
Can I reduce the sugar in this recipe?
You can reduce the sugar to 1/2 cup without significantly affecting the texture, but the bread will be less sweet. Keep in mind that the ripeness of your bananas also affects sweetness — the riper they are, the less sugar you might need. I wouldn’t go below 1/2 cup, as sugar also contributes to the bread’s moisture and tenderness.
Pin This Recipe!
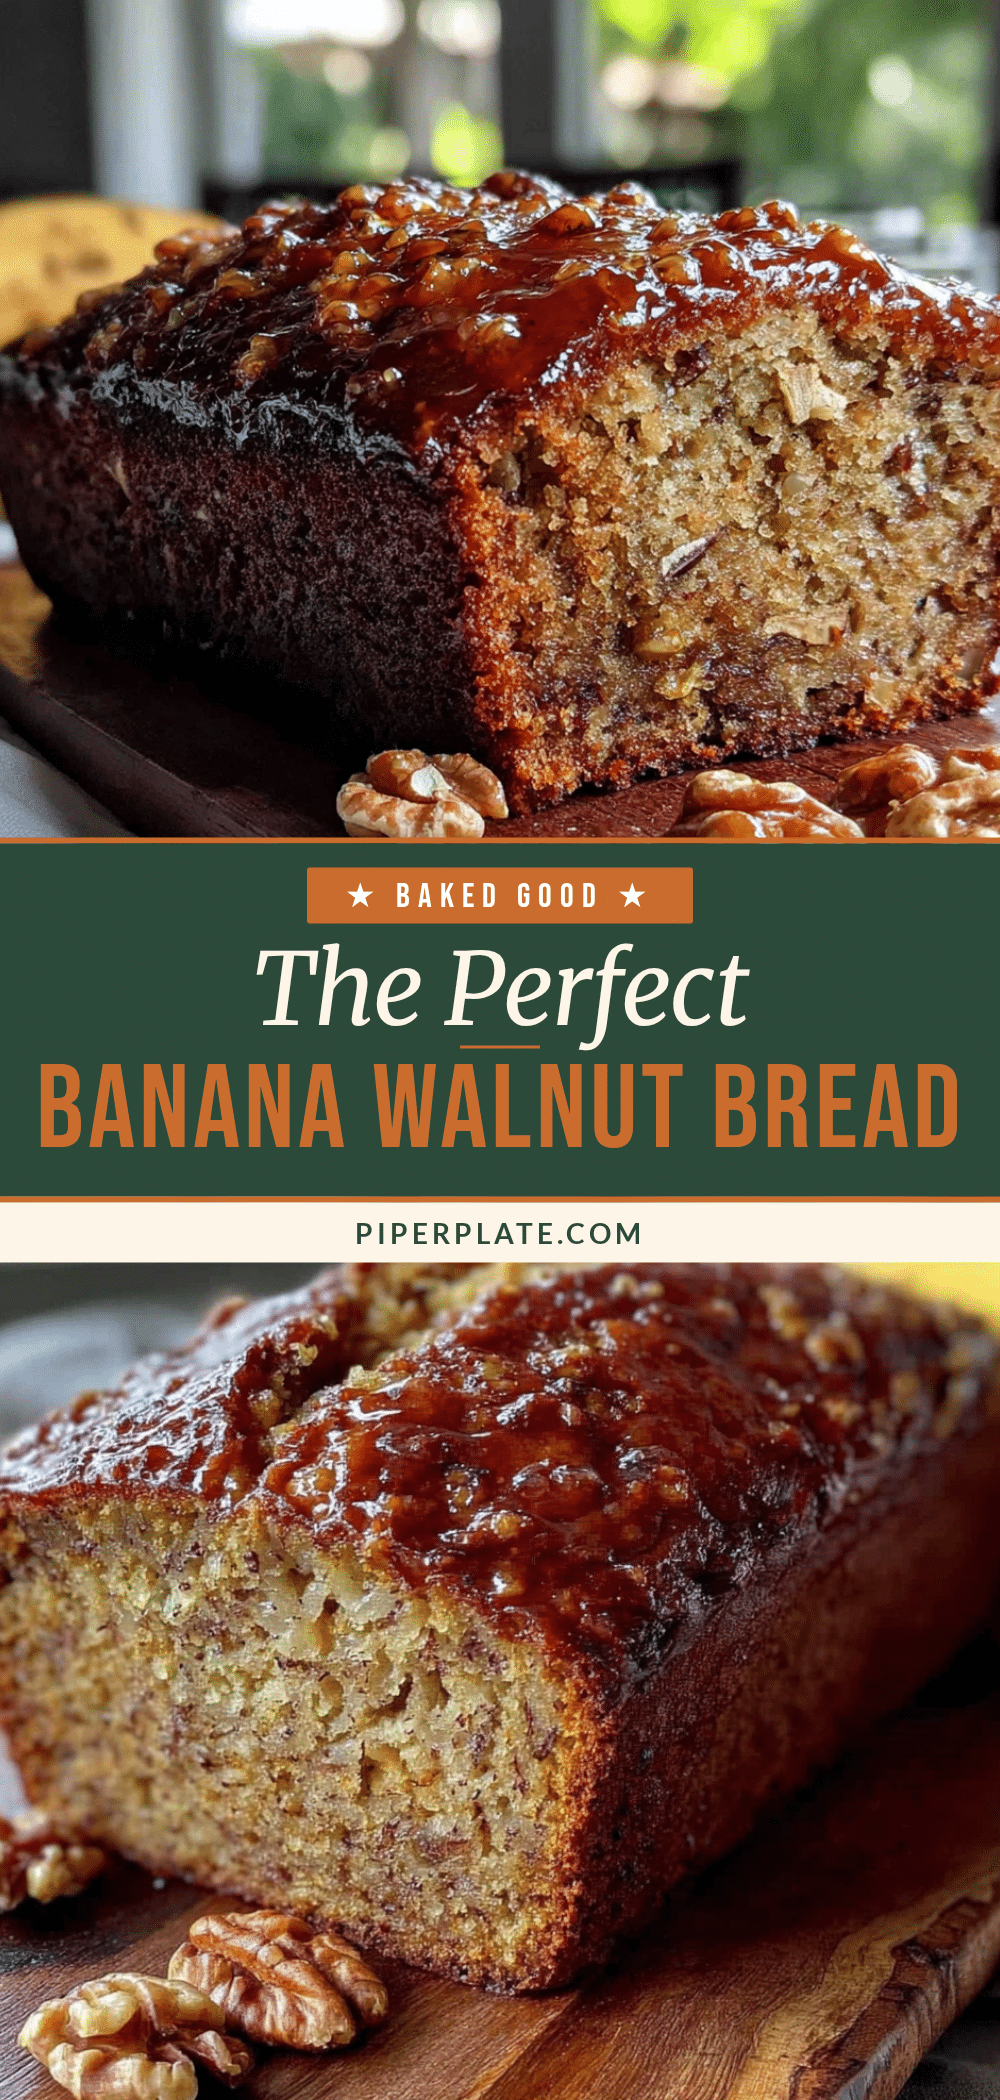
Perfect One-Bowl Banana Bread: Easy Walnut Recipe
This one-bowl banana bread with walnuts is tender, perfectly moist, with a crackly top and just the right amount of crunch from the walnuts. It comes together with minimal fuss and simple pantry ingredients.
- Prep Time: 15 minutes
- Cook Time: 55-65 minutes
- Total Time: 1 hour 10 minutes - 1 hour 20 minutes
- Yield: 10 servings 1x
- Category: Dessert
- Cuisine: American
Ingredients
- 1/2 cup (1 stick) unsalted butter, softened
- 3/4 cup granulated sugar
- 2 large eggs, room temperature
- 3 medium ripe bananas, mashed (heavily spotted, almost black)
- 1 1/2 cups all-purpose flour
- 1 teaspoon baking soda
- 1/2 teaspoon salt
- 1 teaspoon vanilla extract
- 1/2 cup chopped walnuts, plus extra for topping
Instructions
- Preheat your oven to 350°F (175°C). Position the rack in the center of the oven. Line a 9×5-inch loaf pan with parchment paper, leaving some overhang on the long sides.
- In a large mixing bowl, cream the softened butter and granulated sugar together until light, fluffy, and pale in color (about 2-3 minutes with a mixer, or 4-5 minutes by hand).
- Add the eggs and vanilla extract, and mix until just combined. The batter may look a little separated.
- In a separate small bowl, mash the ripe bananas with a fork until mostly smooth with a few small lumps. Add the mashed bananas to the butter mixture and stir until incorporated. The batter will look curdled.
- Sprinkle the flour, baking soda, and salt over the wet mixture. Stir gently until just combined (a few streaks of flour are okay). Do not overmix.
- Fold in the chopped walnuts with just a few strokes. Reserve a small handful for topping.
- Let the batter rest in the bowl for 5 minutes to allow the flour to hydrate and the baking soda to activate.
- Scrape the batter into the prepared loaf pan and spread evenly. Sprinkle the reserved walnuts on top, pressing them gently into the batter.
- Bake for 55-65 minutes, until a toothpick inserted into the center comes out clean or with a few moist crumbs. If the top browns too quickly (after about 40 minutes), tent loosely with aluminum foil.
- Let the bread cool in the pan for 10 minutes, then use the parchment handles to lift it out and transfer to a cooling rack. Cool completely before slicing (at least 1 hour).
Notes
Use the ripest bananas possible (heavily spotted, almost black). Toast walnuts at 350°F for 5-7 minutes before adding for deeper flavor. Do not overmix the batter. Let the bread cool completely before slicing to prevent crumbling. Store at room temperature for up to 4 days or freeze for up to 3 months.
Nutrition
- Serving Size: 1 slice (1/10 of loa
- Calories: 285
- Sugar: 19
- Sodium: 220
- Fat: 14
- Saturated Fat: 6
- Carbohydrates: 37
- Fiber: 2
- Protein: 4
Keywords: banana bread, one-bowl banana bread, walnut banana bread, easy banana bread, moist banana bread, bakery-style banana bread


