Love this? Save it for later!
Share the inspiration with your friends
My sister-in-law wasn’t trying to impress anyone. I’d stopped by to drop off a casserole dish she’d lent me, and the smell hit me before I even got through the front door. Cinnamon, nutmeg, something warm and almost caramel-like—it wrapped around me like a blanket on that chilly October afternoon.
“What is that?” I asked, probably sounding a little desperate.
She just shrugged and pointed toward the kitchen. “Oh, just some bars I threw together. The kids have been begging for something pumpkin.”
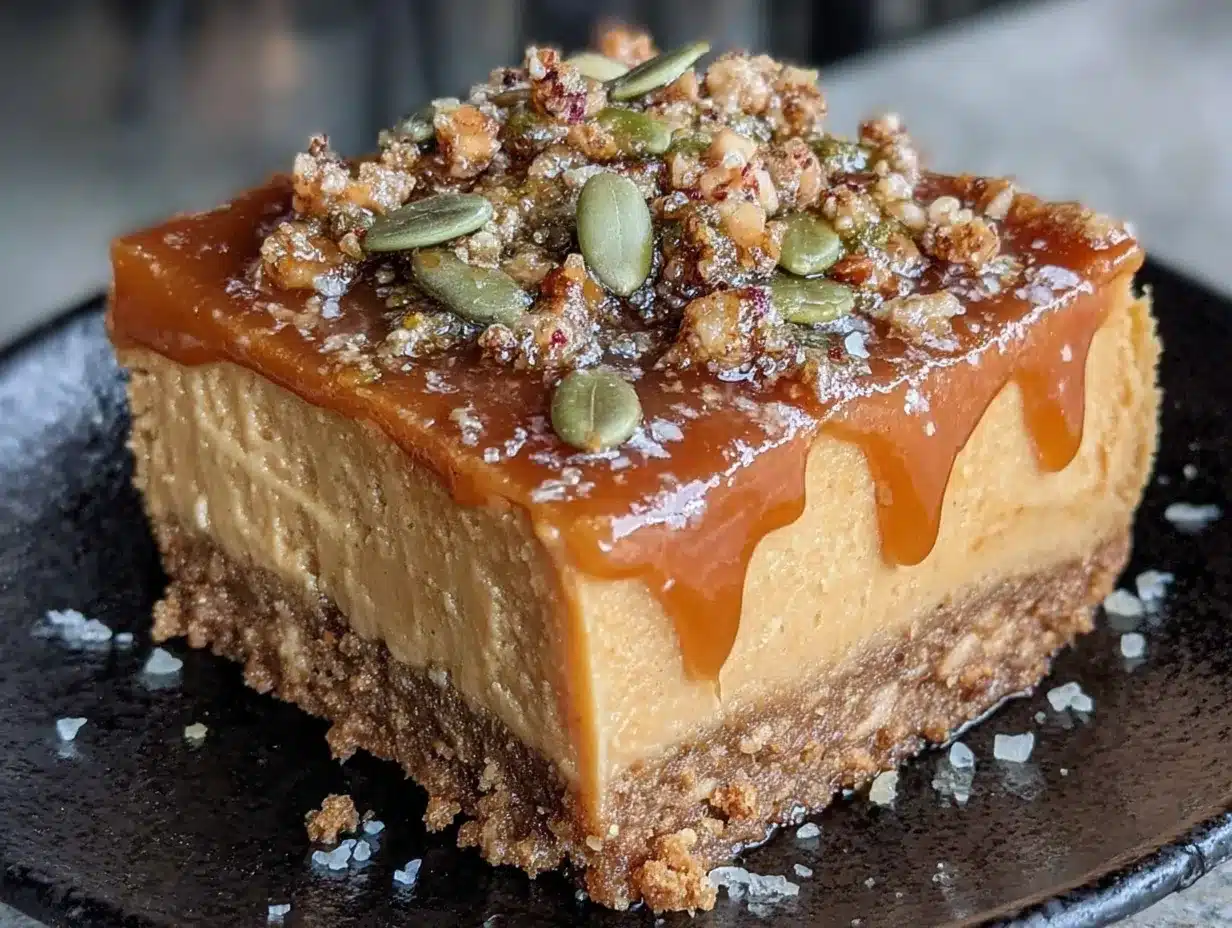
Threw together. Let me tell you, there was nothing casual about what I found cooling on her counter. These pumpkin cheesecake bars with graham crust were absolutely gorgeous—a perfect golden layer of spiced pumpkin sitting on top of a creamy cheesecake filling, all resting on that buttery, crumbly graham cracker base. I stood there staring at them like a weirdo while she went back to folding laundry.
“Want a piece?” she called from the living room. “They’re not even that good.”
She was wrong. Honestly, she was so wrong. That first bite had this unexpected contrast—the tangy, velvety cheesecake against the warm pumpkin spice, and that crust that held everything together with just the right amount of crunch. I asked for the recipe before I’d even finished chewing. Maybe you’ve been there, standing in someone else’s kitchen, realizing you just found your new favorite fall dessert.
I’ve made these cozy pumpkin cheesecake bars at least a dozen times since that day, and they never fail to bring back that moment. There’s something about a recipe that comes from someone who doesn’t think they’re doing anything special. It feels honest. It feels real. And honestly? It tastes like fall in the best possible way.
Why You’ll Love This Recipe
I’ve tested this recipe more times than I care to admit, tweaking here and adjusting there, until it became what I truly believe is the best version. These pumpkin cheesecake bars aren’t just another fall dessert—they’re the one I keep coming back to, and here’s why I think you will too.
- Quick & Easy : While a traditional cheesecake can take hours and requires a water bath, these bars come together in about 15 minutes of active prep time. The oven does the rest of the work.
- Simple Ingredients : No fancy grocery trips needed. You likely already have the graham crackers, cream cheese, pumpkin puree, and basic pantry spices in your kitchen.
- Perfect for Fall Gatherings : Whether it’s a Thanksgiving potluck, a cozy Friendsgiving, or just a Tuesday night that needs a little warmth, these bars fit right in.
- Crowd-Pleaser : I’ve brought these to work parties, family dinners, and neighborhood get-togethers. They disappear fast, and someone always asks for the recipe.
- Unbelievably Delicious : The texture alone is worth talking about. That creamy cheesecake layer, the silky pumpkin topping, and the crunchy crust—it’s comfort food at its finest.
What makes these bars different from the dozens of other pumpkin cheesecake recipes out there? It’s the balance. The cheesecake layer isn’t too sweet, which lets the pumpkin spice shine. The crust stays crisp even after a day in the fridge. And the pumpkin layer has just the right amount of richness without being heavy. I’ve spent a lot of time getting this right, so you don’t have to.
This is the kind of dessert that makes you close your eyes after the first bite. It’s comfort food reimagined—faster and simpler, but with the same soul-soothing satisfaction. Perfect for impressing guests without stress, or turning a simple fall evening into something memorable.
What Ingredients You Will Need
This recipe uses simple, wholesome ingredients that come together to create something truly special. Most of these are pantry staples, especially if you do any fall baking, and I’ve included notes on substitutions where they work well.
For the Graham Crust
- 1 ½ cups graham cracker crumbs (about 12 full sheets, crushed finely—I prefer using a food processor for the most even texture)
- ¼ cup granulated sugar
- 6 tablespoons unsalted butter, melted (salted butter works too, just reduce the added salt slightly)
- Pinch of salt (skip if using salted butter)
For the Cheesecake Layer
- 16 ounces cream cheese, softened to room temperature (I recommend Philadelphia for the creamiest results—trust me on this one)
- ½ cup granulated sugar
- 2 large eggs, room temperature (cold eggs can make the filling lumpy, so let them sit out for about 30 minutes)
- 1 teaspoon vanilla extract
- 2 tablespoons all-purpose flour (helps stabilize the cheesecake and prevents cracking)
For the Pumpkin Layer
- 1 cup pumpkin puree (not pumpkin pie filling—make sure you grab the pure stuff, I like Libby’s brand)
- ¼ cup granulated sugar
- ¼ cup light brown sugar, packed
- 2 large eggs, room temperature
- 1 teaspoon vanilla extract
- 1 ½ teaspoons pumpkin pie spice (or make your own: ½ teaspoon cinnamon, ¼ teaspoon nutmeg, ¼ teaspoon ginger, ¼ teaspoon cloves)
- ½ teaspoon ground cinnamon
- Pinch of salt
A quick note on the pumpkin puree—look for cans that contain 100% pumpkin with no added spices or sweeteners. If you’re feeling ambitious, you can roast and puree your own pumpkin, but honestly, canned works beautifully here and saves a ton of time.
For the graham cracker crumbs, you can buy them pre-crushed, but I find they’re not as consistent. I like to crush my own in a zip-top bag with a rolling pin or pulse them in a food processor. It takes two extra minutes and makes a noticeable difference in the crust texture.
Equipment Needed
You don’t need a professional bakery setup for these pumpkin cheesecake bars, but having the right tools makes the process smoother. Here’s what I use:
- 9×9-inch baking pan (an 8×8 works too, but your bars will be slightly thicker and may need a few extra minutes of baking time)
- Food processor or zip-top bag with rolling pin (for crushing graham crackers)
- Electric hand mixer or stand mixer (you can mix by hand, but an electric mixer gives you that silky, lump-free texture)
- Mixing bowls (at least three—one for crust, one for cheesecake, one for pumpkin layer)
- Parchment paper (this is non-negotiable for easy removal—I learned this the hard way)
- Spatula (for spreading layers evenly)
- Measuring cups and spoons
- Sharp knife (for clean cuts—run it under hot water between slices)
If you don’t have a food processor, don’t worry. Place the graham crackers in a zip-top bag, seal it, and go to town with a rolling pin or even a heavy skillet. It’s a little messy, but it works just as well. And if you don’t have a 9×9 pan, a 9-inch round cake pan or even a loaf pan can work—just adjust your baking time and expect a different shape.
Preparation Method
Alright, let’s get into the nitty-gritty. I’ve broken this down into clear steps with all the little details I wish someone had told me the first time I made these.
Step 1: Preheat and Prep the Pan
Preheat your oven to 325°F (163°C). Line your 9×9-inch baking pan with parchment paper, leaving some overhang on two opposite sides. These parchment “handles” will make lifting the bars out later a breeze. Lightly grease the parchment with butter or non-stick spray.
Step 2: Make the Graham Crust
In a medium bowl, combine 1 ½ cups graham cracker crumbs, ¼ cup sugar, and a pinch of salt. Pour in 6 tablespoons of melted butter and stir with a fork until the mixture looks like wet sand and holds together when pressed. Transfer to your prepared pan and press firmly and evenly into the bottom. I use the bottom of a measuring cup to really compact it. Bake for 10 minutes, then set aside to cool slightly while you make the fillings. Your kitchen is going to smell incredible already.
Step 3: Make the Cheesecake Layer
In a large bowl, beat 16 ounces of softened cream cheese with ½ cup sugar until smooth and creamy—about 2 minutes on medium speed. Scrape down the sides and bottom of the bowl. Add 2 room-temperature eggs one at a time, beating well after each addition. Mix in 1 teaspoon vanilla extract and 2 tablespoons flour until just combined. Don’t overmix, or the cheesecake can become dense. Set this aside.
Step 4: Make the Pumpkin Layer
In a separate bowl, whisk together 1 cup pumpkin puree, ¼ cup granulated sugar, ¼ cup packed brown sugar, and 2 room-temperature eggs until smooth. Add 1 teaspoon vanilla, 1 ½ teaspoons pumpkin pie spice, ½ teaspoon cinnamon, and a pinch of salt. Whisk until everything is beautifully combined and smells like autumn in a bowl.
Step 5: Layer the Bars
Pour the cheesecake mixture over the pre-baked crust and spread it evenly with a spatula. Then, gently spoon the pumpkin mixture over the cheesecake layer and spread carefully to cover. Don’t worry if they mix a little at the edges—it creates a pretty marbled effect. I actually love when that happens.
Step 6: Bake
Bake at 325°F (163°C) for 35-40 minutes. The edges should look set, and the center should still have a slight jiggle—like Jell-O, not like soup. It will continue to set as it cools. If the top starts browning too quickly, tent loosely with foil for the last 10 minutes.
Step 7: Cool and Chill
Let the bars cool completely on a wire rack—about 1 hour. Then transfer to the refrigerator and chill for at least 4 hours, but overnight is even better. This is the hardest part, I know. But trust me, the waiting is worth it. The flavors meld together and the texture becomes perfectly creamy.
Step 8: Slice and Serve
Using the parchment handles, lift the entire block of bars out of the pan onto a cutting board. Use a sharp knife to slice into squares. For the cleanest cuts, run your knife under hot water and wipe it dry between each slice. I usually get 9 large bars or 16 smaller ones, depending on how generous I’m feeling.
Cooking Tips & Techniques
I’ve made these pumpkin cheesecake bars enough times to have a few mishaps along the way, and I’m sharing them so you don’t have to repeat my mistakes.
Room temperature ingredients matter. I know, I know—every recipe says this. But here’s the thing: cold cream cheese creates lumpy cheesecake, and cold eggs can make the mixture curdle. Set everything out about 30-40 minutes before you start. If you’re in a hurry, cut the cream cheese into cubes and microwave it for about 10 seconds. Not more—you want it soft, not melted.
Don’t overmix the cheesecake layer. I did this once while distracted, and the bars turned out dense and almost rubbery. Mix just until the ingredients are combined. Overmixing incorporates too much air, which can cause cracks as the bars bake and cool.
Press that crust firmly. Loose crust crumbles when you try to cut the bars. Use the bottom of a flat glass or measuring cup to really pack it down. You want it to feel like compacted sand.
The jiggle test is your friend. When you think the bars might be done, give the pan a gentle shake. If the center wobbles like a firm Jell-O, you’re good. If it sloshes, give it more time. Overbaking is the most common mistake—it leads to dry, cracked cheesecake.
Patience with chilling. I once tried to cut these after only 2 hours in the fridge. Big mistake. They were a mess—gooey, falling apart, and not nearly as good. Give them the full 4 hours minimum. Overnight is truly the sweet spot. The texture firms up perfectly, and the flavors deepen.
Clean cuts every time. Run your knife under hot water, dry it, and slice. Repeat between each cut. It takes an extra 30 seconds and makes your bars look bakery-worthy.
Variations & Adaptations
One of the things I love about this recipe is how flexible it is. Here are some variations I’ve tried and loved:
Gluten-Free Version: Swap the graham crackers for gluten-free graham crackers or crushed gluten-free cookies. I’ve used gluten-free shortbread cookies with excellent results. The crust will be slightly different in texture but still delicious. Use a gluten-free flour blend in the cheesecake layer in place of all-purpose flour.
Vegan Adaptation: Use dairy-free cream cheese (I like Tofutti or Kite Hill), a flax egg (1 tablespoon ground flaxseed + 3 tablespoons water per egg, let sit for 5 minutes), and vegan butter in the crust. The texture won’t be quite as creamy, but it’s still fantastic. I’ve made this for a vegan friend’s birthday, and she asked for the recipe.
Spiced-Up Version: Add ¼ teaspoon of cardamom or allspice to the pumpkin layer for an extra layer of warmth. Or swirl in some caramel sauce before baking for a decadent treat. I did this once with a salted caramel sauce, and honestly, it was incredible.
Chocolate Twist: Add ½ cup of mini chocolate chips to the cheesecake layer, or drizzle melted dark chocolate over the top after chilling. The chocolate and pumpkin combination is surprisingly good—like a pumpkin spice mocha in bar form.
Nutty Crust: Replace ¼ cup of graham cracker crumbs with finely chopped pecans or walnuts. Toast them first for extra flavor. This adds a wonderful crunch and pairs beautifully with the pumpkin.
Individual Servings: Use a muffin tin lined with paper liners instead of a 9×9 pan. Press the crust into the bottom of each liner, add the fillings, and bake for about 18-20 minutes. Perfect for parties or portion control.
Serving & Storage Suggestions
These pumpkin cheesecake bars are wonderful served chilled straight from the fridge, but I also love letting them sit at room temperature for about 10 minutes before serving. The texture softens just slightly, making them even more luscious.
Serving Ideas: Top each bar with a dollop of whipped cream and a light dusting of cinnamon or nutmeg. For extra indulgence, drizzle with caramel sauce or a simple powdered sugar glaze. They pair beautifully with a hot cup of coffee, spiced chai, or even a glass of cold milk. For a Thanksgiving dessert spread, serve them alongside apple crisp or pecan pie for variety.
Storage: Store leftover bars in an airtight container in the refrigerator for up to 5 days. I like to place a layer of parchment paper between stacked bars to prevent sticking. The flavors actually continue to develop, so day two or three is often even better than day one.
Freezing: These bars freeze beautifully. Once fully chilled and set, cut them into squares and place them on a baking sheet lined with parchment. Freeze for about 1 hour until firm, then transfer the individual bars to a freezer-safe container or zip-top bag, separating layers with parchment. They’ll keep for up to 3 months. To thaw, transfer to the refrigerator overnight or let sit at room temperature for about 30 minutes.
Reheating: I actually prefer these cold, but if you like them slightly warm, pop an individual bar in the microwave for about 10-15 seconds. Just be careful not to overheat, or the cheesecake layer can become runny.
Nutritional Information & Benefits
While these pumpkin cheesecake bars are definitely a treat, they do offer a few nutritional perks worth noting. Here’s an approximate breakdown per bar (based on 9 servings):
| Nutrient | Amount Per Bar |
|---|---|
| Calories | 380 |
| Total Fat | 24g |
| Saturated Fat | 14g |
| Cholesterol | 135mg |
| Sodium | 320mg |
| Total Carbohydrates | 36g |
| Dietary Fiber | 2g |
| Sugars | 26g |
| Protein | 7g |
| Vitamin A | 120% DV |
| Calcium | 6% DV |
| Iron | 8% DV |
Health Highlights: Pumpkin is packed with vitamin A, which supports eye health and immune function. It’s also a good source of fiber and antioxidants. The cream cheese provides calcium and protein, though it’s also higher in saturated fat, so moderation is key. If you’re looking for a lighter option, you can use reduced-fat cream cheese, though the texture will be slightly less creamy.
Dietary Considerations: This recipe contains gluten, dairy, and eggs. For gluten-free and vegan variations, see the adaptations section above. These bars are naturally vegetarian.
I believe in enjoying desserts like these as part of a balanced lifestyle. They’re not an everyday snack, but for special occasions, cozy fall evenings, or whenever you need a little comfort, they’re absolutely worth every bite.
Conclusion
These cozy pumpkin cheesecake bars with graham crust have become my go-to fall dessert, and I think they’ll become yours too. They have everything you want in a seasonal treat—the warmth of pumpkin spice, the creaminess of cheesecake, and that buttery, crunchy crust that ties it all together.
What I love most about this recipe is how unfussy it is. It doesn’t require a water bath, complicated techniques, or hours of babysitting. It’s the kind of dessert that looks and tastes like you put in way more effort than you actually did. And honestly, isn’t that the best kind of recipe?
I’d love to hear how these turn out for you. Maybe you’ll add a little extra cinnamon, or try the chocolate chip variation, or serve them at your own fall gathering. Whatever you do, make them your own. That’s the beauty of a good recipe—it’s just a starting point for something delicious.
So go ahead, preheat that oven, and make some memories. And if you happen to have a sister-in-law who isn’t impressed by her own cooking, give her a call. She might just share her next secret recipe with you.
Frequently Asked Questions
Can I use pumpkin pie filling instead of pumpkin puree?
I don’t recommend it. Pumpkin pie filling is already sweetened and spiced, which will throw off the balance of the recipe. Stick with 100% pure pumpkin puree for the best results. The cans look similar, so double-check the label before you buy.
Why did my cheesecake layer crack?
Cracks usually happen from overbaking or overmixing. Make sure you pull the bars out when the center still has a slight jiggle. Also, avoid overmixing the cheesecake batter—too much air incorporated during mixing can cause cracks as it bakes and cools. Letting the bars cool slowly on the counter before refrigerating also helps prevent cracking.
Can I make these bars ahead of time?
Absolutely. In fact, I recommend it. These pumpkin cheesecake bars taste even better after a day in the fridge. You can make them up to 3 days in advance. Just keep them covered in the refrigerator and add any toppings right before serving. They’re perfect for holiday entertaining when you want to cross one thing off your to-do list early.
How do I get clean, neat slices?
Use a sharp knife and run it under hot water between each cut. Wipe the blade dry before slicing. This prevents the cheesecake from sticking to the knife and gives you those beautiful, bakery-style edges. Chilling the bars for the full 4 hours (or overnight) also makes a big difference in how cleanly they cut.
Can I use a different type of crust?
Yes, definitely. Shortbread cookies, vanilla wafers, or ginger snaps all make excellent crusts for these bars. Ginger snaps, in particular, add a lovely spicy kick that complements the pumpkin beautifully. Just keep the butter-to-crumb ratio the same—about 6 tablespoons of melted butter for every 1 ½ cups of crumbs.
Pin This Recipe!
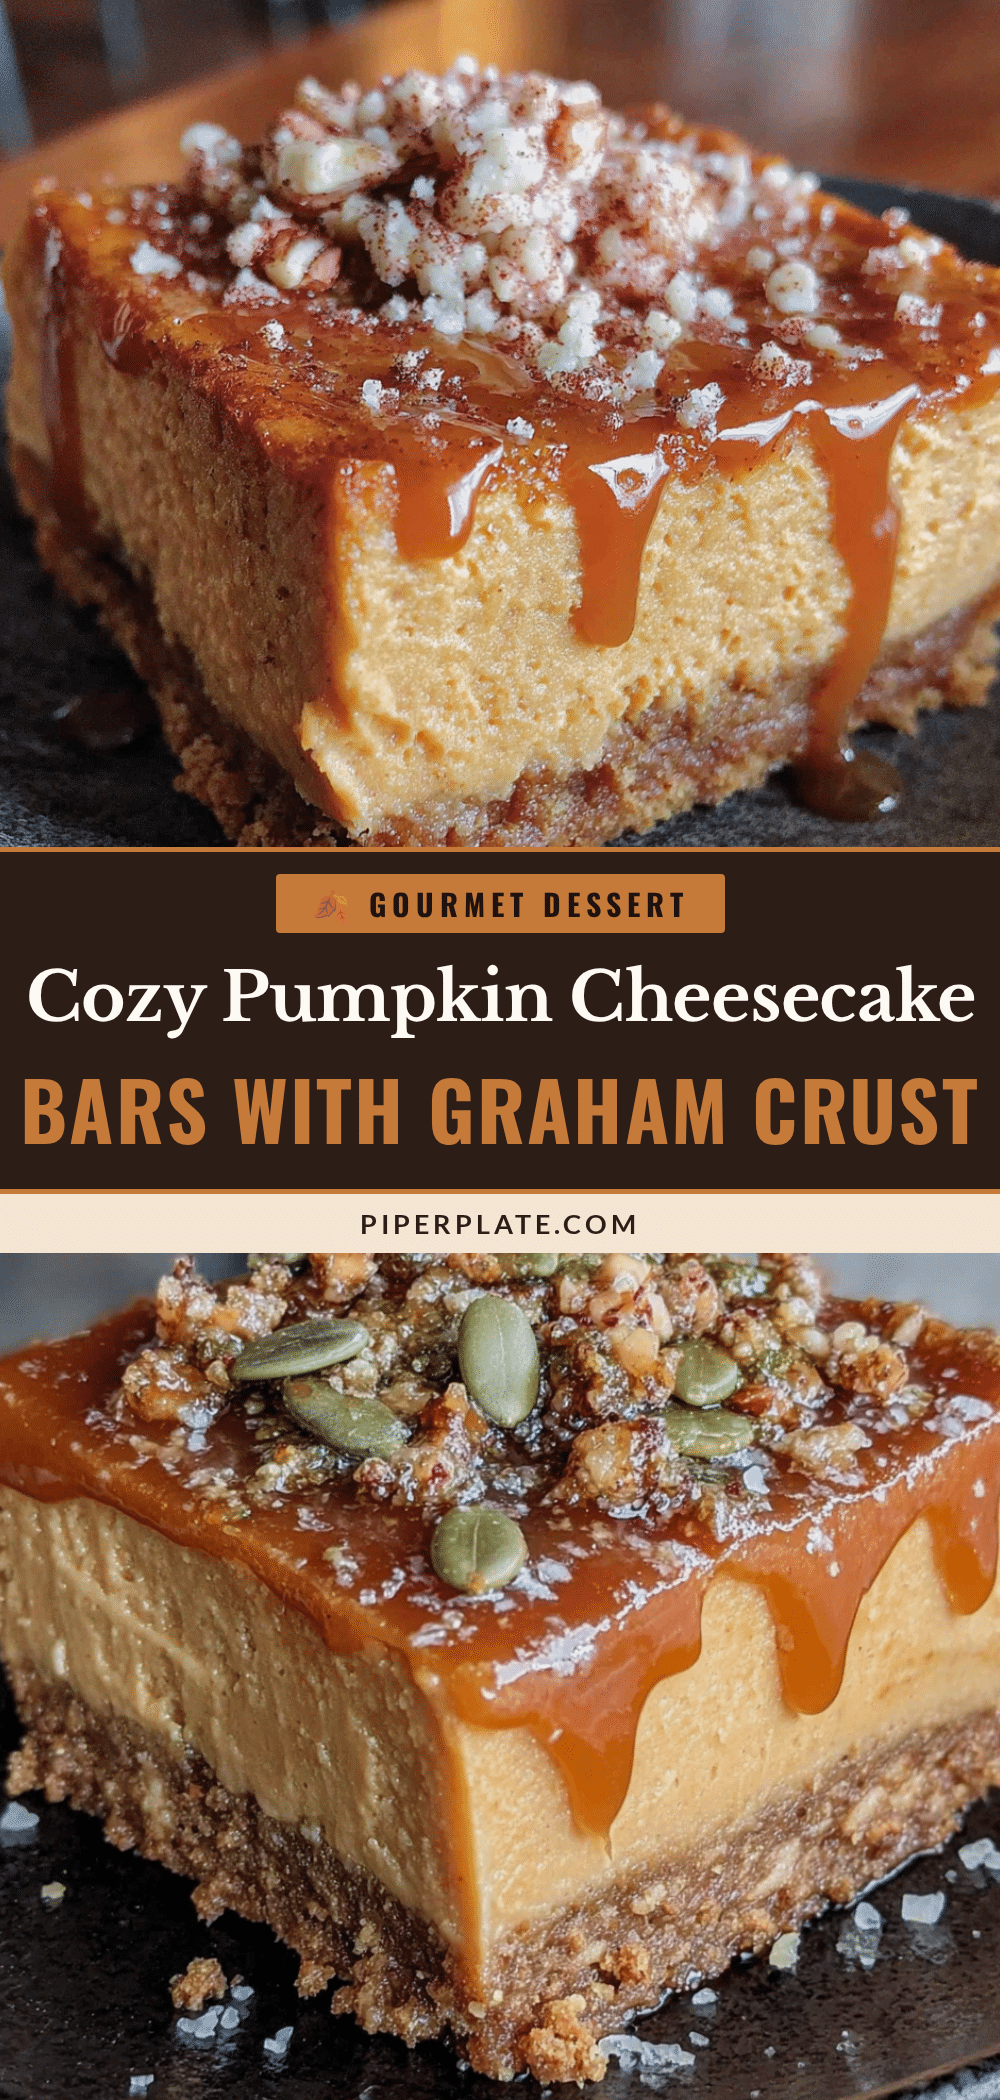
Cozy Pumpkin Cheesecake Bars with Easy Graham Crust
These pumpkin cheesecake bars feature a buttery graham cracker crust, a creamy cheesecake layer, and a spiced pumpkin topping. They’re an easy, no-water-bath fall dessert that’s perfect for gatherings or cozy nights in.
- Prep Time: 15 minutes
- Cook Time: 35-40 minutes
- Total Time: 4 hours 50 minutes (includes chilling)
- Yield: 9 large bars or 16 smaller bars 1x
- Category: Dessert
- Cuisine: American
Ingredients
- 1 ½ cups graham cracker crumbs (about 12 full sheets)
- ¼ cup granulated sugar
- 6 tablespoons unsalted butter, melted
- Pinch of salt
- 16 ounces cream cheese, softened to room temperature
- ½ cup granulated sugar
- 2 large eggs, room temperature
- 1 teaspoon vanilla extract
- 2 tablespoons all-purpose flour
- 1 cup pumpkin puree (not pumpkin pie filling)
- ¼ cup granulated sugar
- ¼ cup light brown sugar, packed
- 2 large eggs, room temperature
- 1 teaspoon vanilla extract
- 1 ½ teaspoons pumpkin pie spice
- ½ teaspoon ground cinnamon
- Pinch of salt
Instructions
- Preheat oven to 325°F (163°C). Line a 9×9-inch baking pan with parchment paper, leaving overhang on two opposite sides. Lightly grease the parchment.
- In a medium bowl, combine graham cracker crumbs, ¼ cup sugar, and a pinch of salt. Pour in melted butter and stir until mixture resembles wet sand. Press firmly into the bottom of the prepared pan. Bake for 10 minutes, then set aside to cool slightly.
- In a large bowl, beat cream cheese and ½ cup sugar until smooth and creamy, about 2 minutes. Add eggs one at a time, beating well after each. Mix in vanilla and flour until just combined. Set aside.
- In a separate bowl, whisk together pumpkin puree, ¼ cup granulated sugar, brown sugar, and eggs until smooth. Add vanilla, pumpkin pie spice, cinnamon, and a pinch of salt. Whisk until combined.
- Pour cheesecake mixture over the pre-baked crust and spread evenly. Gently spoon pumpkin mixture over the cheesecake layer and spread carefully.
- Bake for 35-40 minutes, until edges are set and center has a slight jiggle. Tent with foil if top browns too quickly.
- Cool completely on a wire rack (about 1 hour), then refrigerate for at least 4 hours or overnight.
- Using parchment handles, lift bars out of pan onto a cutting board. Slice into squares with a sharp knife, running it under hot water between cuts for clean edges.
Notes
Room temperature ingredients are crucial for a smooth texture. Don’t overmix the cheesecake layer. Press the crust firmly to prevent crumbling. Use the jiggle test to avoid overbaking. Chill for at least 4 hours (overnight is best) for clean slices. For gluten-free, use gluten-free graham crackers and flour blend. For vegan, use dairy-free cream cheese, flax eggs, and vegan butter.
Nutrition
- Serving Size: 1 bar (based on 9 se
- Calories: 380
- Sugar: 26
- Sodium: 320
- Fat: 24
- Saturated Fat: 14
- Carbohydrates: 36
- Fiber: 2
- Protein: 7
Keywords: pumpkin cheesecake bars, graham crust, fall dessert, pumpkin spice, easy cheesecake bars


