Love this? Save it for later!
Share the inspiration with your friends
My husband had claimed to hate Halloween for years. Every October, he’d grumble about the expense, the sugar highs, the cheap costumes that fell apart before sunset. Then I caught him—last October, three days before Halloween, standing over a platter of these severed finger hot dogs with a look of pure, unadulterated glee. He was arranging them on a bed of shredded lettuce, adjusting each “fingernail” made of ketchup, and honestly, he looked happier than I’d seen him in months. The guy who swore Halloween was a waste of money had become the unofficial party planner, all because of hot dogs and a little creativity.
I made these on a whim, you know? The kids were begging for a Halloween party, but our grocery budget was already stretched thin. I had a pack of the cheapest hot dogs from the discount grocery store, some hot dog buns on clearance, and a bottle of ketchup. That was it. No special equipment, no expensive decorations, no elaborate costumes. Just hot dogs, a sharp knife, and a willingness to look a little ridiculous. The kids went absolutely wild. They thought I was the coolest mom on the block. And my husband? Well, he’s been planning this year’s spread since August.
These budget-friendly severed finger hot dogs are proof that you don’t need to spend a fortune to have a memorable Halloween. They’re creepy, they’re fun, and they cost pennies per serving. Maybe you’ve been there—staring at the price tag of a pre-made Halloween platter and thinking, “I can do better.” You absolutely can. And honestly, this recipe is so simple, it almost feels like cheating. Let me show you how to pull off the best Halloween trick without breaking the bank.
Why You’ll Love This Recipe
Let me tell you why these hot dogs have become our family’s non-negotiable Halloween tradition. I’ve tested this method about a dozen times now, tweaking the cuts and the cooking time until every “finger” looks genuinely gnarly. It’s the kind of recipe that makes you feel like a kitchen magician without any of the stress.
- Incredibly Budget-Friendly: We’re talking about hot dogs, folks. A pack of eight costs maybe two dollars. You can feed a crowd of hungry ghosts and goblins for under ten bucks. That leaves more room in the budget for candy, if you’re into that sort of thing.
- So Simple the Kids Can Help: My eight-year-old helped me cut the “knuckles” last year. It’s that easy. You just need a steady hand and a sense of humor. It’s a fantastic way to get the whole family involved in the Halloween prep.
- Perfect for Parties and School Events: Whether it’s a classroom party, a neighborhood gathering, or just a spooky movie night at home, these fingers are a guaranteed hit. They’re the first thing to disappear from the snack table, every single time.
- Crowd-Pleaser for All Ages: Kids love the gross-out factor, and adults appreciate the cleverness. Even picky eaters can’t resist a hot dog, especially when it looks like a severed finger. It’s a universal win.
- Unbelievably Customizable: You can make them as mild or as creepy as you want. Add some sliced almond “fingernails” for extra realism, or use black bean paste for a truly gruesome look. The base recipe is just a starting point for your own twisted creativity.
What makes this recipe different from the rest? It’s the technique, honestly. Most people just cut a hot dog and call it a day. But I figured out that par-cooking the hot dogs first gives them that perfect, slightly cracked skin that looks like real, wrinkled fingers. It’s a tiny detail, but it makes all the difference. This isn’t just another Halloween snack—it’s your best version of a classic trick.
What Ingredients You Will Need
This recipe uses the simplest ingredients to deliver maximum gross-out fun. You likely already have most of these in your kitchen, which is the whole point. Let’s break down what you’ll need and why each ingredient matters.
- Hot Dogs (1 pack, 8-count): The star of the show. Go with the cheapest brand you can find. Honestly, the lower quality hot dogs actually work better here—they have a softer texture and a more uniform color that looks more like real flesh. I usually grab the store brand or whatever’s on sale. No one will taste the difference once they’re covered in ketchup.
- Hot Dog Buns (1 pack, 8-count): You’ll need one bun per finger. Again, the cheapest option is perfect. White bread buns work best because they’re soft and pliable. I’ve tried whole wheat, and they just don’t have the same creepy “pale skin” vibe. Look for buns that are soft and slightly squishy.
- Ketchup (about ¼ cup): This is your blood. Use a good quality ketchup for the best color. I prefer Heinz because it has that deep, rich red that looks genuinely alarming on a hot dog finger. You’ll use it for the “wound” at the base and for the fingernails.
- Mustard (optional, about 2 tablespoons): This is for the “pus” or “infection” detail. A little yellow mustard squeezed into the knuckle cuts adds a truly disgusting level of realism. My kids beg for this, but you can skip it if you want a cleaner look.
- Sliced Almonds (optional, 8 pieces): These make excellent fingernails. Simply press a sliced almond into the tip of each hot dog before cooking. It adds a crunchy texture and a genuinely unsettling visual. I found this trick on a food blog years ago, and it’s been a staple ever since.
- Shredded Lettuce (about 2 cups): This is your “bed” for serving. The green contrasts beautifully with the red ketchup and the pale hot dogs, making the whole platter look like a crime scene. Iceberg lettuce works best because it’s crisp and holds its shape.
- Optional Garnishes: You can get creative here. Black olives sliced into “eyes,” a little squirt of sriracha for extra blood, or some chopped green onions for “grass.” The possibilities are endless, and they’re all cheap.
Equipment Needed
You won’t need any fancy gadgets for this recipe. That’s the beauty of it. Here’s what you’ll need to pull off these creepy fingers.
- A Sharp Paring Knife: This is the most important tool. You need a small, sharp knife to make precise cuts for the knuckles and fingernails. A dull knife will just squish the hot dog, and you’ll end up with a mess. I use my old Wusthof paring knife, and it works perfectly.
- A Cutting Board: Any cutting board will do. I prefer a plastic one for easy cleanup, especially when dealing with raw hot dogs. Just make sure it’s stable so you don’t slip while cutting.
- A Large Skillet or Griddle: You’ll need a flat surface to cook the hot dogs and toast the buns. A non-stick skillet works best because it prevents sticking and makes cleanup a breeze. I’ve also used an electric griddle for cooking larger batches.
- A Small Bowl for Ketchup: You’ll need a small bowl to hold the ketchup for dipping the “wounds.” A ramekin or a small condiment bowl works perfectly.
- A Serving Platter: Any large platter will do. I use a white platter to make the red ketchup stand out, but anything you have on hand works. The key is to have enough space to arrange the fingers in a gruesome display.
- Tongs: For flipping the hot dogs and handling the buns. I keep a pair of silicone-tipped tongs in my drawer for exactly this kind of job.
Preparation Method
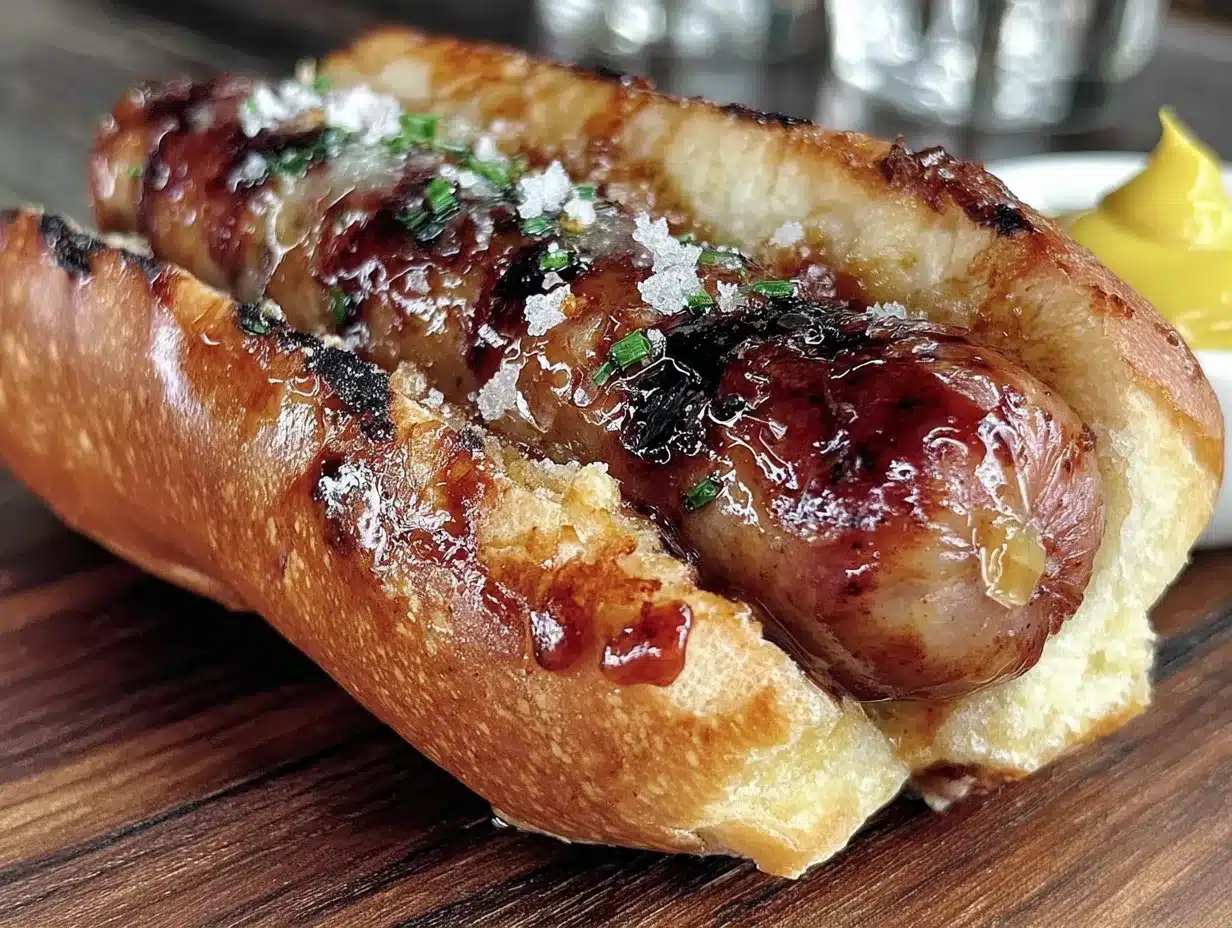
Alright, let’s get to the fun part. I’m going to walk you through this step-by-step, just like I do for my own kids. Don’t be intimidated—it’s way easier than it looks.
- Prep the Hot Dogs (5 minutes): Start by taking your hot dogs out of the package. Pat them dry with a paper towel. This helps the cuts stay clean and prevents them from sticking to the knife. Now, here’s the trick: cut each hot dog in half crosswise. You’ll have two shorter pieces. This gives you more “fingers” per pack and makes them look more realistic—real fingers aren’t a foot long, you know.
- Create the Knuckles (10 minutes): This is where the magic happens. Take one hot dog half and make three shallow diagonal cuts across the top. Each cut should be about ¼ inch deep and spaced about ½ inch apart. These are your knuckles. Don’t cut all the way through—you want the hot dog to stay in one piece. Repeat this for all the hot dog halves. I like to make the cuts at a slight angle so they look more like real finger joints.
- Add the Fingernail (5 minutes): If you’re using sliced almonds, now’s the time. Take one almond slice and gently press it into the tip of each hot dog half. Push it in just enough so it stays put. The almond will toast slightly during cooking, giving it a nice, crunchy texture. If you’re skipping the almonds, just make a small slit at the tip for the “nail bed.”
- Create the “Wound” (5 minutes): This is the part that really sells the illusion. Using the tip of your knife, make a small, jagged cut at the base of each hot dog half. This represents the “severed” end. Don’t make it too neat—you want it to look ragged and torn. I usually make a few quick, uneven cuts to give it that realistic, gnarly look.
- Par-Cook the Hot Dogs (10 minutes): This is my secret step. Place the hot dogs in a single layer in your skillet over medium heat. Cook them for about 3-4 minutes, turning occasionally, until they start to brown slightly. The key is to not overcook them. You want them to be heated through but still soft and pliable. This par-cooking step gives them that slightly wrinkled, “dead skin” texture that makes them look so real. I learned this trick after my first batch came out looking like smooth, shiny sausages—not creepy at all.
- Toast the Buns (5 minutes): While the hot dogs are cooking, split your hot dog buns open. Place them cut-side down on the skillet or griddle for about 1-2 minutes, until they’re lightly toasted. This gives them a nice crunch and prevents them from getting soggy when you add the ketchup. I like to toast them just until they have a few golden brown spots.
- Assemble the Fingers (5 minutes): Now for the fun part. Take a toasted bun and place a cooked hot dog half inside. The “wound” end should stick out slightly from the bun. This is the “severed” end. Using a small spoon or a butter knife, dab a generous amount of ketchup onto the wound. Let it drip down the sides a little. If you’re using mustard, squeeze a tiny bit into the knuckle cuts. This is the “infection” detail—it’s disgusting, but it looks incredible.
- Arrange on the Platter (5 minutes): Spread a bed of shredded lettuce on your serving platter. Arrange the fingers on top, spacing them out so they look like they’ve been scattered. You can angle them in different directions, cross them over each other, or even stack a few. The goal is to make it look like a chaotic, gruesome scene. I like to drizzle a little extra ketchup around the platter for added “blood” effect.
- Serve Immediately (0 minutes): These are best served right away, while the buns are still warm and the hot dogs are soft. Set them out on the snack table and watch them disappear. Trust me, you’ll be lucky to get one for yourself.
Cooking Tips & Techniques
I’ve made these hot dogs enough times to know what works and what doesn’t. Let me share some of the lessons I’ve learned the hard way so you don’t have to make the same mistakes.
Don’t Overcook the Hot Dogs. This is the number one mistake I see. Overcooked hot dogs become tough and rubbery, and they lose that soft, fleshy texture that makes them look like real fingers. You want them just heated through, with a slight give when you squeeze them. I pull them off the heat as soon as they start to brown. My first batch was a disaster because I left them on the skillet too long, and they ended up looking like wrinkled, shriveled-up sausages. Not a good look.
Use a Sharp Knife for the Cuts. A dull knife will squish the hot dog and make the cuts look messy. You want clean, precise cuts for the knuckles. I sharpen my paring knife before I start, and it makes all the difference. If your knife is dull, you’ll end up with ragged edges that don’t look like real knuckles.
Toast the Buns Just Right. You want them to have a little crunch, but you don’t want them to be hard. I toast them for about 1-2 minutes per side, just until they have a few golden spots. If you toast them too long, they’ll become brittle and crack when you try to insert the hot dog. I learned this the hard way when I walked away for a minute and came back to a skillet full of burnt buns.
Let the Ketchup Pool. Don’t just dab the ketchup on the wound—let it pool a little. Use the back of a spoon to spread it around and let it drip down the sides. This creates the illusion of fresh blood. I like to add a little extra ketchup to the platter itself, so it looks like the fingers are bleeding onto the lettuce.
Work in Batches. If you’re making a large batch, don’t try to cook all the hot dogs at once. Work in batches of 4-6 pieces to ensure even cooking. This also gives you time to assemble the fingers while the next batch is cooking. I usually cook one batch, assemble them, and then start the next batch. It keeps the workflow smooth and prevents the hot dogs from getting cold.
Variations & Adaptations
One of the best things about this recipe is how easy it is to adapt. I’ve tried several variations over the years, and they’ve all been hits. Here are a few of my favorites.
Spicy “Infected” Fingers: For a more adult version, mix a little sriracha or hot sauce into the ketchup before applying it to the wounds. The red color is even more intense, and the heat adds a nice kick. I made these for a Halloween party last year, and they were gone in minutes. Just be careful—the heat can sneak up on you.
Vegetarian “Fingers”: You can easily make these vegetarian by using plant-based hot dogs. I’ve tried several brands, and the ones made from pea protein work best because they have a similar texture to regular hot dogs. Just follow the same cutting and cooking instructions. The taste is slightly different, but the visual effect is just as creepy.
Cheesy “Bone” Fingers: For an extra layer of grossness, insert a thin strip of string cheese into the center of each hot dog before cooking. When you cut into the finger, the cheese oozes out like “bone marrow.” I tried this on a whim one year, and the kids were both horrified and delighted. It’s a bit more work, but the payoff is huge.
Gluten-Free Option: Use gluten-free hot dog buns or serve the fingers on a bed of gluten-free crackers. The hot dogs themselves are typically gluten-free, but always check the label to be sure. I have a friend with celiac disease, and she loves these with gluten-free buns from the local health food store.
Mini “Fingers” for Appetizers: Instead of cutting the hot dogs in half, cut them into thirds. You’ll get smaller, more finger-sized pieces that are perfect for appetizers. Just adjust the cooking time slightly—they’ll cook faster because they’re smaller. I made these for a Halloween cocktail party, and they were the perfect bite-sized snack.
Serving & Storage Suggestions
These severed finger hot dogs are best served fresh, but I’ve got some tips for making the most of them, whether you’re serving them right away or saving some for later.
Serving Temperature: Serve these warm, right off the skillet. The warm buns and soft hot dogs are the perfect contrast to the cold, crisp lettuce. I set them out on the snack table about 10 minutes before the party starts, so they’re still warm when guests arrive. If you’re serving them at a buffet, keep a small warming tray nearby to maintain the temperature.
Presentation Ideas: Arrange the fingers on a bed of shredded lettuce to look like a crime scene. You can also scatter some “blood” (extra ketchup) around the platter and add a few “eyeballs” (pitted black olives) for extra creepiness. I like to use a dark-colored platter to make the red ketchup pop. For a truly gruesome display, arrange the fingers in a pile, as if they’ve been carelessly discarded.
Complementary Dishes: These pair perfectly with other Halloween snacks. I usually serve them alongside “Witch’s Brew” punch (limeade with dry ice for a smoky effect) and “Mummy” cookies (store-bought cookies wrapped in frosting bandages). The combination is always a hit. For a savory option, try serving them with “Graveyard” dip (guacamole with tortilla chip “tombstones”).
Storage Instructions: If you have leftovers (which is rare in my house), store the assembled fingers in an airtight container in the refrigerator for up to 2 days. The buns will soften slightly, but the flavor will still be good. To reheat, place them on a baking sheet in a 350°F oven for 5-7 minutes, or until warmed through. Avoid microwaving, as it will make the buns soggy.
How Flavors Develop: Honestly, these are best eaten fresh. The magic is in the contrast between the warm, soft hot dog and the cool, crisp lettuce. If you store them overnight, the ketchup will soak into the bun, and the hot dogs will lose some of their texture. That said, they’re still perfectly edible the next day—just not as impressive.
Nutritional Information & Benefits
Let’s be real—these are hot dogs. They’re not health food. But if you’re going to indulge, here’s what you’re getting per serving (one finger with bun and ketchup).
| Nutrient | Amount per Serving |
|---|---|
| Calories | 280 |
| Total Fat | 15g |
| Saturated Fat | 5g |
| Cholesterol | 30mg |
| Sodium | 720mg |
| Total Carbohydrates | 28g |
| Dietary Fiber | 1g |
| Sugars | 6g |
| Protein | 10g |
Now, let’s talk about the health benefits—yes, there are a few. Hot dogs are a source of protein, which helps keep you full and satisfied. The ketchup provides a small amount of lycopene, an antioxidant linked to heart health. And the lettuce adds a tiny bit of fiber and vitamins. Is it a balanced meal? No. But as an occasional Halloween treat, it’s fine. The real benefit is the fun and the memories you create with your family. That’s worth more than any nutrient.
For those with dietary concerns, these are not suitable for vegetarians (unless you use plant-based hot dogs) or those on a low-sodium diet. They also contain gluten from the buns. Always check the labels on your hot dogs and buns for specific allergen information.
Conclusion
These budget-friendly severed finger hot dogs are the perfect Halloween treat. They’re creepy, they’re fun, and they cost almost nothing to make. I love this recipe because it proves that you don’t need fancy ingredients or expensive decorations to create a memorable Halloween experience. All you need is a little creativity, a sharp knife, and a willingness to have fun.
I encourage you to make these your own. Experiment with the variations, try different garnishes, and don’t be afraid to get a little weird. Halloween is all about letting your freak flag fly, and these fingers are the perfect way to do it. My family looks forward to them every year, and I have a feeling yours will too.
So go ahead—grab a pack of hot dogs and get to work. And when you do, I want to hear about it. Leave a comment below and tell me how your fingers turned out. Did you try the almond fingernails? The cheese bone marrow? I can’t wait to see your creations. Happy Halloween, and happy cooking!
Frequently Asked Questions
Can I make these ahead of time for a party?
Yes, you can prepare the hot dogs a day in advance. Cut the knuckles and fingernails, then store the uncooked hot dogs in an airtight container in the refrigerator. Cook and assemble them just before serving for the best texture and appearance. The buns are best toasted fresh.
What kind of hot dogs work best for this recipe?
Cheaper, lower-quality hot dogs actually work best because they have a softer texture and a more uniform color that looks like real flesh. Avoid premium or all-beef hot dogs, as they tend to be firmer and don’t take the cuts as well. Store brands or sale items are perfect.
Can I use something other than ketchup for the blood?
Absolutely! You can use sriracha, tomato paste thinned with a little water, or even a store-bought “blood” sauce. For a sweeter option, use strawberry syrup or raspberry jam thinned with water. Just make sure whatever you use has a deep red color for the best visual effect.
How do I get the fingernails to stay on during cooking?
Press the sliced almond firmly into the tip of the hot dog before cooking. The heat from the skillet will help it adhere. If you’re worried about them falling off, you can use a tiny dab of cream cheese or peanut butter as “glue.” I’ve never had an issue with them falling off during cooking.
Are these safe for kids to help make?
Yes, with supervision. Kids can help with the cutting (using a butter knife for younger children) and the assembly. It’s a great way to get them involved in Halloween preparations. Just make sure an adult handles the sharp knife for the knuckle cuts and fingernail slits.
Pin This Recipe!
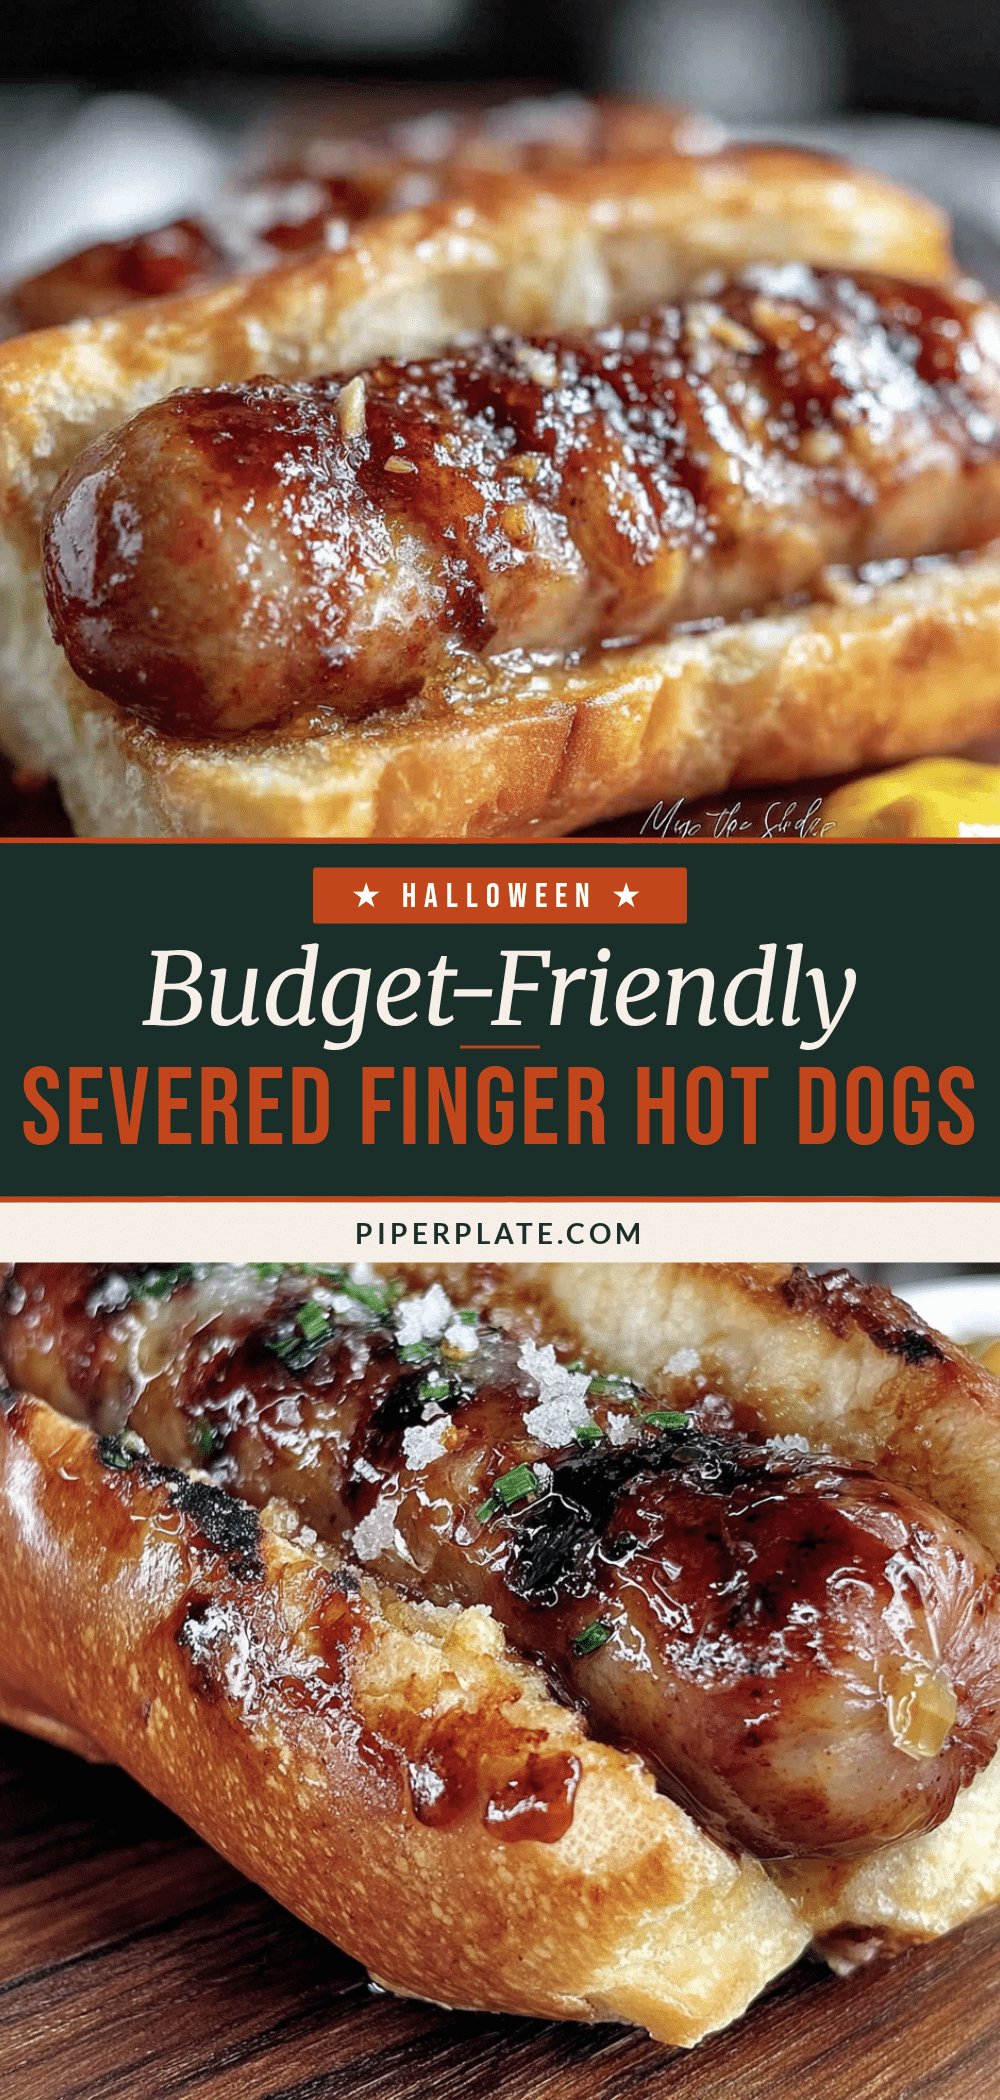
Easy Budget-Friendly Severed Finger Hot Dogs for Halloween
These budget-friendly severed finger hot dogs are proof that you don’t need to spend a fortune to have a memorable Halloween. They’re creepy, they’re fun, and they cost pennies per serving.
- Prep Time: 30 minutes
- Cook Time: 15 minutes
- Total Time: 45 minutes
- Yield: 8 servings 1x
- Category: Appetizer
- Cuisine: American
Ingredients
- 1 pack (8-count) hot dogs
- 1 pack (8-count) hot dog buns
- 1/4 cup ketchup
- 2 tablespoons mustard (optional)
- 8 sliced almonds (optional)
- 2 cups shredded lettuce
Instructions
- Prep the Hot Dogs: Pat hot dogs dry with a paper towel. Cut each hot dog in half crosswise.
- Create the Knuckles: Make three shallow diagonal cuts across the top of each hot dog half, about 1/4 inch deep and spaced 1/2 inch apart.
- Add the Fingernail: If using, press a sliced almond into the tip of each hot dog half. Alternatively, make a small slit at the tip for the nail bed.
- Create the ‘Wound’: Using the tip of a knife, make a small, jagged cut at the base of each hot dog half to represent the severed end.
- Par-Cook the Hot Dogs: Place hot dogs in a single layer in a skillet over medium heat. Cook for 3-4 minutes, turning occasionally, until they start to brown slightly.
- Toast the Buns: Split hot dog buns open and place cut-side down on the skillet for 1-2 minutes until lightly toasted.
- Assemble the Fingers: Place a cooked hot dog half inside each toasted bun, with the wound end sticking out. Dab a generous amount of ketchup onto the wound. If using, squeeze a tiny bit of mustard into the knuckle cuts.
- Arrange on the Platter: Spread a bed of shredded lettuce on a serving platter. Arrange the fingers on top, spacing them out. Drizzle extra ketchup around the platter for added blood effect.
- Serve Immediately: Serve warm.
Notes
Don’t overcook the hot dogs; they should be just heated through with a slight give. Use a sharp knife for clean cuts. Toast buns just until golden. Let ketchup pool on the wound for a bloody effect. Work in batches if making a large quantity.
Nutrition
- Serving Size: 1 finger with bun an
- Calories: 280
- Sugar: 6
- Sodium: 720
- Fat: 15
- Saturated Fat: 5
- Carbohydrates: 28
- Fiber: 1
- Protein: 10
Keywords: Halloween, hot dogs, budget-friendly, severed fingers, party snack, spooky, easy


