Love this? Save it for later!
Share the inspiration with your friends
Let me tell you, after that first failed attempt—where I used way too many wet ingredients and ended up with a sad, soggy board—I almost gave up. But the memory of that Parisian café kept nagging at me. After six tries (and a lot of cheese eaten in the name of research), I finally cracked the code. This isn’t just a snack board; it’s a mood, a moment, and honestly, the perfect way to celebrate a cozy Halloween night in.
- Perfect for Two: No more massive party platters. This is scaled just right for a date night or a quiet evening with your best friend.
- Simple & Spooky: Uses everyday ingredients you can find at any grocery store, but with a few fun, creepy-cute twists.
- No Cooking Required: Seriously, the most you’ll do is slice some cheese and arrange things. It’s the ultimate low-effort, high-reward recipe.
- Customizable to the Max: Hate olives? Leave them out. Love ghost-shaped cheese? We’ll get to that. This board is all about your favorite flavors.
- Instant Party Atmosphere: It looks so impressive, your guest will think you spent hours on it. Our little secret, right?
This recipe is different because it focuses on balance. It’s not just a pile of snacks. It’s a curated experience with salty, sweet, crunchy, and creamy elements that play off each other perfectly. It’s comfort food for the spooky season—familiar and fun, but with that little bit of magic that makes a Tuesday night feel like a celebration.
What Ingredients You Will Need
This recipe uses simple, wholesome ingredients to deliver a big, festive impact without the fuss. Most of these are pantry staples or easy to find at your local market, especially around Halloween.
- The Cheeses (The Stars):
- 4 oz Brie or Camembert (soft, creamy, and perfect for spreading)
- 4 oz Sharp Cheddar (I prefer a block you can cut into spooky shapes)
- 2 oz Aged Gouda (adds a nutty, slightly sweet flavor)
- The Meats (The Savory Bite):
- 4 oz Prosciutto (thinly sliced, for a salty, melt-in-your-mouth texture)
- 4 oz Genoa Salami (sliced into rounds, for a chewy, peppery kick)
- The Spooky Elements (The Fun Part):
- Small cookie cutters in Halloween shapes (ghost, bat, pumpkin)
- Black olives (sliced into “spider” bodies)
- Pretzel sticks (for “witch’s broom” handles or “bones”)
- The Crunch & Sweet:
- 1/2 cup Roasted, salted almonds
- 1/2 cup Pumpkin seeds (pepitas)
- 1/4 cup Dried cranberries or cherries
- 1/4 cup Dark chocolate chips or a small chocolate bar (broken into pieces)
- The Accompaniments:
- Small bunch of red grapes (washed and dried)
- Fresh figs or apple slices (if in season, adds a lovely sweetness)
- Your favorite crackers or crostini (I love a good water cracker and a rosemary flatbread)
- Honey or fig jam (for drizzling or dipping)
Ingredient Tips: For the best texture, make sure your cheeses are at room temperature before serving. I personally love the creamy texture of a good President Brie, but any brand will work. If you can’t find aged Gouda, a good Gruyère is a fantastic substitute. For a dairy-free option, use your favorite plant-based cheese slices and a nut-based cracker.
Equipment Needed
You don’t need a lot of fancy gear for this, which is part of the charm. Here’s what will make your life easier:
- A Small Wooden Board or Platter: A cheese board, a small cutting board, or even a large dinner plate will work. The key is a flat surface.
- Small Halloween Cookie Cutters: This is the secret weapon. A set of tiny ghost, bat, and pumpkin cutters is all you need to transform ordinary cheese into a spooky masterpiece.
- A Sharp Knife: For slicing the hard cheeses and fruits.
- Small Bowls or Ramekins: For the olives, honey, or jam. Keeps the board tidy.
- Cheese Knives or Spreaders: If you have them, great. If not, a butter knife works perfectly.
I’ve used everything from a fancy slate board to an old wooden cutting board I found at a thrift store. Honestly, the board doesn’t matter—it’s what you put on it that counts. If you don’t have cookie cutters, you can just slice the cheddar into cubes or use a knife to carve simple shapes. It’s all about the fun!
Preparation Method
Alright, let’s build this board. It’s more about assembly than actual cooking, which is why it’s so perfect for a busy weeknight or a last-minute gathering.
- Prep Your Canvas: Take your board and give it a quick wipe. Place your small bowls or ramekins on the board first. I like to put them in the corners or one in the center to anchor the design. Fill one with honey or fig jam and another with the black olives.
- Create the Cheese Shapes (The Fun Part!): Take your block of sharp cheddar. If it’s a bit thick, you can slice it into 1/4-inch thick slabs. Press your Halloween cookie cutter firmly into the cheese slab and wiggle it gently to release. You’ll get adorable little ghosts, bats, or pumpkins. Don’t worry if they break—just eat the broken pieces! Arrange these cute shapes on the board. For the brie, I like to leave it whole or cut it into a large wedge. It’s the soft, creamy anchor of the board.
- Add the Meats: Fold the prosciutto slices into loose ribbons or rosettes. Place them in a cluster on the board. Fan out the salami slices in a row or a small pile. The saltiness of the meat is a perfect counterpoint to the creamy cheese.
- Build the “Spooky” Elements: This is where you get creative! Take a few pretzel sticks and arrange them on the board to look like little bones. You can also stick a pretzel stick into a round of salami to make a tiny “witch’s broom.” Place your “spider” olives (just whole olives) near the edge of the board.
- Fill in the Gaps with Crunch and Sweet: Sprinkle the almonds, pumpkin seeds, dried cranberries, and chocolate pieces into the empty spaces on the board. Don’t overthink it—just let them fall naturally. They fill the visual gaps and provide those little bursts of flavor and texture.
- Add the Fresh Elements: Place small clusters of red grapes on the board. If using figs or apple slices, tuck them in near the cheese. The freshness cuts through the richness of everything else.
- Finish with Crackers: Fan out your crackers or crostini in a few spots around the board. They are the vehicles for all that deliciousness. Place a small cheese knife or spreader next to the brie.
- The Final Touch: Drizzle a little honey over the brie or the gouda. It adds a touch of sweetness and makes the board look extra polished. Step back, admire your work, and you’re ready to serve!
Cooking Tips & Techniques
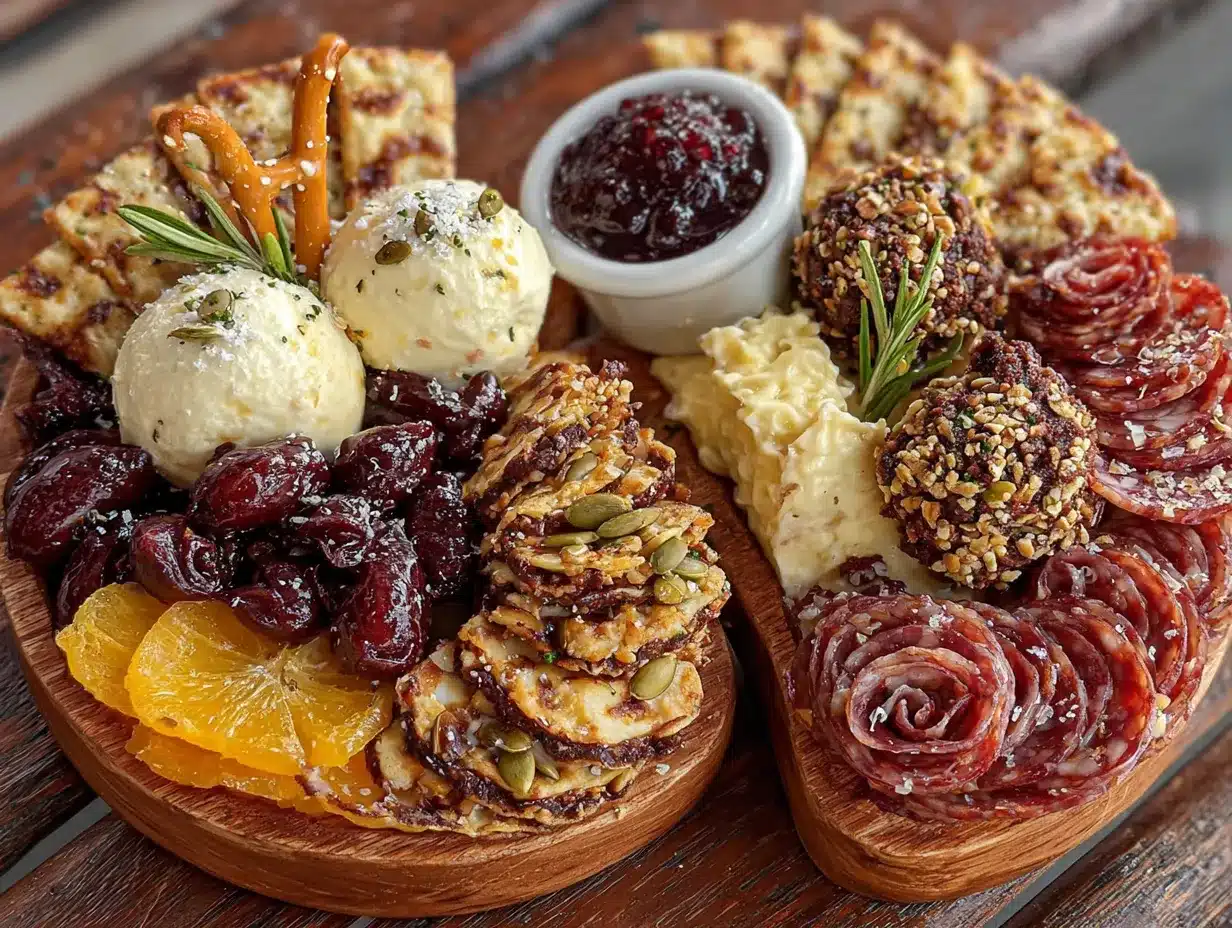
I’ve made a lot of boards in my time, and I’ve definitely learned some things the hard way. Here are my best tips for a perfect charcuterie experience:
- The “No Soggy Board” Rule: This is my biggest lesson. Wet ingredients like grapes or apple slices can make your crackers soggy if they sit too long. Always wash and thoroughly dry your grapes before putting them on the board. For apples, a quick squeeze of lemon juice will keep them from browning.
- Room Temperature is King: Cheese is at its absolute best when it’s not straight out of the fridge. Take your cheeses out about 30 minutes before you plan to serve. The flavors are much more pronounced and the texture is creamier.
- The “Taste Test” Strategy: Before you start arranging, do a quick taste test of your components. Is the salami too salty? Is the honey too floral? This helps you balance the board. If you have a very sharp cheddar, pair it with a sweet jam. If your prosciutto is super salty, balance it with a sweet fig.
- Don’t Overcrowd! It’s tempting to pile everything on, but a good board has some “breathing room.” It looks more intentional and is easier for your guest to navigate. You can always refill a section if it gets eaten quickly.
- Timing is Everything: You can prep all the ingredients (cut the cheese, wash the grapes) a few hours ahead and store them in the fridge. Then, assemble the board just 15 minutes before you serve. This keeps everything fresh and crisp.
Variations & Adaptations
The beauty of a charcuterie board is that it’s endlessly adaptable. Here are a few ways to make this recipe your own:
- Dietary Swaps: For a vegetarian version, simply omit the meat and add more cheese or marinated artichoke hearts. For a dairy-free board, use your favorite plant-based cheeses and a nut-based cracker. Just make sure to check the labels on your crackers and chocolate.
- Seasonal Twists: In the fall, swap the grapes for sliced pears and add a sprinkle of pomegranate seeds. In the summer, fresh berries and a dollop of goat cheese are divine. You can also use seasonal jam like apple butter or pumpkin butter instead of honey.
- The “Sweet Tooth” Board: If you and your guest are more into sweets, swap the salami for more chocolate, add some caramel dip, and include marshmallows or mini meringues. You can still use the ghost-shaped cheese, but pair it with a sweet cracker like a shortbread.
- The “Spicy” Version: Add some pepper jack cheese, spicy salami like soppressata, and a few pickled jalapeños. A spicy honey drizzle would be the perfect finishing touch. It’s a fun, unexpected twist for those who like a little heat.
- My Personal Favorite Variation: I once made this board for a friend who doesn’t eat pork. I swapped the prosciutto for smoked turkey slices and the salami for a beef stick. I added a dollop of whole-grain mustard and some cornichons. It was a huge hit! Don’t be afraid to mix and match based on what you love.
Serving & Storage Suggestions
This board is best enjoyed immediately, but here’s how to make the most of it.
Serving: Serve the board at room temperature. Place it in the center of the table and let your guest dig in. It’s a very interactive, social way to eat. I love to pair it with a glass of dry sparkling wine or a crisp hard cider. For a non-alcoholic option, a sparkling water with a splash of pomegranate juice is perfect. The bubbles cut through the richness of the cheese and meat beautifully.
Storage: If you have leftovers (which is rare, honestly!), you can store the components separately. Place the cheese in an airtight container in the fridge. The meats should be wrapped tightly in plastic wrap. The crackers and nuts can go in a ziplock bag. The grapes and figs will last a day or two in the fridge. The honey and jam can stay at room temperature.
Reheating: You don’t really “reheat” a charcuterie board. The best way to enjoy leftovers is to let the cheese come back to room temperature for about 20 minutes before serving. The crackers might be a little stale, so you can crisp them up in a 300°F oven for 3-4 minutes. The flavors of the cheese and jam actually get a little better after a day in the fridge!
Nutritional Information & Benefits
While this is definitely a treat, it does have some surprising benefits! The exact nutrition will depend on what you choose, but here’s a general idea for a serving of this board (about half of it).
- Estimated Values per Serving: Calories: 550-650, Fat: 40g, Protein: 25g, Carbs: 25g. This varies greatly based on your cheese and meat choices.
- Health Benefits: Cheese is a great source of calcium and protein. Nuts and seeds are packed with healthy fats and fiber, which are good for your heart and help you feel full. Grapes are rich in antioxidants. The dark chocolate is a source of magnesium and iron.
- Dietary Considerations: This recipe can be easily adapted to be gluten-free (use gluten-free crackers), low-carb (skip the crackers and use cucumber slices), or vegetarian (omit the meat). It’s naturally low in added sugar, except for the honey or jam.
- Potential Allergens: This recipe contains dairy (cheese), tree nuts (almonds), and gluten (crackers). Be sure to check with your guest about any allergies before serving. You can easily swap the almonds for seeds or the crackers for vegetable sticks.
My personal perspective? This board is about joy, not guilt. It’s a special treat for a fun occasion. Enjoy every bite, and don’t stress about the numbers. The best nutrition is the kind that makes you happy!
Conclusion
So there you have it—my little piece of Parisian magic, recreated for a cozy Halloween night in. This mini charcuterie board is more than just a recipe; it’s an invitation to slow down, connect, and enjoy something beautiful together. It’s proof that you don’t need a fancy restaurant or a complicated party to make a moment feel special.
I really hope you give this a try. Don’t be afraid to make it your own—swap in your favorite cheese, use whatever spooky shapes you have, or add a dip you love. The goal is to have fun and make a memory. Honestly, the first time I made this for my partner, we ended up laughing so hard trying to eat the ghost-shaped cheese without breaking it. It was a perfect night.
I would absolutely love to see your creations! Tag me in your photos or leave a comment below telling me what your favorite Halloween snack is. Did you try a fun variation? Let me know! Until next time, happy snacking, and have a wonderfully spooky and cozy Halloween.
Frequently Asked Questions
Can I make this board ahead of time?
Yes, you can prep all the ingredients a few hours ahead. Just keep the cheese and meat in the fridge and the crackers and nuts in an airtight container. Assemble the board about 15 minutes before you plan to serve it to keep everything fresh and crisp.
What if I don’t have Halloween cookie cutters?
No problem at all! You can simply slice the cheddar into cubes or use a sharp knife to carve simple shapes like stars or triangles. The fun is in the spirit, not the perfection. You can also use a small paring knife to cut “eyes” into the olives to make them look like little spiders.
How do I keep my crackers from getting soggy?
The key is to keep wet ingredients away from the crackers. Place your grapes, figs, or any other moist fruit in a separate cluster on the board. You can also serve the crackers in a small basket on the side so your guest can take what they want.
Can I use different types of cheese?
Absolutely! This is the most flexible part of the recipe. Swap the brie for camembert, the cheddar for gouda, or the gouda for a blue cheese like gorgonzola. Just aim for a variety of textures—one soft, one hard, and one semi-hard.
What kind of wine goes best with this board?
A dry sparkling wine like a Prosecco or Cava is a fantastic choice because the bubbles cut through the richness of the cheese and meat. A crisp, unoaked Chardonnay or a light Pinot Noir also works beautifully. For a non-alcoholic option, a sparkling apple cider is perfect for a Halloween theme.
Pin This Recipe!
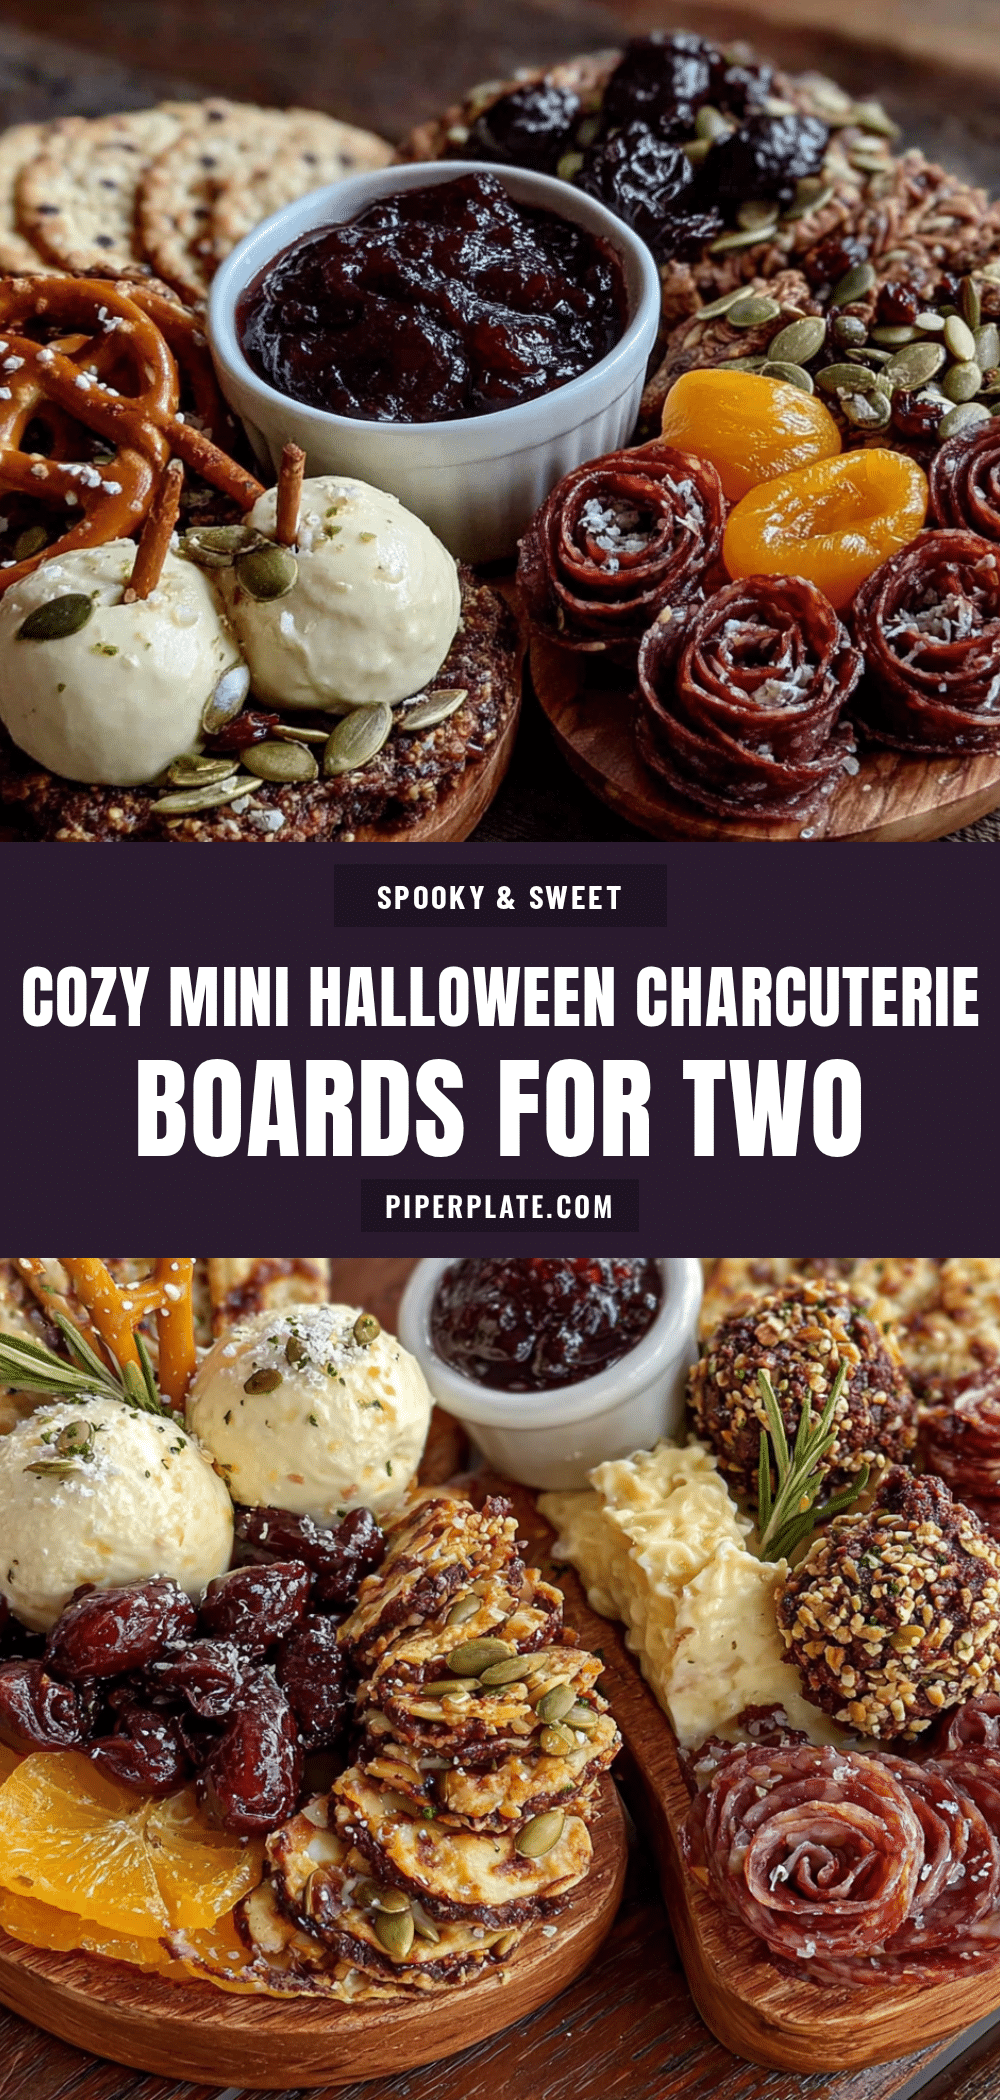
Cozy Mini Halloween Charcuterie Boards for Two
A perfectly scaled, no-cook charcuterie board for a cozy Halloween night in. Featuring spooky cheese shapes, savory meats, and sweet treats, it’s an easy, impressive, and customizable snack board for two.
- Prep Time: 15 minutes
- Cook Time: 0 minutes
- Total Time: 15 minutes
- Yield: 2 servings 1x
- Category: Appetizer
- Cuisine: American
Ingredients
- 4 oz Brie or Camembert
- 4 oz Sharp Cheddar (block)
- 2 oz Aged Gouda
- 4 oz Prosciutto (thinly sliced)
- 4 oz Genoa Salami (sliced into rounds)
- Small Halloween-shaped cookie cutters (ghost, bat, pumpkin)
- Black olives (sliced into ‘spider’ bodies)
- Pretzel sticks (for ‘witch’s broom’ handles or ‘bones’)
- 1/2 cup Roasted, salted almonds
- 1/2 cup Pumpkin seeds (pepitas)
- 1/4 cup Dried cranberries or cherries
- 1/4 cup Dark chocolate chips or a small chocolate bar (broken into pieces)
- Small bunch of red grapes (washed and dried)
- Fresh figs or apple slices (optional, if in season)
- Your favorite crackers or crostini (e.g., water crackers, rosemary flatbread)
- Honey or fig jam (for drizzling or dipping)
Instructions
- Prep your canvas: Wipe your board clean. Place small bowls or ramekins on the board (e.g., in corners or center). Fill one with honey or fig jam and another with black olives.
- Create the cheese shapes: Slice the sharp cheddar block into 1/4-inch thick slabs. Press Halloween cookie cutters firmly into the cheese slabs and wiggle gently to release. Arrange the shapes on the board. Leave the brie whole or cut into a large wedge.
- Add the meats: Fold prosciutto slices into loose ribbons or rosettes and place in a cluster on the board. Fan out the salami slices in a row or small pile.
- Build the ‘spooky’ elements: Arrange pretzel sticks on the board to look like little bones. Stick a pretzel stick into a round of salami to make a tiny ‘witch’s broom.’ Place whole olives near the edge of the board as ‘spiders.’
- Fill in the gaps with crunch and sweet: Sprinkle almonds, pumpkin seeds, dried cranberries, and chocolate pieces into the empty spaces on the board.
- Add the fresh elements: Place small clusters of red grapes on the board. If using figs or apple slices, tuck them in near the cheese.
- Finish with crackers: Fan out crackers or crostini in a few spots around the board. Place a small cheese knife or spreader next to the brie.
- The final touch: Drizzle a little honey over the brie or gouda. Step back, admire your work, and serve.
Notes
For best flavor, bring cheeses to room temperature (about 30 minutes) before serving. Thoroughly dry grapes to prevent soggy crackers. Prep ingredients ahead and assemble just 15 minutes before serving. Leftovers can be stored separately in the fridge.
Nutrition
- Serving Size: Half of the board
- Calories: 550650
- Fat: 40
- Carbohydrates: 25
- Protein: 25
Keywords: Halloween charcuterie board, mini charcuterie board, charcuterie for two, spooky snacks, Halloween appetizer, no-cook recipe, cheese board, easy entertaining


