Love this? Save it for later!
Share the inspiration with your friends
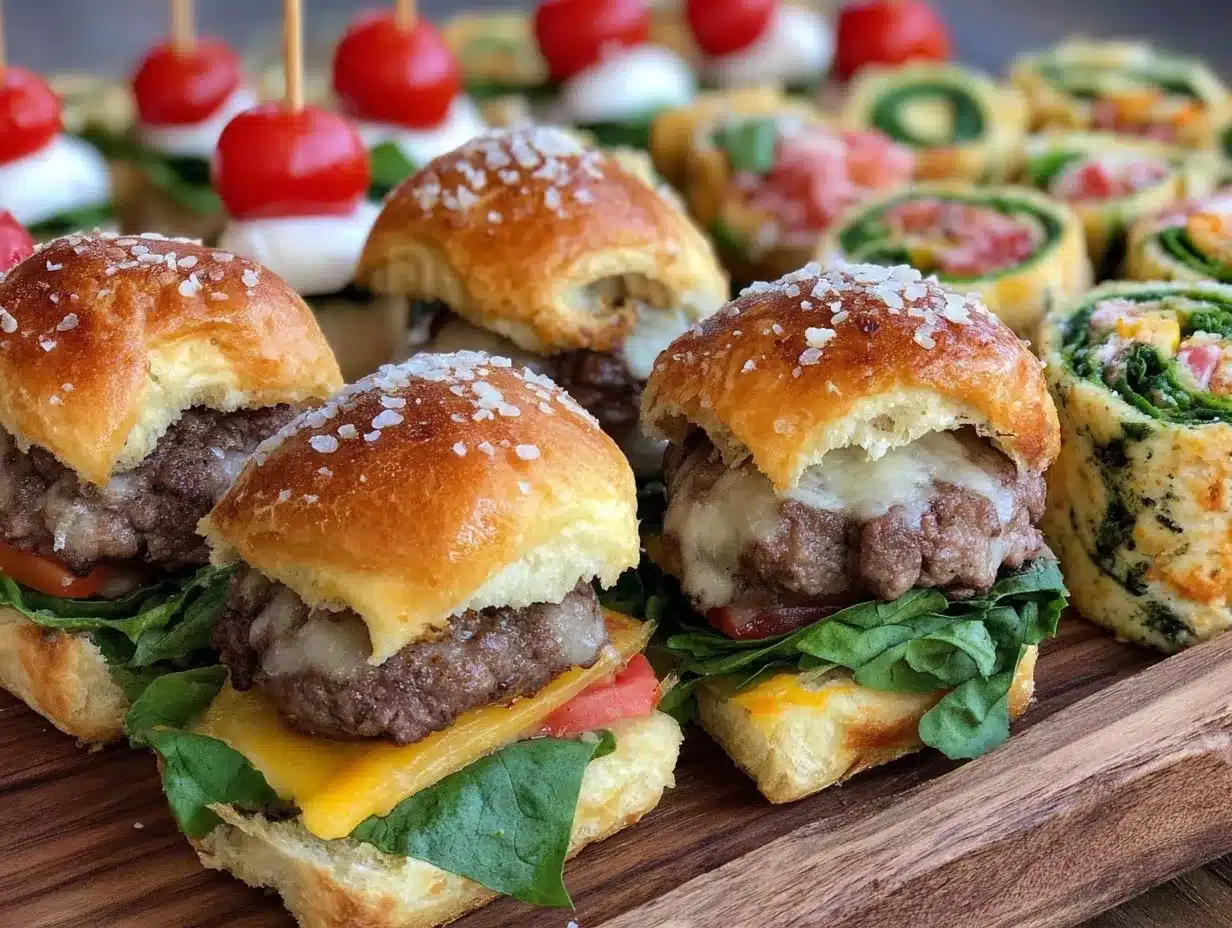
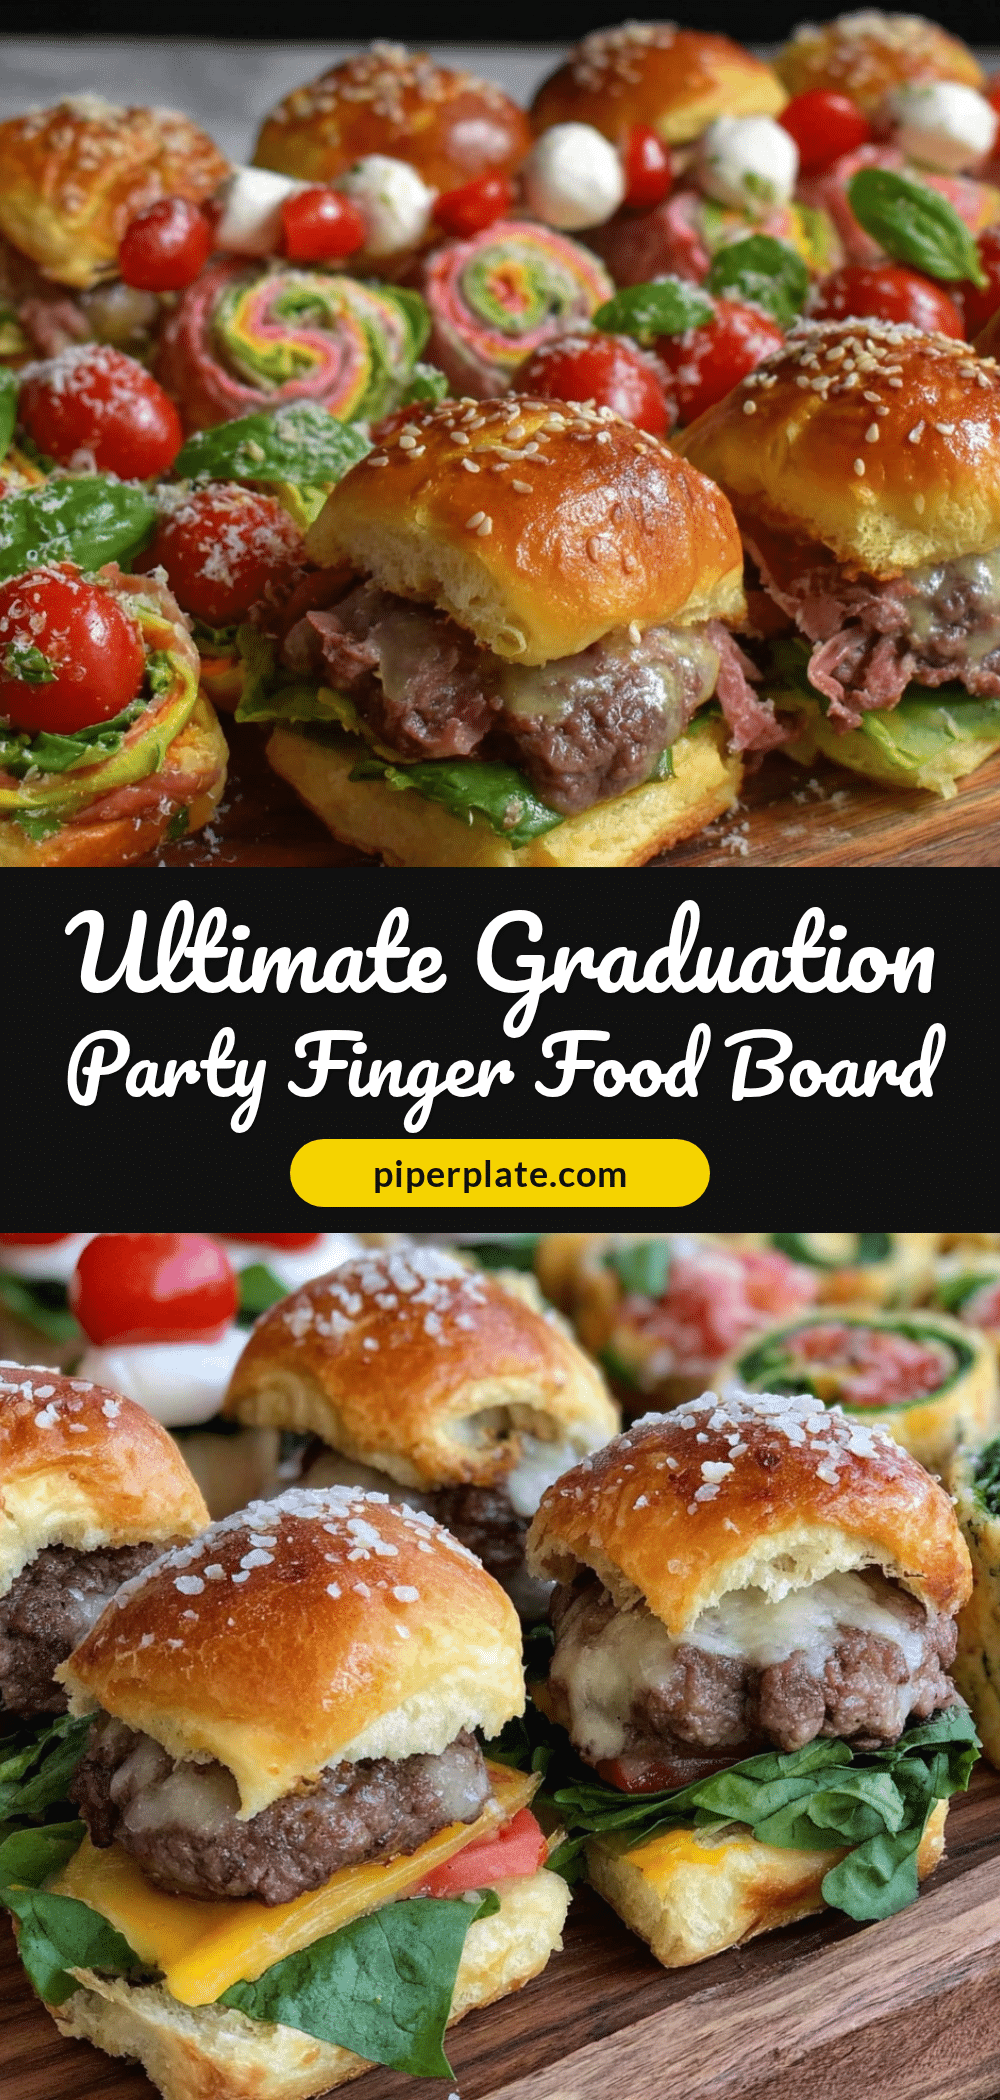
“You won’t believe how chaotic my kitchen was last Saturday,” I told my friend while peeling grapes off the stem, tiny seeds scattering everywhere. It was the day before my niece’s graduation party, and I had just volunteered to put together the finger food board for 30 guests. Honestly, I wasn’t sure I could pull it off without losing my mind—or burning something in the oven. But somehow, with a cracked cutting board, a half-empty jar of fig jam, and a playlist of old-school pop humming in the background, I created what turned out to be the perfect graduation party finger food board.
Maybe you’ve been there—you want something impressive but fuss-free, especially when feeding a crowd that’s buzzing with excitement. I wasn’t aiming for a fancy dinner, just a spread that felt festive and inviting, where everyone could graze, chat, and celebrate without waiting for a full meal. What started as a last-minute scramble turned into one of my favorite recipes to share, not just because it was a hit, but because it felt like capturing the spirit of that day: joyful, colorful, and a little bit messy in the best way.
You know that feeling when you want to enjoy the party as much as your guests? This finger food board recipe is that kind of magic. It’s designed to be simple, crowd-friendly, and perfect for 30 guests—so you’re not stuck running back and forth from the kitchen. Let me tell you, it’s been a game changer for every celebration since, from birthdays to casual weekend hangouts. And no, you don’t need to be a pro chef or have fancy tools. Just a pinch of patience, a dash of creativity, and a board that’s ready to wow.
Why You’ll Love This Recipe
After testing several versions of this graduation party finger food board, I can say with confidence it’s one of the easiest and most satisfying ways to feed a crowd without stress. Here’s why it became my go-to:
- Quick & Easy: Comes together in under 90 minutes, perfect when you’re juggling other party prep.
- Simple Ingredients: Mostly pantry staples and fresh produce; no special grocery runs needed.
- Perfect for Celebrations: It’s festive enough for graduations, but works just as well for casual get-togethers.
- Crowd-Pleaser: Balanced flavors and textures that both kids and adults enjoy—trust me, I’ve seen it firsthand.
- Unbelievably Delicious: The combo of creamy cheeses, savory meats, fresh fruit, and crunchy crackers hits every craving.
What sets this finger food board apart is the thoughtful layering of flavors and the smart use of ingredients that feel special but don’t require hours in the kitchen. For example, adding a drizzle of honey over the cheeses or a sprinkle of fresh herbs makes a huge difference without extra effort. It’s not just a snack platter—it’s a centerpiece for your party that invites everyone to relax and indulge a little.
This recipe doesn’t just fill bellies; it creates moments. You’ll find yourself standing back, watching guests gather around the board, chatting and laughing, the food acting as the perfect icebreaker. Honestly, it’s one of those simple joys that makes celebrating feel even sweeter.
What Ingredients You Will Need
This finger food board uses straightforward, wholesome ingredients to deliver a mix of savory, sweet, creamy, and crunchy bites. Most items are easy to find year-round, and many can be swapped to suit your taste or dietary needs.
- Cheeses:
- Sharp cheddar cheese, sliced (adds bold flavor)
- Brie cheese, whole wheel (creamy and mild)
- Goat cheese log, sliced (for tanginess)
- Meats:
- Prosciutto slices (thinly sliced, for a salty touch)
- Salami, sliced (I recommend Boar’s Head for consistent quality)
- Mini cocktail sausages (pre-cooked to save time)
- Fresh Produce:
- Seedless grapes, washed and separated (adds sweetness and freshness)
- Cherry tomatoes, halved (bright and juicy)
- Fresh strawberries, hulled and sliced (optional seasonal twist)
- Cucumber, sliced into rounds (cool and crunchy)
- Crunchy Elements:
- Assorted crackers (multigrain and water crackers work well)
- Mixed nuts (almonds and walnuts, lightly toasted)
- Pretzel sticks (for saltiness and fun texture)
- Extras & Garnishes:
- Fig jam or honey (for drizzling; I like Bonne Maman fig jam)
- Olives, pitted (green or Kalamata, depending on preference)
- Fresh herbs like rosemary and thyme (for aroma and color)
- Dark chocolate pieces (a surprising and delightful contrast)
Feel free to swap the nuts for seeds if allergies are a concern, and if you prefer a vegetarian board, add marinated artichokes or roasted red peppers in place of the meats. The key is variety in texture and flavor, so your guests have plenty to nibble on and mix and match.
Equipment Needed
Putting together this finger food board doesn’t require anything fancy. Here’s what I used and what you might consider:
- Large wooden or bamboo serving board: Big enough to hold all ingredients and inviting for guests to graze.
- Small bowls or ramekins: For jams, olives, and nuts—keeps things tidy.
- Sharp knives: A chef’s knife for slicing cheeses and meats, and a paring knife for fruit prep.
- Cutting boards: Separate boards for meats and produce to avoid cross-contamination.
- Tongs or small serving forks: Makes it easier for guests to serve themselves without mess.
If you don’t have a large board, a few smaller platters or trays arranged closely can work just as well. Personally, I like using a board with a handle because it’s easier to move around during setup. And a tip from experience: wipe your board down with a damp cloth before assembling—it prevents crumbs from sticking and keeps everything looking fresh.
Preparation Method
- Prepare the cheeses (15 minutes): Slice the cheddar into bite-sized pieces. Leave the Brie whole but cut a small wedge so guests can spread it easily. Slice the goat cheese log into rounds. Arrange these on different spots of your board to start the layout.
- Arrange the meats (10 minutes): Fold prosciutto slices into loose ribbons for a delicate look. Fan out the salami slices in overlapping layers. Place the pre-cooked cocktail sausages in a small bowl or neatly on the board.
- Wash and prep produce (15 minutes): Wash grapes, cherry tomatoes, and strawberries thoroughly. Remove grape stems but keep grapes whole for easy grabbing. Halve cherry tomatoes and slice strawberries if using. Arrange the cucumber slices in a neat row or small stack.
- Add crunchy elements (5 minutes): Place crackers in clusters around the cheeses and meats. Scatter mixed nuts lightly in small piles or in a bowl. Add pretzel sticks standing upright in a small cup or laid flat for texture variety.
- Include extras and garnishes (5 minutes): Spoon fig jam or honey into ramekins and set near the cheeses. Add olives in a small bowl. Sprinkle fresh herbs like rosemary and thyme around the board for a rustic, fresh look. Finish with a few pieces of dark chocolate tucked in corners for a sweet surprise.
- Final touches (5 minutes): Step back and fill any gaps with extra grapes or crackers to make the board look full and inviting. Remember, it’s okay if it looks a little messy—that’s part of the charm!
Pro tip: If you’re assembling the board in advance, keep it covered with plastic wrap in the fridge and add fresh herbs and crackers right before serving to maintain crispness. Also, I learned early on to slice cheeses right before guests arrive to keep them from drying out.
Cooking Tips & Techniques
Creating a finger food board is as much about presentation as it is about flavor. Here are some tips that make a difference:
- Balance flavors and textures: Mix creamy, crunchy, sweet, and savory elements. Guests love to mix and match.
- Use room temperature cheeses: Take cheeses out about 30 minutes before serving. This brings out their full flavor and makes spreading easier.
- Don’t overcrowd the board: Leave some space between ingredients. It’s easier to grab and looks more appealing.
- Vary shapes and heights: Fold meats, stack crackers, and use bowls to add layers and interest.
- Keep perishables chilled: If the party lasts several hours, replenish cold items from the fridge to keep them fresh.
- Watch salt levels: Since meats and cheeses can be salty, balance the board with fresh fruit and mild crackers.
One time, I forgot to bring enough crackers (classic!), so I ended up breaking up breadsticks and using those instead. It worked surprisingly well, and now I always keep a backup on hand. Letting guests serve themselves keeps the vibe relaxed—don’t stress about perfection!
Variations & Adaptations
This finger food board is a great jumping-off point for customization. Here are some ways to make it your own:
- Dietary swaps: For a gluten-free board, use gluten-free crackers and replace any processed meats with grilled vegetables or marinated tofu slices.
- Seasonal twists: Swap strawberries for fresh figs or apple slices in the fall. Add roasted pumpkin seeds instead of nuts for crunch.
- Flavor variations: Try adding spicy elements like pickled jalapeños or a spicy hummus dip. Or include smoked salmon and capers for a more elegant touch.
- Cooking method adjustment: If you want warm bites, include mini quiches or baked brie in puff pastry alongside the board.
- Personal favorite: I love adding a small bowl of tzatziki or herbed cream cheese spread. It’s a refreshing contrast to the rich meats and cheeses and always disappears fast.
Serving & Storage Suggestions
Serve the finger food board at room temperature to get the best flavors and textures. This means taking it out of the fridge about 30 minutes before your guests arrive. Present the board on a sturdy surface where everyone can gather around comfortably.
Complement the board with light beverages like sparkling water with lemon, chilled white wine, or a fruity punch. If you want to add a warm element, a pot of soup or a batch of crispy garlic chicken works beautifully alongside the spread.
Leftovers can be stored in the refrigerator, covered tightly with plastic wrap or in airtight containers. Cheeses and meats keep well for up to 3 days, but crackers may lose their crunch. Reheat any warm bites separately and freshen up the board with new garnishes before serving again.
Flavors often deepen overnight, especially in the jams and meats, so if you’re prepping ahead, that’s a bonus. Just avoid adding fresh fruit until right before serving to keep it vibrant.
Nutritional Information & Benefits
This finger food board offers a balanced mix of protein, healthy fats, and fresh produce. Here’s a rough estimate per serving (based on 30 guests):
- Calories: 250-300 kcal
- Protein: 10-12 grams
- Fat: 15-18 grams (mostly from cheese and nuts)
- Carbohydrates: 20-25 grams (from crackers and fruit)
Key benefits come from the variety: cheeses provide calcium and protein, nuts offer heart-healthy fats, and fresh fruits contribute vitamins and fiber. This board can be tailored to gluten-free, low-carb, or vegetarian diets with simple swaps. Just be mindful of nut allergies and choose alternatives like seeds or extra veggies if needed.
Conclusion
Why fuss with complicated dishes when a well-planned finger food board can steal the show? This perfect graduation party finger food board for 30 guests is proof that simple ingredients, a little prep, and a bit of love can create an unforgettable spread. I keep coming back to this recipe because it brings people together, sparks conversation, and lets me enjoy the celebration without being stuck in the kitchen.
Feel free to customize it to suit your crowd or your mood—it’s flexible and forgiving. I’d love to hear how you put your own spin on it, so drop a comment below or share your photos. Here’s to many more gatherings filled with laughter, good food, and plenty of finger-licking moments!
FAQs
How far in advance can I prepare the finger food board?
You can assemble most of the board up to a day ahead, but keep fresh fruits and crackers separate until just before serving to maintain freshness and crunch.
Can I make this board vegetarian or vegan?
Absolutely! Swap meats for grilled veggies, marinated tofu, or hearty dips. Use vegan cheeses and gluten-free crackers if needed to suit dietary preferences.
What’s the best way to keep the board looking full and appealing?
Use small bowls for loose items, vary the shapes and heights of ingredients, and fill gaps with fresh herbs or extra grapes to add color and volume.
How do I prevent cheese from drying out before serving?
Keep cheeses refrigerated until about 30 minutes before serving, and cover the board loosely with plastic wrap if preparing early. Soft cheeses like Brie are especially sensitive.
What should I serve to drink alongside this finger food board?
Light, refreshing drinks work best—think sparkling water with citrus, chilled white or rosé wine, or a fruity non-alcoholic punch to keep the mood lively and balanced.
Pin This Recipe!
Perfect Graduation Party Finger Food Board Ideas for 30 Guests Made Easy

A simple, crowd-friendly finger food board perfect for feeding 30 guests at graduation parties or casual gatherings. Combines creamy cheeses, savory meats, fresh produce, and crunchy elements for a festive and inviting spread.
- Prep Time: 50 minutes
- Cook Time: 0 minutes
- Total Time: 50 minutes
- Yield: 30 servings
- Category: Appetizer
- Cuisine: American
Ingredients
- Sharp cheddar cheese, sliced
- Brie cheese, whole wheel
- Goat cheese log, sliced
- Prosciutto slices
- Salami, sliced
- Mini cocktail sausages (pre-cooked)
- Seedless grapes, washed and separated
- Cherry tomatoes, halved
- Fresh strawberries, hulled and sliced (optional)
- Cucumber, sliced into rounds
- Assorted crackers (multigrain and water crackers)
- Mixed nuts (almonds and walnuts, lightly toasted)
- Pretzel sticks
- Fig jam or honey (for drizzling)
- Olives, pitted (green or Kalamata)
- Fresh herbs like rosemary and thyme
- Dark chocolate pieces
Instructions
- Slice the cheddar into bite-sized pieces. Leave the Brie whole but cut a small wedge for easy spreading. Slice the goat cheese log into rounds. Arrange cheeses on different spots of the board.
- Fold prosciutto slices into loose ribbons. Fan out salami slices in overlapping layers. Place pre-cooked cocktail sausages in a small bowl or neatly on the board.
- Wash grapes, cherry tomatoes, and strawberries thoroughly. Remove grape stems but keep grapes whole. Halve cherry tomatoes and slice strawberries if using. Arrange cucumber slices in a neat row or small stack.
- Place crackers in clusters around cheeses and meats. Scatter mixed nuts lightly in small piles or in a bowl. Add pretzel sticks standing upright in a small cup or laid flat for texture variety.
- Spoon fig jam or honey into ramekins and set near cheeses. Add olives in a small bowl. Sprinkle fresh herbs like rosemary and thyme around the board. Finish with a few pieces of dark chocolate tucked in corners.
- Fill any gaps with extra grapes or crackers to make the board look full and inviting. It’s okay if it looks a little messy—that’s part of the charm!
Notes
Assemble most of the board up to a day ahead but keep fresh fruits and crackers separate until just before serving to maintain freshness and crunch. Use room temperature cheeses for best flavor. Cover the board loosely with plastic wrap if preparing early. Keep perishables chilled and replenish cold items during the party. Leave space between ingredients for easy grabbing and visual appeal. For gluten-free or vegetarian versions, swap crackers and meats accordingly.
Nutrition
- Serving Size: One serving is a por
- Calories: 275
- Sugar: 8
- Sodium: 450
- Fat: 16.5
- Saturated Fat: 7
- Carbohydrates: 22.5
- Fiber: 3
- Protein: 11
Keywords: finger food board, graduation party, party appetizers, crowd-pleaser, easy finger foods, cheese board, charcuterie, party snacks