Love this? Save it for later!
Share the inspiration with your friends
Introduction
“Last Thursday afternoon, I just popped over to my neighbor’s place to borrow a cup of sugar, and before I even stepped fully inside, this rich, nutty scent stopped me dead in my tracks. My neighbor wasn’t making a big deal out of it — just casually rolling these little dark chocolate peanut butter protein balls like it was the easiest thing in the world. Honestly, it felt like stumbling onto a secret snack jackpot. They were chatting away, completely unfazed by the fact that these no-bake bites were already tempting me more than the fancy desserts I’d been eyeing all week.
What really got me was how effortlessly those protein balls came together. No oven fuss, no complicated steps — just simple ingredients tossed and shaped in minutes. I mean, you know that feeling when a snack looks so simple but tastes like it must have taken hours? Yeah, these are that kind of treat. I forgot to bring my cup of sugar, got a little flour on the floor, and ended up staying for tea just to snag the recipe. Over the next few days, I kept making them, and they’ve stuck around in my routine ever since — a little burst of chocolate and peanut butter magic whenever I need a quick, healthy pick-me-up.”
Why You’ll Love This Recipe
Honestly, these easy no-bake dark chocolate peanut butter protein balls are a game-changer for snack lovers and busy folks alike. After testing this recipe through multiple afternoons of snack attacks and post-workout hunger pangs, I can vouch for its winning qualities:
- Quick & Easy: Comes together in under 15 minutes — perfect when you need a snack ASAP without the mess.
- Simple Ingredients: Nothing fancy or hard to find. Just pantry staples you probably already have on hand.
- Perfect for Anytime: Great for mid-day energy boosts, lunchbox fillers, or even a guilt-free dessert.
- Crowd-Pleaser: The blend of dark chocolate and peanut butter hits all the right notes, loved by kids and adults alike.
- Unbelievably Delicious: That creamy peanut butter combined with rich cocoa and a touch of sweetness is pure comfort food — without the guilt.
This recipe isn’t just another protein ball — it’s the one where the chocolate is deep and satisfying without overpowering the peanut butter’s nutty goodness. Plus, because it’s no-bake, you avoid any risk of drying out or overcooking, which can happen with some other energy bites. When you take that first bite, you’ll get a perfect balance of chewy, fudgy, and nutty textures that honestly makes you pause and savor. It’s the kind of recipe that turns a simple snack into a little moment of joy — and trust me, you’ll want to keep it handy for those busy days or last-minute cravings.”
What Ingredients You Will Need
This recipe uses simple, wholesome ingredients to deliver bold flavor and satisfying texture without the fuss. Most of these are pantry staples, and the rest are easy to find at any grocery store. Here’s what you’ll need:
- Natural peanut butter (creamy or chunky, about 1 cup) – I usually go for a no-stir, all-natural brand for best texture and flavor.
- Old-fashioned rolled oats (1 cup) – Provides that hearty chew and fiber you want in a protein ball.
- Dark cocoa powder (¼ cup) – Look for unsweetened cocoa for that rich, chocolatey depth.
- Honey or maple syrup (¼ cup) – Adds the perfect touch of natural sweetness and helps bind the mixture.
- Vanilla extract (1 teaspoon) – Just a splash to round out the flavor.
- Chia seeds (2 tablespoons) – Optional, but I like the texture and added fiber; you can skip if you prefer.
- Protein powder (½ cup) – I recommend a vanilla or chocolate-flavored whey or plant-based protein for extra nutrition.
- Mini dark chocolate chips (⅓ cup) – Adds little bursts of melty chocolate in every bite.
- Salt (a pinch) – Just enough to balance the sweetness and enhance all those flavors.
For ingredient swaps: if you’re dairy-free, swap the honey with pure maple syrup and choose a plant-based protein powder. For gluten-free, make sure your oats are certified gluten-free. When it’s summer, I sometimes toss in chopped dried cherries or swap mini chocolate chips for crushed nuts for a fresh twist. Trust me, the simplicity here is what makes these protein balls so approachable and flexible.
Equipment Needed
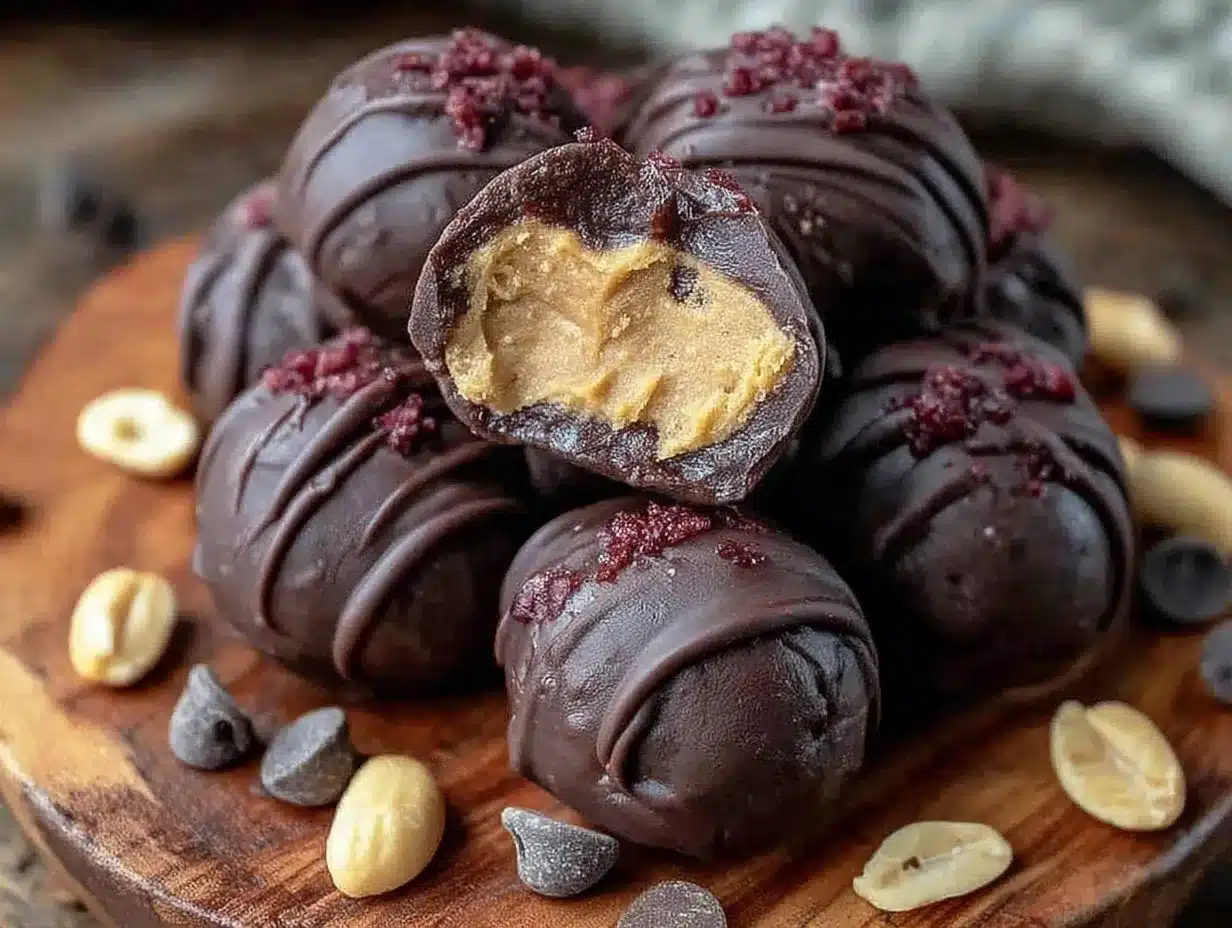
You won’t need much to whip up these easy no-bake dark chocolate peanut butter protein balls. Here’s the lineup:
- Large mixing bowl: To combine all your ingredients without making a mess.
- Spoon or spatula: For mixing — sturdy is better because the batter is thick.
- Measuring cups and spoons: Accuracy matters here to keep the texture just right.
- Baking sheet or plate: To place the rolled balls while they chill.
- Wax paper or parchment paper: Keeps the balls from sticking to the plate or container.
- Optional: A small cookie scoop or melon baller helps keep the protein balls uniform in size, but using your hands works just fine (and is kind of fun!).
Personally, I’ve tried rolling these with bare hands and with disposable gloves — both work well, but gloves keep the stickiness down. If you don’t have parchment paper, a silicone mat or even a clean plate works fine. No fancy tools needed, which is part of the charm.
Preparation Method
- Mix the dry ingredients: In your large mixing bowl, combine 1 cup of rolled oats, ¼ cup dark cocoa powder, ½ cup protein powder, 2 tablespoons chia seeds (if using), and a pinch of salt. Stir them together gently until evenly distributed. This takes about 2 minutes.
- Add the wet ingredients: Spoon in 1 cup of natural peanut butter and ¼ cup honey (or maple syrup) along with 1 teaspoon vanilla extract. Use a sturdy spatula or wooden spoon to mix everything thoroughly. The mixture will be thick but sticky — about 3 to 5 minutes of stirring to get it well combined.
- Fold in the mini dark chocolate chips: Add ⅓ cup chocolate chips and gently fold them into the mixture, saving a few to press on top of the balls later for extra chocolaty appeal.
- Chill the mixture: Pop the bowl into the fridge for 15-20 minutes. This firms up the mixture and makes rolling easier. If you skip this step, the balls might be too soft and sticky to handle.
- Roll into balls: Once chilled, use a cookie scoop or your hands to form the mixture into 1-inch (2.5 cm) balls. Place each ball onto a baking sheet lined with parchment paper. This makes about 20 balls. If the mixture sticks to your hands, lightly wet them or dust with a bit of cocoa powder.
- Final chill: Refrigerate the rolled balls for at least 30 minutes to set. This step helps them hold their shape and develop that perfect chewy texture.
- Enjoy or store: After chilling, these protein balls are ready to snack on! Keep them stored in an airtight container in the fridge for up to a week or freeze for longer storage.
Quick tip: Sometimes I sneak a taste and decide to toss in a pinch more salt or a drizzle of honey before chilling — depends on whether I want them a bit sweeter or more balanced. Also, if the mixture feels too dry, a teaspoon or two of almond milk can help without adding too much moisture.
Cooking Tips & Techniques
Making no-bake protein balls sounds simple, but a few tricks keep them from turning into a sticky mess or crumbly disaster. Here’s what I’ve learned after many batches:
- Don’t skip chilling: Letting the mixture rest in the fridge before rolling is crucial. It firms everything up and makes rolling less sticky — trust me, it’s worth the wait.
- Measure protein powder carefully: Too much can dry out the mixture; too little and the balls won’t hold. Stick close to the recipe amounts.
- Use natural peanut butter: The kind with just peanuts (and maybe salt) gives the best flavor and texture. Avoid overly oily or sweetened versions.
- Mix thoroughly but gently: You want everything combined but not overworked. Overmixing can make the mixture tough.
- Roll consistently sized balls: A small scoop helps keep portions even, which is handy if you’re tracking macros or serving a crowd.
- Customize sweetness last: I often add a little more honey or a sprinkle of stevia after the first batch if I want sweeter bites.
- Don’t let the balls get too warm: If your kitchen is warm, pop the tray back in the fridge periodically while rolling to keep them firm.
Honestly, these tips helped me avoid the first few failed batches where my balls either crumbled or stuck everywhere. Now, it’s pretty much foolproof — and once you get the hang of it, you can start experimenting with flavors and textures.
Variations & Adaptations
One of the best things about this recipe is how adaptable it is. Here are some ways I’ve switched it up or seen friends tweak it to suit different tastes and needs:
- Nut-free version: Swap peanut butter for sunflower seed butter or tahini to avoid nuts — just check your protein powder is nut-free too.
- Seasonal twist: Add dried cranberries or chopped apricots in fall and winter, or shredded coconut and chopped freeze-dried raspberries for a summery vibe.
- Flavor boost: Stir in a teaspoon of instant espresso powder for a mocha kick or a pinch of cinnamon and cayenne for warmth and subtle spice.
- Texture variation: Replace half the oats with puffed quinoa or crushed nuts for extra crunch.
- Sweetener swap: Use agave syrup, brown rice syrup, or even date syrup depending on what’s in your pantry and your preferred sweetness level.
Personally, I once tried a batch substituting almond butter and adding orange zest — it was surprisingly good and brightened up the rich chocolate flavor. Feel free to experiment until you find your perfect combo!
Serving & Storage Suggestions
These protein balls are pretty versatile when it comes to serving. I prefer them chilled straight from the fridge for that perfect firm bite, but some folks like to let them sit at room temperature for 10 minutes to soften slightly. Either way, they’re fantastic on their own or paired with:
- A cup of black coffee or herbal tea for a quick breakfast boost.
- Greek yogurt and fresh fruit for a light, balanced snack.
- Almond milk or a protein shake to double down on post-workout nutrition.
For storage, keep the balls in an airtight container in the refrigerator — they’ll last for about a week, though they rarely stick around that long in my house! You can also freeze them in a single layer on a tray, then transfer to a zip-top bag for up to 3 months. When ready to eat, just thaw in the fridge overnight or enjoy them frozen for a refreshing bite.
Over time, the flavors deepen a bit, especially if you let them rest overnight. I find they taste even better after a day, when the cocoa and peanut butter really meld. Just a little patience with the chill time, and you’re rewarded with snack perfection.
Nutritional Information & Benefits
These easy no-bake dark chocolate peanut butter protein balls pack a nutritious punch in each bite. Here’s a rough breakdown per ball (based on 20 balls):
| Calories | 110-120 kcal |
|---|---|
| Protein | 5–6 grams |
| Fat | 7–8 grams (mostly healthy fats from peanut butter) |
| Carbohydrates | 8–10 grams (including fiber from oats and chia seeds) |
| Sugar | 4–5 grams (natural sugars from honey/maple syrup) |
Key benefits include a good balance of protein to support muscle repair and keep you full, healthy fats from peanut butter to fuel your brain, and fiber to aid digestion. Using dark cocoa powder adds antioxidants, and the chia seeds contribute omega-3 fatty acids. This snack is naturally gluten-free if you use certified oats and fits well into low-sugar or clean-eating lifestyles.
From a wellness perspective, these protein balls satisfy sweet cravings without the crash-inducing sugar overload, making them a smart choice for sustained energy. Just watch for nut allergies — the peanut butter is the main allergen here.
Conclusion
Honestly, if you’re looking for a quick, tasty, and healthy snack that doesn’t require baking or fancy ingredients, these easy no-bake dark chocolate peanut butter protein balls should be at the top of your list. They’re straightforward to make, customizable to your taste, and bring that perfect mix of chocolate and peanut butter goodness in every bite.
I love how effortlessly they fit into my day — whether it’s a mid-morning boost, a post-gym refuel, or a late-night nibble. Plus, they’re great for sharing or packing up for on-the-go snacking. I’m excited to hear how you make them your own, so drop a comment with your favorite tweaks or how these work in your routine!
Give them a try and keep a batch ready—you won’t regret having these wholesome bites just a fridge door away.
FAQs
Can I use other nut butters instead of peanut butter?
Yes! Almond butter, cashew butter, or sunflower seed butter all work well. Just keep in mind the flavor and texture might change slightly.
Do I have to use protein powder? What if I don’t have any?
Protein powder adds extra nutrition and helps bind the balls, but you can skip it or replace it with extra oats or ground flaxseed. The texture might be a bit different but still tasty.
How long do these protein balls last?
Stored in an airtight container in the fridge, they last about one week. You can freeze them for up to three months for longer storage.
Are these protein balls vegan?
If you use maple syrup instead of honey and a plant-based protein powder, these can easily be vegan-friendly.
Can I make these ahead of time for meal prep?
Absolutely! They hold up well in the fridge and freezer, making them perfect for meal prep or quick grab-and-go snacks throughout the week.
Pin This Recipe!
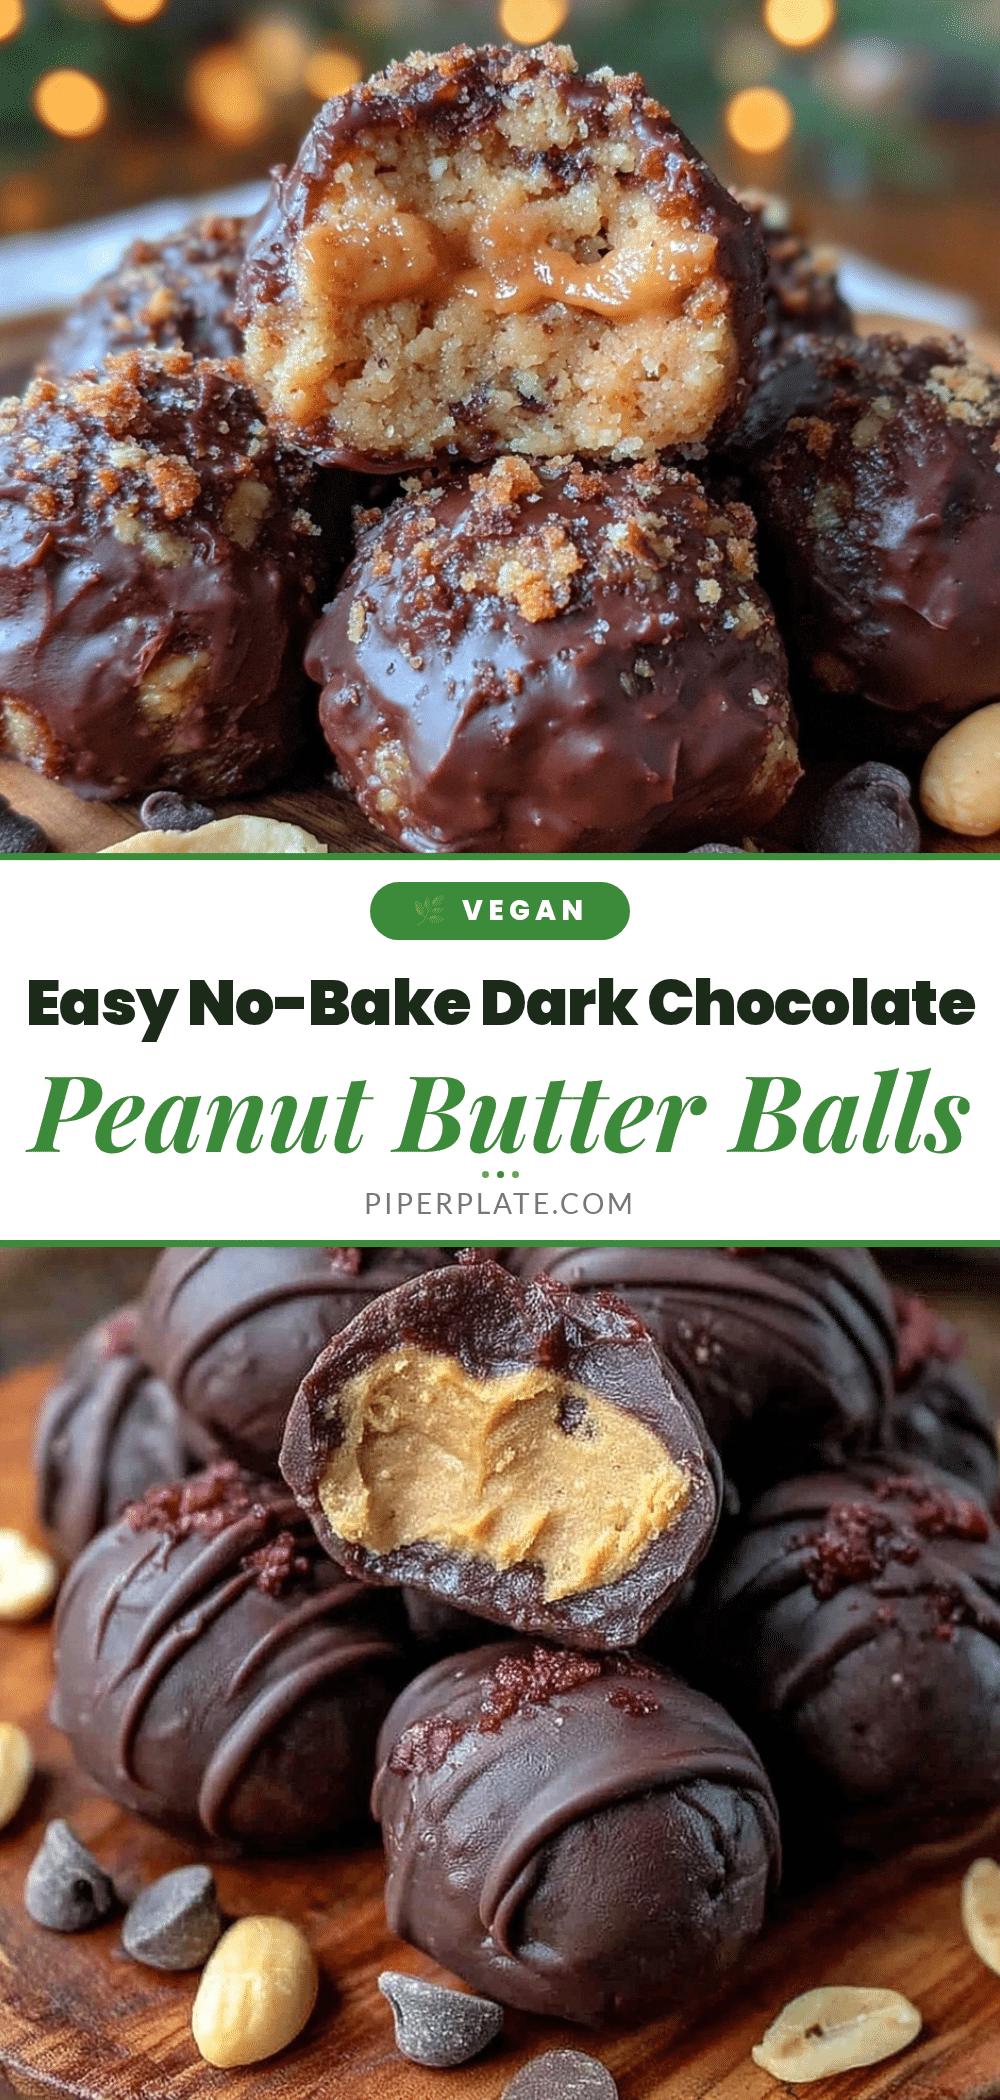
Easy No-Bake Dark Chocolate Peanut Butter Protein Balls

These no-bake protein balls combine rich dark chocolate and creamy peanut butter for a quick, healthy snack that’s perfect anytime. They come together in under 15 minutes with simple pantry ingredients and require no oven.
- Prep Time: 10 minutes
- Cook Time: 0 minutes
- Total Time: 40 minutes
- Yield: 20 balls 1x
- Category: Snack
- Cuisine: American
Ingredients
- 1 cup natural peanut butter (creamy or chunky)
- 1 cup old-fashioned rolled oats
- 1/4 cup dark cocoa powder (unsweetened)
- 1/4 cup honey or maple syrup
- 1 teaspoon vanilla extract
- 2 tablespoons chia seeds (optional)
- 1/2 cup protein powder (vanilla or chocolate flavored, whey or plant-based)
- 1/3 cup mini dark chocolate chips
- Pinch of salt
Instructions
- In a large mixing bowl, combine 1 cup rolled oats, 1/4 cup dark cocoa powder, 1/2 cup protein powder, 2 tablespoons chia seeds (if using), and a pinch of salt. Stir gently until evenly distributed (about 2 minutes).
- Add 1 cup natural peanut butter, 1/4 cup honey or maple syrup, and 1 teaspoon vanilla extract to the dry mixture. Mix thoroughly with a sturdy spatula or wooden spoon until well combined and sticky (3 to 5 minutes).
- Fold in 1/3 cup mini dark chocolate chips, reserving a few to press on top of the balls later.
- Chill the mixture in the refrigerator for 15-20 minutes to firm up.
- Once chilled, roll the mixture into 1-inch balls using a cookie scoop or your hands. Place the balls on a baking sheet lined with parchment paper. This recipe makes about 20 balls.
- Refrigerate the rolled balls for at least 30 minutes to set and develop a chewy texture.
- Enjoy immediately or store in an airtight container in the fridge for up to one week, or freeze for up to three months.
Notes
Chilling the mixture before rolling is crucial to prevent stickiness and help the balls hold their shape. Use natural peanut butter without added oils or sugars for best texture and flavor. Adjust sweetness after mixing if desired. If mixture is too dry, add a teaspoon or two of almond milk. Store in airtight container in fridge up to one week or freeze for up to three months.
Nutrition
- Serving Size: 1 protein ball
- Calories: 115
- Sugar: 4.5
- Sodium: 50
- Fat: 7.5
- Saturated Fat: 1.5
- Carbohydrates: 9
- Fiber: 2
- Protein: 5.5
Keywords: no-bake, protein balls, dark chocolate, peanut butter, healthy snacks, quick snack, easy recipe, gluten-free, vegan option


