Love this? Save it for later!
Share the inspiration with your friends
Hand me that whisk, my sister said, eyeing the bowl of buttercream like it might run away. She had claimed for years that she didn’t care about birthday cake. Twenty-seven years, to be exact. Said it was too sweet, too dry, too much fuss for a single day. Then I caught her licking the spatula clean at my kitchen counter last March, a Tuesday afternoon, no occasion at all. She froze mid-lick, caught red-handed with a smear of vanilla buttercream on her nose.
“This is different,” she mumbled, reaching for another swipe. And she was right. This classic birthday cake is different. It’s the kind of cake that makes you reconsider everything you thought you knew about homemade celebration cakes. I mean, honestly, I’ve made my share of dry, crumbly disasters that looked pretty but tasted like disappointment. This one isn’t that. This one is the reason I stopped buying bakery cakes altogether.
Maybe you’ve been there too—standing in the baking aisle, staring at box mixes, wondering if you even have the patience for a from-scratch cake. Let me tell you, this recipe changed my mind about what a homemade birthday cake can be. It’s moist without being heavy, sweet without being cloying, and that sprinkle buttercream? It’s the kind of frosting that makes people close their eyes on the first bite. I keep coming back to this cake because it delivers every single time, no drama, no fancy techniques, just pure celebration in every slice.
Why You’ll Love This Recipe
After testing this cake for three different birthdays in my own kitchen—including one where I accidentally used salted butter and had to start over—I can tell you with confidence that this is the one. Here’s what makes it special:
- Truly Foolproof: This batter comes together in under 15 minutes with just a whisk and a bowl. No stand mixer required, which means less cleanup and more time for frosting.
- Pantry-Friendly Ingredients: You likely have everything already. Butter, sugar, eggs, flour, milk, vanilla—the usual suspects. No special trips to three different stores.
- Perfect for Any Celebration: Birthdays, obviously, but also graduations, promotions, or random Tuesdays that deserve a little sparkle. The sprinkle buttercream makes everything feel festive.
- Crowd-Pleasing Texture: This cake stays moist for days. I’m serious. Day three in an airtight container and it still tastes fresh-baked. That’s not luck—that’s buttermilk doing its job.
- Unbelievably Delicious: The crumb is tender, the buttercream is silky, and the sprinkles add that little crunch that makes every bite interesting. It’s comfort food dressed up for a party.
What sets this recipe apart from the dozens of others I’ve tried is the technique of creaming the butter and sugar until truly light and fluffy—not just combined. That extra two minutes makes all the difference between a dense cake and one that practically floats off the plate. Plus, the sprinkle buttercream uses a secret ratio that keeps it pipeable but not stiff, so you can decorate like a pro without any fancy tools.
This is the cake that makes you look like you spent all day in the kitchen when really, you just followed a few simple steps. It’s the kind of recipe you’ll pass down, the one friends text you for at 10 PM the night before a party. And honestly? That’s exactly what a birthday cake should be.
What Ingredients You Will Need
This classic birthday cake uses simple, wholesome ingredients that work together to create that perfect celebration cake texture and flavor. Nothing fancy here—just smart choices that deliver results.
For the Cake Layers
- 2 ½ cups (310g) all-purpose flour – Spoon and level for accuracy; too much flour makes a dry cake
- 2 ½ teaspoons baking powder – Fresh baking powder is crucial; test it by dropping a pinch in hot water—it should bubble immediately
- ½ teaspoon salt – Fine sea salt works best; it balances the sweetness without being noticeable
- ¾ cup (170g) unsalted butter, softened – I prefer Kerrygold for its rich flavor, but any good-quality butter works. Softened means it should dent when pressed, not be melted
- 1 ½ cups (300g) granulated sugar – Regular white sugar; no need for superfine or baker’s sugar here
- 3 large eggs, room temperature – Cold eggs can seize the batter. If you forgot to set them out, place them in warm water for 5 minutes
- 1 tablespoon vanilla extract – Pure vanilla, not imitation. Trust me on this one—it makes a noticeable difference in the flavor depth
- 1 ¼ cups (300ml) buttermilk, room temperature – This is the secret to a tender crumb. No buttermilk? Add 1 tablespoon lemon juice to regular milk and let it sit for 5 minutes
For the Sprinkle Buttercream
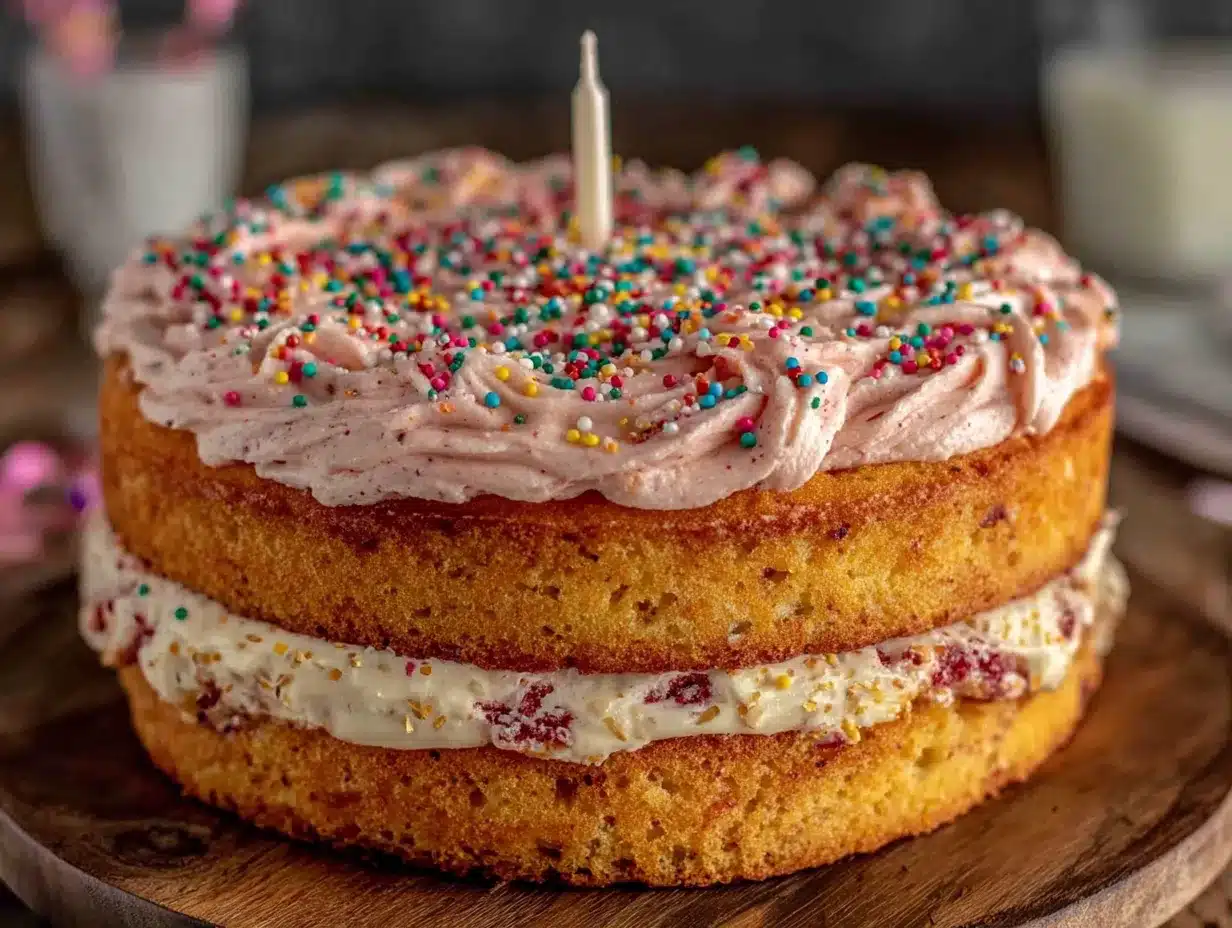
- 1 ½ cups (340g) unsalted butter, softened – Yes, that’s a lot of butter. That’s what makes it so good. Use a good brand like Plugrà for the smoothest texture
- 5 cups (600g) powdered sugar – Sift it if you can; clumps in the sugar become lumps in the frosting
- 3 tablespoons heavy cream – Or whole milk in a pinch, but cream gives that extra richness
- 2 teaspoons vanilla extract – Again, pure vanilla. The buttercream will thank you
- ¼ teaspoon salt – Just enough to cut the sweetness and make the flavors pop
- ½ cup (80g) rainbow sprinkles – Use jimmies, not nonpareils. Jimmies hold their color and don’t bleed into the frosting
Equipment Needed
You don’t need a professional bakery setup to make this cake shine. Here’s what you’ll actually use:
- Three 8-inch round cake pans – I’ve tried 9-inch pans, but the layers come out too thin. Stick with 8-inch for that impressive height. Wilton makes reliable, affordable ones
- Stand mixer or hand mixer – A hand mixer works perfectly fine; I actually prefer it for the buttercream because I have more control. Just be patient with the creaming step
- Large mixing bowls – At least two: one for dry ingredients, one for wet. Glass or stainless steel both work well
- Whisk and rubber spatula – The whisk for dry ingredients, the spatula for scraping the bowl. A silicone spatula is worth the investment
- Parchment paper – Cut circles for the pan bottoms. This is non-negotiable if you want clean release. I learned this the hard way after a cake stuck so badly I had to serve it as “cake crumble parfait”
- Cooling rack – Wire racks let air circulate so the cake cools evenly. No rack? Invert the pans and prop them up with forks—it works in a pinch
- Offset spatula – For smooth frosting application. A butter knife works too, but an offset spatula makes you feel like a pro for under $10
- Turntable (optional but helpful) – I bought a cheap plastic one from a craft store for $15, and it made frosting so much easier. Not essential, but nice to have
Preparation Method
Let’s walk through this step by step. I’ve included all the little details I wish someone had told me when I first started making layer cakes.
- Preheat and prep. Set your oven to 350°F (175°C). Grease three 8-inch round cake pans with butter or baking spray, line the bottoms with parchment paper circles, then grease the parchment too. This double-coating method guarantees clean release every time.
- Whisk the dry ingredients. In a medium bowl, combine 2 ½ cups flour, 2 ½ teaspoons baking powder, and ½ teaspoon salt. Whisk for about 20 seconds to aerate and distribute the leavening evenly. Set aside.
- Cream butter and sugar. In a large bowl, beat ¾ cup softened butter with 1 ½ cups sugar on medium speed for 3 to 4 minutes. I set a timer because I tend to rush this step. You want it light, fluffy, and pale in color—almost like a thick paste. Scrape the bowl halfway through.
- Add eggs and vanilla. Add the 3 room-temperature eggs one at a time, beating well after each addition for about 30 seconds. The batter might look slightly curdled at this point—that’s normal. Add 1 tablespoon vanilla and beat until combined.
- Alternate dry and wet ingredients. With the mixer on low speed, add about one-third of the flour mixture. Then add half the buttermilk. Another third of flour, the rest of the buttermilk, then the final third of flour. Mix just until combined after each addition—overmixing develops gluten and makes the cake tough. I stop the mixer when I still see a few streaks of flour and finish by hand with a spatula.
- Divide and bake. Divide the batter evenly among the three prepared pans. I use a kitchen scale for accuracy (about 450g per pan), but you can eyeball it with a measuring cup. Bake for 22 to 26 minutes, rotating the pans halfway through. The cakes are done when a toothpick inserted in the center comes out clean or with a few moist crumbs. The tops should spring back when lightly pressed.
- Cool completely. Let the cakes cool in the pans on a wire rack for 10 minutes. Then run a thin knife around the edges, invert onto the rack, peel off the parchment, and let cool completely. This takes about 1 to 2 hours. Don’t rush this—warm cake will melt your buttercream into a puddle.
- Make the buttercream. While the cake cools, beat 1 ½ cups softened butter on medium speed for 5 to 7 minutes until it’s pale, fluffy, and almost white. This step is crucial for silky frosting. Gradually add the 5 cups sifted powdered sugar, about 1 cup at a time, mixing on low to avoid a sugar cloud. Add 3 tablespoons heavy cream, 2 teaspoons vanilla, and ¼ teaspoon salt. Beat on medium-high for 3 to 4 minutes until light and airy. Fold in ½ cup sprinkles by hand.
- Assemble the cake. Place one cake layer on your serving plate. Spread about ½ cup of buttercream evenly on top. Repeat with the second layer and another ½ cup frosting. Top with the third layer. Apply a thin crumb coat—a thin layer of frosting that traps any loose crumbs—and refrigerate for 20 minutes. Then apply the final coat of frosting. Decorate with extra sprinkles on top and around the sides if desired.
Cooking Tips & Techniques
Here are the things I’ve learned the hard way so you don’t have to. These are the little details that separate a good cake from a great one.
Room temperature ingredients matter more than you think. I once made this cake with cold eggs and cold buttermilk because I was in a hurry. The batter looked lumpy and the cake came out dense with a weird texture. Now I set everything on the counter an hour before I start. It makes that much difference. If you forget, place the eggs in warm water for 5 minutes and microwave the buttermilk for 15 seconds.
Don’t overmix the batter. This was my biggest mistake for years. I thought I needed to beat out every single lump, but that just develops gluten and makes the cake tough. Mix until the flour disappears, then stop. A few tiny lumps are fine—they’ll bake out. I actually prefer to finish mixing by hand with a spatula because I have more control.
Level your cake layers. Even perfectly baked cakes dome slightly in the center. Use a serrated knife to slice off the domes so you have flat, even layers. This prevents your cake from looking like a leaning tower. I save the scraps for snacking or making cake pops later.
Chill between coats. The crumb coat needs 20 minutes in the fridge to set. I know it’s tempting to skip this step, but it’s the difference between a professional-looking cake and one with crumbs floating in the frosting. I use this time to wash dishes and reset the kitchen.
Test your baking powder. If your cake doesn’t rise properly, stale baking powder is usually the culprit. I test mine every time by dropping a pinch into hot water. If it doesn’t fizz immediately, I buy a new can. Cheap insurance against a flat cake.
Variations & Adaptations
This classic birthday cake is wonderfully adaptable. Here are some variations I’ve tested and loved:
- Chocolate Birthday Cake: Replace ½ cup of the flour with ½ cup unsweetened cocoa powder. Reduce the baking powder to 2 teaspoons. The buttermilk helps keep this version moist. I made this for my brother’s birthday and he said it was better than any bakery cake he’d ever had.
- Gluten-Free Version: Use a good-quality 1:1 gluten-free flour blend that contains xanthan gum. King Arthur’s Measure for Measure works perfectly. The texture is slightly more tender, but the flavor is spot-on. Let the batter rest for 10 minutes before baking to hydrate the flour blend.
- Lemon Celebration Cake: Add the zest of 2 lemons to the sugar before creaming with the butter. Rub the zest into the sugar with your fingers to release the oils. Replace 1 teaspoon of vanilla with lemon extract in both the cake and buttercream. The brightness is perfect for spring birthdays.
- Small Batch Version: Halve all ingredients and bake in two 6-inch pans. Reduce baking time to 18 to 22 minutes. Perfect for smaller gatherings or when you don’t want a massive cake sitting on your counter for a week.
- Dairy-Free Adaptation: Use vegan butter sticks (not tub margarine), oat milk mixed with 1 teaspoon vinegar as buttermilk substitute, and a dairy-free heavy cream alternative. The texture is slightly less tender but still delicious. I’ve tested this with Miyoko’s vegan butter and it worked beautifully.
Serving & Storage Suggestions
This cake is best served at room temperature, which means you should take it out of the fridge about 30 to 45 minutes before serving. The buttercream softens slightly, the cake becomes more tender, and the flavors really come through. Cold cake tastes muted—don’t do that to yourself.
For presentation, I like to add a ring of extra sprinkles around the base of the cake and a few on top. It makes the cake look festive without requiring any piping skills. Fresh flowers (make sure they’re food-safe) or birthday candles add that final touch. Serve with a glass of cold milk or a scoop of vanilla ice cream on the side.
Storage: This cake keeps beautifully at room temperature in an airtight container for up to 3 days. If your kitchen runs warm, store it in the refrigerator instead—just let slices come to room temperature before eating. The cake also freezes well. Wrap unfrosted cake layers tightly in plastic wrap and then foil, and freeze for up to 3 months. The buttercream can be frozen in an airtight container for up to 2 months; thaw in the refrigerator overnight and re-whip before using.
One of my favorite things about this cake is that the flavors actually improve on day two. The buttermilk continues to tenderize the crumb, and the vanilla mellows into something deeper and more complex. If you can resist eating it all on day one, you’re in for a treat.
Nutritional Information & Benefits
Let’s be real: this is a celebration cake, not a health food. But here’s what you should know. Each slice (based on 12 servings) contains approximately 580 calories, 32g fat, 72g carbohydrates, and 5g protein. The buttercream contributes most of the sugar, so if you want to reduce it slightly, you can cut the powdered sugar to 4 cups and add an extra tablespoon of cream.
That said, this cake does offer some redeeming qualities. The butter provides fat-soluble vitamins A, D, E, and K, plus a small amount of conjugated linoleic acid. The eggs contribute high-quality protein and choline, which supports brain health. And honestly? Sometimes the mental health benefit of a slice of birthday cake with loved ones outweighs any nutritional consideration. I believe in balance—enjoy the cake, savor every bite, and don’t apologize for it.
For those with dietary concerns: this recipe contains gluten, dairy, and eggs. The variations section above includes gluten-free and dairy-free options. It is not suitable for vegan diets as written. If you have celiac disease, use certified gluten-free flour and ensure your baking powder is gluten-free.
Conclusion
This classic birthday cake with sprinkle buttercream is the recipe I turn to when I want to make someone feel special. It’s not complicated—it’s just good. The kind of good that makes people ask for the recipe before they’ve even finished their first slice. The kind of good that turns a regular Tuesday into a celebration.
I hope you make this cake for someone you love. Or for yourself, honestly. You deserve a cake that makes you smile. Customize it however you want—change the sprinkles, swap the extract, add some citrus zest. Make it yours. That’s what birthday cakes are all about.
When you make it, I’d love to hear how it turned out. Drop a comment below and let me know what occasion you baked it for, or tag me in your photos. Happy baking, and happy celebrating!
Frequently Asked Questions
Can I make this cake ahead of time?
Absolutely. You can bake the cake layers up to 2 days in advance and store them wrapped tightly at room temperature. The buttercream can be made up to 1 week ahead and stored in the refrigerator. Assemble the cake the day you plan to serve it for the best texture.
Why did my cake sink in the middle?
This usually happens for one of three reasons: the oven door was opened too early (don’t peek for the first 20 minutes), the baking powder was expired, or the batter was overmixed. Check your baking powder before starting and resist the urge to open the oven.
Can I use this recipe for cupcakes?
Yes! This batter makes about 24 cupcakes. Fill cupcake liners about two-thirds full and bake at 350°F (175°C) for 18 to 20 minutes. The sprinkle buttercream pipes beautifully on cupcakes—use a large round tip or a star tip for a professional look.
How do I prevent my buttercream from being too sweet?
Add an extra pinch of salt to balance the sweetness. You can also reduce the powdered sugar to 4 cups and add an extra tablespoon of heavy cream. Some people add a teaspoon of lemon juice to cut through the sweetness—I’ve done that and it works well.
What kind of sprinkles work best for the buttercream?
Use jimmies—those long, skinny sprinkles. They hold their shape and color without bleeding into the frosting. Avoid nonpareils (the tiny round ones) because they tend to bleed and create streaks. I’ve learned this from experience, and it’s not a pretty look.
Pin This Recipe!
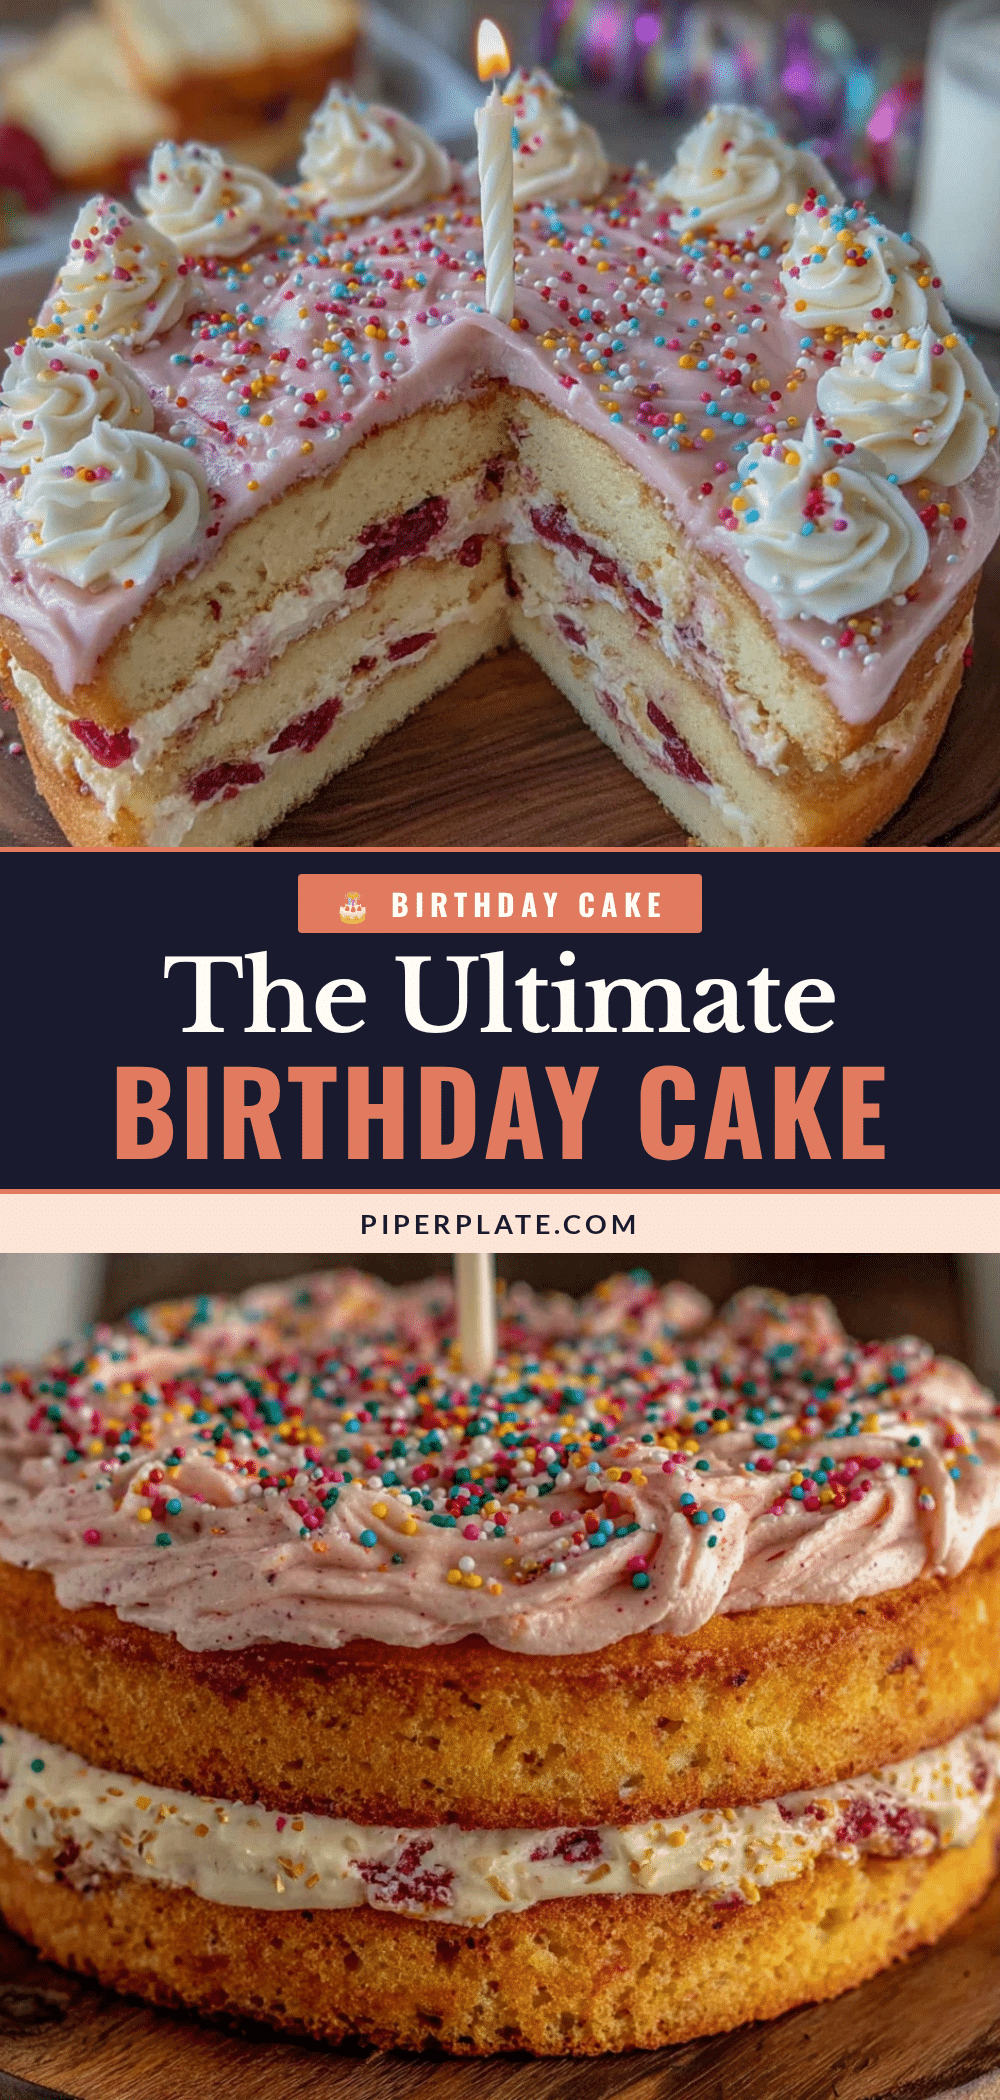
Best Classic Birthday Cake with Easy Sprinkle Buttercream
This classic birthday cake is moist, tender, and topped with a silky sprinkle buttercream. It’s a foolproof, crowd-pleasing celebration cake that stays fresh for days and requires no fancy equipment.
- Prep Time: 15 minutes
- Cook Time: 26 minutes
- Total Time: 1 hour 45 minutes
- Yield: 12 servings 1x
- Category: Dessert
- Cuisine: American
Ingredients
- 2 ½ cups (310g) all-purpose flour
- 2 ½ teaspoons baking powder
- ½ teaspoon fine sea salt
- ¾ cup (170g) unsalted butter, softened
- 1 ½ cups (300g) granulated sugar
- 3 large eggs, room temperature
- 1 tablespoon pure vanilla extract
- 1 ¼ cups (300ml) buttermilk, room temperature
- 1 ½ cups (340g) unsalted butter, softened (for buttercream)
- 5 cups (600g) powdered sugar, sifted
- 3 tablespoons heavy cream
- 2 teaspoons pure vanilla extract (for buttercream)
- ¼ teaspoon salt (for buttercream)
- ½ cup (80g) rainbow sprinkles (jimmies)
Instructions
- Preheat oven to 350°F (175°C). Grease three 8-inch round cake pans with butter or baking spray, line bottoms with parchment paper circles, then grease the parchment.
- In a medium bowl, whisk together 2 ½ cups flour, 2 ½ teaspoons baking powder, and ½ teaspoon salt for about 20 seconds. Set aside.
- In a large bowl, beat ¾ cup softened butter with 1 ½ cups sugar on medium speed for 3 to 4 minutes until light, fluffy, and pale. Scrape bowl halfway through.
- Add 3 room-temperature eggs one at a time, beating well after each addition (about 30 seconds each). Add 1 tablespoon vanilla and beat until combined.
- With mixer on low, add about one-third of the flour mixture, then half the buttermilk. Repeat with another third of flour, remaining buttermilk, and final third of flour. Mix just until combined; finish by hand with a spatula if needed.
- Divide batter evenly among prepared pans (about 450g per pan). Bake for 22 to 26 minutes, rotating pans halfway through, until a toothpick inserted in center comes out clean or with a few moist crumbs.
- Cool cakes in pans on a wire rack for 10 minutes. Run a thin knife around edges, invert onto rack, peel off parchment, and cool completely (1 to 2 hours).
- For buttercream: Beat 1 ½ cups softened butter on medium speed for 5 to 7 minutes until pale and fluffy. Gradually add 5 cups sifted powdered sugar, 1 cup at a time, mixing on low. Add 3 tablespoons heavy cream, 2 teaspoons vanilla, and ¼ teaspoon salt. Beat on medium-high for 3 to 4 minutes until light and airy. Fold in ½ cup sprinkles by hand.
- Assemble cake: Place one layer on serving plate, spread about ½ cup buttercream evenly. Repeat with second layer and another ½ cup frosting. Top with third layer. Apply a thin crumb coat and refrigerate for 20 minutes. Apply final coat of frosting and decorate with extra sprinkles if desired.
Notes
Room temperature ingredients are crucial for best texture. Don’t overmix the batter. Level cake layers for even stacking. Chill between coats for a professional finish. Test baking powder freshness before starting. Cake keeps at room temperature in an airtight container for up to 3 days. Unfrosted layers can be frozen for up to 3 months.
Nutrition
- Serving Size: 1 slice
- Calories: 580
- Sugar: 52
- Sodium: 280
- Fat: 32
- Saturated Fat: 19
- Carbohydrates: 72
- Fiber: 1
- Protein: 5
Keywords: birthday cake, classic birthday cake, sprinkle buttercream, vanilla cake, celebration cake, homemade cake, layer cake


