Love this? Save it for later!
Share the inspiration with your friends
My mother-in-law, Carol, wasn’t trying to impress anyone that Sunday. I’d stopped by to drop off a casserole dish I’d borrowed, and the sight of her kitchen counter hit me before I even got past the mudroom. There it was—a massive wooden board absolutely covered in the most gorgeous spread of fall colors I’d ever seen. Deep purple grapes tumbled next to bright orange wedges of cheddar, and little piles of candied pecans caught the afternoon light like tiny jewels. She was just standing there, casually peeling a clementine, like she hadn’t just created a masterpiece.
“Oh, that?” she said when she caught me staring. “Just threw some stuff together for the game.”
Threw some stuff together. Honestly, I almost laughed. This woman had arranged prosciutto roses, for crying out loud. But that’s the thing about people who’ve been feeding a family for thirty years—they make extraordinary look like nothing. And let me tell you, I took notes. Mental ones, sure, but also a few sneaky photos when she wasn’t looking. I’ve been building my version of her fall charcuterie board ever since, tweaking and testing until it felt like mine. Maybe you’ve been there—standing in someone’s kitchen, watching them work, and thinking, “I need to learn how to do that.”
This Best Fall Charcuterie Board for Family Gatherings is the result of all that quiet observation. It’s the board I bring to every Thanksgiving potluck, every football Sunday, every casual get-together where people just want to stand around and snack. It’s warm, it’s welcoming, and it honestly couldn’t be easier to pull off. The secret? A little planning, a few seasonal tricks, and the willingness to let the ingredients do the heavy lifting.
Why You’ll Love This Recipe
- Family-Friendly & Budget-Savvy: This board uses affordable, accessible ingredients that won’t break the bank. Think seasonal apples instead of expensive imported figs, and store-brand crackers that taste just as good as the fancy ones. Your wallet will thank you.
- Feeds a Crowd Without the Stress: Perfect for family gatherings where everyone’s hungry at different times. Set it out and let people graze—no plating, no serving, no fuss. It’s the ultimate low-pressure entertaining move.
- Picky Eater Approved: With so many options, even the most selective eaters will find something they love. My nephew survives on the cheddar cubes and apple slices, while my sister-in-law goes straight for the goat cheese and honey.
- Make-Ahead Magic: Almost everything can be prepped the day before. Slice the cheeses, wash the fruit, arrange the meats—then just assemble when guests arrive. It takes maybe fifteen minutes, tops.
- Leftovers That Shine: Whatever doesn’t get eaten becomes tomorrow’s lunch or snack. The cheese keeps well, the meats wrap up nicely, and the crackers stay crunchy if stored properly. No waste, no guilt.
What makes this board different from every other charcuterie board out there? It’s designed specifically for fall family gatherings. Not a fancy cocktail party, not a romantic date night—a real, slightly chaotic, multi-generational family hang where someone’s toddler might grab a handful of grapes and someone’s grandpa is looking for the “real” cheese. It’s built to handle that. The flavors are warm and cozy—think apple butter instead of fig jam, sharp cheddar instead of stinky blue cheese, and plenty of things that don’t require a knife to eat. It’s comfort food, arranged beautifully, without any of the pretension.
This recipe isn’t just good—it’s the kind that makes you close your eyes after that first bite of sharp cheddar and honey. It’s fall on a board, and it’s exactly what your family deserves.
What Ingredients You Will Need
This Best Fall Charcuterie Board for Family Gatherings uses simple, seasonal ingredients to create a spread that feels special without being complicated. Most of these are pantry staples or easy to find at any grocery store. Here’s what you’ll need, grouped by category for easy shopping.
Cheeses (3-4 varieties)
- Sharp cheddar, sliced into thin wedges or cubes (adds that classic, crowd-pleasing tang)
- Aged gouda, cut into bite-sized pieces (slightly nutty, pairs beautifully with apples)
- Soft goat cheese log, left whole or crumbled (creamy and tangy—a little goes a long way)
- Brie or camembert, left in the wheel with the rind on (warm, melty, and utterly luxurious)
Meats (2-3 options)
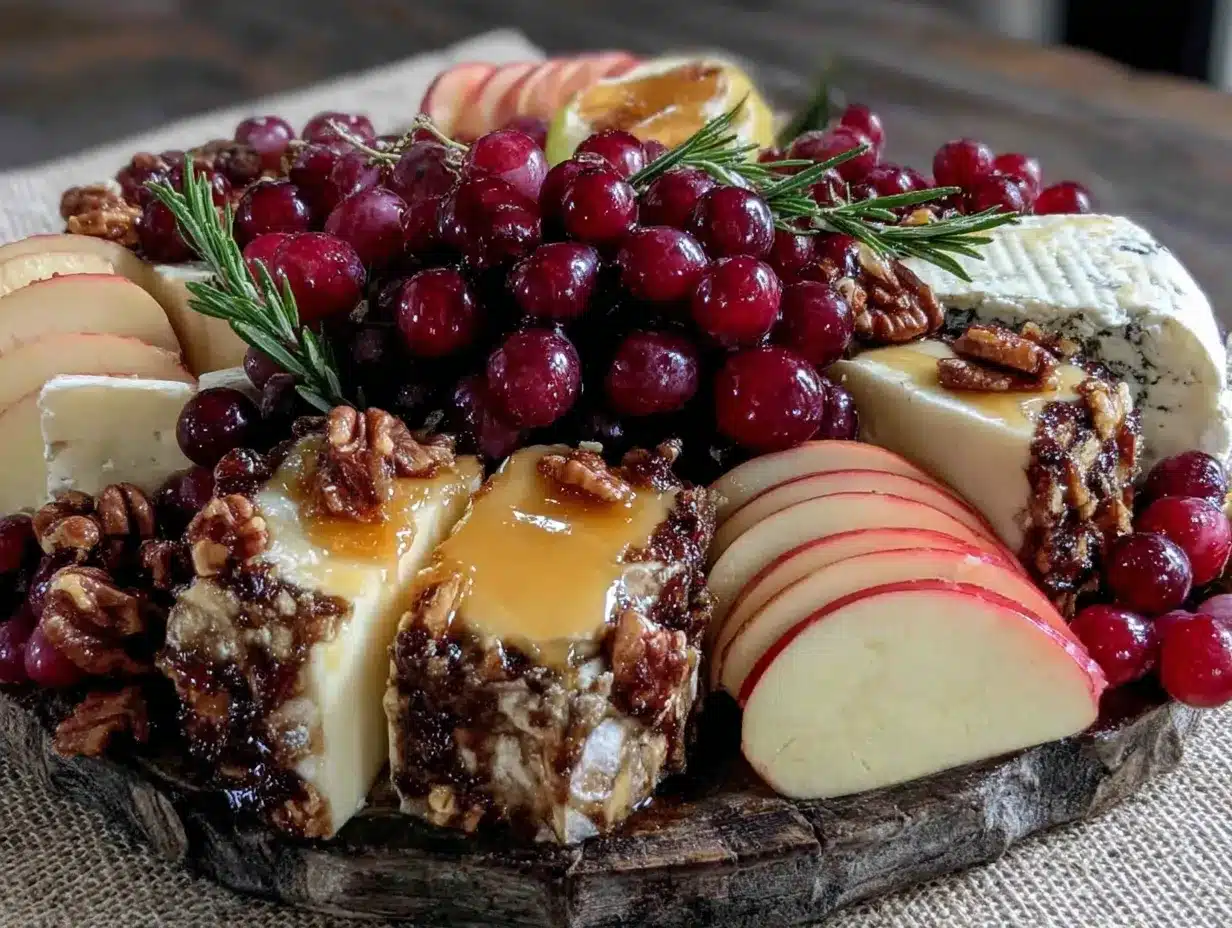
- Prosciutto, thinly sliced and folded into ribbons or roses (salty, delicate, always a hit)
- Salami, preferably a hard variety like Genoa or soppressata, sliced thin (peppery and satisfying)
- Capicola or spicy coppa (adds a little heat and a lot of flavor)
Fruits (fresh and dried)
- Crisp apples, like Honeycrisp or Fuji, sliced just before serving (I recommend leaving the skin on for color and fiber)
- Red grapes, washed and left in small clusters (they look gorgeous and are easy to grab)
- Dried apricots or figs (chewy sweetness that contrasts the salty meats)
- Pomegranate seeds (optional, but they add a pop of jewel-like color and tartness)
Crunchy Elements
- Assorted crackers—a mix of water crackers, whole wheat, and something seeded (I like the Raincoast Crisps brand for their cranberry and hazelnut flavor)
- Toasted baguette slices, brushed with olive oil and baked until golden (homemade is best, but store-bought crostini works in a pinch)
- Candied pecans or spiced almonds (sweet, crunchy, and so seasonal)
Spread & Dips
- Apple butter or pumpkin butter (fall’s answer to fig jam—sweet, spiced, and incredible with cheddar)
- Honey, preferably local and runny (drizzle over goat cheese or brie for instant magic)
- Whole grain mustard (for those who want a little tang with their salami)
Garnish
- Fresh rosemary sprigs or thyme (adds greenery and a subtle woodsy scent)
- Edible flowers like pansies or nasturtiums (optional, but they make the board look like a magazine cover)
- Bay leaves (tuck under cheese wedges for a rustic touch)
For substitutions, feel free to swap in whatever your family loves. Don’t like goat cheese? Use a creamy blue instead. Can’t find apple butter? Fig jam or even a good apricot preserve works beautifully. The key is balance—salty, sweet, creamy, crunchy, and tangy all in one glorious spread.
Equipment Needed
You don’t need much to build a stunning fall charcuterie board. Here’s what I use:
- A large wooden board or serving platter. My favorite is a 20-inch round acacia wood board, but a large cutting board, a rimmed baking sheet, or even a clean pizza peel works. The bigger the better—you want room to spread everything out.
- Small bowls or ramekins for the spreads, honey, and nuts. I use three or four little ceramic dishes that I picked up at a thrift store for a dollar each. They keep the wet stuff from making the crackers soggy.
- A sharp chef’s knife for slicing cheese and fruit. A dull knife will crush soft cheeses and bruise apples—trust me on this one.
- A small cheese knife or spreader for the brie and goat cheese. Not strictly necessary, but it makes serving nicer.
- Parchment paper (optional) to line the board if you’re worried about staining or want easy cleanup. I often skip it, but it’s a lifesaver for really messy boards.
- Toothpicks or small cocktail forks for easy grabbing. Especially helpful if you’re serving kids who don’t want to use their fingers.
If you don’t have a fancy cheese board, don’t stress. I’ve used a marble pastry slab, a slate tile from the hardware store, and even a clean cookie sheet lined with a tea towel. The board is just the stage—the ingredients are the stars.
Preparation Method
Building this Best Fall Charcuterie Board for Family Gatherings is more about assembly than cooking. Follow these steps, and you’ll have a showstopper in under thirty minutes.
- Start with the bowls. Place your small dishes on the board first. I like to arrange them in a rough triangle or scattered pattern, leaving plenty of open space for everything else. Fill them with apple butter, honey, whole grain mustard, and candied pecans. This anchors the board and gives it structure.
- Add the cheeses. Place the larger cheese pieces first—the brie wheel, the goat cheese log, the block of cheddar. Space them out so there’s cheese in every quadrant of the board. Cut the cheddar and gouda into slices or cubes before placing them, so guests don’t have to struggle with a knife. Pro tip: leave the brie whole; it looks beautiful and people love cutting into it themselves.
- Layer in the meats. Fold prosciutto slices into loose ribbons or roll them into roses. To make a prosciutto rose, take a slice, fold it in half lengthwise, then roll it loosely from one end. Tuck the roses next to the cheeses. Arrange salami slices in overlapping rows or fan them out like playing cards. The meats should be easy to grab—no one wants to wrestle with a clump of prosciutto.
- Fill in with fruits. Scatter apple slices and grape clusters in the gaps between the cheeses and meats. Add dried apricots and pomegranate seeds in little piles. The fruit adds color and freshness, and it’s what makes this board feel so fall-like. I like to place the apple slices right next to the cheddar—classic pairing, and it looks intentional.
- Crackers and bread. Arrange crackers and baguette slices in small groups around the board. Don’t spread them out evenly—cluster them near the cheeses and spreads they go best with. Water crackers near the brie, whole wheat near the cheddar, seeded crackers near the goat cheese. It makes the board feel curated, not chaotic.
- Garnish and finish. Tuck fresh rosemary sprigs and bay leaves between the ingredients. Sprinkle a few edible flowers or extra pomegranate seeds on top for that “wow” factor. Drizzle a little honey over the brie or goat cheese just before serving. Step back, admire your work, and take a photo—you’ve earned it.
One more thing: don’t overthink it. The best boards look a little messy, like someone just threw everything together (even though you didn’t). Trust your eye, and remember that people are there for the food, not the perfection.
Cooking Tips & Techniques
I’ve learned a few things the hard way over the years. Here’s what I wish someone had told me when I started building charcuterie boards:
Take the cheese out early. Cheese tastes best at room temperature, so pull everything out of the fridge about thirty minutes before you start assembling. Cold cheese is bland and rubbery. Let it breathe, and the flavors will sing.
Slice apples at the last minute. Cut apples brown faster than you think. Slice them right before serving, and toss them with a little lemon juice if you’re prepping ahead. Even then, they’ll start to oxidize after an hour or so. Better to slice as guests arrive.
Don’t overcrowd the board. I know it’s tempting to pile everything on, but a crowded board is hard to navigate. Leave a little negative space—it looks better and makes it easier for people to grab what they want. If you have too much food, use a second board or a side plate.
Think about height. A flat board can look boring. Use the bowls and cheese wedges to create different levels. Stack crackers on top of each other, prop up the brie on a folded napkin, or place a small jar of honey on a cheese wedge. Visual variety makes the board more inviting.
Label the cheeses. If you’re using unfamiliar cheeses, a small handwritten label or a little flag on a toothpick helps guests know what they’re eating. It’s a small touch that makes a big difference, especially for family members who aren’t cheese experts.
Keep it covered until serving. Once assembled, cover the board loosely with plastic wrap and refrigerate if you’re not serving right away. Just remember to let it come back to room temperature before guests arrive. I once made the mistake of serving a board straight from the fridge, and the cheese was like butter straight out of the freezer. Not my finest moment.
Variations & Adaptations
This Best Fall Charcuterie Board for Family Gatherings is endlessly adaptable. Here are a few ways to make it your own:
Vegetarian version. Skip the meats and double up on the cheeses and veggies. Add roasted red peppers, marinated artichoke hearts, and grilled zucchini slices. The board will still feel hearty and satisfying—trust me, no one will miss the prosciutto.
Gluten-free option. Replace crackers and baguette slices with gluten-free crackers, rice cakes, or sliced cucumber and bell pepper rounds. Most cheeses and meats are naturally gluten-free, so the swap is easy. Just check the labels on any pre-seasoned nuts or spreads.
Sweet tooth twist. Turn this into a dessert board by swapping the meats for dark chocolate squares, dried cherries, and candied ginger. Add a bowl of chocolate-hazelnut spread and some shortbread cookies. It’s a fun, unexpected way to end a family dinner.
Kid-friendly adaptation. My kids love a “deconstructed” board where everything is in separate bowls or sections. It’s less overwhelming for little ones, and they can pick and choose without feeling pressured. I also swap the strong cheeses for mild cheddar and colby jack, and add a bowl of raspberries for extra sweetness.
Spicy fall version. Add a drizzle of hot honey over the goat cheese, and include some pickled jalapeños or spicy salami. The heat cuts through the richness and adds a nice kick. I tried this last Thanksgiving, and my brother-in-law (who claims he doesn’t like cheese boards) ate half the brie.
Serving & Storage Suggestions
This board is best served at room temperature, so let it sit out for about twenty minutes before guests arrive. Arrange it on a large table or counter where people can gather around and graze. I like to set it out about thirty minutes before the main meal, so everyone has something to nibble on while they wait.
For storage, any leftovers can be wrapped separately and refrigerated. Cheeses keep well for several days if wrapped in wax paper or cheese paper (plastic wrap makes them sweat). Meats should be eaten within two to three days. Crackers and bread are best stored in an airtight container at room temperature—they’ll go stale in the fridge.
One thing I love about this board is how the flavors develop over time. The apple butter and honey soak into the crackers, the cheese softens, and everything melds together. It’s almost better the next day, crumbled into a salad or piled onto a sandwich. Don’t throw anything away—get creative with the leftovers.
For reheating, the only thing I’d warm up is the brie. Pop it in a 350°F oven for about ten minutes, until it’s gooey and melty. Serve with fresh crackers and a drizzle of honey. It’s a whole new dish, and it’s absolutely worth the extra step.
Nutritional Information & Benefits
While I’m not a nutritionist, I can tell you that this board is packed with good stuff. The cheese provides protein and calcium, the nuts offer healthy fats and fiber, and the fruit brings vitamins and antioxidants. It’s a balanced snack that keeps you full without weighing you down.
Here’s a rough estimate per serving (about a quarter of the board):
- Calories: 400-500
- Protein: 15-20 grams
- Fat: 25-30 grams
- Carbohydrates: 30-40 grams
- Fiber: 5-7 grams
- Sugar: 15-20 grams (mostly from fruit)
If you’re watching your sodium, go easy on the cured meats and hard cheeses. The fresh fruit and nuts are naturally low in salt, so load up on those. And if you’re dairy-sensitive, swap the cheeses for vegan alternatives or increase the nut and fruit portions.
Honestly, this board is about enjoyment, not perfection. It’s a treat, and treats are meant to be savored. Balance it with a light meal earlier in the day, and you’re golden.
Conclusion
This Best Fall Charcuterie Board for Family Gatherings is more than just a snack—it’s a centerpiece, a conversation starter, and a way to bring people together. Whether you’re hosting Thanksgiving, a football party, or just a casual Sunday with the family, this board delivers every time.
I love how forgiving it is. You can swap ingredients, change the layout, or add your own touches, and it still comes out looking beautiful. It’s the kind of recipe that builds confidence, even if you’ve never made a charcuterie board before. And honestly, that’s the best kind of recipe to share.
So go ahead—give it a try. Customize it with your family’s favorite flavors, and don’t be afraid to make a mess. The beauty is in the imperfection. And when someone asks you how you made it look so effortless, you can smile and say, “Oh, I just threw some stuff together.”
I’d love to hear how yours turns out! Leave a comment below with your favorite fall additions, or share a photo of your board on Pinterest. Tag me so I can see your masterpiece. Happy snacking, friends!
Frequently Asked Questions
Can I make this charcuterie board ahead of time?
Absolutely! You can prep all the ingredients the day before—slice cheeses, wash fruit, arrange meats—and then assemble the board about thirty minutes before serving. Just keep everything wrapped in the fridge until you’re ready.
How much food do I need per person?
A good rule of thumb is about 2-3 ounces of cheese and 2 ounces of meat per person, plus plenty of crackers and fruit. For a family gathering of ten, that means roughly 20 ounces of cheese and 20 ounces of meat total. Adjust based on your crowd—big eaters might need more.
What if I don’t have a wooden board?
No problem! Use a large cutting board, a rimmed baking sheet, a marble slab, or even a clean cookie sheet lined with a tea towel. The board is just the base—the food is what matters.
Can I use different cheeses?
Of course! Swap in whatever your family loves. Manchego, havarti, or even a simple cream cheese log all work beautifully. Just aim for a mix of textures—soft, hard, and something in between.
How do I keep apples from turning brown?
Toss sliced apples in a little lemon juice or orange juice right after cutting. It won’t change the flavor much, and it buys you an extra hour or two before they start browning. For best results, slice them just before serving.
Pin This Recipe!
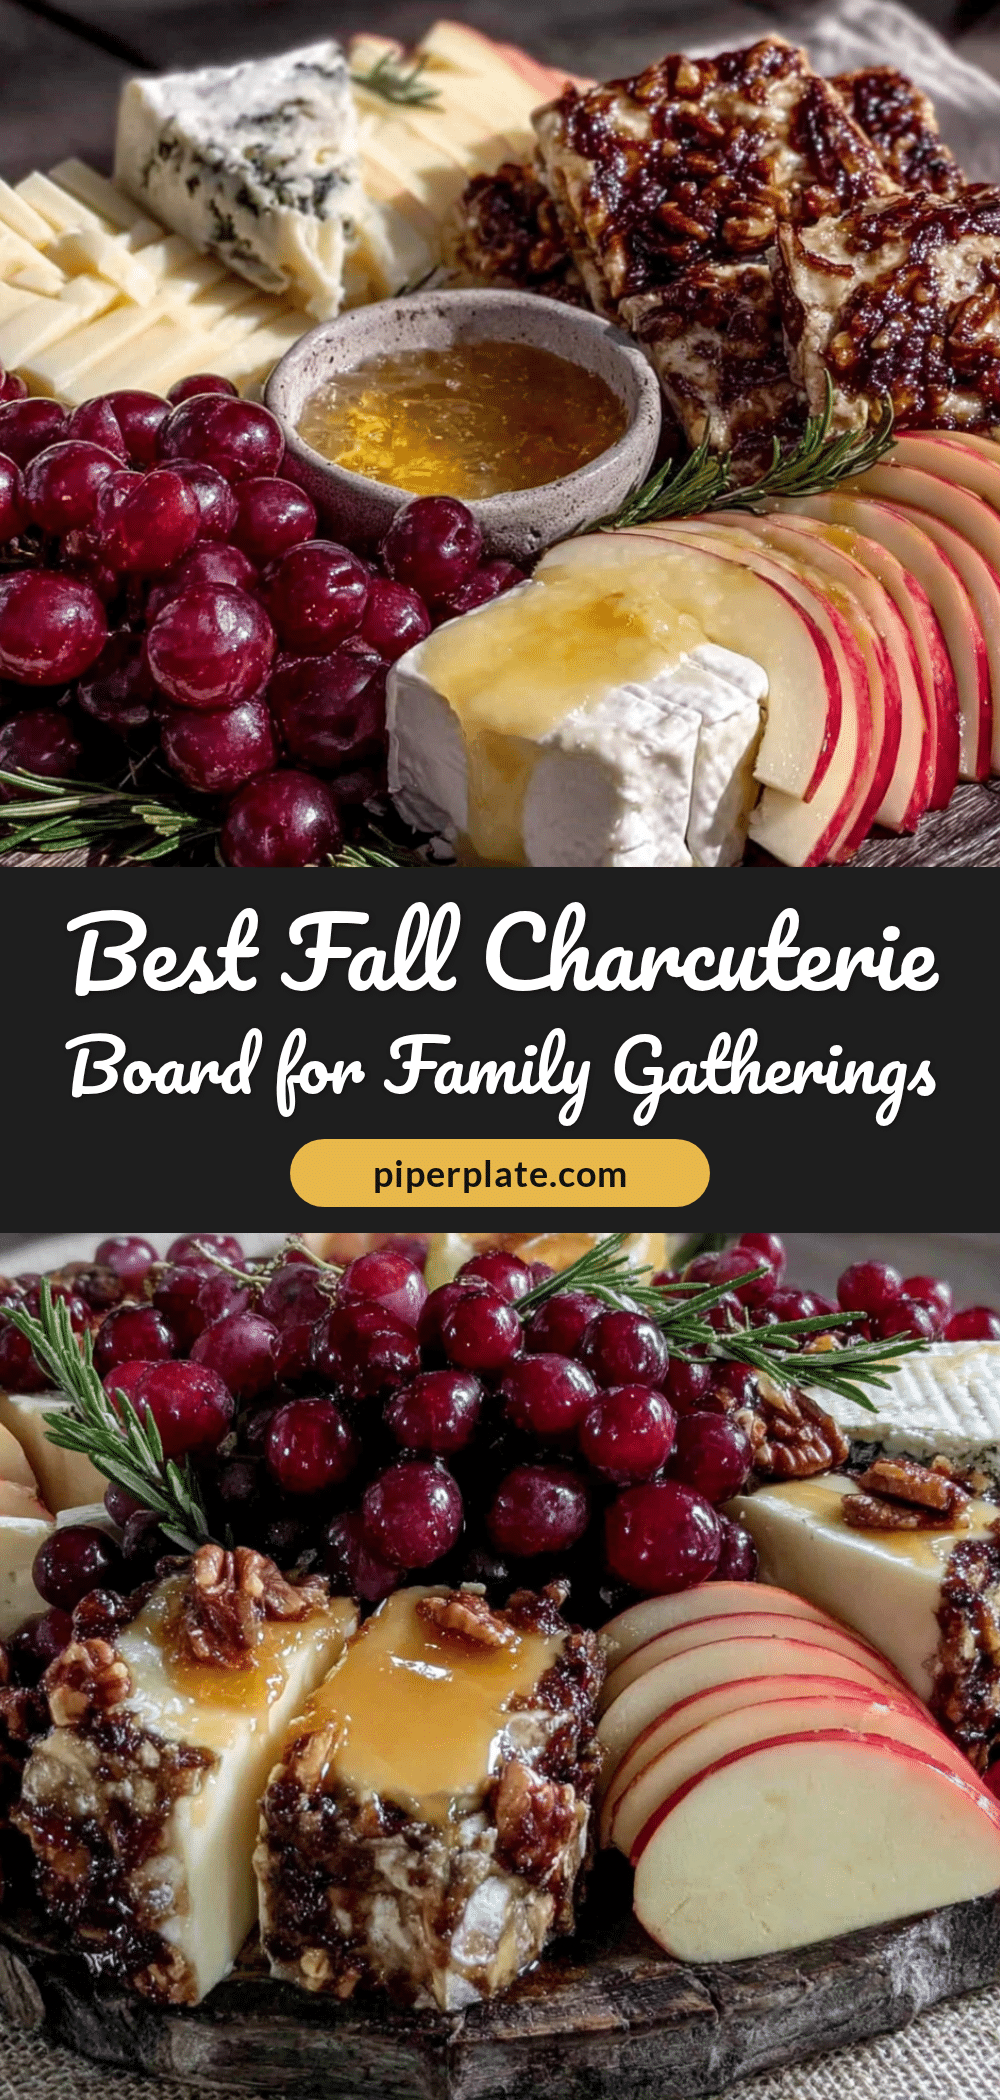
Best Fall Charcuterie Board for Family Gatherings (Easy & Impressive)
A warm, welcoming fall charcuterie board perfect for family gatherings, featuring seasonal ingredients like sharp cheddar, aged gouda, prosciutto, apples, and candied pecans. Easy to assemble and endlessly adaptable, it’s the ultimate low-pressure entertaining move.
- Prep Time: 15 minutes
- Cook Time: 0 minutes
- Total Time: 15 minutes
- Yield: 10 servings
- Category: Appetizer
- Cuisine: American
Ingredients
- Sharp cheddar, sliced into thin wedges or cubes
- Aged gouda, cut into bite-sized pieces
- Soft goat cheese log, left whole or crumbled
- Brie or camembert, left in the wheel with the rind on
- Prosciutto, thinly sliced
- Salami (Genoa or soppressata), sliced thin
- Capicola or spicy coppa
- Crisp apples (Honeycrisp or Fuji), sliced
- Red grapes, washed and left in small clusters
- Dried apricots or figs
- Pomegranate seeds (optional)
- Assorted crackers (water crackers, whole wheat, seeded)
- Toasted baguette slices
- Candied pecans or spiced almonds
- Apple butter or pumpkin butter
- Honey, preferably local and runny
- Whole grain mustard
- Fresh rosemary sprigs or thyme
- Edible flowers like pansies or nasturtiums (optional)
- Bay leaves
Instructions
- Start with the bowls. Place small dishes on the board in a rough triangle or scattered pattern. Fill them with apple butter, honey, whole grain mustard, and candied pecans.
- Add the cheeses. Place larger cheese pieces (brie wheel, goat cheese log, cheddar block) spaced out so there’s cheese in every quadrant. Cut cheddar and gouda into slices or cubes before placing. Leave brie whole.
- Layer in the meats. Fold prosciutto slices into loose ribbons or roll into roses. Arrange salami slices in overlapping rows or fan them out. Tuck meats next to cheeses.
- Fill in with fruits. Scatter apple slices and grape clusters in gaps between cheeses and meats. Add dried apricots and pomegranate seeds in little piles.
- Arrange crackers and bread. Place crackers and baguette slices in small groups around the board, clustering them near complementary cheeses and spreads.
- Garnish and finish. Tuck fresh rosemary sprigs and bay leaves between ingredients. Sprinkle edible flowers or extra pomegranate seeds on top. Drizzle honey over brie or goat cheese just before serving.
Notes
Take cheese out of fridge 30 minutes before assembling for best flavor. Slice apples just before serving and toss with lemon juice to prevent browning. Don’t overcrowd the board—leave negative space. Think about height by using bowls and cheese wedges to create different levels. Label unfamiliar cheeses with small flags. Keep covered until serving if making ahead.
Nutrition
- Serving Size: About 1/4 of the boa
- Calories: 400500
- Sugar: 1520
- Fat: 2530
- Carbohydrates: 3040
- Fiber: 57
- Protein: 1520
Keywords: fall charcuterie board, family gathering appetizer, easy charcuterie board, Thanksgiving appetizer, football party snack, seasonal cheese board


