Love this? Save it for later!
Share the inspiration with your friends
I was at the community garden last October, elbow-deep in soil, trying to figure out what to do with the pumpkin that had been sitting on my counter for two weeks. My neighbor, an older woman named Rosa who grows the most incredible butternut squash I’ve ever seen, watched me struggle with a particularly stubborn weed. She didn’t say anything at first. Then she wiped her hands on her apron and said, “You’re overthinking it. Grate it, bake it, put brown butter on top. The kids will eat it before you can blink.”
She was right. Honestly, I’d been hunting down complicated pumpkin recipes—curries, pastas, fancy tarts—when all I really needed was something simple. Something that would make my kitchen smell like fall without requiring a culinary degree. Rosa’s advice stuck with me. That afternoon, I grated the pumpkin, mixed up a quick batter, and threw together a brown butter frosting that I was frankly nervous about. Brown butter can be intimidating, right? You’ve probably been there, staring at a pan of bubbling butter wondering if you’re about to ruin it.
The bars came out of the oven golden and soft, and the frosting? Let me tell you, it was like liquid gold. My kids devoured them before dinner, which is saying something because they usually inspect new recipes like they’re food critics for a living. I’ve been making these pumpkin bars ever since. They’re the recipe I bring to school bake sales, the one I make when I need a quick dessert for unexpected guests, and honestly, the one I make when I just want something cozy. Rosa moved away last spring, but every time I grate a pumpkin, I think of her standing there in her muddy boots, sharing wisdom like it was nothing.
Why You’ll Love This Recipe
These pumpkin bars aren’t just another fall dessert. They’re the kind of recipe that makes you wonder why you ever bothered with complicated layer cakes. I’ve tested this recipe at least a dozen times, tweaking the spice ratio, adjusting the baking time, and perfecting that brown butter frosting until it was just right. Here’s why I think you’ll love them as much as my family does:
- Quick & Easy: From start to finish, these bars come together in about 45 minutes. No stand mixer required, no chilling time, no fuss. Perfect for those after-school snack emergencies or last-minute potluck invites.
- Simple Ingredients: You probably have most of these in your pantry right now. Butter, sugar, flour, eggs, and pumpkin puree (or fresh grated pumpkin if you’re feeling ambitious). No fancy extracts or specialty flours needed.
- Perfect for Busy Families: These bars are sturdy enough to pack in lunchboxes, fancy enough to serve at a birthday party, and forgiving enough to survive a car ride to Grandma’s house.
- Crowd-Pleaser: I’ve served these to kids, teenagers, adults, and even my picky father-in-law who “doesn’t like pumpkin desserts.” They disappeared every single time.
- Unbelievably Delicious: The brown butter frosting is the real star here. It adds a nutty, caramel-like depth that regular cream cheese frosting just can’t match. Paired with the soft, spiced pumpkin bars, it’s pure comfort.
What sets this recipe apart is the brown butter technique. It sounds fancy, but it’s actually dead simple. You just cook the butter until it turns golden and smells nutty. That one extra step transforms the frosting from good to unforgettable. Plus, these bars are budget-friendly—a single can of pumpkin puree makes a full pan, and the leftovers reheat beautifully. I’ve made them for Halloween parties, Thanksgiving dinners, and random Tuesday nights when I needed a little pick-me-up. They never disappoint.
What Ingredients You Will Need
This recipe uses simple, wholesome ingredients that work together to create something truly special. Most of these are pantry staples, which is exactly what I love about it. No hunting down obscure spices or specialty items—just good, honest ingredients.
For the Pumpkin Bars
- 1 cup granulated sugar (adds sweetness and helps create that soft, tender crumb)
- 1 cup pumpkin puree (canned is fine, or use fresh roasted pumpkin—just make sure it’s not pumpkin pie filling, which has added sugar and spices)
- 1/2 cup vegetable oil (keeps the bars moist without making them greasy; you can substitute melted coconut oil if you prefer)
- 2 large eggs, room temperature (room temperature eggs blend more evenly into the batter)
- 1 teaspoon vanilla extract (pure vanilla extract makes a difference, but imitation works in a pinch)
- 1 1/2 cups all-purpose flour (spoon and level it for the most accurate measurement)
- 1 teaspoon baking powder (for lift and fluffiness)
- 1/2 teaspoon baking soda (helps the bars rise and brown evenly)
- 1/2 teaspoon salt (balances the sweetness and enhances the pumpkin flavor)
- 2 teaspoons pumpkin pie spice (I prefer the blend from McCormick, but any brand works; you can also make your own with cinnamon, nutmeg, ginger, and cloves)
- 1/2 teaspoon ground cinnamon (for extra warmth)
For the Brown Butter Frosting
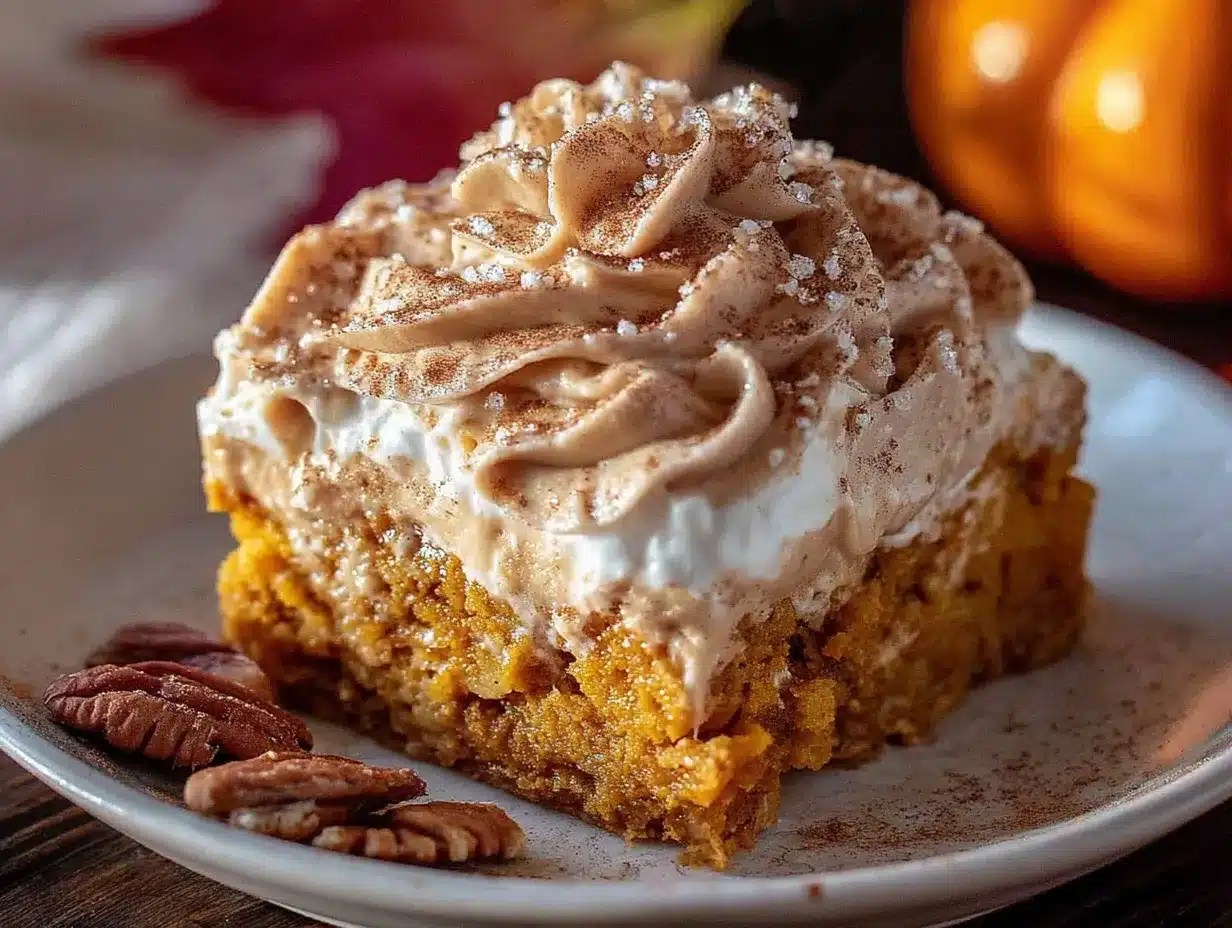
- 1/2 cup unsalted butter (salted butter will make the frosting too salty, so stick with unsalted)
- 2 cups powdered sugar, sifted (sifting prevents lumps and gives a silky smooth texture)
- 1 teaspoon vanilla extract
- 2-3 tablespoons milk (whole milk or 2% works best; you can use almond milk for a dairy-free option)
- Pinch of salt (optional, but it really makes the brown butter flavor pop)
If you’re using fresh pumpkin, look for sugar pumpkins (also called pie pumpkins). They’re smaller and sweeter than carving pumpkins, with a smoother texture. I’ve made these bars with both canned and fresh, and honestly, both work beautifully. Canned is more convenient, but fresh gives you a slightly more pronounced pumpkin flavor. Either way, you can’t go wrong.
Equipment Needed
You don’t need a lot of fancy equipment for this recipe, which is one of the reasons I love it. Here’s what you’ll need:
- 9×13-inch baking pan (a metal pan gives the best browning, but glass works too—just expect a slightly longer baking time)
- Mixing bowls (one large, one medium)
- Whisk and rubber spatula
- Small saucepan (for browning the butter—light-colored pans work best so you can see the butter change color)
- Electric hand mixer or stand mixer (for the frosting; you can whisk by hand, but it takes some elbow grease)
- Parchment paper (for easy removal and cleanup)
- Cooling rack
If you don’t have a 9×13 pan, you can use two 8×8 pans instead. Just reduce the baking time by about 5 minutes and check for doneness with a toothpick. I’ve also made these as cupcakes before, and they turned out great—just adjust the baking time to 18-20 minutes. As for the brown butter, I learned the hard way that dark nonstick pans make it nearly impossible to see the color change. Trust me, use a light-colored pan if you have one.
Preparation Method
- Preheat your oven to 350°F (175°C). Line your 9×13-inch baking pan with parchment paper, leaving some overhang on the sides. This makes lifting the bars out later a breeze. Lightly grease the parchment with cooking spray or butter.
- In a large bowl, whisk together the sugar, pumpkin puree, vegetable oil, eggs, and vanilla extract. Whisk until everything is smooth and well combined. The mixture should look glossy and smell wonderfully pumpkin-y. Don’t overmix—just get it combined.
- In a separate medium bowl, whisk together the flour, baking powder, baking soda, salt, pumpkin pie spice, and cinnamon. This step ensures your spices are evenly distributed throughout the batter. Nobody wants a bite with a clump of cinnamon!
- Gradually add the dry ingredients to the wet ingredients, stirring gently with a rubber spatula. Mix until just combined. A few small lumps are okay—overmixing will make the bars tough. The batter will be thick and slightly fluffy.
- Pour the batter into the prepared pan and spread it evenly. Use the spatula to smooth the top. The batter should be about 1/2 inch thick. Give the pan a gentle tap on the counter to release any air bubbles.
- Bake for 22-25 minutes, or until a toothpick inserted into the center comes out clean. The edges should be lightly golden and pulling away from the sides of the pan. If the top is browning too quickly, tent it loosely with foil for the last 5 minutes.
- Let the bars cool completely in the pan on a wire rack. This is important—if you frost them while they’re still warm, the frosting will melt into a puddle. I usually wait about 45 minutes to an hour. Patience, my friend.
- While the bars cool, make the brown butter frosting. In a small saucepan over medium heat, melt the butter. Swirl the pan occasionally as it melts. The butter will start to foam and crackle—that’s normal. Keep cooking until the butter turns a deep golden brown and smells nutty and toasty. This takes about 5-7 minutes. Watch it carefully, because it can go from perfect to burnt in seconds. Remove from heat immediately and pour into a heatproof bowl.
- Let the brown butter cool for about 10 minutes. It should be warm but not hot. Add the sifted powdered sugar, vanilla extract, and a pinch of salt. Beat with an electric mixer on low speed until combined. Add 2 tablespoons of milk and beat on medium speed until smooth and creamy. If the frosting is too thick, add the remaining tablespoon of milk. If it’s too thin, add a little more powdered sugar.
- Spread the frosting over the completely cooled bars. Use an offset spatula or the back of a spoon to create swirls. The frosting will set slightly as it cools, but it stays soft and luscious. Slice into squares and serve.
A quick note: If you’re making these ahead of time, wait to frost them until just before serving. The bars themselves can be baked a day in advance and stored at room temperature, covered tightly. Frost them right before you’re ready to serve for the prettiest presentation.
Cooking Tips & Techniques
I’ve made these pumpkin bars more times than I can count, and I’ve definitely learned a few things along the way. Here are my best tips for getting perfect results every time:
Don’t skip the brown butter step. I know it’s tempting to just use regular melted butter, but brown butter is what makes this frosting special. The nutty, caramel notes complement the pumpkin spices perfectly. If you’ve never browned butter before, don’t be nervous. Just keep an eye on it and trust your nose—when it smells like toasted nuts, it’s done.
Use room temperature eggs. Cold eggs can seize the batter and make the bars dense. If you forgot to take them out of the fridge, place them in a bowl of warm water for 5 minutes. It works like magic.
Measure your flour correctly. Scooping flour directly from the bag packs it down and can lead to dry, crumbly bars. Instead, spoon the flour into your measuring cup and level it off with a knife. This gives you a much more accurate measurement.
Check for doneness early. Ovens vary, so start checking at 20 minutes. Insert a toothpick into the center—if it comes out clean or with just a few moist crumbs, they’re done. If the toothpick is wet with batter, give them another 2-3 minutes.
Let the bars cool completely. I know it’s hard to wait, but trust me on this. If you frost warm bars, the butter in the frosting will melt and you’ll end up with a goopy mess. Plus, the bars need time to set up so they slice cleanly.
One of my biggest failures: The first time I made these, I tried to rush the cooling process by putting the pan in the fridge. The bars cooled unevenly and the edges got hard while the center was still warm. Learn from my mistake—let them cool on the counter at room temperature.
Variations & Adaptations
One of the best things about this recipe is how adaptable it is. I’ve experimented with all sorts of variations over the years, and here are some of my favorites:
Gluten-Free Version: Substitute the all-purpose flour with a 1:1 gluten-free baking flour blend. I’ve used Bob’s Red Mill and King Arthur brands with great success. The texture is slightly more delicate, but still delicious.
Dairy-Free Version: Use melted coconut oil instead of butter in the bars, and substitute the brown butter frosting with a simple glaze made from powdered sugar and dairy-free milk. Alternatively, you can use vegan butter for the frosting—just make sure it’s a high-quality brand that browns well.
Extra Spiced Version: Add 1/4 teaspoon of ground ginger, 1/4 teaspoon of ground cloves, and a pinch of ground nutmeg to the dry ingredients. This gives the bars a more complex, warming spice profile that’s perfect for holiday baking.
Chocolate Chip Pumpkin Bars: Fold 1/2 cup of semi-sweet chocolate chips into the batter before baking. The chocolate pairs beautifully with the pumpkin and spices. My kids go crazy for this version.
Maple Brown Butter Frosting: Replace the vanilla extract in the frosting with 1 tablespoon of pure maple syrup and reduce the milk to 1-2 tablespoons. The maple flavor adds a lovely fall twist.
Nutty Crunch: Sprinkle 1/4 cup of chopped pecans or walnuts over the frosting while it’s still soft. The crunch adds texture and makes these bars feel extra special.
I’ve also made these as a pumpkin sheet cake for birthday parties—just double the recipe and bake in a half-sheet pan. Increase the baking time to 30-35 minutes. It’s a showstopper.
Serving & Storage Suggestions
These pumpkin bars are incredibly versatile when it comes to serving. Here’s how I like to enjoy them:
At Room Temperature: This is how I serve them most often. The bars are soft and tender, and the frosting is perfectly creamy. They’re wonderful with a cup of coffee or a glass of cold milk.
Chilled: Pop them in the fridge for 30 minutes before serving. The frosting firms up slightly, making the bars easier to slice and giving them a fudgy texture. This is my preferred method for bake sales and potlucks.
Warmed: If you have leftovers (which is rare in my house), warm a bar in the microwave for 10-15 seconds. The frosting gets soft and gooey, and the pumpkin flavor becomes even more pronounced. Serve with a scoop of vanilla ice cream for an indulgent dessert.
Storage: Store the frosted bars in an airtight container in the refrigerator for up to 5 days. Let them sit at room temperature for 15 minutes before serving to soften the frosting. Unfrosted bars can be stored at room temperature for up to 3 days, or frozen for up to 3 months.
Freezing: These bars freeze beautifully. If you’re freezing frosted bars, place them on a baking sheet in the freezer until the frosting is firm, then wrap each bar individually in plastic wrap and store in a freezer bag. Thaw in the refrigerator overnight. Unfrosted bars can be frozen in a single layer, then wrapped and stored. Frost them after thawing for the freshest taste.
Flavor Development: Honestly, these bars taste even better the next day. The spices have time to meld, and the texture becomes even more moist and tender. If you can resist eating them all on day one, you’re in for a treat on day two.
Nutritional Information & Benefits
While these pumpkin bars are definitely a treat, they do offer some nutritional benefits thanks to the star ingredient. Here’s a rough breakdown per bar (based on 24 servings):
- Calories: Approximately 180
- Total Fat: 9g
- Saturated Fat: 4g
- Carbohydrates: 25g
- Sugar: 17g
- Fiber: 1g
- Protein: 2g
- Vitamin A: 35% of the Daily Value
Pumpkin is packed with vitamin A, which is great for eye health and immune function. It’s also a good source of fiber and potassium. The eggs and butter add protein and healthy fats, making these bars a more balanced dessert option than your average processed snack. Of course, they’re still a sweet treat, so enjoy them in moderation. If you’re looking for a lower-sugar version, you can reduce the sugar in the bars to 3/4 cup and use a sugar substitute in the frosting. The texture will be slightly different, but still delicious.
For those with dietary restrictions, these bars contain wheat, dairy, and eggs. I’ve included gluten-free and dairy-free variations above that work well. They are nut-free as written, so they’re safe for school bake sales and nut-free households.
Conclusion
These kid-approved pumpkin bars with brown butter frosting are everything I want in a fall dessert—simple, comforting, and absolutely delicious. They’re the recipe I turn to when I need something reliable, something that will make my kitchen smell amazing and put smiles on my family’s faces. The brown butter frosting takes them from ordinary to extraordinary, and the pumpkin bars themselves are so soft and tender that you’ll find yourself sneaking bites straight from the pan.
I love that this recipe is forgiving enough for beginners but impressive enough for experienced bakers. It’s the kind of recipe that becomes a tradition, the one your kids will ask for year after year. I hope you’ll make it your own—add chocolate chips, swap in different spices, or double the frosting (I won’t judge). The beauty of baking is that there’s always room for your personal touch.
If you try these pumpkin bars, I’d love to hear about it. Leave a comment below and let me know how they turned out, or share your own variation. Did you add pecans? Use a different frosting? I’m always looking for new ideas. And if you’re looking for more fall baking inspiration, be sure to check out my crispy garlic chicken for a savory option, or my easy apple crisp for another simple dessert that’s always a hit. Happy baking, friends!
Frequently Asked Questions
Can I use fresh pumpkin instead of canned?
Absolutely! Just make sure to roast or steam the pumpkin until tender, then puree it until smooth. Drain any excess liquid before using, as fresh pumpkin can be more watery than canned. You’ll need about 1 1/2 cups of fresh pumpkin puree to get 1 cup after draining.
Why did my brown butter burn?
Brown butter can go from perfect to burnt in seconds. The key is to watch it carefully and remove it from the heat as soon as it turns a deep golden color and smells nutty. If you see black specks forming, it’s too late. Next time, try using a light-colored pan so you can see the color change more clearly.
Can I make these pumpkin bars ahead of time?
Yes! You can bake the bars a day in advance and store them unfrosted at room temperature. Frost them just before serving for the best presentation. You can also make the brown butter frosting up to 3 days ahead and store it in the refrigerator. Let it come to room temperature and give it a good stir before spreading.
How do I get clean slices?
For clean, neat slices, chill the frosted bars in the refrigerator for at least 30 minutes before cutting. Use a sharp knife and wipe it clean between each cut. For even cleaner slices, dip the knife in hot water and dry it off before each cut.
Can I freeze these pumpkin bars?
Definitely! Freeze unfrosted bars in a single layer, then wrap them tightly in plastic wrap and store in a freezer bag for up to 3 months. Thaw at room temperature and frost before serving. If you’re freezing frosted bars, place them on a baking sheet in the freezer until the frosting is firm, then wrap individually and store.
Pin This Recipe!
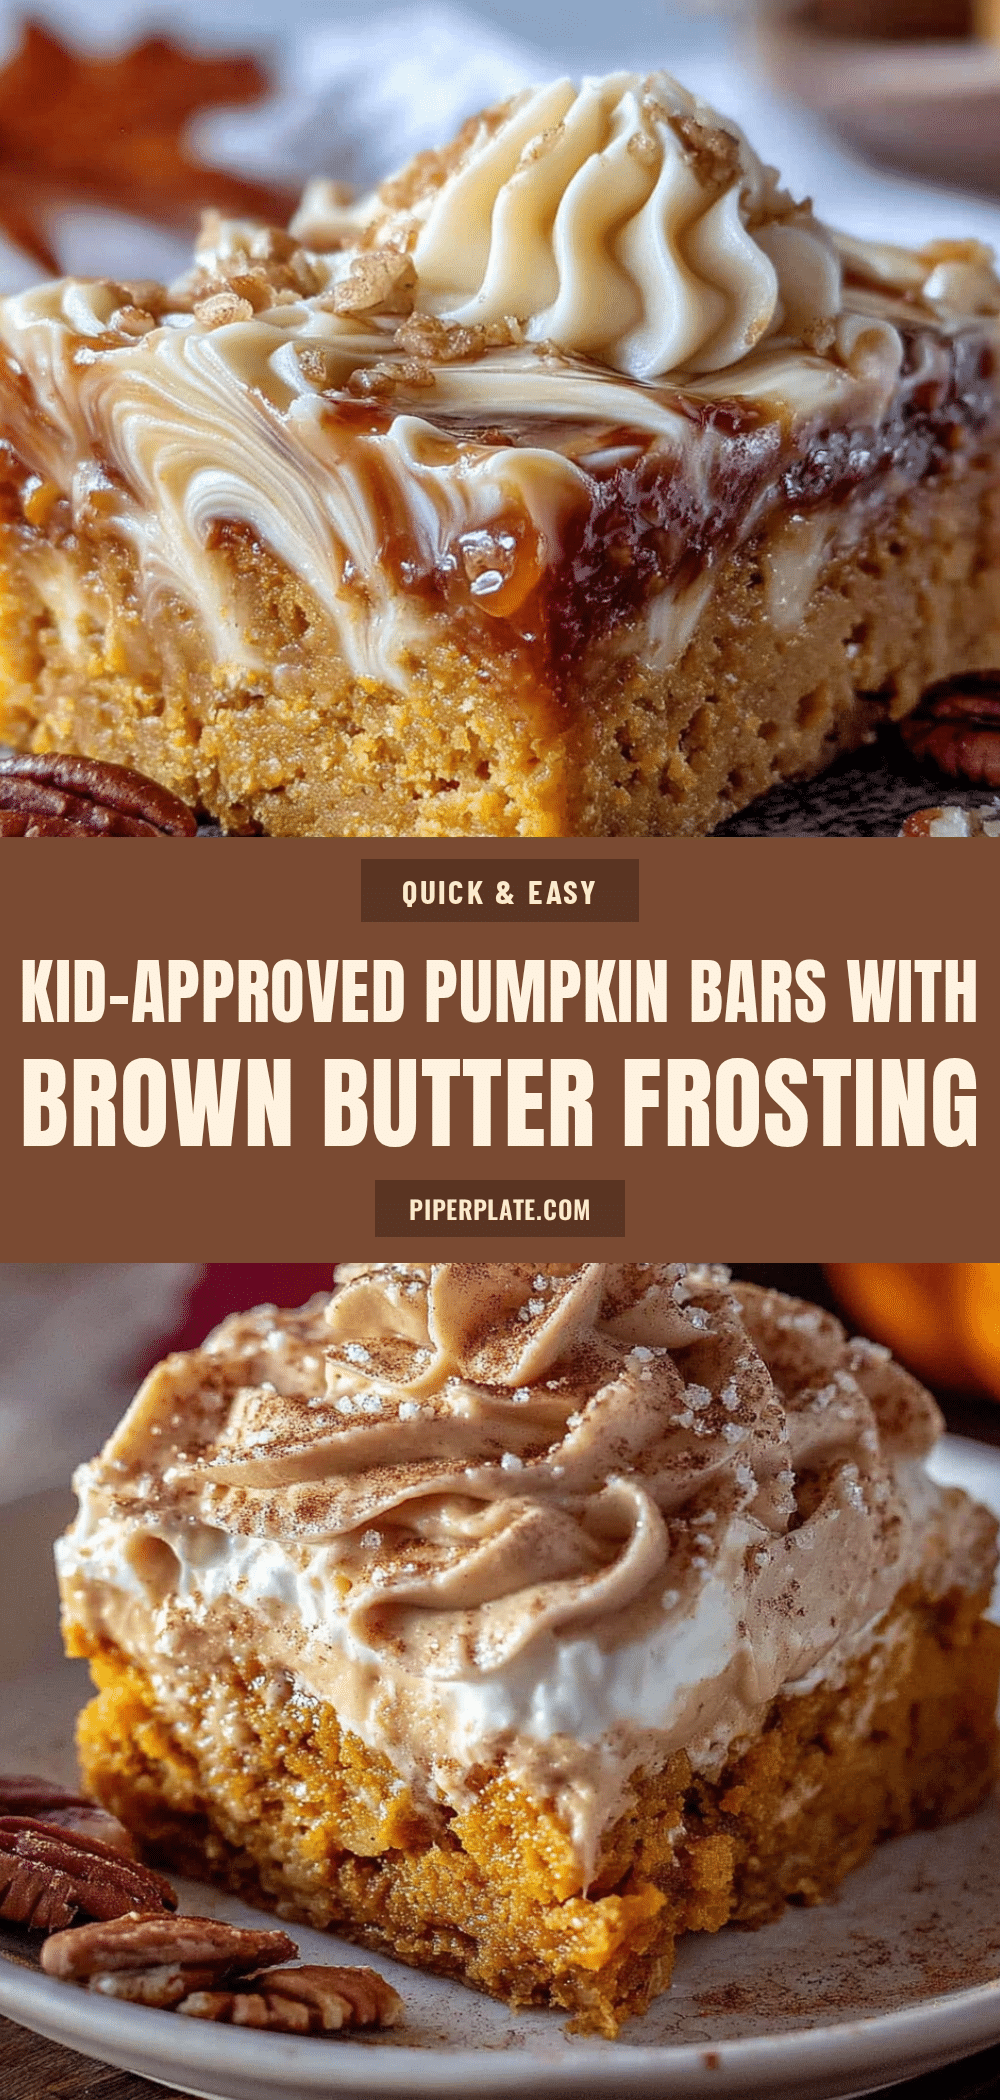
Best Kid-Approved Pumpkin Bars with Easy Brown Butter Frosting
Soft, spiced pumpkin bars topped with a nutty brown butter frosting. An easy, crowd-pleasing fall dessert that comes together in about 45 minutes with simple pantry ingredients.
- Prep Time: 15 minutes
- Cook Time: 25 minutes
- Total Time: 45 minutes
- Yield: 24 servings 1x
- Category: Dessert
- Cuisine: American
Ingredients
- 1 cup granulated sugar
- 1 cup pumpkin puree (canned or fresh, not pumpkin pie filling)
- 1/2 cup vegetable oil (or melted coconut oil)
- 2 large eggs, room temperature
- 1 teaspoon vanilla extract
- 1 1/2 cups all-purpose flour (spooned and leveled)
- 1 teaspoon baking powder
- 1/2 teaspoon baking soda
- 1/2 teaspoon salt
- 2 teaspoons pumpkin pie spice
- 1/2 teaspoon ground cinnamon
- 1/2 cup unsalted butter (for frosting)
- 2 cups powdered sugar, sifted (for frosting)
- 1 teaspoon vanilla extract (for frosting)
- 2–3 tablespoons milk (whole or 2%, for frosting)
- Pinch of salt (optional, for frosting)
Instructions
- Preheat oven to 350°F (175°C). Line a 9×13-inch baking pan with parchment paper, leaving overhang on sides. Lightly grease parchment.
- In a large bowl, whisk together sugar, pumpkin puree, vegetable oil, eggs, and vanilla extract until smooth and glossy.
- In a separate medium bowl, whisk together flour, baking powder, baking soda, salt, pumpkin pie spice, and cinnamon.
- Gradually add dry ingredients to wet ingredients, stirring gently with a rubber spatula until just combined. Do not overmix.
- Pour batter into prepared pan and spread evenly. Tap pan gently on counter to release air bubbles.
- Bake for 22-25 minutes, until a toothpick inserted in center comes out clean. If top browns too quickly, tent with foil for last 5 minutes.
- Let bars cool completely in pan on a wire rack (about 45 minutes to 1 hour).
- While bars cool, make brown butter frosting: In a small saucepan over medium heat, melt butter. Swirl pan occasionally. Cook until butter turns deep golden brown and smells nutty, about 5-7 minutes. Remove from heat immediately and pour into a heatproof bowl.
- Let brown butter cool for about 10 minutes. Add sifted powdered sugar, vanilla extract, and pinch of salt. Beat with electric mixer on low until combined. Add 2 tablespoons milk and beat on medium until smooth and creamy. Add remaining milk if too thick, or more powdered sugar if too thin.
- Spread frosting over completely cooled bars. Slice into squares and serve.
Notes
Don’t skip the brown butter step—it makes the frosting special. Use room temperature eggs for best texture. Measure flour by spooning and leveling. Let bars cool completely before frosting to prevent melting. For clean slices, chill frosted bars for 30 minutes before cutting. Bars taste even better the next day. Unfrosted bars can be stored at room temperature for up to 3 days or frozen for up to 3 months.
Nutrition
- Serving Size: 1 bar
- Calories: 180
- Sugar: 17
- Sodium: 120
- Fat: 9
- Saturated Fat: 4
- Carbohydrates: 25
- Fiber: 1
- Protein: 2
Keywords: pumpkin bars, brown butter frosting, fall dessert, kid-friendly, easy pumpkin recipe, pumpkin dessert, sheet cake


