Love this? Save it for later!
Share the inspiration with your friends
There used to be a tiny farm-to-table place tucked behind a bike shop in my neighborhood that made a roasted butternut squash that I still dream about. When they closed—just a quiet sign on the door one Tuesday, no warning—I actually felt a little lost. I mean, I’d order that squash every single time I went, usually as a side, sometimes as my whole meal with a side salad. It was that good. After maybe seven tries—some burnt, some bland, one where I forgot the maple syrup entirely—I finally got it. This cozy roasted butternut squash with maple brown butter is the exact recreation of that dish I couldn’t let go of.
The first time I got close, I actually texted my friend Sarah a photo with the caption “WE’RE BACK.” She didn’t get it, but you know that feeling when you finally crack a recipe you’ve been chasing? Honestly, it’s better than most things in life. The key was figuring out the timing—getting that deep caramelization without turning the squash into mush, and making the brown butter just nutty enough without crossing into burnt territory. Let me tell you, there were some smoky kitchen moments along the way.
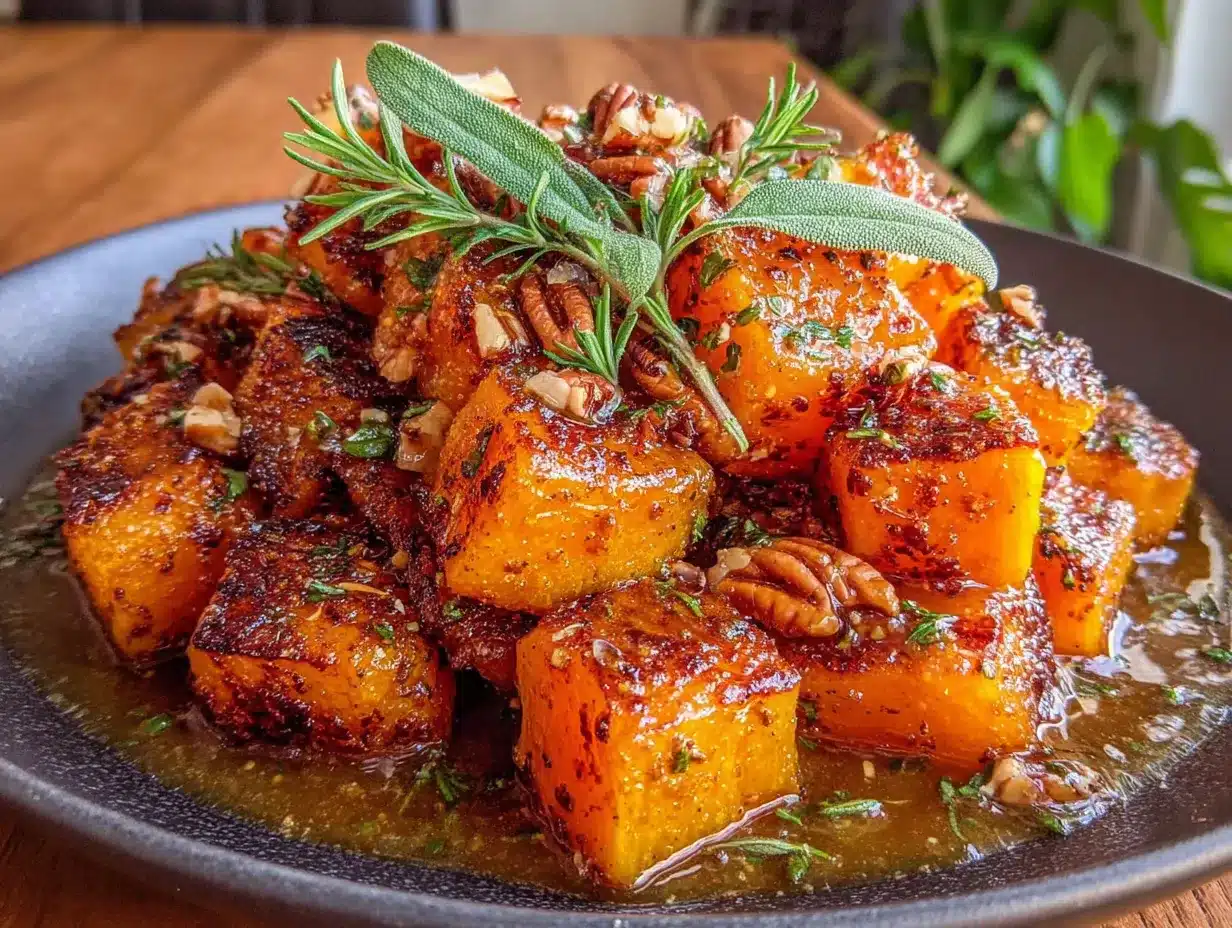
What makes this dish so special is how the maple syrup mingles with the brown butter, creating this almost toffee-like coating on the squash that gets all crispy at the edges while the inside stays tender and sweet. The sage adds this earthy, almost peppery note that keeps everything from being too sweet. Maybe you’ve been there—searching for a side dish that feels special enough for company but simple enough for a random Wednesday night. This is that recipe. It’s the one that makes people close their eyes after the first bite, and honestly, that never gets old.
Why You’ll Love This Recipe
After testing this cozy roasted butternut squash with maple brown butter more times than I care to admit, I can confidently say this version is the winner. Here’s why it deserves a permanent spot in your rotation:
- Quick & Easy: Comes together in about 40 minutes with just 10 minutes of active prep. Perfect for busy weeknights when you want something that tastes like you spent hours in the kitchen.
- Simple Ingredients: No fancy grocery trips needed. You likely have maple syrup, butter, and sage in your kitchen right now. Butternut squash keeps well, so you can grab one whenever you see a good one.
- Perfect for Fall and Winter: This dish screams coziness. It’s ideal for Thanksgiving, Christmas dinner, or any chilly evening when you want something warm and comforting on the table.
- Crowd-Pleaser: I’ve served this to picky eaters, veggie skeptics, and full-on squash lovers, and it gets rave reviews every single time. The maple brown butter does something magical to even the most reluctant vegetable eater.
- Unbelievably Delicious: The texture combo is next-level—crispy caramelized edges with a soft, almost buttery interior. The brown butter adds this nutty depth that regular melted butter just can’t touch.
What makes this recipe different from the rest is the two-step roasting process. Most recipes just toss everything together and hope for the best. But I found that roasting the squash first, then adding the maple brown butter halfway through, gives you that perfect caramelization without the sugar burning. It’s a small tweak that makes a huge difference—trust me, I learned this the hard way after scraping burnt sugar off my baking sheet more than once.
This recipe isn’t just good—it’s the kind that makes you close your eyes after the first bite. It’s comfort food reimagined—simpler than you’d expect, but with the same soul-soothing satisfaction. Perfect for impressing guests without stress, or turning a simple Tuesday dinner into something memorable.
What Ingredients You Will Need
This cozy roasted butternut squash with maple brown butter uses simple, wholesome ingredients to deliver bold flavor and satisfying texture without the fuss. Most of these are pantry staples or easy to find at any grocery store.
For the Squash
- 1 medium butternut squash (about 2-3 pounds), peeled, seeded, and cut into 1-inch cubes (look for one with a long neck for more even cubes)
- 2 tablespoons olive oil (adds richness and helps with caramelization)
- 1/2 teaspoon salt (I prefer fine sea salt for even distribution)
- 1/4 teaspoon black pepper, freshly ground
- 1/4 teaspoon smoked paprika (optional, but adds a subtle warmth that pairs beautifully with the maple)
For the Maple Brown Butter
- 4 tablespoons unsalted butter (salted butter works too, just reduce the added salt slightly)
- 3 tablespoons pure maple syrup (use the real stuff, not pancake syrup—it makes a difference)
- 8-10 fresh sage leaves, plus more for garnish (dried sage works in a pinch, but fresh is really worth it here)
- 1 tablespoon apple cider vinegar (balances the sweetness with a tiny tang)
- Pinch of flaky sea salt for finishing (like Maldon—trust me on this)
A few tips from my testing kitchen: I recommend using Land O’Lakes unsalted butter for the brown butter—it has a lower water content, so it browns more evenly. For the maple syrup, Copper Branch or Runamok are my go-tos for their rich, complex flavor. If you can only find frozen butternut squash, thaw it and pat it very dry before roasting—otherwise it’ll steam instead of caramelize.
For substitutions, you can use coconut oil instead of butter for a dairy-free version, though you’ll miss the brown butter nuttiness. Honey works in place of maple syrup, but the flavor will be different—more floral, less woodsy. And if sage isn’t your thing, try fresh thyme or rosemary for a different herbal note.
Equipment Needed
You don’t need much for this cozy roasted butternut squash with maple brown butter, which is part of what makes it so great.
- Large baking sheet (rimmed is best to catch any drips—I use a 13×18 inch half-sheet pan)
- Parchment paper or silicone baking mat (makes cleanup so much easier and prevents sticking)
- Small saucepan for making the brown butter (light-colored metal helps you see the color change)
- Chef’s knife and vegetable peeler (a sharp peeler makes quick work of butternut squash skin)
- Large mixing bowl
- Measuring spoons
If you don’t have parchment paper, you can grease the baking sheet directly with a bit of butter or oil. For the brown butter, any small pot works—just keep a close eye on it if you’re using a dark-colored pan since it’s harder to see the color change. A microplane is nice for grating fresh nutmeg if you want to add that, but totally optional.
I’ve made this with a cheap baking sheet and a nice heavy-duty one, and honestly, the heavy-duty sheet gives better results—it distributes heat more evenly and doesn’t warp. But don’t let equipment hold you back. Your regular sheet pan will work just fine.
Preparation Method
Let me walk you through making this cozy roasted butternut squash with maple brown butter. I’ve broken it down so it feels manageable, even on a busy night.
- Preheat your oven to 425°F (220°C). Line a large baking sheet with parchment paper. Getting the oven hot is key—this high heat is what gives the squash those gorgeous caramelized edges.
- Prep the squash. Using a sharp vegetable peeler, remove the skin from the butternut squash. Cut off the stem end and the bottom, then slice the squash in half where the narrow neck meets the bulbous bottom. Scoop out the seeds from the bottom half with a spoon. Cut both pieces into 1-inch cubes. Try to keep them similar in size so they cook evenly. This takes about 5-7 minutes once you get the hang of it.
- Toss with oil and seasonings. In a large mixing bowl, combine the squash cubes with 2 tablespoons olive oil, 1/2 teaspoon salt, 1/4 teaspoon black pepper, and 1/4 teaspoon smoked paprika if using. Toss well with your hands until every piece is coated. Spread the squash in a single layer on the prepared baking sheet. Don’t overcrowd—give them room to breathe or they’ll steam instead of roast.
- Roast for 15 minutes. Place the baking sheet in the oven and roast the squash for 15 minutes. The edges should start to brown slightly. While it roasts, make the brown butter.
- Make the maple brown butter. In a small saucepan over medium heat, melt 4 tablespoons of unsalted butter. Once melted, continue cooking, swirling the pan occasionally. The butter will foam, then the foam will subside, and you’ll see golden brown specks forming at the bottom. This takes about 3-4 minutes. The moment it smells nutty and looks amber-colored, remove it from heat immediately—it can go from perfect to burnt in seconds. Stir in 3 tablespoons maple syrup, 8-10 fresh sage leaves, and 1 tablespoon apple cider vinegar. The sage will crackle and become crispy. Set aside.
- Add the brown butter mixture. After the squash has roasted for 15 minutes, remove the baking sheet from the oven. Pour the maple brown butter mixture over the squash and toss gently to coat. Spread everything back into a single layer.
- Roast for another 15-20 minutes. Return the baking sheet to the oven and roast until the squash is tender when pierced with a fork and the edges are deeply caramelized and slightly crispy. The sage leaves will be crispy too—these are a treat to eat on their own.
- Finish and serve. Remove from the oven and let cool for 2-3 minutes on the baking sheet. Transfer to a serving dish, sprinkle with flaky sea salt, and garnish with extra crispy sage leaves if desired. Serve warm.
A few things I’ve learned the hard way: If your squash cubes are browning too quickly but aren’t tender yet, cover loosely with foil for the last 5-10 minutes. And if you’re doubling the recipe, use two baking sheets—crowding is the enemy of caramelization.
Cooking Tips & Techniques
After making this cozy roasted butternut squash with maple brown butter more times than I can count, I’ve picked up a few tricks that make a real difference.
The biggest mistake I see is cutting the squash pieces too small or too large. One-inch cubes are the sweet spot. Too small and they burn before getting tender. Too large and they take forever to cook through. I learned this the hard way when I tried to rush things and cut them tiny—ended up with crunchy centers and burnt edges. Not my finest moment.
Don’t skip the single layer on the baking sheet. I know it’s tempting to pile everything on one pan to save dishes, but the squash needs space. When pieces overlap, they steam instead of roast, and you lose that beautiful caramelization. If you’re making a big batch, just use two pans.
Watch the brown butter like a hawk. This is non-negotiable. Brown butter goes from perfect to burnt in about 30 seconds. I usually keep the heat at medium and swirl the pan constantly. When you see those little brown specks forming and smell that nutty aroma, pull it off the heat immediately. I once got distracted by my phone and ended up with black butter—the kitchen smelled terrible for hours.
For the best texture, add the maple brown butter halfway through roasting. If you add it at the beginning, the sugar in the maple syrup can burn before the squash is fully cooked. Adding it later gives the squash time to develop its own sweetness and ensures the maple brown butter stays glossy and delicious rather than turning into a sticky mess.
Let the squash rest on the baking sheet for a few minutes after roasting. This allows the brown butter to soak into the squash a bit more and makes the crispy edges even crunchier. Patience is hard, I know, but it’s worth it.
Variations & Adaptations
One of the best things about this cozy roasted butternut squash with maple brown butter is how adaptable it is. Here are some variations I’ve tried and loved:
Spicy Maple Brown Butter: Add 1/4 teaspoon cayenne pepper or red pepper flakes to the brown butter along with the maple syrup. The heat balances the sweetness beautifully. I made this version for a friend who loves spicy food, and she ate the entire batch standing at the counter.
Herb Swap: Not a sage fan? Try fresh thyme sprigs or rosemary instead. Rosemary adds a piney, almost citrusy note that’s lovely with the maple. Thyme is more subtle and earthy. I’ve used both and honestly can’t pick a favorite.
Roasted Vegetable Medley: Add other root vegetables to the mix. Cubed sweet potatoes, carrots, parsnips, or even Brussels sprouts work great. Just cut everything to similar sizes so they cook evenly. This is my go-to for Thanksgiving when I want one dish to do the work of three.
Maple Balsamic Version: Swap the apple cider vinegar for balsamic vinegar and add an extra tablespoon of maple syrup. The balsamic adds a deeper, more complex sweetness that’s incredible with the brown butter.
Nutty Crunch: Sprinkle toasted pecans or walnuts over the finished dish. The crunch adds texture and the nuts complement the brown butter perfectly. Toast them in a dry pan for 2-3 minutes until fragrant—don’t skip this step, it makes a huge difference.
For dietary adaptations, use coconut oil or vegan butter instead of regular butter for a dairy-free version. The flavor will be slightly different, but still delicious. And if you need it nut-free, just skip the nut topping and you’re good to go.
Serving & Storage Suggestions
This cozy roasted butternut squash with maple brown butter is best served warm, straight from the oven. The contrast between the crispy edges and tender interior is at its peak within the first 15 minutes.
How to serve it: Transfer to a warm serving platter and sprinkle with flaky sea salt just before bringing to the table. It’s gorgeous as a side dish for roasted chicken, pork chops, or turkey. I also love it over a bed of arugula with some crumbled goat cheese and toasted walnuts for a quick fall salad. For a vegetarian main, serve it over creamy polenta or quinoa with a drizzle of extra brown butter.
What to pair with it: This squash goes beautifully with roasted meats, grain bowls, or alongside a simple green salad with a tangy vinaigrette. For drinks, a dry white wine like Sauvignon Blanc or a light red like Pinot Noir works wonderfully. In the fall, I love serving it with a hard cider.
Storage instructions: Store leftovers in an airtight container in the refrigerator for up to 4 days. The squash will soften as it sits, but the flavor actually gets better as the maple brown butter soaks in. To reheat, spread on a baking sheet and warm in a 350°F oven for 5-7 minutes. The microwave works in a pinch, but you’ll lose the crispy edges.
Freezing: This dish freezes well for up to 3 months. Let it cool completely, then transfer to a freezer-safe container. To serve, thaw overnight in the refrigerator and reheat in the oven at 350°F until warmed through. The texture won’t be quite as crispy, but the flavor is still fantastic.
Nutritional Information & Benefits
This cozy roasted butternut squash with maple brown butter is not just delicious—it’s also packed with nutrients. Here’s a rough breakdown per serving (about 1 cup):
- Calories: 220-250
- Fat: 14g (mostly from the butter and olive oil)
- Carbohydrates: 28g
- Fiber: 5g
- Sugar: 12g (naturally occurring plus a bit from maple syrup)
- Protein: 3g
- Vitamin A: 457% of the Daily Value (yes, really—butternut squash is loaded with it)
- Vitamin C: 34% of the Daily Value
Butternut squash is a nutritional powerhouse. It’s rich in beta-carotene, which your body converts to vitamin A for healthy vision and immune function. The fiber content helps with digestion and keeps you feeling full. And the antioxidants in the squash, combined with the anti-inflammatory properties of sage, make this dish as good for you as it is tasty.
This recipe is naturally gluten-free and can easily be made dairy-free with a butter substitute. It’s also vegetarian and egg-free. If you’re watching your sugar intake, you can reduce the maple syrup to 2 tablespoons—the squash itself is sweet enough to carry the dish.
Conclusion
This cozy roasted butternut squash with maple brown butter is more than just a side dish—it’s the kind of recipe that makes you look forward to fall all year long. After chasing that restaurant version for months, I can honestly say this homemade version is even better. It’s simpler, more personal, and you can make it whenever the craving hits.
I love how this recipe proves that you don’t need complicated techniques or fancy ingredients to create something truly special. Just good butter, real maple syrup, fresh sage, and a humble squash—that’s all it takes. The magic happens in the oven, and the result is pure comfort on a plate.
I’d love to hear how yours turns out! Did you add any twists? Serve it with something unexpected? Burn the brown butter on your first try like I did? Drop a comment below and let me know—your stories make this whole food blogging thing worth it. And if you share a photo on Pinterest, tag me so I can see your beautiful creation. Happy roasting, friends!
Frequently Asked Questions
Can I use frozen butternut squash for this recipe?
Yes, but you’ll need to thaw it completely and pat it very dry with paper towels before roasting. Frozen squash releases a lot of water, which can prevent caramelization. Fresh squash gives better results, but frozen works in a pinch.
How do I prevent the brown butter from burning?
Keep the heat at medium and watch the pan closely. Swirl it constantly. Once you see golden brown specks forming and smell a nutty aroma, remove it from heat immediately. The whole process takes only 3-4 minutes. If you’re nervous, use a light-colored pan so you can see the color change clearly.
Can I make this recipe ahead of time?
You can prep the squash up to 2 days ahead—just peel, cube, and store in an airtight container in the fridge. The brown butter can be made a day ahead and stored in the fridge. When ready to serve, toss and roast as directed. The finished dish is best fresh, but leftovers reheat well.
What can I substitute for sage?
Fresh thyme, rosemary, or even dried oregano work beautifully. Thyme is the closest substitute in terms of earthiness. Rosemary is stronger and more pine-like. Start with a smaller amount and adjust to taste.
Is this recipe suitable for meal prep?
Absolutely! Roast a big batch on Sunday, then use it throughout the week in salads, grain bowls, or as a quick side. Store in the fridge for up to 4 days. The flavors actually meld and deepen over time, though the crispy edges will soften. Reheat in the oven for best results.
Pin This Recipe!
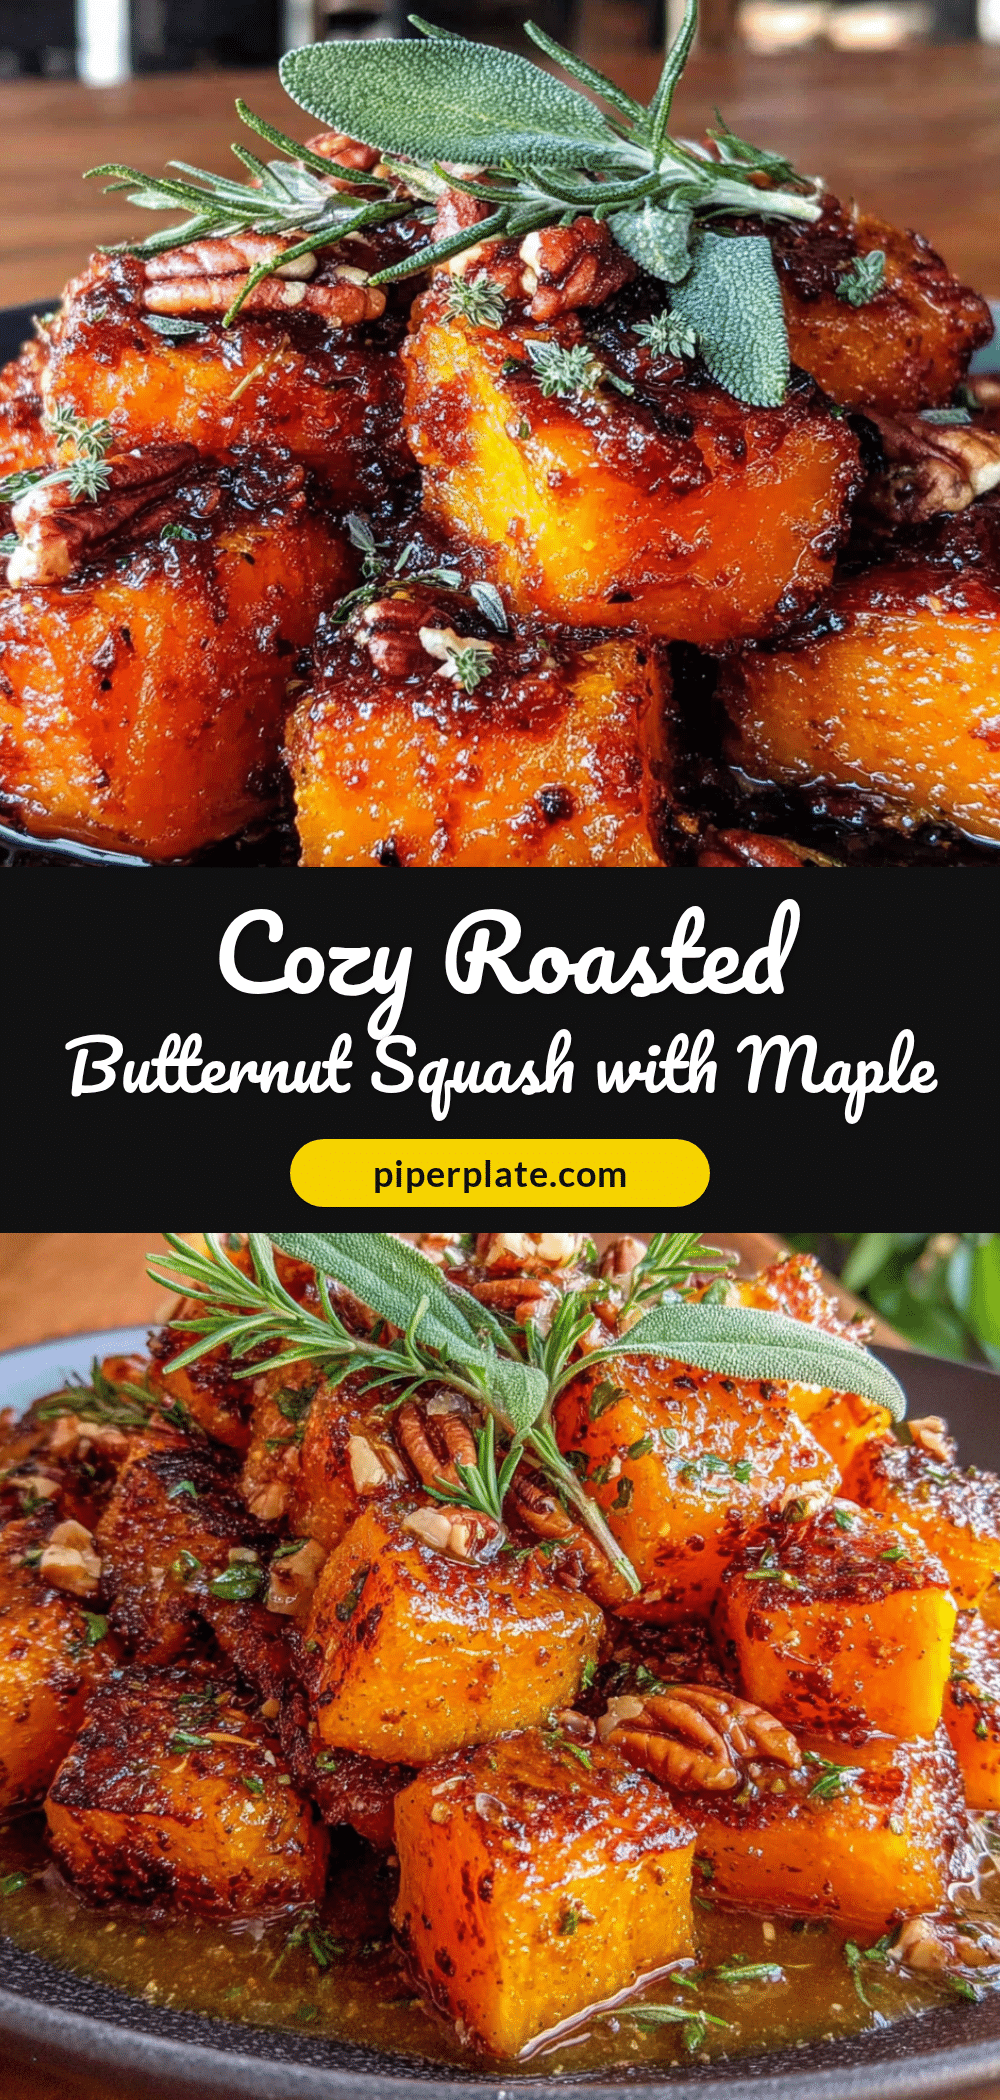
Cozy Roasted Butternut Squash with Easy Maple Brown Butter
This cozy roasted butternut squash with maple brown butter is a recreation of a beloved restaurant dish. The maple syrup mingles with brown butter to create a toffee-like coating on the squash, with crispy edges and a tender, sweet interior, finished with earthy sage.
- Prep Time: 10 minutes
- Cook Time: 30 minutes
- Total Time: 40 minutes
- Yield: 4 servings 1x
- Category: Side Dish
- Cuisine: American
Ingredients
- 1 medium butternut squash (about 2–3 pounds), peeled, seeded, and cut into 1-inch cubes
- 2 tablespoons olive oil
- 1/2 teaspoon salt (fine sea salt preferred)
- 1/4 teaspoon black pepper, freshly ground
- 1/4 teaspoon smoked paprika (optional)
- 4 tablespoons unsalted butter
- 3 tablespoons pure maple syrup
- 8–10 fresh sage leaves, plus more for garnish
- 1 tablespoon apple cider vinegar
- Pinch of flaky sea salt for finishing
Instructions
- Preheat your oven to 425°F (220°C). Line a large baking sheet with parchment paper.
- Prep the squash: Using a sharp vegetable peeler, remove the skin from the butternut squash. Cut off the stem end and the bottom, then slice the squash in half where the narrow neck meets the bulbous bottom. Scoop out the seeds from the bottom half with a spoon. Cut both pieces into 1-inch cubes.
- Toss with oil and seasonings: In a large mixing bowl, combine the squash cubes with 2 tablespoons olive oil, 1/2 teaspoon salt, 1/4 teaspoon black pepper, and 1/4 teaspoon smoked paprika if using. Toss well with your hands until every piece is coated. Spread the squash in a single layer on the prepared baking sheet.
- Roast for 15 minutes: Place the baking sheet in the oven and roast the squash for 15 minutes. The edges should start to brown slightly.
- Make the maple brown butter: In a small saucepan over medium heat, melt 4 tablespoons of unsalted butter. Once melted, continue cooking, swirling the pan occasionally. The butter will foam, then the foam will subside, and you’ll see golden brown specks forming at the bottom. This takes about 3-4 minutes. The moment it smells nutty and looks amber-colored, remove it from heat immediately. Stir in 3 tablespoons maple syrup, 8-10 fresh sage leaves, and 1 tablespoon apple cider vinegar. The sage wil…
- Add the brown butter mixture: After the squash has roasted for 15 minutes, remove the baking sheet from the oven. Pour the maple brown butter mixture over the squash and toss gently to coat. Spread everything back into a single layer.
- Roast for another 15-20 minutes: Return the baking sheet to the oven and roast until the squash is tender when pierced with a fork and the edges are deeply caramelized and slightly crispy. The sage leaves will be crispy too.
- Finish and serve: Remove from the oven and let cool for 2-3 minutes on the baking sheet. Transfer to a serving dish, sprinkle with flaky sea salt, and garnish with extra crispy sage leaves if desired. Serve warm.
Notes
For best results, add the maple brown butter halfway through roasting to prevent burning. Watch the brown butter closely—it can go from perfect to burnt in seconds. Let the squash rest on the baking sheet for a few minutes after roasting to allow the brown butter to soak in. If doubling the recipe, use two baking sheets to avoid overcrowding.
Nutrition
- Serving Size: 1 cup
- Calories: 235
- Sugar: 12
- Sodium: 300
- Fat: 14
- Saturated Fat: 7
- Carbohydrates: 28
- Fiber: 5
- Protein: 3
Keywords: roasted butternut squash, maple brown butter, fall side dish, Thanksgiving side, easy roasted squash, sage brown butter, vegetarian side dish, gluten-free side dish


