Love this? Save it for later!
Share the inspiration with your friends
My dad had a long-standing, very vocal hatred of apple crisp. For years. Decades, maybe. He’d make this face—you know the one—whenever my mom would mention making it for a family gathering. “Too mushy,” he’d declare. “All that sugar. Why ruin perfectly good apples?” I grew up believing apple crisp was, at best, a compromise dessert. Something you served when you didn’t have time for a proper pie.
Then last October, I made this version. Just for myself, honestly. I had a bag of apples that were starting to look sad and a new jar of fancy oatmeal I’d impulse-bought at the farmers market. I browned the butter because I’d seen it on a cooking show and wanted to try it. I cut the sugar way back because, let’s face it, I was trying to be a little healthier that week. I threw in some pecans because they were in the pantry. I wasn’t trying to prove anything.
I set the dish on the counter to cool and walked away. Ten minutes later, I came back to find my dad standing there with a fork, the corner of the crisp clearly missing. “What is this?” he asked, trying to look innocent. “It’s apple crisp,” I said. “No it’s not,” he replied, taking another bite. And that, my friends, is the story of how I accidentally converted a lifelong apple crisp skeptic. Maybe you’ve got someone like that in your life—someone who thinks healthy-ish desserts can’t possibly taste this good. This one’s for proving them wrong.
Why You’ll Love This Recipe
This isn’t just another apple crisp recipe. I tested this thing six times before I got it right. Six times of apples that were too watery, toppings that were too dense, and one memorable disaster where I forgot the brown sugar entirely. But that last version? The one where the brown butter and the oat crumble finally clicked? That’s the one I’m sharing here. It’s the kind of dessert that makes people close their eyes after the first bite—and then ask for the recipe before they’ve finished chewing.
- Quick & Easy: Comes together in under an hour, most of which is hands-off baking time. Perfect for a Tuesday night craving or a last-minute dinner party.
- Simple Ingredients: You probably have everything in your kitchen right now. Apples, oats, butter, a little sugar, cinnamon. Nothing fancy, nothing weird.
- Perfect for Fall Gatherings: This is the dessert that disappears at Thanksgiving, Friendsgiving, or any cozy weekend dinner. It’s comfort food at its finest.
- Crowd-Pleaser: I’ve served this to kids, grandparents, and my pickiest foodie friends. Everyone loves it. Even people who claim to hate apple crisp.
- Unbelievably Delicious: The brown butter adds this nutty, almost caramel depth that makes the apples taste like they’ve been cooking for hours. The oat crumble is crunchy, buttery, and perfectly sweet without being cloying.
What makes this different from every other apple crisp out there? Two things. First, the brown butter. It’s a small extra step that changes everything—it adds a richness that lets you use less sugar overall. Second, the ratio. I use more oats and nuts than butter and flour, so the topping stays crunchy and feels substantial. It’s not a sad, skimpy crumble. It’s a generous, satisfying one. This is healthy-ish eating that actually tastes indulgent. No sacrifice required.
What Ingredients You Will Need
This recipe uses simple, wholesome ingredients to deliver big flavor without the fuss. Most of these are pantry staples, which is exactly how I like to cook. Here’s what you’ll need, along with a few notes on why each one matters.
For the Apple Filling
- 6 medium apples, peeled, cored, and sliced (about 5-6 cups) — I recommend a mix of sweet and tart varieties like Honeycrisp and Granny Smith. The combo gives you the best flavor and texture. (If you only have one kind, that’s fine too!)
- 3 tablespoons maple syrup (or honey) — This adds sweetness with a little depth. Use real maple syrup, not pancake syrup. The flavor difference is noticeable.
- 2 tablespoons brown sugar, packed — Just enough for that molasses-y warmth. You could leave it out and use more maple syrup, but I like the texture it adds.
- 1 tablespoon lemon juice — Fresh is best. It keeps the apples from browning and brightens up all the flavors.
- 1 tablespoon cornstarch (or arrowroot powder) — This thickens the juices so you don’t end up with a watery mess. Don’t skip it.
- 1 teaspoon cinnamon — The classic apple spice. I use Ceylon cinnamon when I have it—it’s milder and sweeter than the regular stuff.
- 1/4 teaspoon nutmeg, freshly grated if possible — A little goes a long way. Pre-ground is fine, but fresh is lovely.
- 1/4 teaspoon salt — Sounds weird in a dessert, I know. But salt makes everything taste more like itself, including apples.
For the Oat Crumble Topping
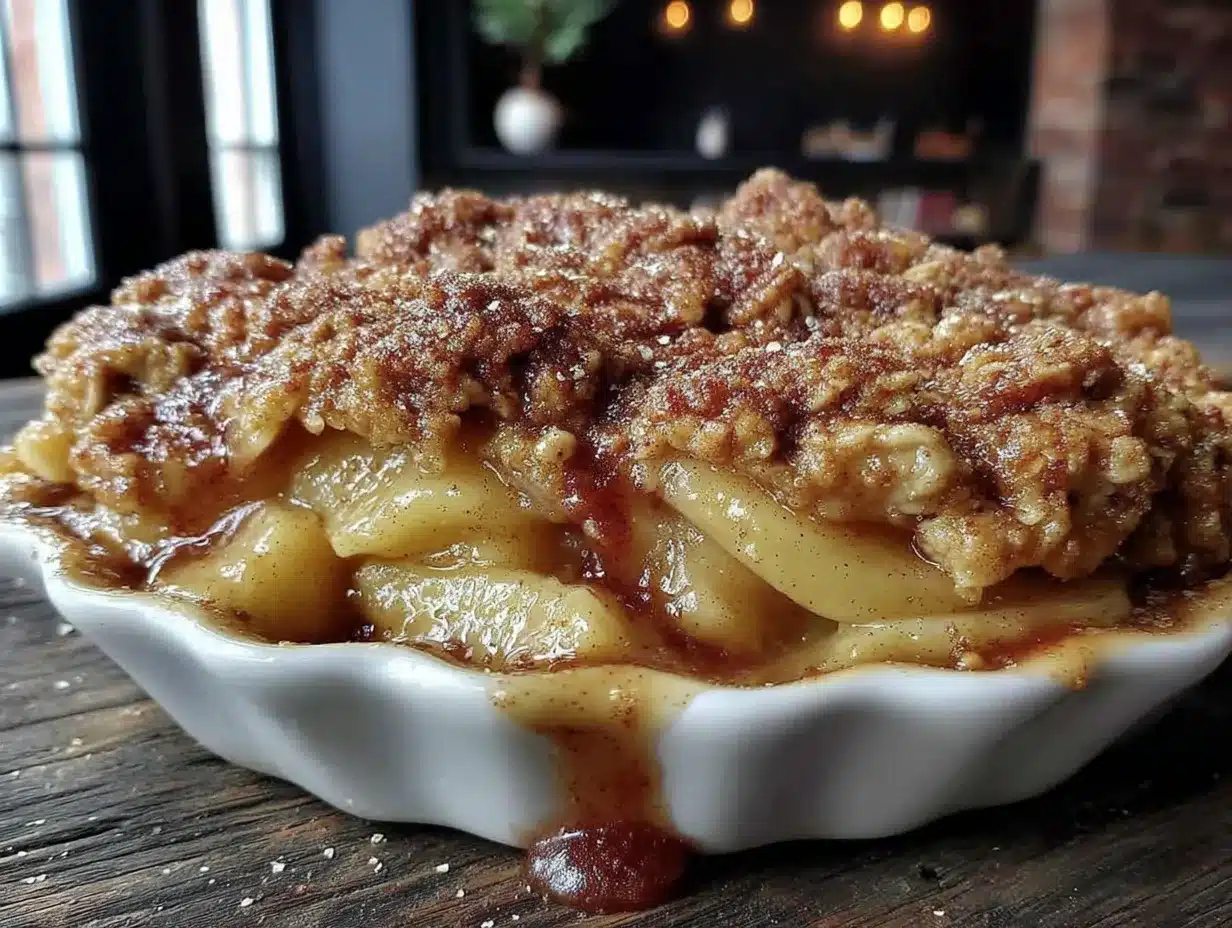
- 1/2 cup unsalted butter — You’ll brown this first. It’s the secret weapon. I use Kerrygold because I like the flavor, but any good unsalted butter works.
- 1 cup old-fashioned rolled oats — Not quick oats. Not steel-cut. Old-fashioned gives you the perfect chewy-crunchy texture. (adds the best texture)
- 1/2 cup all-purpose flour (or whole wheat pastry flour) — Whole wheat pastry flour adds a nice nuttiness. Regular all-purpose is perfectly fine too.
- 1/2 cup chopped pecans (or walnuts) — Totally optional, but I love the crunch. Toast them lightly first for extra flavor.
- 1/3 cup brown sugar, packed — Just enough to sweeten the topping without making it candy-like.
- 1/4 teaspoon cinnamon — Because more cinnamon is always a good idea.
- 1/4 teaspoon salt — Balances the sweetness and makes the oats taste oat-ier.
Ingredient Tips: For the best texture, use firm apples that hold their shape during baking. If you only have soft apples like McIntosh, reduce the baking time by about 5 minutes. For a gluten-free version, use certified gluten-free oats and swap the flour with almond flour or a 1:1 gluten-free baking blend. I’ve tried both, and they work beautifully—the almond flour version is especially good if you like a richer, more tender crumble.
Equipment Needed
You don’t need a fancy kitchen to make this apple crisp. Here’s what you’ll actually use:
- 9×9-inch baking dish (or similar 2-quart dish) — An 8×8 works too; your crisp will just be a little thicker and need an extra 5 minutes of baking. I’ve also used a 10-inch cast iron skillet for a rustic look—it’s gorgeous for serving straight from the pan.
- Medium saucepan — For browning the butter. A light-colored pan helps you see when the butter is properly browned.
- Large mixing bowl — For the apples.
- Medium mixing bowl — For the topping.
- Chef’s knife and cutting board — For all that apple slicing.
- Measuring cups and spoons — Because precision matters in baking, even a forgiving recipe like this one.
- Rubber spatula or wooden spoon — For mixing everything together.
- Paring knife or apple peeler — If you’re feeling fancy. I honestly just use my chef’s knife.
Budget-Friendly Tip: Don’t have a 9×9 dish? Use a pie plate or even a loaf pan—just adjust the baking time. I’ve made this in a muffin tin for individual crisps (bake for 18-20 minutes) and it was adorable and perfect for portion control.
Preparation Method
Alright, let’s make this happen. The whole process takes about 15 minutes of active prep and 40 minutes of baking. Here’s exactly how to do it.
- Preheat your oven to 350°F (175°C). Get that going first so it’s nice and hot when you’re ready to bake.
- Brown the butter. Place the 1/2 cup of unsalted butter in a medium saucepan over medium heat. Let it melt completely, then swirl the pan occasionally. You’ll see it start to foam, then the foam will subside, and little brown specks will appear at the bottom. This takes about 5-7 minutes. The butter should smell nutty and amazing. Watch it carefully—it can go from browned to burnt in seconds. Once it’s a warm amber color, pour it into a heatproof bowl to stop the cooking. Let it cool slightly while you prep everything else.
- Prep the apples. While the butter is browning, peel, core, and slice your apples. I like them about 1/4-inch thick—not too thin (they’ll turn to mush) and not too thick (they won’t soften enough). Aim for uniform slices so they cook evenly. Toss them into your large mixing bowl as you go.
- Make the filling. To the bowl of apples, add the maple syrup, brown sugar, lemon juice, cornstarch, cinnamon, nutmeg, and salt. Toss everything together with your hands or a spatula until the apples are evenly coated. Let this sit while you make the topping—the apples will start releasing their juices, which is exactly what you want.
- Make the oat crumble. In your medium mixing bowl, combine the rolled oats, flour, chopped pecans (if using), brown sugar, cinnamon, and salt. Pour the slightly cooled brown butter over the dry ingredients. Stir with a fork or your fingers until everything is evenly moistened. The mixture should look clumpy and crumbly—like wet sand with some bigger chunks. If it’s too dry, add a tablespoon of melted butter or a splash of maple syrup. If it’s too wet, add another tablespoon of oats.
- Assemble the crisp. Pour the apple mixture into your greased 9×9 baking dish. Spread it into an even layer. Now sprinkle the oat crumble evenly over the top. Don’t press it down—you want those clumps to stay clumpy so they get crispy. Use all of it, even if it looks like a lot. Trust me, you want that much topping.
- Bake. Place the dish on a baking sheet to catch any drips (trust me on this—I’ve learned the hard way). Bake for 35-40 minutes, until the topping is golden brown and the apple juices are bubbling up around the edges. If the topping is browning too quickly, tent loosely with foil for the last 10 minutes. Your kitchen should smell like heaven right about now.
- Cool. Let the crisp cool on a wire rack for at least 15 minutes before serving. This is crucial—the filling needs time to set up. If you serve it too soon, it’ll be a soupy mess. I know it’s hard to wait, but it’s worth it.
Sensory Cues: When it’s done, the topping should be deep golden brown and feel firm to the touch. The apple juices should be thick and bubbly, not watery. If you stick a knife in the center, the apples should be tender but not falling apart. And the smell? It should smell like autumn in a dish—warm, spiced, and absolutely irresistible.
Cooking Tips & Techniques
I’ve made this apple crisp more times than I can count, and I’ve learned a few things along the way. Here are the tips that actually matter.
Don’t skip the brown butter. I know it’s an extra step, but it’s the difference between a good crisp and a memorable one. The nutty flavor it adds is irreplaceable. One time I was in a hurry and skipped it, using melted butter instead. The crisp was fine. But it wasn’t this crisp. Take the extra 5 minutes.
Use a mix of apple varieties. This is my number one tip for any apple dessert. Sweet apples like Fuji or Honeycrisp give you flavor. Tart apples like Granny Smith give you structure. Together, they create a filling that’s both delicious and textured. If you only have one kind, aim for a firm, crisp variety.
Watch your butter like a hawk. Browning butter is easy, but it’s also easy to mess up. The butter will go from perfectly browned to burnt in about 30 seconds. Swirl the pan constantly, and when you see those brown specks form and smell that nutty aroma, pull it off the heat immediately. Pour it into a cool bowl to stop the cooking process.
Let the apples macerate. That 10-minute rest after you toss the apples with the sugar and spices isn’t just for show. It draws out the apple juices, which then mix with the cornstarch to create that lovely, thick sauce. Don’t skip this step.
Bake on a sheet pan. I learned this one the hard way. Apple crisp bubbles over. It just does. A sheet pan catches the drips and saves you from scrubbing burnt sugar off the bottom of your oven. Trust me on this.
Cool completely before refrigerating. If you have leftovers (unlikely, but possible), let the crisp cool completely before covering and refrigerating. Otherwise, the condensation will make the topping soggy. And nobody wants a soggy crumble.
Variations & Adaptations
One of the things I love about this recipe is how flexible it is. Here are some ways to make it your own.
Gluten-Free Version: Use certified gluten-free oats and swap the all-purpose flour with almond flour or a 1:1 gluten-free baking blend. I’ve tested both. The almond flour version is richer and more tender. The baking blend version is closer to the original. Both are delicious.
Dairy-Free Version: Substitute the butter with a high-quality vegan butter. I’ve had good results with Miyoko’s and Earth Balance. Just note that vegan butter doesn’t brown the same way, so you’ll miss some of that nutty flavor. Add a teaspoon of maple syrup to the topping to compensate.
Lower Sugar Version:Cut the brown sugar in the filling entirely and reduce the maple syrup to 2 tablespoons. In the topping, reduce the brown sugar to 1/4 cup. The apples will still be sweet enough, especially if you use a sweet variety like Honeycrisp. I’ve made this version for a friend who’s watching her sugar intake, and she loved it.
Seasonal Variations: In the fall, add a tablespoon of fresh grated ginger to the apple filling for a warm, spicy kick. In the summer, swap the apples for sliced peaches or nectarines—reduce the baking time by about 5 minutes. In the winter, add a handful of dried cranberries or chopped dried figs to the filling for extra texture and sweetness.
Different Nuts: Don’t have pecans? Use walnuts, almonds, or even pistachios. For a nut-free version, use pumpkin seeds or just leave them out entirely. The topping will still be great—just a little less crunchy.
Individual Servings: Make these in ramekins or a muffin tin for perfectly portioned desserts. Bake for 18-22 minutes instead of 35-40. They’re adorable and great for entertaining.
Serving & Storage Suggestions
This apple crisp is best served warm, straight from the oven, with a generous scoop of vanilla ice cream or a dollop of whipped cream. The contrast between the hot, spiced apples and the cold, creamy topping is pure magic. For a healthier twist, try it with Greek yogurt or a drizzle of heavy cream.
Presentation Tip: Serve it in the baking dish for a cozy, rustic look. Or spoon it into individual bowls and top with a cinnamon stick for a pretty garnish. If you’re feeling fancy, dust the top with a little powdered sugar just before serving.
What to Serve With It: This crisp is perfect on its own, but it also pairs beautifully with a cup of hot coffee or a glass of cold milk. For a fall-themed dessert spread, serve it alongside a pumpkin pie or a spiced apple cider.
Storage: Leftover crisp can be stored in the refrigerator, covered, for up to 4 days. The topping will soften over time, but it’ll still be delicious. To reheat, pop it in a 350°F oven for about 10 minutes, or microwave individual portions for 30-45 seconds. The oven method is better for restoring some crunch to the topping.
Freezer Instructions: You can freeze the assembled (unbaked) crisp for up to 3 months. Wrap the dish tightly in plastic wrap and then foil. To bake from frozen, add about 15 minutes to the baking time. You can also freeze the baked crisp—let it cool completely, then wrap and freeze. Thaw in the refrigerator overnight and reheat in the oven.
Flavor Development: Honestly, this crisp tastes even better the next day. The flavors have time to meld and deepen. If you can resist eating it all in one sitting, you’re in for a treat.
Nutritional Information & Benefits
This healthy-ish apple crisp is a dessert you can feel good about. Here’s a rough estimate per serving (based on 8 servings):
- Calories: ~320
- Fat: 16g
- Saturated Fat: 8g
- Carbohydrates: 44g
- Fiber: 5g
- Sugar: 26g (14g added sugar)
- Protein: 4g
Health Highlights: Apples are packed with fiber and vitamin C, and the oats provide heart-healthy beta-glucan. The nuts add healthy fats and a little protein. By using less sugar than traditional apple crisp recipes, this version lets the natural sweetness of the apples shine through. It’s a dessert that satisfies your sweet tooth without sending your blood sugar on a roller coaster.
Dietary Considerations: This recipe is vegetarian and can easily be made gluten-free, dairy-free, or vegan with the substitutions listed above. It’s also nut-free if you leave out the pecans. Always check your labels if you’re cooking for someone with allergies.
My Take: I believe dessert should be enjoyable, not a source of guilt. This apple crisp hits that sweet spot—it feels indulgent, but it’s made with real, whole ingredients. It’s the kind of dessert you can serve to your family on a Tuesday night without feeling like you’re compromising their health. And that, to me, is the best kind of recipe.
Conclusion
This healthy-ish brown butter apple crisp with oat crumble is the dessert I keep coming back to, again and again. It’s the one I make for fall gatherings, for cozy weekends, and for those evenings when I just need something warm and comforting. It’s the recipe that converted my dad, and it’s the recipe I’m most proud to share with you.
What I love most about it is how adaptable it is. You can make it your own—swap the nuts, adjust the sugar, use whatever apples you have on hand. It’s forgiving, it’s delicious, and it makes your whole house smell amazing. Honestly, what more could you want from a dessert?
I’d love to hear how it turns out for you. Did you try a variation? Did you serve it with something unexpected? Did you manage to convert a skeptic in your own life? Drop a comment below and let me know. And if you loved it, please share this recipe with someone who needs a little cozy comfort in their life. Happy baking, friends!
Frequently Asked Questions
Can I use quick oats instead of old-fashioned oats?
You can, but the texture won’t be the same. Quick oats are more finely ground and will create a softer, less crunchy topping. Old-fashioned rolled oats give you that chewy, substantial texture that makes this crisp so satisfying. Stick with old-fashioned if you can.
Do I really need to brown the butter?
I know it’s an extra step, but yes, it makes a real difference. Browned butter adds a nutty, caramel-like depth that regular melted butter just can’t match. If you’re truly in a hurry, you can skip it—just melt the butter and use it as is. The crisp will still be good, but it won’t be this good.
Can I make this ahead of time?
Absolutely. You can assemble the entire crisp (without baking) up to 24 hours in advance. Cover and refrigerate, then bake just before serving. You may need to add 5-10 minutes to the baking time since you’re starting from cold. The baked crisp also keeps well for a few days—just reheat in the oven for best results.
What’s the best apple for apple crisp?
I recommend a mix of sweet and tart varieties. Honeycrisp and Granny Smith is my go-to combo. The Honeycrisp adds sweetness and juiciness, while the Granny Smith holds its shape and adds a nice tang. Other good options include Fuji, Braeburn, or Pink Lady. Avoid soft apples like McIntosh or Red Delicious, which can turn mushy.
Can I freeze apple crisp?
Yes! You can freeze it either baked or unbaked. To freeze unbaked, assemble the crisp in a freezer-safe dish, wrap tightly in plastic wrap and foil, and freeze for up to 3 months. Bake from frozen, adding about 15 minutes to the baking time. To freeze baked crisp, let it cool completely, then wrap and freeze. Thaw overnight in the fridge and reheat in the oven.
Pin This Recipe!
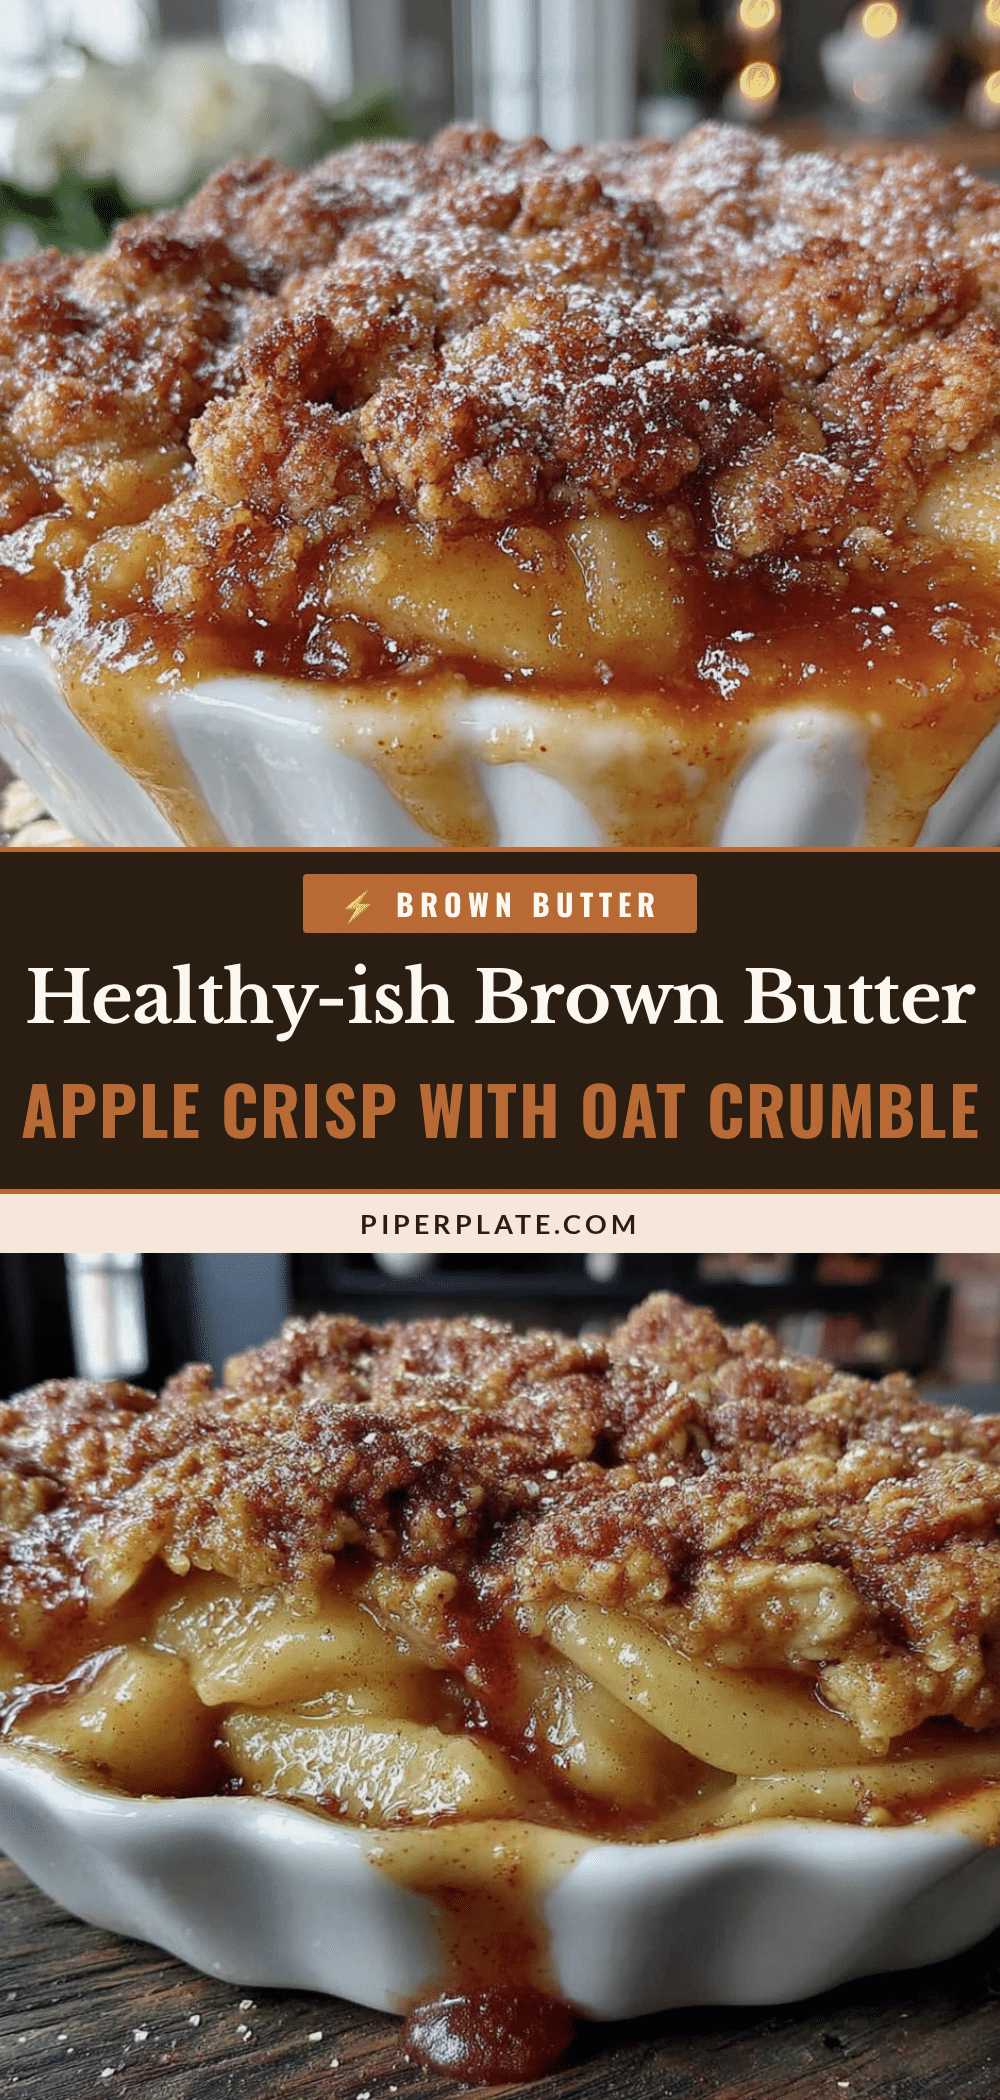
Healthy-ish Brown Butter Apple Crisp with Oat Crumble

This healthy-ish apple crisp features brown butter for a nutty depth and a generous oat crumble topping. It’s a quick, easy dessert that converts even the biggest apple crisp skeptics.
- Prep Time: 15 minutes
- Cook Time: 40 minutes
- Total Time: 55 minutes
- Yield: 8 servings 1x
- Category: Dessert
- Cuisine: American
Ingredients
- 6 medium apples, peeled, cored, and sliced (about 5–6 cups)
- 3 tablespoons maple syrup (or honey)
- 2 tablespoons brown sugar, packed
- 1 tablespoon lemon juice
- 1 tablespoon cornstarch (or arrowroot powder)
- 1 teaspoon cinnamon
- 1/4 teaspoon nutmeg, freshly grated if possible
- 1/4 teaspoon salt
- 1/2 cup unsalted butter
- 1 cup old-fashioned rolled oats
- 1/2 cup all-purpose flour (or whole wheat pastry flour)
- 1/2 cup chopped pecans (or walnuts)
- 1/3 cup brown sugar, packed
- 1/4 teaspoon cinnamon
- 1/4 teaspoon salt
Instructions
- Preheat your oven to 350°F (175°C).
- Brown the butter: Place 1/2 cup unsalted butter in a medium saucepan over medium heat. Melt completely, then swirl occasionally until it foams, subsides, and brown specks appear (about 5-7 minutes). Pour into a heatproof bowl to stop cooking and let cool slightly.
- Prep the apples: Peel, core, and slice apples about 1/4-inch thick. Place in a large mixing bowl.
- Make the filling: To the apples, add maple syrup, brown sugar, lemon juice, cornstarch, cinnamon, nutmeg, and salt. Toss until evenly coated. Let sit while making the topping.
- Make the oat crumble: In a medium mixing bowl, combine rolled oats, flour, chopped pecans (if using), brown sugar, cinnamon, and salt. Pour the slightly cooled brown butter over the dry ingredients and stir until evenly moistened and clumpy.
- Assemble the crisp: Pour apple mixture into a greased 9×9-inch baking dish. Sprinkle oat crumble evenly over the top without pressing down.
- Bake: Place dish on a baking sheet and bake for 35-40 minutes, until topping is golden brown and apple juices bubble around the edges. If browning too quickly, tent with foil for the last 10 minutes.
- Cool: Let crisp cool on a wire rack for at least 15 minutes before serving.
Notes
Don’t skip the brown butter—it adds irreplaceable nutty flavor. Use a mix of apple varieties (like Honeycrisp and Granny Smith) for best texture and flavor. Let apples macerate for 10 minutes after tossing with sugar and spices. Bake on a sheet pan to catch drips. Cool completely before refrigerating to avoid soggy topping.
Nutrition
- Serving Size: 1 serving (1/8 of re
- Calories: 320
- Sugar: 26
- Sodium: 200
- Fat: 16
- Saturated Fat: 8
- Carbohydrates: 44
- Fiber: 5
- Protein: 4
Keywords: apple crisp, brown butter, oat crumble, healthy-ish, fall dessert, easy apple crisp


