Love this? Save it for later!
Share the inspiration with your friends
My roommate Sarah asked me why I couldn’t just use a box of cake mix for the cookies. I started to explain why that wouldn’t work—then stopped. Honestly, I had no good reason. I’d been standing in our tiny apartment kitchen for twenty minutes, butter softening on the counter, flour dusting every surface, and she was just trying to help. She’d watched me stress-spiral over cookie recipes before, and she knew where this was heading.
“The texture won’t be right,” I said weakly. “Too cakey.” She just raised an eyebrow. So I did it. I grabbed a box of spice cake mix from the pantry—the one I’d bought on a whim and hidden behind the canned beans—and I let her win. And you know what? Those cookies were ridiculous. Pillowy, fragrant, gone in two days. I mean, I was annoyed at how good they were. All that time I’d spent perfecting from-scratch recipes, and here she was, casually solving my problem with a box and a smug smile.
That night, I couldn’t stop thinking about the texture. That soft, almost cloud-like crumb. The way the spice hit your nose before you even bit in. I knew I could reverse-engineer it—build something from scratch that matched that pillowy perfection but with real butter, real vanilla, real everything. Three batches later, I had it. These Soft Pumpkin Spice Sugar Cookies with Creamy Icing are what came out of that stubborn, humbling week. They’re the cookie I make every single fall, and they’re the cookie that finally proved to me that sometimes the best lessons come from being wrong.
Why You’ll Love This Recipe
Let me tell you why these cookies have earned a permanent spot in my fall baking rotation. I’ve tested this recipe more times than I care to admit—through humid afternoons, dry winter mornings, and one particularly disastrous attempt with expired baking powder (don’t ask). What I landed on is a cookie that delivers on every single promise.
- Perfectly Soft Texture: These cookies stay soft for days. No dry crumb, no cakey disappointment. They’re the kind of soft that makes you close your eyes after the first bite.
- Simple Ingredients: You probably have most of this in your kitchen right now. No weird extracts, no hunting down specialty flours. Just real, honest baking staples.
- Quick & Easy: From start to finish, you’re looking at about 30 minutes. That includes chilling time. Perfect for when the pumpkin spice craving hits at 8 PM on a Tuesday.
- That Creamy Icing: The icing is the real star here—smooth, not too sweet, with just enough vanilla to complement the warm spices. It sets up beautifully but stays creamy.
- Crowd-Pleaser: I’ve brought these to potlucks, office parties, and family dinners. They disappear every single time. Kids love them, adults love them, and people who swear they don’t like pumpkin cookies love them.
What makes this recipe different from every other pumpkin cookie out there? It’s the technique. I spent weeks figuring out the exact ratio of butter to pumpkin puree to get that soft, almost melt-in-your-mouth texture without making the cookies greasy or gummy. The chilling step isn’t optional—it’s the secret to keeping the cookies from spreading into flat, sad discs. And the icing? It’s a simple buttercream base that I’ve tweaked to be just thin enough to drizzle but thick enough to hold its shape. This isn’t just another pumpkin cookie recipe. It’s the one I’d make for a stranger who asked me to prove that pumpkin spice can actually taste amazing.
What Ingredients You Will Need
This recipe uses simple, wholesome ingredients to deliver those big pumpkin spice flavors and that impossibly soft texture. Most of these are pantry staples, which is exactly how I like my baking—no fuss, just flavor.
For the Cookies
- Unsalted butter, softened (1 cup / 226g) – Make sure it’s truly softened, not melted. Room temperature butter creams better and gives you that tender crumb.
- Granulated sugar (1 cup / 200g) – Regular white sugar works perfectly here. No need for fancy sugars.
- Pumpkin puree (½ cup / 120g) – Not pumpkin pie filling! Make sure you grab 100% pure pumpkin. I like Libby’s for consistent results.
- Large egg (1, room temperature) – A room-temperature egg incorporates more smoothly into the butter mixture.
- Vanilla extract (1 teaspoon) – Pure vanilla extract makes a difference here. Imitation works in a pinch, but pure is worth the splurge.
- All-purpose flour (2 cups / 240g) – Spoon and level your flour. Scooping directly from the bag packs in too much flour and makes cookies dry.
- Baking powder (1 teaspoon) – Make sure it’s fresh. Old baking powder won’t give you that soft lift.
- Baking soda (½ teaspoon) – Helps with browning and spread.
- Salt (½ teaspoon) – Don’t skip this. Salt balances the sweetness and enhances the spices.
- Pumpkin pie spice (2 teaspoons) – Store-bought is fine, but I’ve included my homemade blend below if you want to mix your own.
- Ground cinnamon (1 teaspoon) – Because you can never have too much cinnamon in fall baking.
For the Creamy Icing
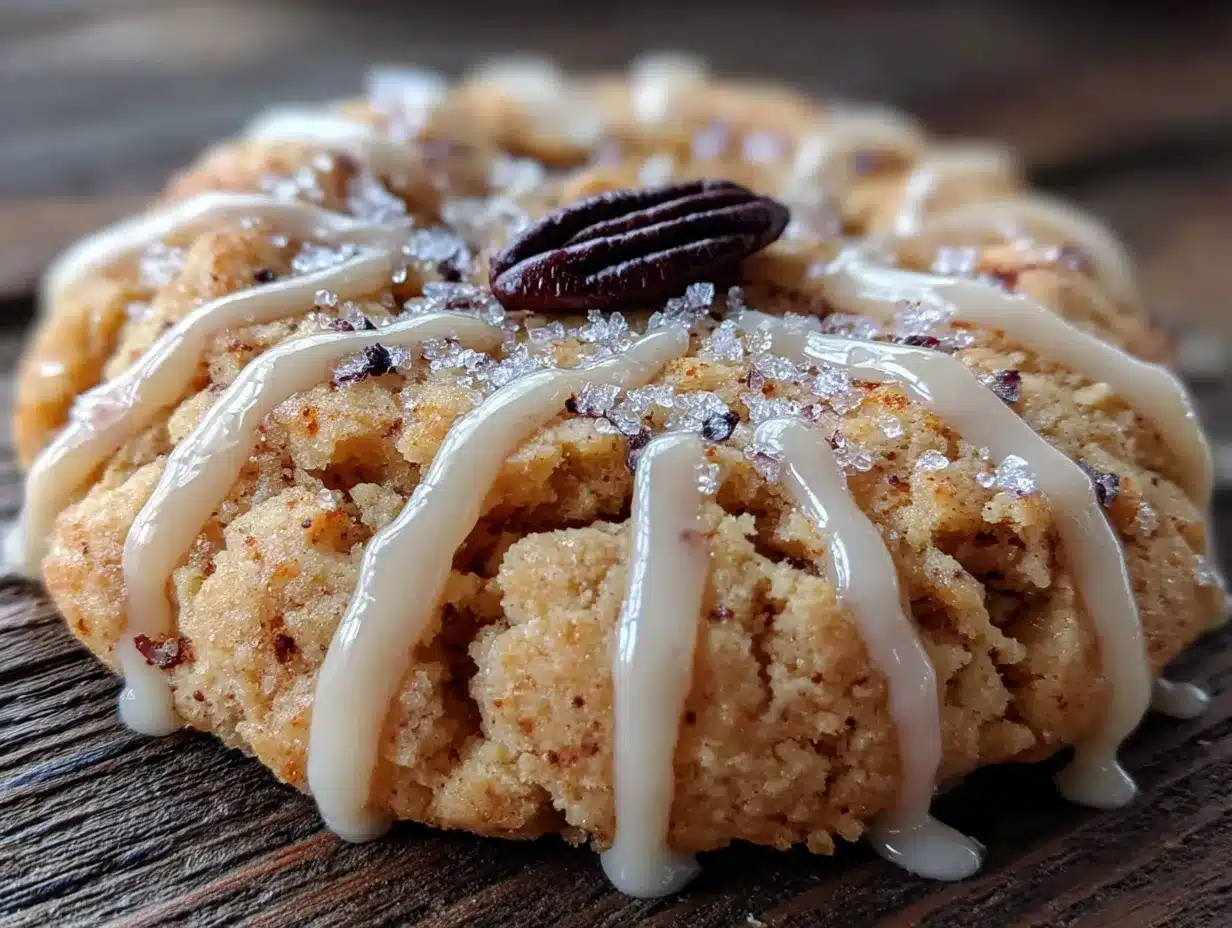
- Unsalted butter, softened (¼ cup / 56g) – Softened, not melted. This is key for a smooth, creamy texture.
- Powdered sugar (1½ cups / 180g) – Sift it if you can. Lumps in powdered sugar mean lumps in your icing.
- Heavy cream (2-3 tablespoons) – Whole milk works too, but heavy cream gives the richest, creamiest result.
- Vanilla extract (1 teaspoon) – Pure vanilla again, if you have it.
- Pinch of salt – Just a tiny pinch to cut the sweetness.
My Homemade Pumpkin Pie Spice Blend (Optional)
- 1 tablespoon ground cinnamon
- 1½ teaspoons ground ginger
- 1 teaspoon ground nutmeg
- ½ teaspoon ground cloves
- ½ teaspoon ground allspice
Mix these together and store in an airtight jar. This makes about 3 tablespoons, which is more than you need for this recipe, but trust me—you’ll find reasons to use it.
Equipment Needed
You don’t need a fancy kitchen to make these cookies. Here’s what I use every single time:
- Mixing bowls – One large, one medium. I use glass bowls because they don’t retain odors.
- Electric hand mixer or stand mixer – A hand mixer works perfectly. I’ve made these with a whisk before, and it’s doable, but your arm will hate you.
- Baking sheets – Two standard half-sheet pans. Line them with parchment paper or silicone baking mats.
- Parchment paper or silicone baking mats – Silicone mats are my preference. They prevent spreading and make cleanup a breeze.
- Cookie scoop – A 1.5-tablespoon scoop gives you perfectly uniform cookies. No scoop? Use two spoons.
- Cooling rack – Essential for letting the icing set properly. If you don’t have one, a clean counter works, but the cookies will take longer to cool.
- Small offset spatula – For spreading the icing. A butter knife works too, but the offset spatula makes it look professional.
- Piping bag or zip-top bag – For drizzling the icing. A zip-top bag with a tiny corner snipped off works like a charm.
I’ve made these cookies in a friend’s apartment with a whisk, a dollar-store baking sheet, and a butter knife. They still turned out amazing. Don’t overthink the equipment—just use what you have.
Preparation Method
Alright, let’s get to the good part. I’ve broken this down into clear steps with all the little notes I wish someone had told me the first time I made these.
- Preheat your oven to 350°F (175°C). Line two baking sheets with parchment paper or silicone mats. Set them aside.
- Cream the butter and sugar. In a large mixing bowl, beat the softened butter and granulated sugar together until light and fluffy. This takes about 2-3 minutes with a hand mixer on medium speed. You’re looking for a pale, airy mixture. Don’t rush this step—proper creaming gives you that soft texture.
- Add the wet ingredients. Beat in the pumpkin puree, egg, and vanilla extract until everything is combined. The mixture might look a little separated at this point. That’s normal. Don’t panic.
- Mix the dry ingredients. In a separate medium bowl, whisk together the flour, baking powder, baking soda, salt, pumpkin pie spice, and cinnamon. Whisking ensures everything is evenly distributed. No one wants a pocket of baking powder in their cookie.
- Combine wet and dry. Gradually add the dry ingredients to the wet mixture, mixing on low speed until just combined. Stop when you no longer see streaks of flour. Overmixing at this stage will make the cookies tough. I speak from experience—I’ve done it, and I regretted every second of it.
- Chill the dough. This is non-negotiable. Cover the bowl with plastic wrap and refrigerate for at least 30 minutes. The dough will be sticky before chilling, and if you skip this step, your cookies will spread into thin, sad pancakes. Chilling solidifies the butter and gives you those thick, soft cookies you’re after.
- Scoop and shape. Use your cookie scoop or two spoons to portion the dough into 1.5-tablespoon balls. Roll them gently between your palms to smooth them out. Place them 2 inches apart on the prepared baking sheets. They don’t spread much, so you can fit about 12 per sheet.
- Bake. Bake for 10-12 minutes, or until the edges are set and the tops look slightly puffed and cracked. The centers will look soft—that’s exactly what you want. Overbaking dries them out. I usually pull mine at 11 minutes for the perfect soft texture.
- Cool completely. Let the cookies cool on the baking sheet for 5 minutes, then transfer them to a wire rack to cool completely. Do not ice them while they’re warm. The icing will melt into a puddle, and you’ll be left with sad, sticky cookies. I’ve made this mistake. It’s not pretty.
- Make the icing. While the cookies cool, make the creamy icing. In a small bowl, beat the softened butter until smooth. Gradually add the powdered sugar, alternating with the heavy cream, and beat until light and fluffy. Stir in the vanilla and a pinch of salt. If the icing is too thick, add another tablespoon of cream. If it’s too thin, add more powdered sugar.
- Ice the cookies. Spoon the icing into a piping bag or a zip-top bag with a tiny corner snipped off. Drizzle the icing over the cooled cookies in a back-and-forth motion. Alternatively, use an offset spatula to spread it in a thin layer. Let the icing set for about 15 minutes before serving.
Cooking Tips & Techniques
I’ve made every mistake in the book with these cookies, so let me save you the trouble. Here are the tips that actually matter:
Don’t skip the chilling step. I know it’s tempting to rush, especially when you’re craving cookies. But warm dough spreads. Chilled dough holds its shape. The 30-minute chill is what gives you those thick, bakery-style cookies. If you’re in a hurry, pop the scooped dough balls in the freezer for 15 minutes instead.
Measure your flour correctly. This is the number one mistake I see in cookie recipes. Scooping your measuring cup directly into the flour bag packs in way too much flour, resulting in dry, dense cookies. Instead, spoon the flour into your measuring cup and level it off with a knife. It takes an extra five seconds and makes a world of difference.
Watch your oven temperature. Every oven runs differently. I’ve baked these in three different apartments, and the bake time varies by a full two minutes. Start checking at 10 minutes. The cookies are done when the edges are set and the tops look slightly cracked. If they’re browning on the bottom, your oven runs hot—reduce the temperature to 340°F (170°C) next time.
Use room-temperature ingredients. Cold butter doesn’t cream properly. Cold egg doesn’t incorporate smoothly. Take the butter and egg out of the fridge 30 minutes before you start baking. Your cookies will thank you.
Don’t overmix the dough. Once you add the flour, mix only until you can’t see any more white streaks. Overmixing develops gluten, and too much gluten means tough cookies. We want soft, tender cookies here.
Variations & Adaptations
One of the things I love about this recipe is how versatile it is. Here are some ways to make it your own:
Gluten-Free Version: Substitute the all-purpose flour with a 1:1 gluten-free baking flour blend. I’ve tested this with Bob’s Red Mill 1:1 Baking Flour, and the texture is remarkably similar. Just make sure your blend contains xanthan gum for structure.
Dairy-Free Version: Use vegan butter in both the cookies and the icing. For the heavy cream in the icing, full-fat coconut cream works beautifully. The cookies might spread a tiny bit more, so add an extra 10 minutes to the chilling time.
Extra Spicy Version: Increase the pumpkin pie spice to 3 teaspoons and add an extra ½ teaspoon of ground ginger. I make this version when I want the cookies to really punch you in the face with fall flavor.
Maple Icing Variation: Replace the vanilla extract in the icing with 1 tablespoon of pure maple syrup. Reduce the heavy cream to 1-2 tablespoons. The maple flavor pairs beautifully with the pumpkin spice.
Chocolate Drizzle Version: After the creamy icing sets, drizzle melted dark chocolate over the top. The slight bitterness of dark chocolate balances the sweetness of the cookie. I did this on a whim last Halloween, and it was a game-changer.
Pumpkin Chip Cookies: Fold in ½ cup of white chocolate chips or butterscotch chips after mixing the dough. White chocolate and pumpkin spice are a match made in heaven.
Serving & Storage Suggestions
These cookies are best served at room temperature, with the icing fully set. I like to arrange them on a pretty plate and dust the tops with a tiny pinch of cinnamon for presentation.
They’re perfect with a hot cup of coffee, a chai latte, or a tall glass of cold milk. I’ve also been known to crumble one over vanilla ice cream for a quick pumpkin spice sundae situation. No judgment here.
Storage: Store the cookies in an airtight container at room temperature for up to 5 days. Place a slice of bread in the container to keep them soft—the bread absorbs excess air and releases moisture. Replace the bread slice every other day. This trick has saved many a batch of cookies in my kitchen.
Freezing: You can freeze the baked cookies (without icing) for up to 3 months. Wrap them individually in plastic wrap and place them in a freezer-safe bag. When you’re ready to serve, thaw at room temperature and ice them fresh. You can also freeze the dough balls—just scoop them onto a baking sheet, freeze until solid, then transfer to a freezer bag. Bake directly from frozen, adding 2-3 minutes to the bake time.
Flavor Development: Honestly, these cookies taste even better on day two. The spices have time to meld, and the texture softens even more. If you can resist eating them all on day one, you’re in for a treat.
Nutritional Information & Benefits
Here’s the rough nutritional breakdown per cookie (based on 24 cookies):
| Nutrient | Amount per Cookie |
|---|---|
| Calories | 165 |
| Total Fat | 8g |
| Saturated Fat | 5g |
| Cholesterol | 28mg |
| Sodium | 95mg |
| Total Carbohydrates | 22g |
| Dietary Fiber | 1g |
| Sugars | 14g |
| Protein | 2g |
These cookies aren’t health food, but they do have some redeeming qualities. Pumpkin puree is packed with vitamin A and fiber, and the spices—cinnamon, ginger, nutmeg—are known for their anti-inflammatory properties. I like to think of these as a treat that also happens to have a few good-for-you ingredients.
If you’re watching your sugar intake, you can reduce the sugar in the cookie dough to ¾ cup without affecting the texture too much. The icing is harder to adjust, but you can use a simple dusting of powdered sugar instead.
Conclusion
These Soft Pumpkin Spice Sugar Cookies with Creamy Icing are everything I want in a fall cookie—soft, spiced, and just sweet enough. They came out of a moment of humility in my kitchen, and I’m so glad they did. Every time I make them, I think about Sarah and her box of cake mix, and I smile.
I’d love to hear how these turn out for you. Did you try any of the variations? Did you add extra cinnamon like I always do? Drop a comment below and let me know. And if you share a photo on Pinterest or Instagram, tag me—I want to see your beautiful cookies.
Happy baking, friends. May your cookies always be soft and your icing always creamy.
Frequently Asked Questions
Can I use homemade pumpkin puree instead of canned?
Absolutely. Just make sure you strain it well. Homemade pumpkin puree tends to be more watery than canned, which can make the dough too sticky. Place the puree in a cheesecloth-lined strainer over a bowl for 30 minutes to remove excess moisture before using.
Why did my cookies spread too much?
This usually happens for one of three reasons: the dough wasn’t chilled long enough, the butter was too soft, or the baking sheet was too warm. Make sure you chill the dough for at least 30 minutes, and let your baking sheets cool completely between batches.
Can I make the dough ahead of time?
Yes! You can refrigerate the dough for up to 3 days. Just wrap it tightly in plastic wrap. When you’re ready to bake, let it sit at room temperature for 10 minutes to soften slightly before scooping.
How do I know when the cookies are done?
Look for set edges and slightly puffed, cracked tops. The centers will still look soft and slightly underdone. That’s exactly what you want. If the edges are browning, you’ve gone too far.
Can I skip the icing?
You can, but why would you want to? The creamy icing is what takes these cookies from good to unforgettable. If you’re really not a frosting person, try a simple dusting of powdered sugar and cinnamon instead.
Pin This Recipe!
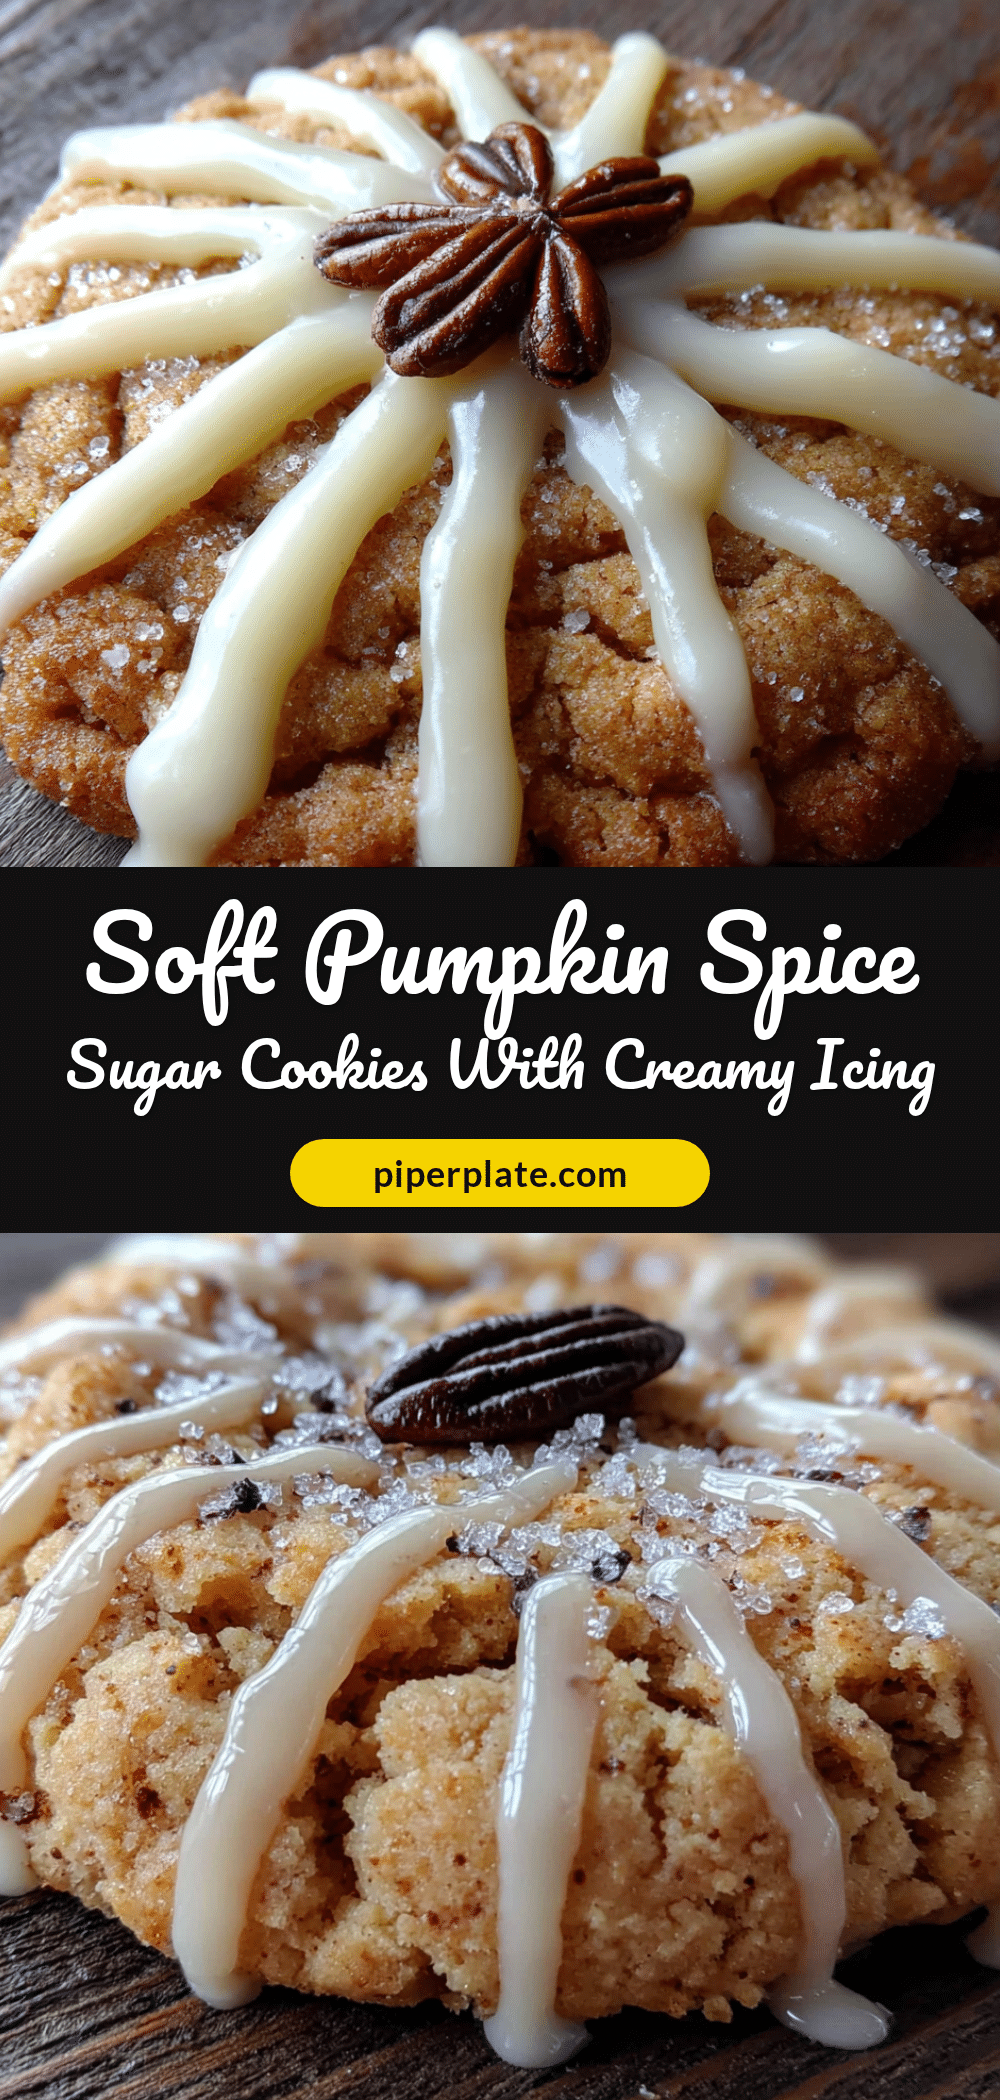
Perfect Soft Pumpkin Spice Sugar Cookies with Creamy Icing
These Soft Pumpkin Spice Sugar Cookies with Creamy Icing are pillowy, fragrant, and perfectly spiced. Made with simple ingredients, they deliver a melt-in-your-mouth texture that stays soft for days, topped with a smooth vanilla icing.
- Prep Time: 15 minutes
- Cook Time: 11 minutes
- Total Time: 56 minutes (including 30 minutes chilling)
- Yield: 24 cookies 1x
- Category: Dessert
- Cuisine: American
Ingredients
- 1 cup (226g) unsalted butter, softened
- 1 cup (200g) granulated sugar
- ½ cup (120g) pumpkin puree (not pumpkin pie filling)
- 1 large egg, room temperature
- 1 teaspoon vanilla extract
- 2 cups (240g) all-purpose flour
- 1 teaspoon baking powder
- ½ teaspoon baking soda
- ½ teaspoon salt
- 2 teaspoons pumpkin pie spice
- 1 teaspoon ground cinnamon
- ¼ cup (56g) unsalted butter, softened (for icing)
- 1½ cups (180g) powdered sugar, sifted
- 2–3 tablespoons heavy cream
- 1 teaspoon vanilla extract (for icing)
- Pinch of salt (for icing)
Instructions
- Preheat your oven to 350°F (175°C). Line two baking sheets with parchment paper or silicone mats.
- In a large mixing bowl, beat the softened butter and granulated sugar together until light and fluffy, about 2-3 minutes with a hand mixer on medium speed.
- Beat in the pumpkin puree, egg, and vanilla extract until combined. The mixture may look slightly separated; that’s normal.
- In a separate medium bowl, whisk together the flour, baking powder, baking soda, salt, pumpkin pie spice, and cinnamon.
- Gradually add the dry ingredients to the wet mixture, mixing on low speed until just combined. Do not overmix.
- Cover the bowl with plastic wrap and refrigerate for at least 30 minutes. This step is non-negotiable for thick, soft cookies.
- Using a cookie scoop or two spoons, portion the dough into 1.5-tablespoon balls. Roll gently between your palms to smooth. Place 2 inches apart on prepared baking sheets.
- Bake for 10-12 minutes, until edges are set and tops look slightly puffed and cracked. Centers should look soft. Cool on baking sheet for 5 minutes, then transfer to a wire rack to cool completely.
- While cookies cool, make the icing: In a small bowl, beat the softened butter until smooth. Gradually add powdered sugar, alternating with heavy cream, and beat until light and fluffy. Stir in vanilla and a pinch of salt. Adjust consistency with more cream or powdered sugar as needed.
- Spoon icing into a piping bag or zip-top bag with a tiny corner snipped off. Drizzle over cooled cookies in a back-and-forth motion, or spread with an offset spatula. Let icing set for about 15 minutes before serving.
Notes
Don’t skip the chilling step—it prevents spreading. Measure flour by spooning and leveling. Use room-temperature ingredients. Cookies taste even better on day two. Store in an airtight container with a slice of bread to keep soft. Freeze baked cookies (without icing) for up to 3 months.
Nutrition
- Serving Size: 1 cookie
- Calories: 165
- Sugar: 14
- Sodium: 95
- Fat: 8
- Saturated Fat: 5
- Carbohydrates: 22
- Fiber: 1
- Protein: 2
Keywords: pumpkin spice cookies, soft sugar cookies, fall baking, pumpkin cookies with icing, easy pumpkin cookies


