Love this? Save it for later!
Share the inspiration with your friends
The neighborhood Halloween block party was in six hours and I’d completely forgotten. Everyone else would be bringing elaborate themed desserts—I’d seen the sign-up sheet weeks ago and promptly let it slip my mind. I had a half-used bag of pumpkin puree in the fridge, some cream cheese that needed using up, and a vague memory of a snickerdoodle recipe my aunt used to make. Honestly, I almost just grabbed a bag of store-bought candy and called it a day. But something about that pumpkin puree caught my eye, and I thought… maybe?
So there I was, frantically mixing butter and sugar while my neighbor’s elaborate graveyard cake cooled on their porch. I was convinced I’d show up with something sad and last-minute. But here’s the thing—sometimes the best recipes come from sheer panic and whatever’s in your pantry. These cookies came together in a blur of flour and cinnamon, and I used a skull-shaped cookie cutter I’d found at a thrift store last October (best three dollars I ever spent, honestly). I didn’t even have time to second-guess myself.
You know that feeling when you bring a dish to a party and everyone hovers around it? That happened. People kept coming back for “just one more” and asking for the recipe. The pumpkin keeps them incredibly soft, the cream cheese adds this subtle tangy richness, and the cinnamon-sugar coating gives that classic snickerdoodle crackle. They’re wholesome enough that you don’t feel guilty having two (or three), but indulgent enough that nobody suspects they’re actually good for you. Maybe you’ve been there—scrambling at the last minute and accidentally creating something amazing. That’s this cookie for me, and I’ve been making them every fall since.
Why You’ll Love This Recipe
These aren’t your average Halloween cookies. They’re the kind that makes people close their eyes after the first bite—I’ve seen it happen more times than I can count. Here’s what makes them special:
- Quick & Easy: From start to finish, these come together in about 35 minutes. Perfect for when you realize at 3 PM that you need something for tonight’s gathering.
- Simple Ingredients: No weird specialty items here. You probably have most of this in your kitchen right now, minus maybe the pumpkin puree.
- Perfect for Halloween: The skull shape makes them undeniably festive, but the flavor works for any fall gathering—Thanksgiving, Friendsgiving, or just a cozy Tuesday.
- Crowd-Pleaser: Kids love the spooky shape, adults love the sophisticated flavor, and everyone loves that they’re not overly sweet.
- Unbelievably Delicious: The texture is what gets people—soft and almost cake-like in the center with that slight crunch from the cinnamon-sugar coating. It’s comfort food reimagined.
What makes these different from every other snickerdoodle recipe? It’s the pumpkin and cream cheese combo. The pumpkin keeps them incredibly moist without making them taste like a muffin, and the cream cheese adds a subtle tang that balances the sweetness perfectly. I’ve tested this recipe six times to get the flour-to-pumpkin ratio just right—too much pumpkin and they’re gummy, too little and you lose that moisture. This version? It’s my best version, and I’m pretty proud of it.
What Ingredients You Will Need
This recipe uses simple, wholesome ingredients to deliver bold flavor and satisfying texture without any fuss. Most of these are pantry staples, which makes this perfect for spontaneous baking sessions.
For the Cookie Dough
- ½ cup unsalted butter, softened (I prefer Kerrygold for the richness)
- ¼ cup cream cheese, softened (use full-fat for best texture)
- ¾ cup coconut sugar (or brown sugar if that’s what you have)
- ¼ cup granulated sugar
- ⅓ cup pumpkin puree (not pumpkin pie filling—make sure it’s 100% pumpkin)
- 1 large egg, room temperature
- 1 teaspoon vanilla extract
- 2 cups all-purpose flour (spoon and level for accuracy)
- ½ teaspoon baking soda
- ½ teaspoon cream of tartar (essential for that snickerdoodle tang)
- ½ teaspoon salt
- 1½ teaspoons pumpkin pie spice (store-bought or homemade)
- ½ teaspoon cinnamon
For the Cinnamon-Sugar Coating
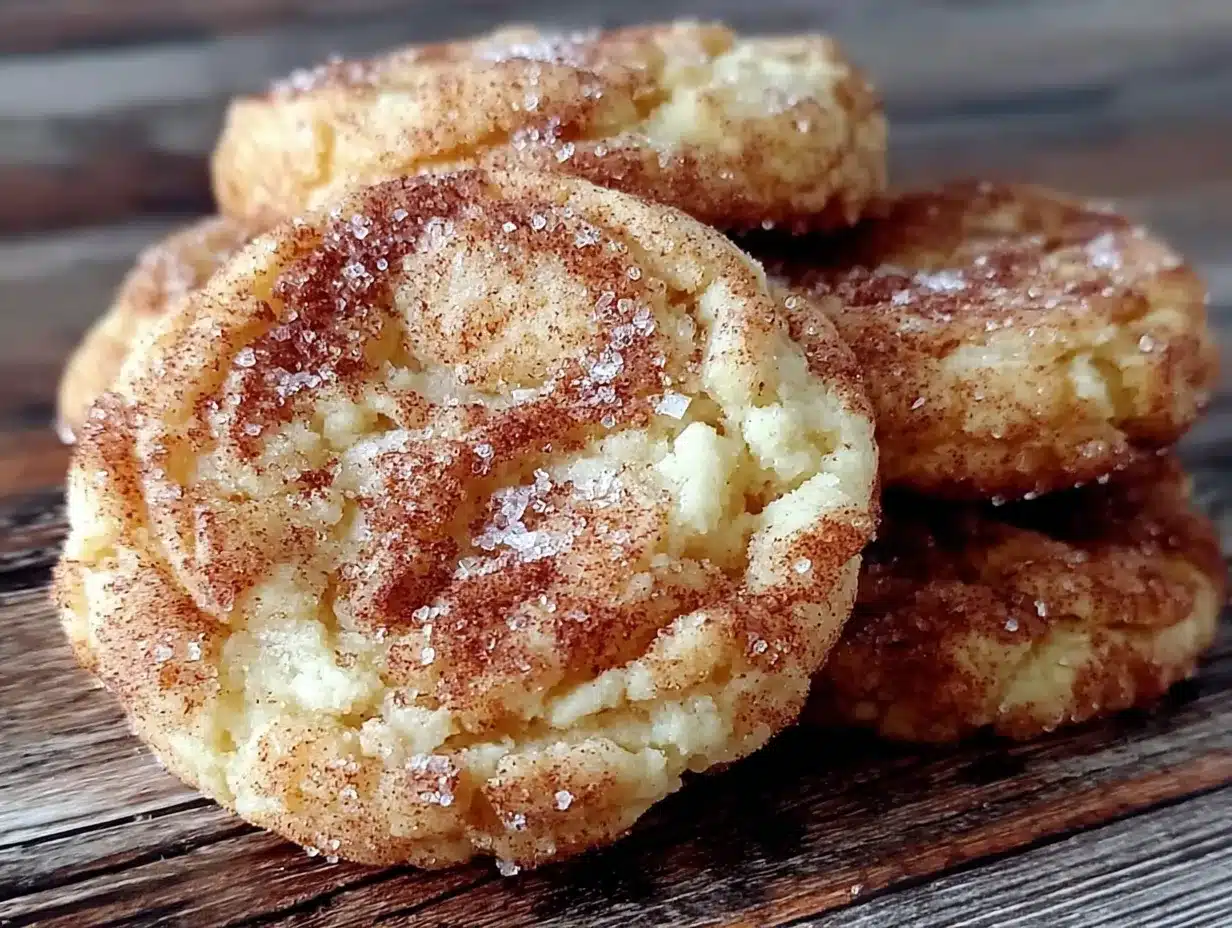
- ¼ cup granulated sugar
- 1½ teaspoons cinnamon
- Pinch of nutmeg (optional, but I love the extra warmth)
A quick note on the cream cheese—make sure it’s truly softened, not just cold. I’ve made the mistake of using cold cream cheese before, and it creates little lumps in the dough that don’t bake out. Let it sit on the counter for at least 30 minutes before starting. For the pumpkin puree, Libby’s is my go-to because it’s consistent and not too watery. If you’re using a different brand, you might need to blot the puree with a paper towel to remove excess moisture—trust me on this one.
For a dairy-free option, use vegan butter and dairy-free cream cheese. I’ve tried it with Miyoko’s brand and it worked beautifully, though the texture was slightly less tender. For gluten-free, swap the all-purpose flour with a 1:1 gluten-free baking blend that contains xanthan gum. King Arthur’s measure-for-measure flour works great here.
Equipment Needed
You don’t need a fancy bakery setup for these cookies. Here’s what I use:
- Stand mixer or hand mixer: Either works. I’ve made these with both, and honestly, a hand mixer is easier for cleanup.
- Mixing bowls: One large, one medium. I use glass bowls because they don’t retain smells from previous baking projects.
- Skull-shaped cookie cutter: This is the star of the show. I found mine at a thrift store, but Amazon has plenty of options. A standard 3-inch round cutter works too—they just won’t be skull-shaped.
- Baking sheets: Two if you have them, so you can rotate batches. I use Nordic Ware because they don’t warp in the oven.
- Parchment paper or silicone baking mat: Silpat mats are worth the investment—they never stick and clean up in seconds.
- Cooling rack: Essential for getting that perfect texture. If cookies cool on the sheet, they can over-bake from residual heat.
- Rolling pin: A standard one works, but I love my adjustable rolling pin with thickness rings—it makes getting even cookies so much easier.
If you don’t have a skull cookie cutter, don’t let that stop you. Round snickerdoodles are just as delicious, and you can always add a little ghost face with icing if you’re feeling creative.
Preparation Method
Let’s get baking! This method has been tested and tweaked over six batches, so follow along and you’ll have perfect cookies every time.
- Preheat and prep. Preheat your oven to 350°F (175°C). Line two baking sheets with parchment paper or silicone mats. This is non-negotiable—these cookies are soft and will stick to ungreased pans.
- Cream the fats and sugars. In a large bowl, beat the softened butter and cream cheese together until smooth and fluffy—about 2 minutes with a hand mixer on medium speed. Add the coconut sugar and granulated sugar, then beat for another 2-3 minutes until the mixture is light and airy. Scrape down the sides of the bowl halfway through. You should see the color lighten slightly.
- Add the wet ingredients. Beat in the pumpkin puree, egg, and vanilla extract until just combined. Don’t overmix here—you want everything incorporated, but if you beat too long, the pumpkin can make the dough gummy. The mixture will look slightly curdled at this point, and that’s totally normal. Don’t panic!
- Mix the dry ingredients. In a separate medium bowl, whisk together the flour, baking soda, cream of tartar, salt, pumpkin pie spice, and cinnamon. Whisking aerates the flour and ensures the spices are evenly distributed—no one wants a bite with all the cinnamon in one spot.
- Combine wet and dry. Gradually add the dry ingredients to the wet mixture, mixing on low speed or folding with a spatula. Mix until just combined—you should still see a few streaks of flour. Overmixing develops gluten and makes cookies tough, which is the opposite of what we want.
- Chill the dough. This step is crucial. Cover the bowl with plastic wrap and refrigerate for at least 30 minutes. The dough will be very soft and sticky—if you try to roll it out now, you’ll end up with a mess. Chilling firms up the butter and cream cheese, making the dough manageable. I’ve forgotten this step before, and let me tell you, it was not pretty. Trust the chill.
- Prepare the coating. While the dough chills, mix the granulated sugar, cinnamon, and nutmeg (if using) in a shallow bowl. Set aside.
- Roll and cut. Lightly flour your work surface and rolling pin. Take the chilled dough out of the fridge and divide it in half—keep one half in the fridge while you work with the other. Roll the dough to about ¼-inch thickness. Dip your skull-shaped cookie cutter in flour before each cut to prevent sticking. Place the cut cookies on your prepared baking sheets, spacing them about 2 inches apart—they spread a little, but not as much as typical snickerdoodles.
- Coat with cinnamon sugar. This is the fun part. Take each cut cookie and gently press both sides into the cinnamon-sugar mixture. Place them back on the baking sheet. The coating should be generous—don’t skimp! This is what gives snickerdoodles their signature crackly top.
- Bake. Bake for 10-12 minutes, or until the edges are just set and the tops look slightly puffed. The centers will look soft and underdone—that’s exactly what you want. Overbaking is the #1 mistake people make with these cookies. They continue to set on the baking sheet as they cool, so pull them out when they still look slightly underdone in the middle.
- Cool properly. Let the cookies cool on the baking sheet for 5 minutes—this allows them to finish setting up. Then transfer them to a wire rack to cool completely. If you try to move them immediately, they’ll fall apart. Patience, my friend.
- Repeat. Roll out the remaining dough, cut, coat, and bake. You can reroll the scraps once—after that, the dough gets tough from the extra flour.
Here’s a sensory cue for you: when these cookies are done, your kitchen will smell like a fall candle factory exploded—in the best way. The cinnamon, pumpkin, and nutmeg together create this incredible warmth that just feels like October.
Cooking Tips & Techniques
I’ve made every mistake possible with these cookies so you don’t have to. Here’s what I’ve learned the hard way:
Don’t skip the cream of tartar. This is what gives snickerdoodles their signature tang and chewy texture. If you don’t have it, you can substitute with 1 teaspoon of lemon juice or white vinegar, but honestly, just buy cream of tartar—it lasts forever and you’ll use it for meringues too.
Watch your oven temperature. My first batch came out flat because my oven runs hot and I didn’t adjust. Every oven is different, so I recommend baking one test cookie first. If it spreads too much, chill the dough longer. If it doesn’t spread enough, your dough might be too dry—add a teaspoon of milk next time.
The dough consistency matters. If your dough feels too sticky after chilling, dust your work surface and rolling pin generously with flour. If it feels too dry and cracks when you roll it, let it sit at room temperature for 5 minutes to soften slightly. I’ve had both scenarios happen depending on the humidity level in my kitchen.
Multitasking strategy: While the dough chills, clean up your mixing bowls and measure out your cinnamon-sugar coating. This way, when the dough is ready, you can go straight into rolling and cutting without stopping. I also pre-line my baking sheets during this downtime.
For consistent cookie thickness: Use rolling pin rings or two wooden spoons placed on either side of your dough as guides. This ensures every cookie is the same thickness and bakes evenly. I learned this trick from a pastry chef friend, and it’s been a game-changer.
Variations & Adaptations
One of the best things about this recipe is how adaptable it is. Here are some variations I’ve tried and loved:
Vegan Version
Use vegan butter (I like Earth Balance) and dairy-free cream cheese (Miyoko’s is my favorite). Replace the egg with a flax egg—1 tablespoon ground flaxseed mixed with 3 tablespoons water, let sit for 5 minutes until gel-like. The texture is slightly less tender, but the flavor is still spot-on.
Gluten-Free Version
Swap the all-purpose flour with a 1:1 gluten-free baking blend that contains xanthan gum. King Arthur’s measure-for-measure flour works beautifully. Add an extra tablespoon of flour if the dough feels too wet—gluten-free flours absorb moisture differently.
Pumpkin Spice Latte Twist
Add 1 tablespoon of instant espresso powder to the dry ingredients for a subtle coffee kick that complements the pumpkin spice beautifully. I tried this on a whim one morning when I was craving a PSL, and honestly, it might be my new favorite version.
Maple Glaze Finish
Skip the cinnamon-sugar coating and instead drizzle cooled cookies with a simple glaze made from ½ cup powdered sugar, 2 tablespoons maple syrup, and 1 tablespoon milk. It adds a beautiful shine and extra sweetness that’s perfect for holiday cookie exchanges.
Chocolate-Dipped Skulls
After the cookies cool completely, melt ½ cup dark chocolate chips with 1 teaspoon coconut oil and dip half of each cookie into the chocolate. Let set on parchment paper. The combination of pumpkin spice and dark chocolate is absolutely dreamy.
Serving & Storage Suggestions
These cookies are best served at room temperature, straight from the cooling rack if you can manage the self-control. The texture is perfectly soft with that slight crunch from the cinnamon-sugar coating. I love serving them alongside a warm mug of chai tea or a pumpkin spice latte—double the fall vibes.
For a Halloween party spread, arrange them on a black or orange platter with some candy corn and caramel apples. They also make fantastic gifts—I’ve packed them in clear cellophane bags tied with orange ribbon and given them to neighbors and coworkers.
Storage instructions: Store in an airtight container at room temperature for up to 5 days. Place a slice of bread in the container to keep them soft—the cookies will absorb moisture from the bread. I’ve tested this trick and it works like magic. Change the bread every other day if they last that long.
Freezer instructions: These freeze beautifully! Place cooled cookies in a single layer in a freezer-safe container, separating layers with parchment paper. Freeze for up to 3 months. To thaw, let them sit at room temperature for about 30 minutes. You can also freeze the unbaked dough—roll it out, cut the shapes, and freeze them on a baking sheet. Once frozen solid, transfer to a freezer bag. Bake directly from frozen, adding 2-3 minutes to the baking time.
One thing I’ve noticed: the flavors actually deepen after a day or two. The pumpkin spice becomes more pronounced, and the cookies get even softer. So if you can resist eating them all on day one, day two is even better.
Nutritional Information & Benefits
Here’s the approximate nutritional breakdown per cookie (based on 24 cookies):
| Nutrient | Amount |
|---|---|
| Calories | 145 |
| Total Fat | 7g |
| Saturated Fat | 4g |
| Cholesterol | 28mg |
| Sodium | 95mg |
| Total Carbohydrates | 20g |
| Dietary Fiber | 1g |
| Sugars | 11g |
| Protein | 2g |
These cookies are a healthier take on the classic snickerdoodle. The pumpkin puree adds vitamin A and fiber while keeping the cookies moist without needing extra butter. Coconut sugar has a lower glycemic index than regular sugar, so you get a more stable energy release—no sugar crash after your treat. The cream cheese adds a small amount of protein and calcium, and the cinnamon is packed with antioxidants that help reduce inflammation.
For a health-minded baker, these cookies hit that sweet spot between indulgence and nourishment. They’re not health food by any stretch, but they’re a far better choice than most store-bought Halloween treats loaded with preservatives and artificial colors. I feel good about serving these to my family, and that matters.
Conclusion
These Wholesome Pumpkin Spice Snickerdoodle Skull Cookies are proof that you don’t need elaborate plans or fancy ingredients to create something truly memorable. They came from a moment of panic and a half-used can of pumpkin puree, and now they’re a fall tradition I look forward to every year. The combination of soft, cake-like texture, warm pumpkin spice, and that signature cinnamon-sugar crunch is just unbeatable.
I’d love to hear how these turn out for you! Did you use the skull cutter or go with a different shape? Did you try any of the variations? Drop a comment below and let me know—I read every single one and I love seeing your creations. And if you’re feeling generous, share this recipe with a friend who needs a last-minute Halloween treat. Trust me, they’ll thank you later.
Happy baking, and may your kitchen smell like fall all season long!
Frequently Asked Questions
Can I use canned pumpkin pie filling instead of pumpkin puree?
No, please don’t! Pumpkin pie filling is pre-sweetened and spiced, which will throw off the sugar and spice balance in this recipe. Stick with 100% pure pumpkin puree for the best results. If you only have pumpkin pie filling, reduce the sugar in the recipe by half and skip the pumpkin pie spice.
Why did my cookies turn out flat?
Flat cookies usually mean the butter was too soft or the dough wasn’t chilled enough. Make sure your butter and cream cheese are softened but not melted—if they’re greasy, pop the dough in the fridge for an extra 15 minutes. Also, check that your baking soda is fresh—old baking soda loses its leavening power.
Can I make these cookies ahead of time?
Absolutely! You can make the dough up to 3 days in advance and keep it refrigerated. Just let it sit at room temperature for 5-10 minutes before rolling so it’s pliable enough to work with. You can also freeze the baked cookies for up to 3 months—they thaw beautifully at room temperature.
My dough is too sticky to roll out. What should I do?
If your dough is sticky even after chilling, it might be too humid in your kitchen or your pumpkin puree had extra moisture. Try these fixes: add 1-2 tablespoons of flour to the dough, chill it for another 30 minutes, or lightly flour your work surface and rolling pin more generously. You can also roll the dough between two sheets of parchment paper to avoid sticking altogether.
Can I make these cookies without a skull-shaped cutter?
Of course! A round cookie cutter works perfectly—they’ll just be regular snickerdoodles with a pumpkin twist. You can also use any Halloween-shaped cutter you have: ghosts, bats, pumpkins, or even a simple star shape. The cookies taste the same regardless of shape, so don’t let a missing cutter stop you from making these.
Pin This Recipe!
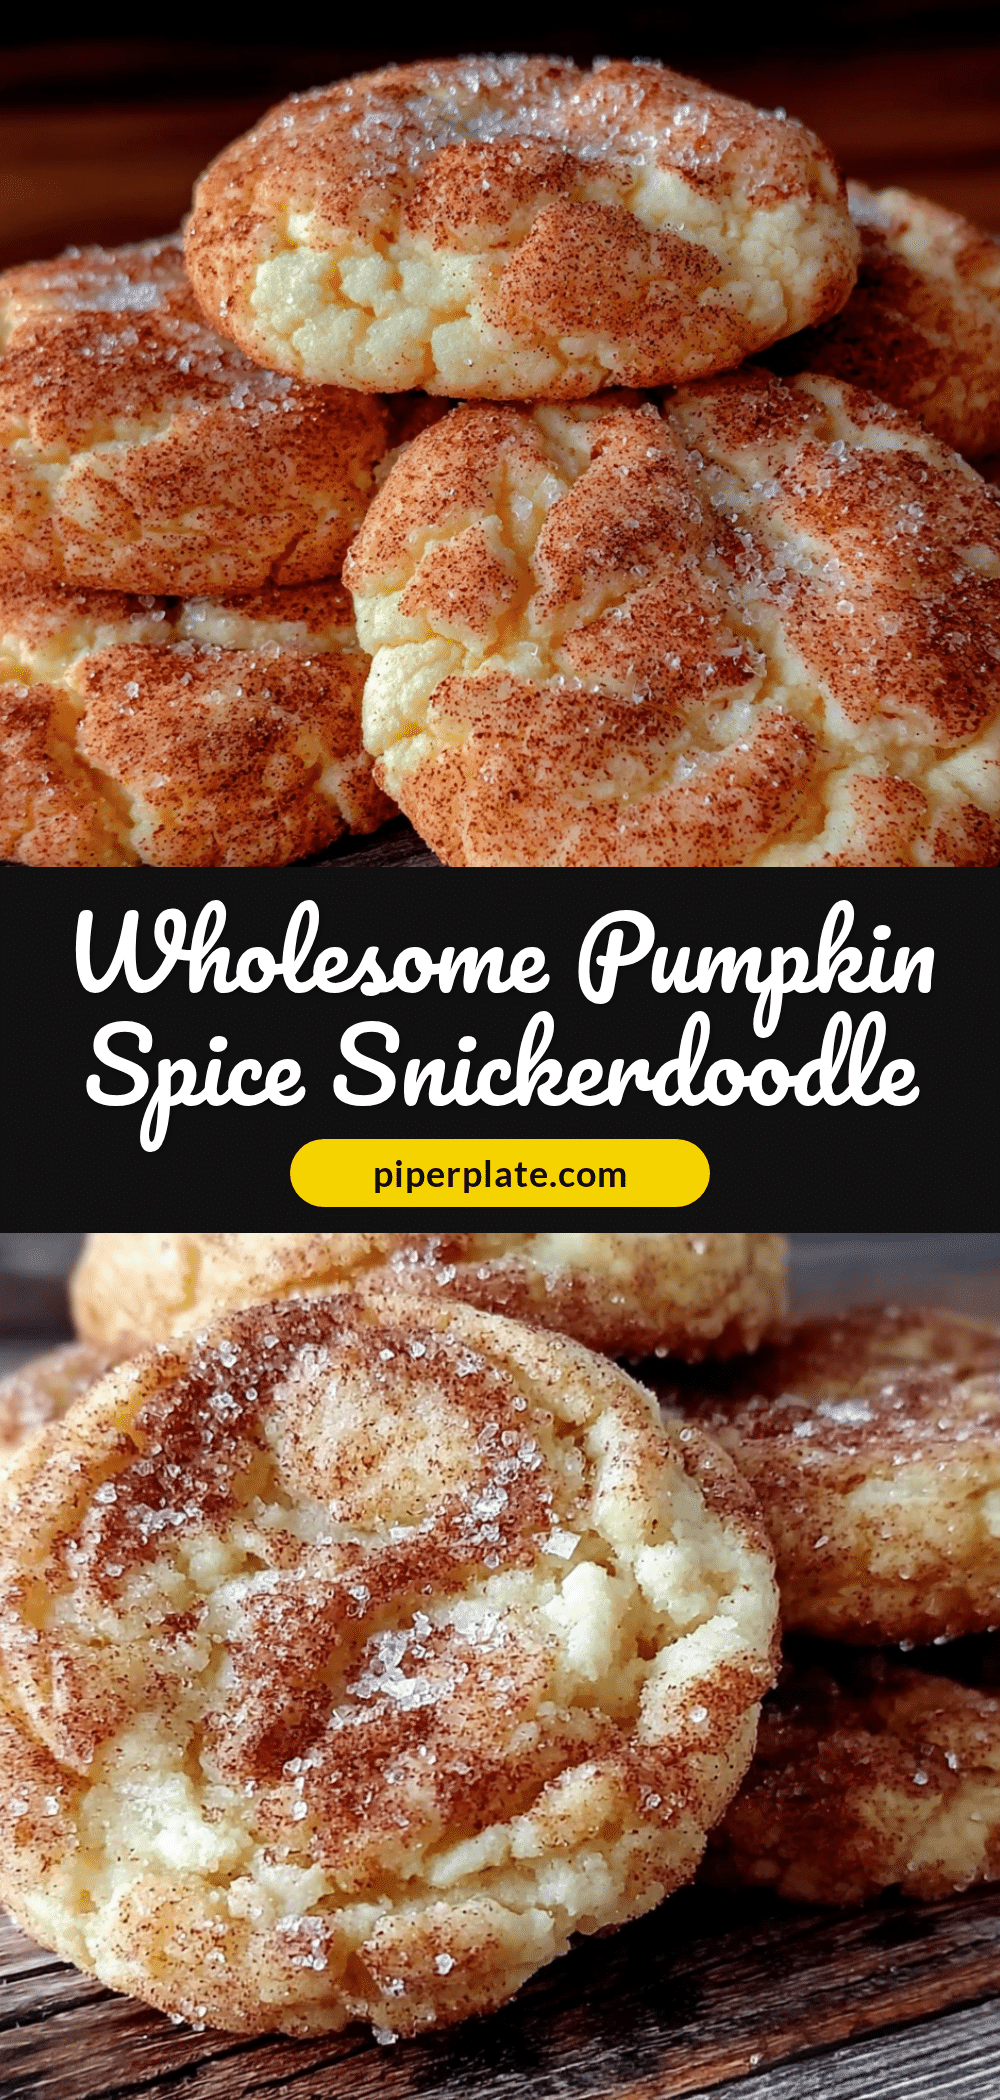
Spooky Wholesome Pumpkin Spice Snickerdoodle Skull Cookies
Soft, cake-like snickerdoodle cookies with pumpkin and cream cheese, coated in cinnamon sugar and shaped like skulls for a festive Halloween treat. Perfect for last-minute gatherings, these cookies are wholesome enough to enjoy without guilt but indulgent enough to satisfy any sweet tooth.
- Prep Time: 15 minutes
- Cook Time: 12 minutes
- Total Time: 35 minutes
- Yield: 24 cookies 1x
- Category: Dessert
- Cuisine: American
Ingredients
- ½ cup unsalted butter, softened
- ¼ cup cream cheese, softened
- ¾ cup coconut sugar (or brown sugar)
- ¼ cup granulated sugar
- ⅓ cup pumpkin puree (100% pumpkin, not pie filling)
- 1 large egg, room temperature
- 1 teaspoon vanilla extract
- 2 cups all-purpose flour (spooned and leveled)
- ½ teaspoon baking soda
- ½ teaspoon cream of tartar
- ½ teaspoon salt
- 1½ teaspoons pumpkin pie spice
- ½ teaspoon cinnamon
- ¼ cup granulated sugar (for coating)
- 1½ teaspoons cinnamon (for coating)
- Pinch of nutmeg (optional, for coating)
Instructions
- Preheat oven to 350°F (175°C). Line two baking sheets with parchment paper or silicone mats.
- In a large bowl, beat softened butter and cream cheese together until smooth and fluffy, about 2 minutes on medium speed.
- Add coconut sugar and granulated sugar, beat for 2-3 minutes until light and airy. Scrape down sides of bowl.
- Beat in pumpkin puree, egg, and vanilla extract until just combined. Mixture may look slightly curdled.
- In a separate medium bowl, whisk together flour, baking soda, cream of tartar, salt, pumpkin pie spice, and cinnamon.
- Gradually add dry ingredients to wet mixture, mixing on low speed or folding with a spatula until just combined (a few streaks of flour should remain).
- Cover bowl with plastic wrap and refrigerate for at least 30 minutes.
- While dough chills, mix coating ingredients (¼ cup sugar, 1½ teaspoons cinnamon, and nutmeg if using) in a shallow bowl.
- Lightly flour work surface and rolling pin. Divide chilled dough in half, keeping one half refrigerated.
- Roll dough to ¼-inch thickness. Cut with a skull-shaped cookie cutter (dipped in flour between cuts). Place cookies 2 inches apart on prepared baking sheets.
- Press both sides of each cut cookie into the cinnamon-sugar coating, then return to baking sheet.
- Bake for 10-12 minutes, until edges are set and tops look slightly puffed (centers will look soft and underdone).
- Let cookies cool on baking sheet for 5 minutes, then transfer to a wire rack to cool completely.
- Repeat with remaining dough. Reroll scraps once only.
Notes
Don’t skip chilling the dough—it’s essential for manageable rolling. Cream of tartar is key for the signature snickerdoodle tang. For best texture, pull cookies from oven when centers still look slightly underdone. Store in airtight container at room temperature for up to 5 days; place a slice of bread in container to keep cookies soft. Freeze baked cookies for up to 3 months.
Nutrition
- Serving Size: 1 cookie
- Calories: 145
- Sugar: 11
- Sodium: 95
- Fat: 7
- Saturated Fat: 4
- Carbohydrates: 20
- Fiber: 1
- Protein: 2
Keywords: pumpkin snickerdoodle, Halloween cookies, skull cookies, pumpkin spice, cream cheese cookies, fall baking, spooky treats


