Love this? Save it for later!
Share the inspiration with your friends
I was standing in the spice aisle of the grocery store last Tuesday when the smell of cinnamon hit me — and suddenly I was nine years old, sitting at my neighbor Mrs. Gable’s worn kitchen table, watching her pull a pan of the most perfect golden-brown bars from the oven. She wasn’t a grandmotherly type, not really. She had short, practical gray hair and always wore the same faded blue apron, and she baked because she said it was the only thing that made her feel like she was in control of something. I’d never even liked pumpkin things back then — too mushy, too sweet, too much. But she handed me a warm bar, still steaming, and I took a bite, and something clicked. It wasn’t just the pumpkin, you know? It was the warmth, the softness, the way the cream cheese frosting melted just a little against the heat. I’ve been chasing that exact feeling ever since, and honestly, I think I finally got it right with these cozy spiced pumpkin bars.
Let me be real with you — I’ve messed up this recipe more times than I care to admit. I’ve made bars that were too dry, too dense, too sweet, or just plain sad. But after a dozen attempts (and a few pan scrapings that tasted like hope), I landed on a version that actually delivers. These bars are soft, tender, and packed with warm fall spices, topped with a luscious cream cheese frosting that’s tangy enough to balance the sweetness. They’re the kind of thing you make when you want the house to smell like a hug, or when you need a dessert that feels special but doesn’t require a degree in pastry arts. Maybe you’ve been there — standing in your kitchen, craving something that tastes like comfort, but not wanting to spend hours on a complicated recipe. These bars are for that exact moment.
They’ve become my go-to for everything from lazy Sunday afternoons to holiday gatherings where I need to bring something that disappears fast. And they do disappear, let me tell you. I brought a batch to a friend’s potluck last month, and someone actually asked me if I’d bought them from a bakery. That’s the kind of compliment that makes you want to keep baking forever, right? So here we are — my best version of these cozy spiced pumpkin bars with cream cheese frosting. I hope they bring you the same warmth they’ve brought me.
Why You’ll Love This Recipe
I’ve tested this recipe more times than I can count, and I can honestly say it’s the one I’m most proud of. It’s not just another pumpkin bar recipe — it’s the one that solves all the common problems: dry texture, bland spice, or frosting that’s too runny. Here’s why I think you’ll love it as much as I do:
- Quick & Easy: These bars come together in under an hour, including baking and cooling time. Perfect for when you need a dessert fast, but don’t want to sacrifice quality.
- Simple Ingredients: You probably already have most of these in your pantry. No weird specialty items, no expensive extracts — just good, honest ingredients that work together beautifully.
- Perfect for Cozy Nights: Whether it’s a chilly fall evening, a rainy afternoon, or just a day that needs a little extra warmth, these bars deliver. They’re comfort food at its finest.
- Crowd-Pleaser: I’ve served these to kids, adults, picky eaters, and dessert snobs, and they’ve been a hit every single time. The combination of soft spiced pumpkin and tangy cream cheese frosting is just irresistible.
- Unbelievably Delicious: The texture is what sets these apart — soft, tender, almost cake-like, but with a density that makes them feel substantial. The frosting is thick, creamy, and perfectly balanced with a hint of vanilla.
What makes this recipe different from all the others? It’s the technique. I use a combination of melted butter and oil to keep the bars incredibly moist, and I whip the cream cheese frosting until it’s light and fluffy, not dense and heavy. The spice blend is carefully balanced — not too much cinnamon, not too little nutmeg, with just a whisper of cloves to warm things up. This isn’t just another version of pumpkin bars. It’s the version I’d serve to anyone I wanted to impress, including myself on a quiet Tuesday night.
What Ingredients You Will Need
This recipe uses simple, wholesome ingredients to deliver bold flavor and satisfying texture without the fuss. Most of these are pantry staples, which makes these bars perfect for spontaneous baking sessions. Let me walk you through each one and share a few tips I’ve learned along the way.
For the Pumpkin Bars
- All-purpose flour (1 ¾ cups / 220g): The backbone of these bars. I recommend using unbleached all-purpose flour for the best texture. If you need a gluten-free option, a 1:1 gluten-free baking blend works well, but the texture will be slightly more crumbly.
- Granulated sugar (1 cup / 200g): Adds sweetness and helps create that tender crumb. I’ve tried reducing the sugar, but the bars come out a bit dense — trust the measurement here.
- Brown sugar, packed (½ cup / 100g): This is where the magic happens. Brown sugar adds moisture and a deep, caramel-like flavor that complements the pumpkin beautifully. I use light brown sugar, but dark brown works too if you want a richer taste.
- Pumpkin purée (1 cup / 245g): Make sure you’re using 100% pumpkin purée, not pumpkin pie filling. I prefer Libby’s brand for its consistent texture and flavor. If you’re feeling ambitious, you can make your own purée from a sugar pumpkin, but canned works perfectly.
- Vegetable oil (½ cup / 120ml): Keeps the bars incredibly moist without adding a heavy flavor. Canola or any neutral oil works well. I’ve used melted coconut oil in a pinch, and it adds a subtle tropical note that’s actually quite nice.
- Eggs (2 large, room temperature): Room temperature eggs incorporate more easily into the batter, creating a smoother texture. If you forget to take them out ahead of time, place them in a bowl of warm water for 5 minutes.
- Vanilla extract (1 teaspoon): Pure vanilla extract is worth the splurge here. It enhances all the warm spices without overpowering them.
- Baking powder (1 teaspoon) and baking soda (½ teaspoon): The double leavening agents ensure the bars rise properly and stay light. Make sure your baking powder is fresh — it loses potency over time.
- Salt (½ teaspoon): Don’t skip this! Salt balances the sweetness and brings out the flavors of the spices.
- Ground cinnamon (1 ½ teaspoons), ground nutmeg (½ teaspoon), ground ginger (½ teaspoon), ground cloves (¼ teaspoon): This is my personal spice blend, and it’s been refined over many batches. The cinnamon is dominant but not overwhelming, the nutmeg adds warmth, the ginger gives a little kick, and the cloves provide depth. If you’re in a hurry, you can substitute with 2 teaspoons of pumpkin pie spice, but I promise the individual spices make a difference.
For the Cream Cheese Frosting
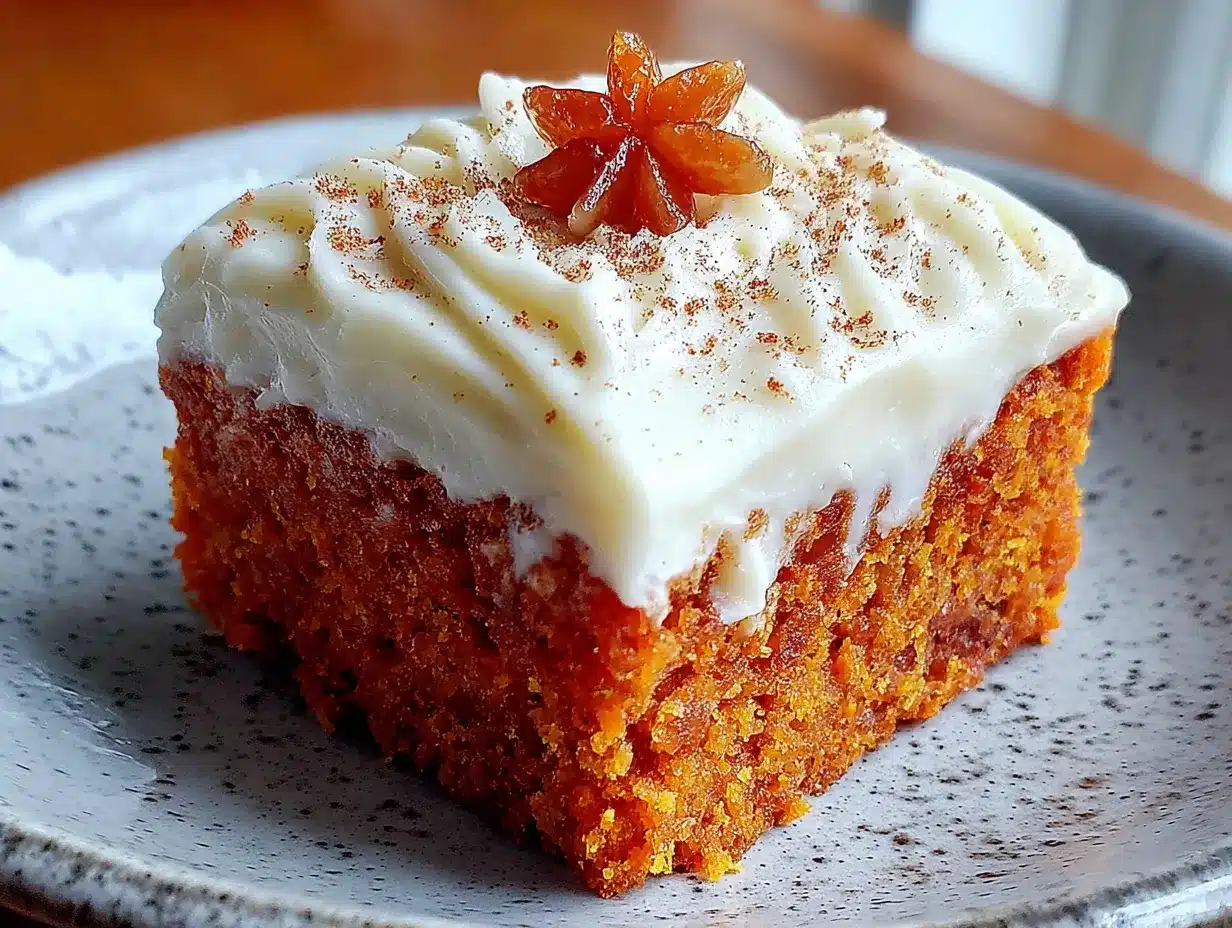
- Cream cheese (8 oz / 226g, softened): Full-fat cream cheese is non-negotiable here. Low-fat versions contain more water and can make the frosting runny. I recommend Philadelphia brand for consistent results. Let it sit at room temperature for at least 30 minutes before using.
- Unsalted butter (¼ cup / 57g, softened): Adds richness and helps stabilize the frosting. Use unsalted butter so you can control the salt level.
- Powdered sugar (2 cups / 240g): Sift it before measuring to avoid lumps. If your frosting turns out too thick, you can add a splash of milk or cream.
- Vanilla extract (1 teaspoon): Again, pure vanilla is best. It brightens the cream cheese flavor beautifully.
- Pinch of salt: Just a tiny pinch to balance the sweetness and enhance the tanginess of the cream cheese.
Equipment Needed
You don’t need a fancy kitchen to make these bars, but having the right tools makes the process smoother. Here’s what you’ll need:
- 9×13-inch baking pan: This is the perfect size for these bars. If you only have an 8×8 pan, the bars will be thicker and may need a few extra minutes of baking time. A 9×9 pan works too, but the bars will be slightly taller.
- Mixing bowls: You’ll need one large bowl for the dry ingredients and another for the wet ingredients. I prefer glass or stainless steel bowls because they don’t retain odors.
- Whisk: For combining the dry ingredients and smoothing out any lumps in the wet mixture.
- Hand mixer or stand mixer: While you can mix the batter by hand, a mixer makes the frosting much easier to whip up. I’ve made the frosting with a whisk before, and it works, but your arm will definitely feel it.
- Rubber spatula: Essential for scraping down the sides of the bowl and spreading the batter evenly in the pan.
- Parchment paper: Lining the pan makes it easy to lift the bars out for clean slicing. I always leave an overhang on two sides for easy removal.
- Cooling rack: Allows air to circulate around the bars while they cool, preventing a soggy bottom. If you don’t have one, you can use a wire rack from your oven, or just let them cool in the pan (but they’ll take longer).
- Offset spatula: Not strictly necessary, but it makes spreading the frosting look professional. A butter knife works fine too.
I bought my first cooling rack from a dollar store years ago, and it’s still going strong. You don’t need to spend a lot of money on equipment — just get what works and take care of it.
Preparation Method
Alright, let’s get baking! I’ve broken this down into clear steps, and I’ve included all the little details that have helped me get perfect results every time. Trust the process, and don’t rush — these bars are worth the time.
Step 1: Preheat and Prepare the Pan
Preheat your oven to 350°F (175°C). While the oven is heating up, line a 9×13-inch baking pan with parchment paper, leaving an overhang on the two long sides. This will make it super easy to lift the bars out later. Lightly grease the parchment paper with cooking spray or a thin layer of butter. I’ve forgotten to do this before, and let me tell you, scraping bars off parchment is not fun — don’t skip it.
Step 2: Mix the Dry Ingredients
In a large mixing bowl, whisk together the all-purpose flour, baking powder, baking soda, salt, and all the spices — cinnamon, nutmeg, ginger, and cloves. Whisking ensures everything is evenly distributed, so you don’t end up with a pocket of baking soda in one bite. I like to sift the mixture through a fine-mesh strainer if I’m feeling fancy, but whisking thoroughly works just as well.
Step 3: Combine the Wet Ingredients
In a separate bowl, whisk together the granulated sugar, brown sugar, pumpkin purée, vegetable oil, eggs, and vanilla extract. Make sure the sugars are fully dissolved into the wet mixture — you shouldn’t feel any graininess when you rub a bit between your fingers. The mixture should be smooth, glossy, and a beautiful deep orange color. If your eggs were cold, the mixture might look a little curdled at first, but keep whisking and it will come together.
Step 4: Combine Wet and Dry Ingredients
Pour the wet ingredients into the bowl with the dry ingredients. Use a rubber spatula to fold everything together gently. Here’s the key: mix until just combined. A few streaks of flour are okay — overmixing will develop the gluten and make the bars tough. I usually stop as soon as I can’t see any more dry flour. The batter will be thick and slightly lumpy, but that’s exactly what we want.
Step 5: Bake the Bars
Pour the batter into the prepared pan and spread it evenly with your spatula. It will seem like a thin layer, but don’t worry — the bars will rise beautifully. Bake for 22-26 minutes, or until a toothpick inserted into the center comes out clean or with just a few moist crumbs. The edges should be lightly golden and pulling away from the sides of the pan. Every oven is different, so start checking at 22 minutes. I’ve had batches that were perfect at 24 minutes and others that needed the full 26. Trust your senses more than the timer.
Step 6: Cool Completely
Let the bars cool in the pan on a wire rack for about 10 minutes. Then, using the parchment overhang, lift the bars out of the pan and transfer them to the wire rack to cool completely. This is crucial — if you frost the bars while they’re still warm, the cream cheese frosting will melt into a sad, runny mess. I’ve made that mistake, and it’s heartbreaking. Patience, my friend. Let them cool for at least 1 hour, or until they’re completely at room temperature.
Step 7: Make the Cream Cheese Frosting
While the bars are cooling, make the frosting. In a large bowl, beat the softened cream cheese and butter together with a hand mixer or stand mixer fitted with the paddle attachment until smooth and creamy, about 2 minutes. Scrape down the sides of the bowl, then add the powdered sugar, vanilla extract, and a pinch of salt. Beat on low speed until the sugar is incorporated, then increase to medium-high and beat for 2-3 minutes until the frosting is light, fluffy, and spreadable. If it’s too thick, add a tablespoon of milk or cream. If it’s too thin, add a little more powdered sugar, one tablespoon at a time.
Step 8: Frost and Slice
Once the bars are completely cool, spread the cream cheese frosting evenly over the top. I like to use an offset spatula for a smooth, professional finish, but a butter knife works too. For clean slices, chill the frosted bars in the refrigerator for at least 30 minutes before cutting. Use a sharp knife and wipe it clean between cuts for the neatest edges. I usually get 12 generous bars, but you can cut them smaller if you want to stretch the batch.
Cooking Tips & Techniques
I’ve learned a few things the hard way over the years, so let me share some tips that will save you from my mistakes. First, don’t overmix the batter. I know I said it before, but it’s worth repeating. Overmixing develops gluten, and gluten makes these bars tough and rubbery. You want them tender and soft, like a good pumpkin muffin. Mix until the flour just disappears, and then stop.
Another thing I’ve learned is to always use room temperature ingredients for the frosting. Cold cream cheese creates lumps that are nearly impossible to beat out. If you’re in a rush, you can soften cream cheese in the microwave on low power for about 10-15 seconds, but be careful — it can melt quickly and ruin the texture. I’ve definitely nuked cream cheese into a puddle before, and it’s not pretty.
For the spices, I recommend toasting them lightly in a dry pan before adding them to the flour. It sounds extra, but it takes the flavor from good to incredible. Just heat a small skillet over medium heat, add the spices, and stir for about 30 seconds until they smell fragrant. Be careful not to burn them — they go from aromatic to acrid very quickly. This step is optional, but I promise it’s worth the extra 30 seconds.
If you want to make these bars ahead of time, bake and cool them completely, then wrap the unfrosted bars tightly in plastic wrap and store them at room temperature for up to 2 days. Frost them just before serving for the freshest taste. I’ve also frozen unfrosted bars for up to 3 months — just wrap them well and thaw overnight in the refrigerator before frosting.
Variations & Adaptations
One of the best things about this recipe is how adaptable it is. I’ve experimented with dozens of variations, and here are a few of my favorites:
- Gluten-Free Version: Substitute the all-purpose flour with a high-quality 1:1 gluten-free baking blend. I’ve had great results with King Arthur Flour’s Measure for Measure blend. The texture will be slightly more delicate, so handle the bars gently when lifting them out of the pan.
- Dairy-Free Version: Use a dairy-free cream cheese alternative, like Tofutti or Violife, and substitute the butter with a vegan butter stick. The frosting will be slightly less stable, so I recommend chilling the bars for at least an hour after frosting.
- Pumpkin Spice Latte Twist: Add 1 tablespoon of instant espresso powder to the dry ingredients for a coffee kick that pairs beautifully with the pumpkin and spices. I tried this on a whim one morning, and it’s become my secret weapon for fall gatherings.
- Nutty Crunch: Fold ½ cup of chopped pecans or walnuts into the batter before baking. The nuts add a lovely crunch and a toasty flavor that complements the warm spices. Toast the nuts first for extra depth — just spread them on a baking sheet and bake at 350°F for 5-7 minutes.
- Chocolate Chip Pumpkin Bars: Fold ½ cup of semi-sweet chocolate chips into the batter. The chocolate adds a rich, melty surprise in every bite. My kids absolutely love this version, and honestly, so do I.
Serving & Storage Suggestions
These bars are best served at room temperature or slightly chilled, depending on your preference. I like to let them sit out for about 15 minutes after taking them out of the fridge — the frosting softens just a little, and the spices become more aromatic. For presentation, I dust the tops with a light sprinkle of cinnamon or a few chopped pecans for a rustic look.
These bars pair beautifully with a hot cup of coffee, a spiced chai latte, or a glass of cold milk. If you’re serving them for a fall gathering, arrange them on a wooden board with apple slices and a bowl of warm caramel sauce for dipping. They also make a great addition to a dessert table alongside other fall favorites like apple crisp or pumpkin cheesecake.
For storage, keep the frosted bars in an airtight container in the refrigerator for up to 5 days. The frosting will stay firm and creamy, and the bars will actually become more moist over time as the flavors meld together. If you’re storing unfrosted bars, they can stay at room temperature for up to 3 days, but I recommend refrigerating them if your kitchen is warm.
To freeze, wrap individual bars tightly in plastic wrap, then place them in a freezer-safe bag or container. They’ll keep for up to 3 months. When you’re ready to enjoy one, let it thaw in the refrigerator overnight, then bring it to room temperature before serving. I’ve pulled these out for unexpected guests more times than I can count, and no one has ever guessed they were frozen.
Nutritional Information & Benefits
While these bars are definitely a treat, they do offer some nutritional benefits thanks to the star ingredient — pumpkin. Pumpkin is packed with vitamin A, which supports eye health and immune function, and it’s also a good source of fiber, which aids digestion. The warm spices like cinnamon and ginger have anti-inflammatory properties and can help regulate blood sugar levels.
Here’s an approximate nutritional breakdown per bar (based on 12 servings):
| Nutrient | Amount per Bar |
|---|---|
| Calories | 320 |
| Total Fat | 16g |
| Saturated Fat | 8g |
| Cholesterol | 55mg |
| Sodium | 240mg |
| Total Carbohydrates | 42g |
| Dietary Fiber | 2g |
| Sugars | 30g |
| Protein | 4g |
These values are estimates and will vary based on your specific ingredients and portion sizes. If you’re looking to reduce the sugar, you can cut the granulated sugar by ¼ cup, but the texture will be slightly less tender. For a lower-fat option, substitute the oil with unsweetened applesauce — the bars will be a bit denser but still delicious.
Conclusion
These cozy spiced pumpkin bars with cream cheese frosting are more than just a recipe — they’re a little piece of comfort I’ve been carrying with me since that day at Mrs. Gable’s kitchen table. They’re the kind of dessert that makes you slow down, breathe deep, and appreciate the simple things. The soft, spiced crumb, the tangy-sweet frosting, the way the whole house smells like autumn — it’s all there, and it’s all worth the effort.
I hope you’ll make these bars your own. Maybe you’ll add a pinch of extra cinnamon, or swap the frosting for a maple glaze, or share them with someone who needs a little warmth. That’s the beauty of baking — it’s never just about the food. It’s about the feeling you create, the memories you build, and the people you share it with. So go ahead, preheat that oven, and let the spices fill your kitchen. I promise you won’t regret it.
If you try these bars, I’d love to hear about it. Drop a comment below and let me know how they turned out — did you add any twists? Share them with someone special? I read every single comment, and your stories are what keep me baking. Happy baking, friends!
Frequently Asked Questions
Can I use fresh pumpkin instead of canned?
Absolutely! You can make your own pumpkin purée by roasting a sugar pumpkin until tender, then blending the flesh until smooth. Just make sure to drain any excess liquid — fresh pumpkin can be more watery than canned, which might affect the texture of the bars. I’ve done it both ways, and canned is definitely more convenient, but homemade has a lovely fresh flavor.
Why did my bars turn out dry?
Dry bars are usually the result of overbaking or overmixing the batter. Make sure you check the bars at the 22-minute mark, and remove them from the oven as soon as a toothpick comes out with just a few moist crumbs. Also, be gentle when mixing — overworking the batter develops gluten, which can make the bars tough and dry.
Can I make these bars without eggs?
Yes, you can substitute the eggs with flax eggs (1 tablespoon ground flaxseed mixed with 3 tablespoons water per egg) or unsweetened applesauce (¼ cup per egg). The texture will be slightly denser and less tender, but they’ll still be delicious. I’ve tried both options, and I prefer the applesauce version for a slightly sweeter result.
How do I get clean slices without the frosting smearing?
Chill the frosted bars in the refrigerator for at least 30 minutes before slicing. Use a sharp knife and wipe it clean with a damp paper towel between each cut. For the neatest edges, dip the knife in hot water, dry it off, and slice — the warmth helps the knife glide through the frosting without dragging.
Can I freeze these bars with the frosting already on them?
Yes, you can freeze frosted bars, but I recommend doing it in a single layer on a baking sheet first. Freeze the bars until the frosting is firm, then wrap each bar individually in plastic wrap and place them in a freezer-safe bag. Thaw in the refrigerator overnight before serving. The texture holds up surprisingly well — I’ve done this many times with great results.
Pin This Recipe!
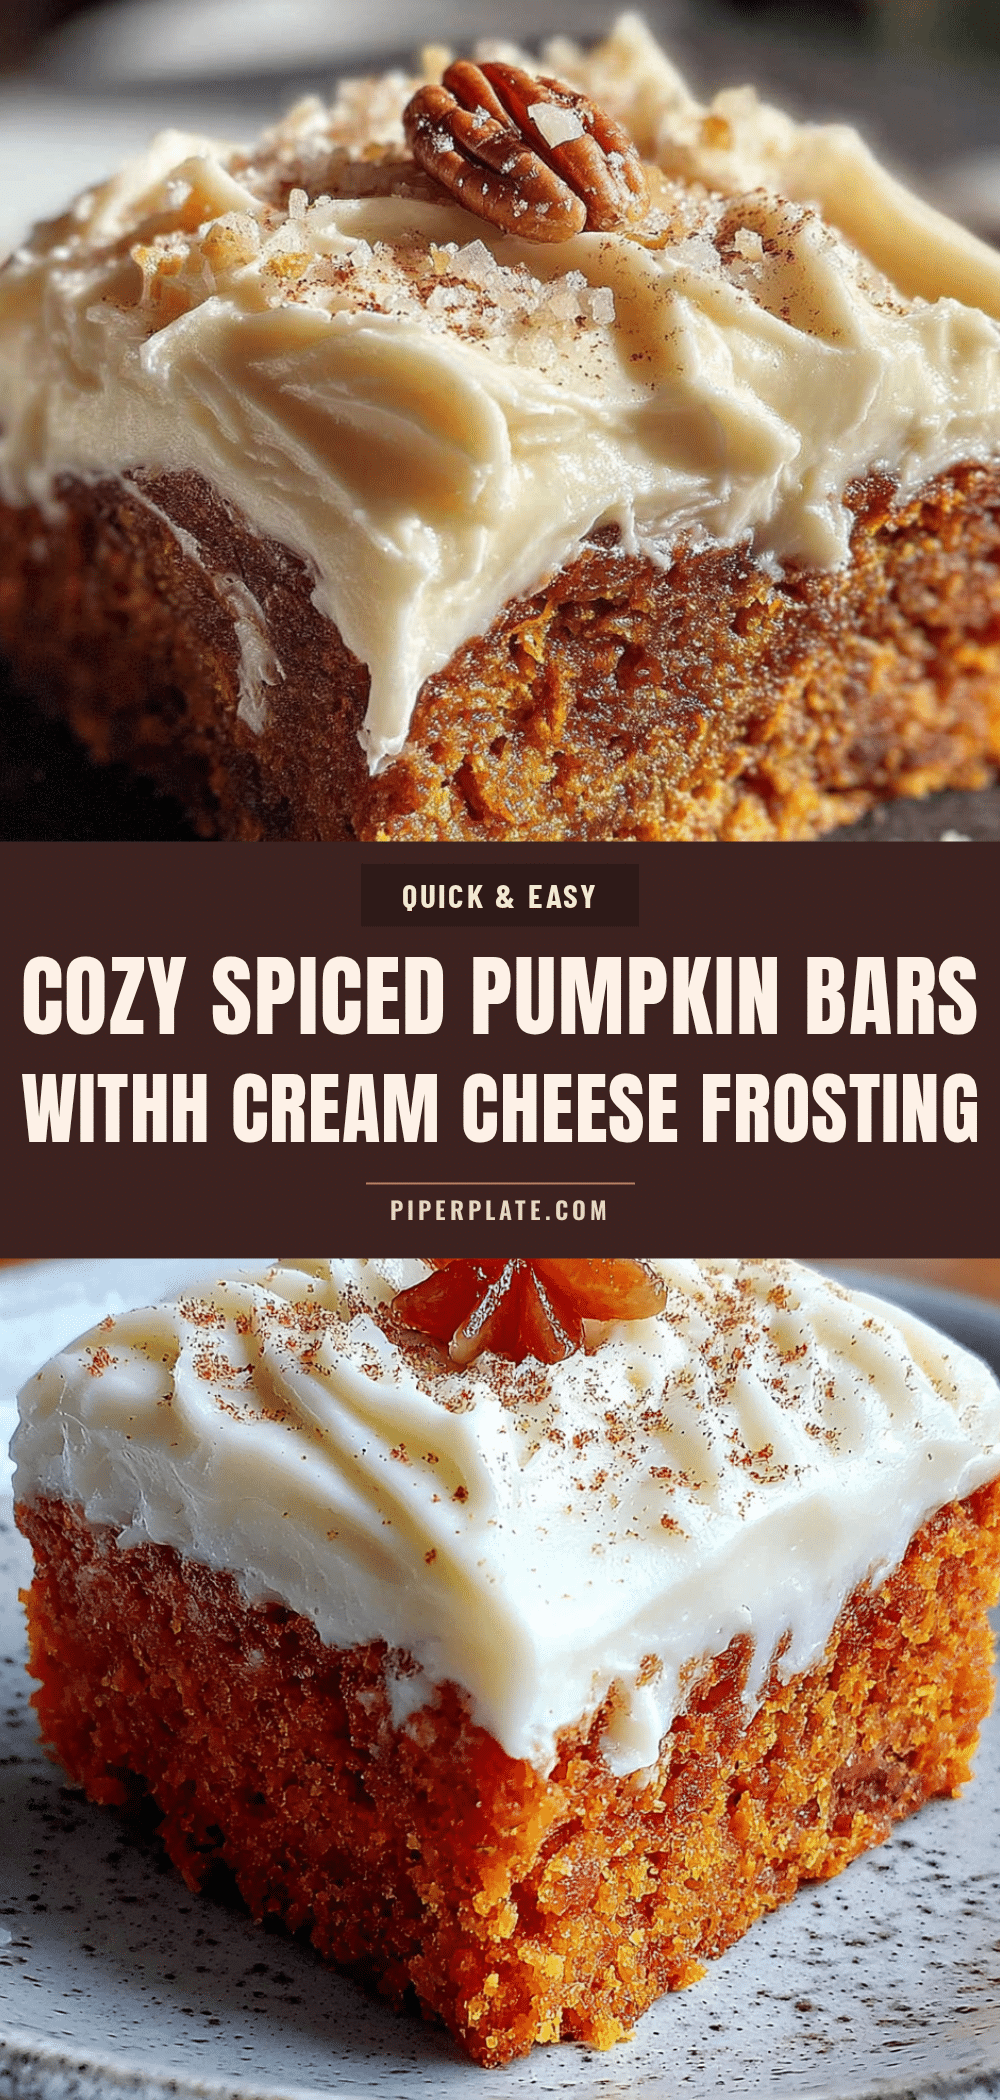
The Best Cozy Spiced Pumpkin Bars with Cream Cheese Frosting
Soft, tender pumpkin bars packed with warm fall spices and topped with a luscious cream cheese frosting. This easy recipe delivers comfort food at its finest, perfect for cozy nights or holiday gatherings.
- Prep Time: 15 minutes
- Cook Time: 25 minutes
- Total Time: 40 minutes
- Yield: 12 servings 1x
- Category: Dessert
- Cuisine: American
Ingredients
- 1 ¾ cups (220g) all-purpose flour
- 1 cup (200g) granulated sugar
- ½ cup (100g) packed brown sugar
- 1 cup (245g) pumpkin purée (100% pumpkin, not pie filling)
- ½ cup (120ml) vegetable oil
- 2 large eggs, room temperature
- 1 teaspoon vanilla extract
- 1 teaspoon baking powder
- ½ teaspoon baking soda
- ½ teaspoon salt
- 1 ½ teaspoons ground cinnamon
- ½ teaspoon ground nutmeg
- ½ teaspoon ground ginger
- ¼ teaspoon ground cloves
- 8 oz (226g) cream cheese, softened
- ¼ cup (57g) unsalted butter, softened
- 2 cups (240g) powdered sugar, sifted
- 1 teaspoon vanilla extract
- Pinch of salt
Instructions
- Preheat oven to 350°F (175°C). Line a 9×13-inch baking pan with parchment paper, leaving overhang on two long sides. Lightly grease the parchment.
- In a large bowl, whisk together flour, baking powder, baking soda, salt, cinnamon, nutmeg, ginger, and cloves.
- In a separate bowl, whisk together granulated sugar, brown sugar, pumpkin purée, vegetable oil, eggs, and vanilla extract until smooth and glossy.
- Pour wet ingredients into dry ingredients. Fold gently with a rubber spatula until just combined (a few streaks of flour are okay). Do not overmix.
- Pour batter into prepared pan and spread evenly. Bake for 22-26 minutes, until a toothpick inserted in center comes out clean or with a few moist crumbs. Edges should be lightly golden.
- Cool in pan on a wire rack for 10 minutes. Use parchment overhang to lift bars out and transfer to wire rack to cool completely (at least 1 hour).
- For frosting: Beat softened cream cheese and butter together until smooth and creamy, about 2 minutes. Add powdered sugar, vanilla, and pinch of salt. Beat on low until incorporated, then increase to medium-high and beat 2-3 minutes until light and fluffy.
- Spread frosting evenly over completely cooled bars. Chill for at least 30 minutes before slicing. Use a sharp knife, wiping clean between cuts for neat edges.
Notes
Don’t overmix the batter to avoid tough bars. Use room temperature ingredients for the frosting to prevent lumps. For clean slices, chill frosted bars for at least 30 minutes before cutting. Bars can be stored in an airtight container in the refrigerator for up to 5 days. Unfrosted bars can be frozen for up to 3 months.
Nutrition
- Serving Size: 1 bar
- Calories: 320
- Sugar: 30
- Sodium: 240
- Fat: 16
- Saturated Fat: 8
- Carbohydrates: 42
- Fiber: 2
- Protein: 4
Keywords: pumpkin bars, cream cheese frosting, fall dessert, spiced pumpkin, easy pumpkin recipe, cozy dessert


