Love this? Save it for later!
Share the inspiration with your friends
The school lunchbox challenge was in 24 hours and I’d completely forgotten that I was supposed to be the “fun lunch mom” for the week. Everyone else’s kids would be pulling out bento boxes with little animal-shaped things and perfectly cut fruit stars. I had a block of tofu, some sad carrots, and a package of nori that had been in the pantry since the last time I had a health kick. Honestly, I almost just threw in a granola bar and called it a day.
But then I remembered a trick a friend told me about—rolling up whatever veggies you have into sushi. It sounded fancy, but it’s just chopping and rolling. So, on a Tuesday night, with the clock ticking and my kid watching over my shoulder, I made my first batch of rainbow veggie sushi rolls. I was convinced they’d fall apart or taste like a salad wrapped in seaweed. I mean, let’s be real—sushi is an art, right?
The next day, I got a text from another mom. “What did you put in that lunch? My kid is begging for the recipe.” The simple recipe won, and not just because it looked pretty. It was the one that actually got eaten. Maybe you’ve been there, staring at a fridge full of random produce, wondering how to make it exciting. These rainbow veggie sushi rolls are the answer. They’re forgiving, they’re fast, and they make you look like a kitchen wizard even when you’re just trying to survive the week. That’s why this recipe stayed with me—it turned a panic moment into a lunchbox victory.
Why You’ll Love This Recipe
Let me tell you, I’ve tested this recipe about a dozen times—sometimes with leftover roasted veggies, sometimes with just raw crunch. Every single time, the result is the same: a lunch that feels special without the stress. Here’s why these rainbow veggie sushi rolls are about to become your new best friend.
- Quick & Easy: From start to finish, you’re looking at about 20 minutes. Perfect for those mornings when you realize you have zero meal prep done.
- Simple Ingredients: No fancy grocery trips needed. You likely already have rice, vinegar, and a few colorful veggies hanging out in your fridge.
- Perfect for Lunchboxes: These rolls pack beautifully, don’t get soggy, and are a total crowd-pleaser for kids and adults alike.
- Unbelievably Delicious: The texture combo is next-level—creamy avocado, crunchy cucumber, and that slight tang from the seasoned rice. It’s comfort food that’s actually good for you.
- Endlessly Customizable: This isn’t just another version of veggie sushi. It’s the best version because you can swap in whatever you have on hand. No rules, just delicious results.
This recipe isn’t just good—it’s the kind that makes you close your eyes after the first bite. It’s lunchbox food reimagined: faster, healthier, but with the same soul-soothing satisfaction.
What Ingredients You Will Need
This recipe uses simple, wholesome ingredients to deliver bold flavor and satisfying texture without the fuss. Most of these are pantry staples or easy to find at any grocery store.
- For the Sushi Rice:
- 1 cup (200g) sushi rice (I prefer Nishiki for its sticky texture)
- 1 ¼ cups (300ml) water
- 2 tablespoons (30ml) rice vinegar
- 1 tablespoon (15g) sugar
- ½ teaspoon salt
- For the Rainbow Veggies:
- ½ medium cucumber, cut into thin strips (about ½ cup)
- ½ large carrot, julienned (about ½ cup)
- ½ red bell pepper, thinly sliced (about ⅓ cup)
- ½ avocado, sliced (for creaminess)
- ¼ cup (30g) pickled radish (or regular radish for crunch)
- ¼ cup (30g) steamed or roasted sweet potato strips (optional but adds a lovely sweetness)
- For Assembly:
- 4 sheets of nori (seaweed paper)
- Soy sauce or tamari, for dipping
- Pickled ginger and wasabi (optional, for serving)
Ingredient Tips: Look for firm, small-curd sushi rice for best texture—it sticks together better. For the veggies, try to cut them all to about the same thickness (¼-inch strips) so they roll evenly. I recommend using a mandoline slicer for perfect julienne cuts, but a sharp knife works just fine.
Equipment Needed
You don’t need a fancy sushi kit for this, but a few tools make the job easier.
- Bamboo Sushi Mat: This is your best friend for tight, even rolls. If you don’t have one, a clean kitchen towel wrapped in plastic wrap works as a hack.
- Sharp Knife: A good chef’s knife is crucial for clean cuts. Dull knives will squish your rolls.
- Cutting Board: A large, stable board for rolling and slicing.
- Rice Cooker or Pot: A rice cooker makes perfect sushi rice every time, but a heavy-bottomed pot with a lid works too.
- Small Bowl of Water: For dipping your fingers to prevent rice from sticking.
I’ve used a cheap bamboo mat from Amazon for years, and it’s still going strong. Just rinse and air-dry it after each use to prevent mold.
Preparation Method
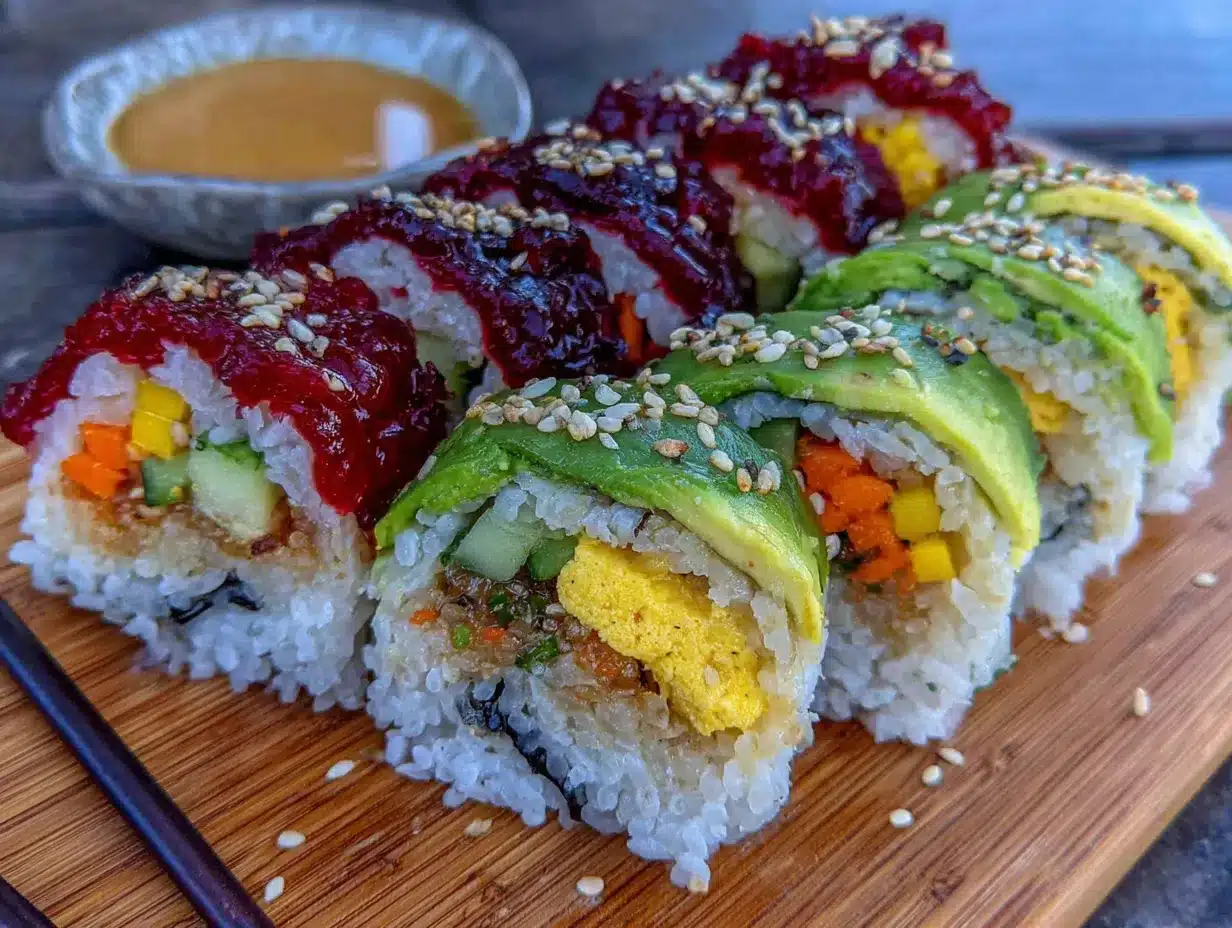
Let’s get rolling! Follow these steps, and you’ll have beautiful rainbow veggie sushi rolls in no time.
- Cook the Rice: Rinse the sushi rice under cold water until the water runs clear (about 3-4 rinses). This removes excess starch. Add rice and water to a pot, bring to a boil, then cover and simmer on low for 15 minutes. Remove from heat and let it sit, covered, for 10 minutes. Fluff with a fork.
- Season the Rice: While the rice is still warm, mix the rice vinegar, sugar, and salt in a small bowl until dissolved. Gently fold this mixture into the rice using a slicing motion (don’t mash it). Fan the rice for a minute to cool it slightly—this gives it that authentic sushi shine.
- Prep Your Veggies: Cut all your vegetables into thin, uniform strips (about ¼-inch thick). This ensures they roll up neatly. If using sweet potato, steam or roast it until just tender (about 5 minutes in the microwave works in a pinch).
- Set Up Your Rolling Station: Place your bamboo mat on a cutting board with the slats running horizontally. Lay a sheet of nori on the mat, shiny side down. Have your small bowl of water nearby.
- Spread the Rice: Wet your hands to prevent sticking. Grab a handful of rice (about ½ cup) and spread it evenly over the nori, leaving a 1-inch strip at the top edge bare. Press the rice down gently—you want a thin, even layer.
- Arrange the Veggies: Lay your colorful veggie strips horizontally across the center of the rice. Start with a row of cucumber, then carrot, bell pepper, avocado, pickled radish, and sweet potato. Don’t overfill—less is more for tight rolls.
- Roll It Up: Using the mat, lift the bottom edge of the nori over the filling. Tuck it in firmly with your fingers, then continue rolling, peeling back the mat as you go. Wet the bare strip of nori at the top with a finger to seal the roll. Apply gentle, even pressure—not too tight or the filling will squish out.
- Slice and Serve: Using a sharp, damp knife, cut the roll into 6-8 pieces. Wipe the knife clean between cuts for neat slices. Arrange on a plate with soy sauce, pickled ginger, and wasabi if desired.
Pro Tip: If the rice feels too sticky, dip your fingers in the water bowl more often. If it’s too dry, sprinkle a little water over it.
Cooking Tips & Techniques
I’ve made plenty of messy rolls in my day—here’s what I learned so you don’t have to.
- Don’t Overcook the Rice: Mushy rice leads to mushy rolls. Aim for tender but firm grains that hold their shape.
- Keep Your Knife Wet: A dry knife will drag through the nori and squish the filling. Dip it in water between every cut.
- Roll with Confidence: Hesitation leads to loose rolls. Use a firm, steady hand when tucking and rolling.
- Prep Ahead: Cook the rice and chop the veggies the night before. Assemble in the morning for fresh rolls.
- Multitasking Strategy: While the rice cooks, prep all your veggies. This cuts total time in half.
I once tried to rush and didn’t fan the rice—it came out sticky and clumpy. Now I always take that extra 60 seconds. Trust me, it makes a difference.
Variations & Adaptations
This recipe is a canvas—paint it however you like!
- Protein-Packed: Add strips of cooked tofu, tempeh, or even canned tuna mixed with mayo for a heartier lunch.
- Low-Carb Option: Skip the rice and use thinly sliced cucumber or zucchini as the wrap. It’s fresh and crunchy.
- Spicy Kick: Mix a little sriracha into the rice or add thin strips of jalapeño for heat.
- Seasonal Swap: In summer, use fresh mango or peach slices. In winter, roasted butternut squash or beets work beautifully.
- Allergen-Friendly: Use tamari instead of soy sauce for gluten-free. Check nori labels for any additives.
I tried a version with roasted beets once—the color bled into the rice, making it look like pink confetti. My kid called it “unicorn sushi,” and it was a hit.
Serving & Storage Suggestions
These rolls are best enjoyed fresh, but they travel well too.
- Serving Temperature: Serve at room temperature or slightly chilled. Cold rice can be hard, so let them sit out for 10 minutes after slicing.
- Presentation: Arrange the rolls cut-side up on a plate to show off the rainbow layers. A sprinkle of sesame seeds or black sesame adds a nice touch.
- Complementary Dishes: Pair with a simple miso soup, edamame, or a side of pickled vegetables for a complete meal.
- Storage: Store leftover rolls in an airtight container in the fridge for up to 24 hours. Place a damp paper towel over them to keep the rice from drying out.
- Reheating: Sushi is typically served cold, but if you want to warm it, microwave for 10-15 seconds. The nori will soften, but the flavor stays great.
The flavors actually meld together after a few hours, making these perfect for meal prep lunches.
Nutritional Information & Benefits
These rainbow veggie sushi rolls are as good for you as they are delicious.
| Nutrient | Per Roll (approx.) |
|---|---|
| Calories | 180-220 |
| Protein | 4-6g |
| Carbohydrates | 35-40g |
| Fiber | 3-5g |
| Fat | 4-7g |
| Sodium | 150-200mg |
- Key Health Benefits: The veggies provide a rainbow of vitamins—beta-carotene from carrots, vitamin C from bell peppers, and healthy fats from avocado.
- Dietary Considerations: Naturally dairy-free and can be made gluten-free with tamari. Vegan-friendly as written.
- Potential Allergens: Nori (seaweed) is generally safe, but check for soy in the dipping sauce.
I love that I can pack these for my family and feel good about what they’re eating—no hidden sugars or preservatives.
Conclusion
These rainbow veggie sushi rolls are proof that a simple recipe can be a total game-changer. They’re quick, colorful, and endlessly adaptable—perfect for lunchboxes, quick dinners, or even a fun weekend project with the kids. Don’t be afraid to customize them based on what you have in your fridge. I’d love to hear how they turn out for you—drop a comment below with your favorite veggie combo or any twists you tried. Share this post with a friend who needs a lunchbox win, and let’s keep the good food vibes rolling. Happy rolling!
Frequently Asked Questions
Can I use regular rice instead of sushi rice?
You can, but it won’t stick together as well. Short-grain white rice is the best substitute. Brown rice works too, but it’s less sticky and may fall apart.
How do I keep the rolls from getting soggy in a lunchbox?
Pat your veggies dry with a paper towel before rolling. Also, store the rolls with a dry paper towel in the container, not a damp one, to absorb excess moisture.
Can I make these ahead of time?
Yes! Assemble the rolls up to 12 hours in advance. Keep them tightly wrapped in plastic wrap in the fridge. Slice just before serving for the best texture.
What if I don’t have a bamboo mat?
No problem! Use a clean kitchen towel wrapped in plastic wrap. It works the same way—just roll firmly and evenly.
Are these rolls kid-friendly?
Absolutely! The rainbow colors are visually appealing, and you can customize the fillings to what your kids love. Start with simple veggies like cucumber and avocado.
Pin This Recipe!
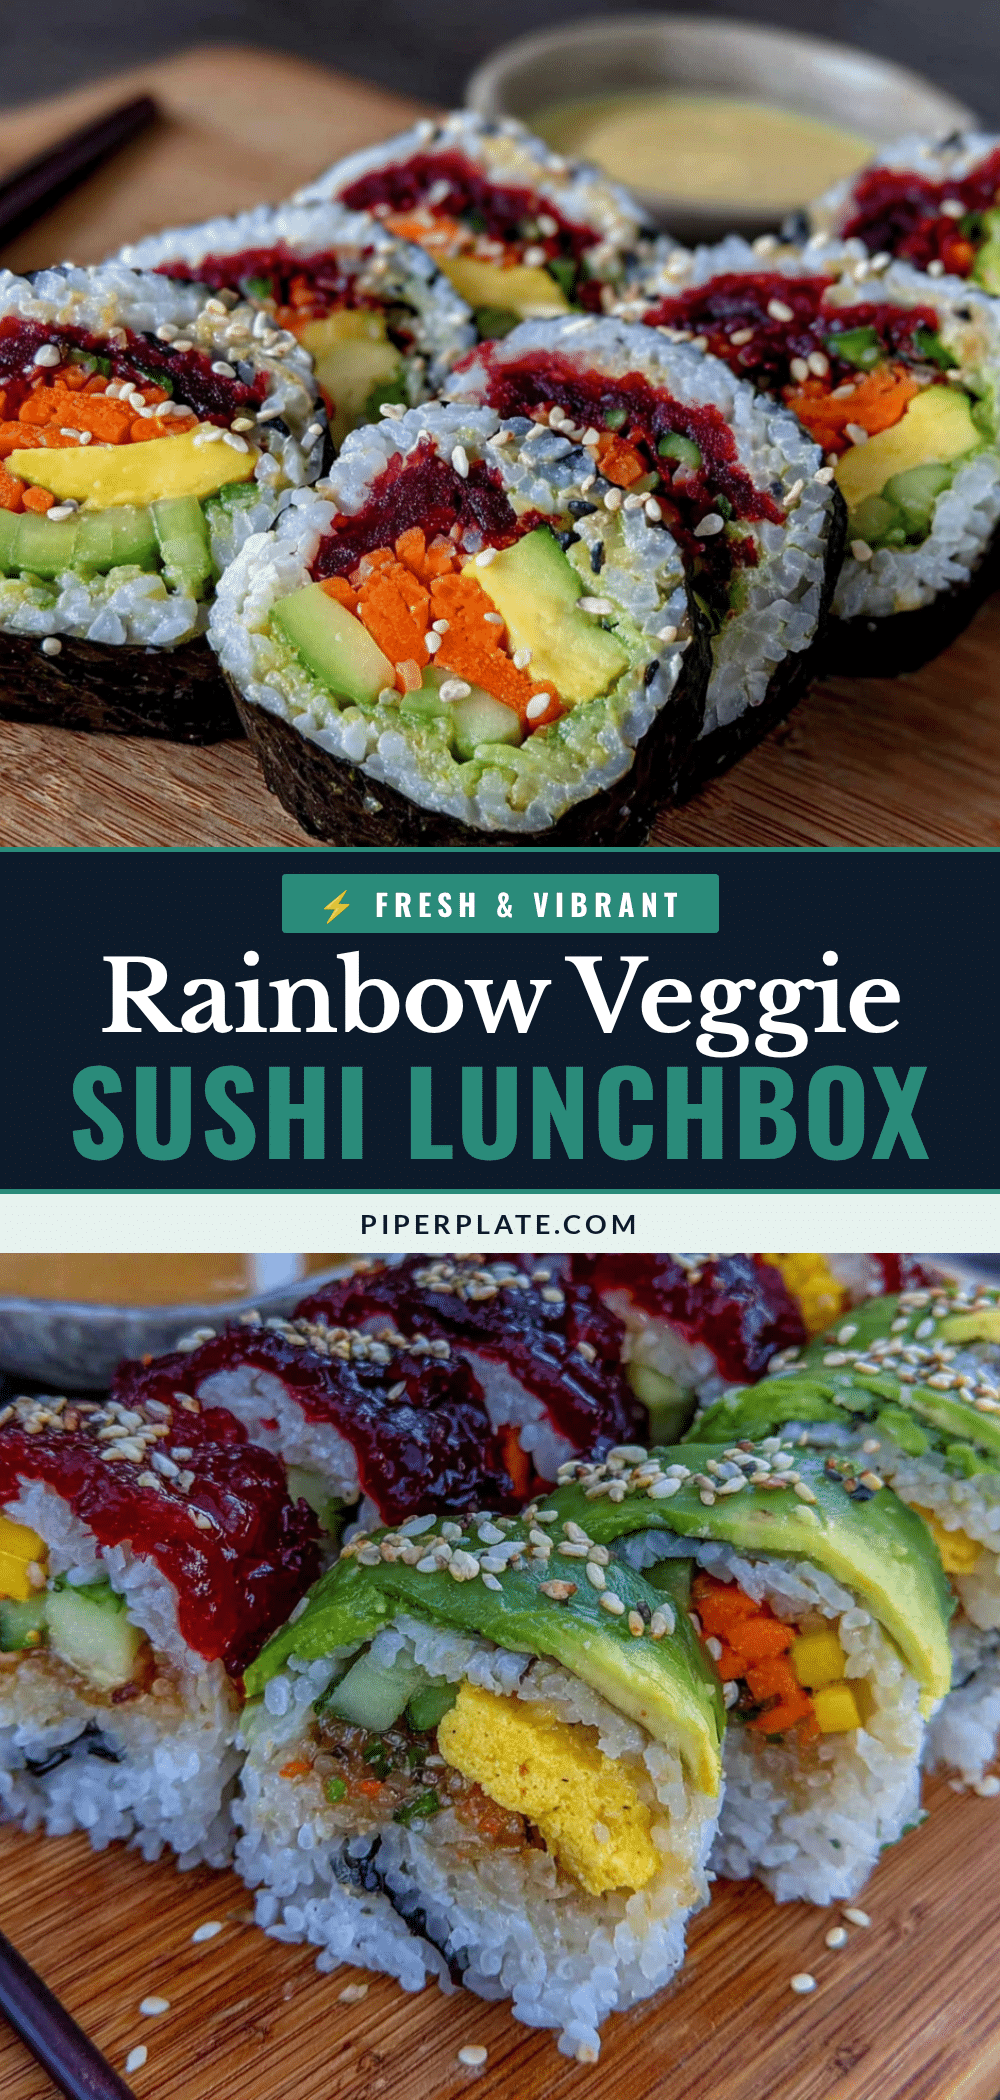
Best Rainbow Veggie Sushi Rolls – Easy Lunchbox Idea
These rainbow veggie sushi rolls are quick, colorful, and endlessly adaptable—perfect for lunchboxes, quick dinners, or a fun weekend project. They turn a panic moment into a lunchbox victory with simple ingredients and a forgiving recipe.
- Prep Time: 15 minutes
- Cook Time: 15 minutes
- Total Time: 30 minutes
- Yield: 4 servings (4 rolls, about 24-32 pieces) 1x
- Category: Main Course
- Cuisine: Japanese
Ingredients
- 1 cup (200g) sushi rice (preferably Nishiki)
- 1 ¼ cups (300ml) water
- 2 tablespoons (30ml) rice vinegar
- 1 tablespoon (15g) sugar
- ½ teaspoon salt
- ½ medium cucumber, cut into thin strips (about ½ cup)
- ½ large carrot, julienned (about ½ cup)
- ½ red bell pepper, thinly sliced (about ⅓ cup)
- ½ avocado, sliced
- ¼ cup (30g) pickled radish (or regular radish for crunch)
- ¼ cup (30g) steamed or roasted sweet potato strips (optional)
- 4 sheets of nori (seaweed paper)
- Soy sauce or tamari, for dipping
- Pickled ginger and wasabi (optional, for serving)
Instructions
- Cook the Rice: Rinse the sushi rice under cold water until the water runs clear (about 3-4 rinses). Add rice and water to a pot, bring to a boil, then cover and simmer on low for 15 minutes. Remove from heat and let it sit, covered, for 10 minutes. Fluff with a fork.
- Season the Rice: While the rice is still warm, mix the rice vinegar, sugar, and salt in a small bowl until dissolved. Gently fold this mixture into the rice using a slicing motion (don’t mash it). Fan the rice for a minute to cool it slightly.
- Prep Your Veggies: Cut all your vegetables into thin, uniform strips (about ¼-inch thick). If using sweet potato, steam or roast it until just tender (about 5 minutes in the microwave works in a pinch).
- Set Up Your Rolling Station: Place your bamboo mat on a cutting board with the slats running horizontally. Lay a sheet of nori on the mat, shiny side down. Have a small bowl of water nearby.
- Spread the Rice: Wet your hands to prevent sticking. Grab a handful of rice (about ½ cup) and spread it evenly over the nori, leaving a 1-inch strip at the top edge bare. Press the rice down gently—you want a thin, even layer.
- Arrange the Veggies: Lay your colorful veggie strips horizontally across the center of the rice. Start with a row of cucumber, then carrot, bell pepper, avocado, pickled radish, and sweet potato. Don’t overfill.
- Roll It Up: Using the mat, lift the bottom edge of the nori over the filling. Tuck it in firmly with your fingers, then continue rolling, peeling back the mat as you go. Wet the bare strip of nori at the top with a finger to seal the roll. Apply gentle, even pressure.
- Slice and Serve: Using a sharp, damp knife, cut the roll into 6-8 pieces. Wipe the knife clean between cuts for neat slices. Arrange on a plate with soy sauce, pickled ginger, and wasabi if desired.
Notes
Don’t overcook the rice—mushy rice leads to mushy rolls. Keep your knife wet for clean cuts. Roll with confidence; hesitation leads to loose rolls. Prep ahead by cooking rice and chopping veggies the night before. If the rice feels too sticky, dip your fingers in water more often. For a low-carb option, skip the rice and use thinly sliced cucumber or zucchini as the wrap.
Nutrition
- Serving Size: 1 roll (6-8 pieces)
- Calories: 200
- Sugar: 4
- Sodium: 175
- Fat: 5.5
- Saturated Fat: 1
- Carbohydrates: 37.5
- Fiber: 4
- Protein: 5
Keywords: veggie sushi, rainbow sushi, lunchbox idea, easy sushi, vegetarian sushi, healthy lunch, sushi rolls


