Love this? Save it for later!
Share the inspiration with your friends
I was standing in the middle of the grocery store parking lot last October when the air hit me—that perfect crisp, cool smell of autumn mixing with someone’s woodsmoke from a nearby chimney. And suddenly I was seven years old, pressed up against the screen door of my neighbor Mrs. Kowalski’s kitchen, watching her pull a loaf of something golden and sticky from the oven. She always let me scrape the pan. I haven’t thought about that woman in years—she moved away when I was ten—but in that moment, I could feel the warmth of her tiny kitchen and hear her telling me to “wait, it’s too hot” in her thick Polish accent. I dropped my groceries in the passenger seat and drove straight home to try and recreate that feeling. Honestly, I didn’t even know what she made that day. I just knew it had apples and something sweet and it made the whole world feel okay for a minute. This Maple Glazed Apple Fritter Bread is my best attempt at bottling that exact moment. It took me four tries to get the texture right—the first one came out like a brick, let me tell you—but now it’s the bread I make every single time the leaves start turning. Maybe you’ve got a memory like that, too. Something you can almost taste but not quite name. This one’s for chasing that feeling.
Why You’ll Love This Recipe
This isn’t just another apple bread recipe floating around the internet. I’ve tested this thing six times across two different ovens, and I can promise you—it delivers every single time. Here’s why it’s earned a permanent spot in my fall baking rotation:
- Quick & Easy : From start to oven in about 15 minutes. No stand mixer required, no complicated techniques. Just a bowl, a whisk, and some serious anticipation.
- Simple Ingredients : You probably have most of this in your pantry right now. The apples, the maple syrup, the basic baking staples—nothing weird or hard to find.
- Perfect for Fall Mornings : This bread was made for those crisp October weekends when you want something special with your coffee but don’t want to spend all morning in the kitchen.
- Crowd-Pleaser : I brought this to a potluck last month and three different people asked for the recipe before I even sat down. It’s just one of those loaves.
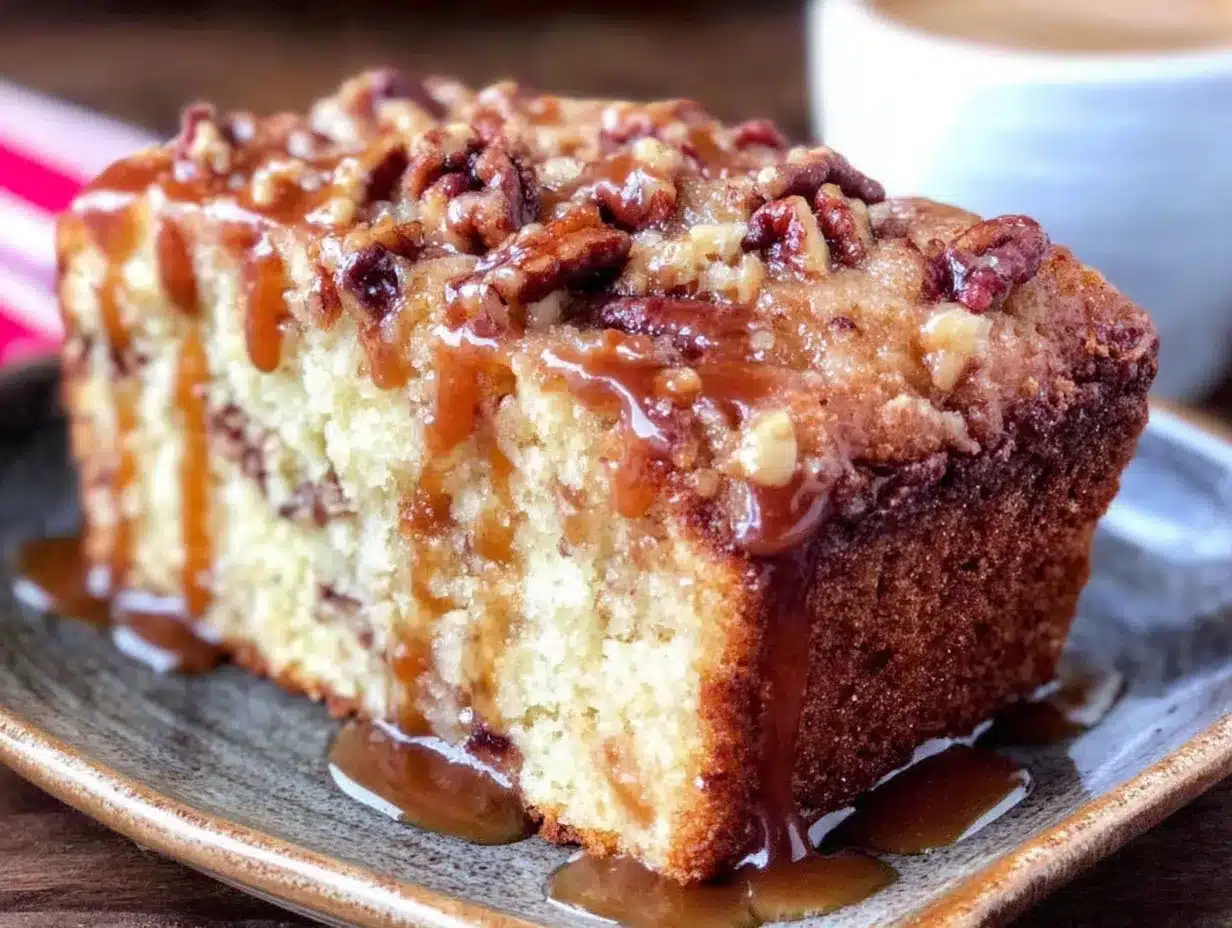
- Unbelievably Delicious : The texture is what gets me—tender, moist, with little pockets of soft apple throughout and that crackly maple glaze on top that soaks into the warm bread just enough.
What makes this different from other apple bread recipes is the technique. Instead of just mixing apples into the batter, I layer them in with a cinnamon-sugar mixture so every slice has those beautiful ribbons of fruit and spice. And the glaze? It’s not just maple flavoring—it’s real maple syrup cooked down with butter until it gets that deep, almost caramel-like richness. This is the kind of bread that makes you close your eyes after the first bite. It’s comfort food reimagined for the season we all crave most.
What Ingredients You Will Need
This recipe uses simple, wholesome ingredients to deliver that classic apple fritter experience in bread form. Most of these are pantry staples, which is exactly what you want when a fall baking craving hits unexpectedly.
- All-purpose flour, 2 cups (240g) — I use King Arthur Flour for consistent results, but any brand works fine. Spoon and level your flour, don’t scoop directly from the bag or you’ll end up with dry bread.
- Granulated sugar, ¾ cup (150g) — Just regular white sugar. Nothing fancy here.
- Light brown sugar, ½ cup (100g), packed — This adds moisture and that subtle molasses note that pairs so well with apples. Dark brown sugar works too if that’s what you have.
- Baking powder, 2 teaspoons — Make sure it’s fresh. If your baking powder is older than six months, it might not give you the rise you want.
- Salt, ½ teaspoon — I use fine sea salt. It balances the sweetness perfectly.
- Ground cinnamon, 2 teaspoons — This is non-negotiable for that cozy apple fritter vibe. I buy mine from a local spice shop, but grocery store cinnamon works great.
- Ground nutmeg, ¼ teaspoon — Optional but highly recommended. It adds that warm, almost floral note that makes apple desserts taste complete.
- Large eggs, 2, room temperature — Cold eggs can seize your batter. Let them sit on the counter for 20 minutes or pop them in a bowl of warm water for 5 minutes.
- Vegetable oil, ½ cup (120ml) — Canola or any neutral oil works. This keeps the bread incredibly moist. I’ve tried melted butter instead and honestly, the oil version stays softer longer.
- Milk, ½ cup (120ml), room temperature — Whole milk gives the richest texture, but 2% works fine. For a dairy-free version, use oat milk or unsweetened almond milk.
- Pure vanilla extract, 2 teaspoons — Skip the imitation stuff here. Real vanilla makes a noticeable difference in the overall flavor.
- Apples, 2 medium (about 300g total) — You want firm, tart-sweet apples that hold their shape when baked. Honeycrisp, Fuji, or Braeburn are my favorites. Avoid Red Delicious—they turn into mush. Peel, core, and dice them into ½-inch pieces.
- Pure maple syrup, ¼ cup (60ml), for the glaze — Not pancake syrup. Get the real stuff. Grade A dark amber works beautifully here.
- Unsalted butter, 2 tablespoons (28g), for the glaze — Adds richness and helps the glaze set with that perfect crackly finish.
- Powdered sugar, ¾ cup (90g), for the glaze — Sift it if it’s lumpy. Nobody wants lumpy glaze.
For the cinnamon-sugar layer between the apples: mix 2 tablespoons granulated sugar with 1 teaspoon cinnamon in a small bowl. This creates those beautiful swirls throughout the bread.
Equipment Needed
You don’t need a fancy kitchen to make this bread. Here’s what I use every single time:
- 9×5-inch loaf pan — The standard size. If you use an 8×4 pan, you’ll need to increase the baking time by 10-15 minutes and watch it carefully. I’ve made that mistake before and ended up with a burnt top and raw middle.
- Parchment paper — Line your pan with a sling. Trust me on this. It makes removing the bread so much easier and keeps the glaze from sticking to the pan.
- Large mixing bowls — Two of them. One for dry ingredients, one for wet.
- Whisk — For mixing the batter. A wooden spoon works too, but whisking gives you a smoother texture.
- Rubber spatula — For folding in the apples and scraping every last bit of batter into the pan.
- Small saucepan — For making the maple glaze. Any small pot will do.
- Cooling rack — Essential for even cooling. If you let the bread cool in the pan, the bottom gets soggy. I learned this the hard way with my first attempt.
- Measuring cups and spoons — For accuracy. Baking is science, after all.
- Kitchen scale — Optional but recommended. Weighing your flour gives you the most consistent results. I picked mine up for $15 and it’s made a huge difference in my baking.
Preparation Method
Let’s make some bread. Preheat your oven to 350°F (175°C) and position the rack in the center. Line your 9×5 loaf pan with parchment paper, leaving some overhang on the long sides so you can lift the bread out later. Lightly spray any exposed sides with cooking spray.
Step 1: Prep the apples
Peel, core, and dice your apples into ½-inch pieces. You want them small enough to distribute evenly through the batter but big enough that you actually taste them. Toss the diced apples with 1 tablespoon of the flour from your measured amount—this prevents them from sinking to the bottom of the loaf during baking. Set them aside while you make the batter.
Step 2: Make the cinnamon-sugar layer
In a tiny bowl, mix 2 tablespoons granulated sugar with 1 teaspoon cinnamon. Set this aside. You’ll layer it with the apples and batter.
Step 3: Mix the dry ingredients
In a large bowl, whisk together the 2 cups flour, baking powder, salt, 1 teaspoon of the cinnamon, and the nutmeg. Make sure everything is evenly combined. I usually give it about 20 seconds of whisking.
Step 4: Mix the wet ingredients
In a separate large bowl, whisk together the granulated sugar, brown sugar, eggs, vegetable oil, milk, and vanilla extract. Whisk until smooth and well combined—about 30 seconds. The mixture should look pale and slightly thickened.
Step 5: Combine wet and dry
Pour the wet ingredients into the dry ingredients. Stir with a rubber spatula or wooden spoon until just combined. Do not overmix! A few streaks of flour are fine. Overmixing will give you tough, dense bread instead of tender, fluffy bread. This is probably the most common mistake people make with quick breads.
Step 6: Fold in the apples
Add the flour-coated apple pieces to the batter and fold gently until they’re evenly distributed. The batter will be thick—that’s normal.
Step 7: Layer the batter and cinnamon-sugar
Pour half the batter into your prepared loaf pan and spread it evenly. Sprinkle half the cinnamon-sugar mixture over the batter. Add the remaining batter on top and spread carefully. Sprinkle the rest of the cinnamon-sugar on top. Use a butter knife to gently swirl the layers—just two or three figure-eight motions. Don’t over-swirl or you’ll lose the distinct layers.
Step 8: Bake
Bake for 50-60 minutes, or until a toothpick inserted in the center comes out clean or with just a few moist crumbs. If the top is browning too quickly after 40 minutes, tent loosely with aluminum foil. My oven runs hot, so I usually check at 45 minutes and start tenting then. The bread should be golden brown and smell absolutely incredible.
Step 9: Cool
Let the bread cool in the pan for 15 minutes. Then lift it out using the parchment sling and transfer to a wire rack to cool completely. This is important—if you try to glaze it while it’s still warm, the glaze will just melt and soak in instead of forming that beautiful crackly top.
Step 10: Make the glaze
While the bread cools, make the maple glaze. In a small saucepan over medium heat, combine the maple syrup and butter. Stir until the butter melts and the mixture is smooth. Remove from heat and whisk in the powdered sugar until smooth. Let it sit for 2-3 minutes to thicken slightly. The glaze should be thick but pourable—if it’s too thick, add a teaspoon of milk. If it’s too thin, add a bit more powdered sugar.
Step 11: Glaze and serve
Pour the glaze over the cooled bread, letting it drip down the sides. Let it set for 10-15 minutes before slicing. The glaze will form that slightly crackly top that makes this bread so special. Slice and serve—preferably with a hot cup of coffee and a good book.
Cooking Tips & Techniques
I’ve made this bread more times than I care to count, and I’ve picked up a few tricks along the way. Here are the things I wish someone had told me before my first attempt:
Don’t skip the flour coating on the apples. I know it seems like an extra step, but it genuinely makes a difference. Without it, the apple pieces sink to the bottom of the loaf during baking. With it, they stay suspended throughout the bread, giving you apple in every single bite. I learned this after my first loaf came out with all the apples sitting in a sad little layer at the bottom.
Room temperature ingredients matter. Cold eggs and cold milk can make your batter seize up, resulting in a denser loaf. I usually set my eggs and milk on the counter about 30 minutes before I start baking. If I forget, I put the eggs in a bowl of warm water for 5 minutes and microwave the milk for 15 seconds. It’s not perfect, but it works.
The toothpick test can be misleading. Because this bread has apples and glaze, sometimes the toothpick comes out with a little moisture even when the bread is fully baked. Instead of relying solely on the toothpick, also check that the edges have pulled away slightly from the pan and the top is golden brown. If you’re unsure, use an instant-read thermometer—the center should read 200-205°F (93-96°C).
Let it cool completely. I know it’s hard to wait, especially when your kitchen smells like heaven. But if you glaze the bread while it’s still warm, the glaze will soak in completely and you’ll lose that beautiful crackly top. Trust me on this. I’ve made the mistake twice. The first time, I was impatient and ended up with a soggy top. The second time, I thought “maybe it’ll be different this time.” It wasn’t.
Use a kitchen scale for the flour. This is the single best piece of baking advice I can give anyone. Measuring flour by volume is notoriously inconsistent—you can get anywhere from 120g to 150g of flour in a cup depending on how you scoop. A $15 kitchen scale eliminates this problem entirely. If you don’t have a scale, spoon the flour into your measuring cup and level it off with a knife. Don’t scoop directly from the bag.
Variations & Adaptations
This recipe is wonderfully adaptable. Here are some variations I’ve tried and loved:
Gluten-Free Version: Substitute the all-purpose flour with a 1:1 gluten-free baking flour blend. I’ve used Bob’s Red Mill 1-to-1 Baking Flour with great results. The texture is slightly more delicate, so be gentle when folding in the apples. Add an extra tablespoon of milk if the batter seems too thick.
Dairy-Free Version: Use oat milk or unsweetened almond milk instead of regular milk. For the glaze, substitute the butter with vegan butter or coconut oil. The flavor is slightly different, but still delicious. I made this version for a friend with dairy allergies and she asked for the recipe before she finished her first slice.
Nutty Addition: Fold in ½ cup of toasted pecans or walnuts along with the apples. The crunch adds a lovely contrast to the soft bread and tender apples. Toast the nuts first in a dry skillet over medium heat for 3-4 minutes to bring out their flavor.
Spiced Variation: Add ½ teaspoon of ground ginger and ¼ teaspoon of ground cloves to the dry ingredients. This gives the bread a more complex, chai-like warmth that pairs beautifully with the maple glaze. I make this version around the holidays and it’s always a hit.
Apple Butter Swirl: Instead of the cinnamon-sugar layer, use ¼ cup of apple butter. Drop spoonfuls of apple butter between the batter layers and swirl gently. This adds an extra layer of apple flavor and makes the bread even more moist. I tried this on a whim with some homemade apple butter I had in the fridge and it was incredible.
Muffin Version: Divide the batter among 12 muffin cups lined with paper liners. Bake at 350°F for 18-22 minutes. Drizzle with the maple glaze after cooling. These are perfect for grab-and-go breakfasts or lunchbox treats. Just reduce the baking time and watch them carefully.
Serving & Storage Suggestions
This bread is best served warm, with the glaze still slightly soft and the interior tender. I like to slice it thick—about 1-inch slices—and serve it alongside a hot cup of coffee or a cold glass of milk. For an extra-special treat, warm a slice in the microwave for 15 seconds and top with a pat of butter. The butter melts into the warm bread and combines with the maple glaze in a way that’s honestly life-changing.
This bread pairs beautifully with a hot apple cider, chai latte, or a simple cup of Earl Grey tea. For a more indulgent breakfast, serve it alongside scrambled eggs and bacon for that sweet-and-savory combo that just works.
Storage: Store the bread in an airtight container at room temperature for up to 3 days. The glaze will soften over time, but the bread stays incredibly moist. If you live in a humid climate, you might want to store it in the refrigerator after the first day to prevent mold.
Freezing: This bread freezes beautifully. Wrap the cooled, unglazed loaf tightly in plastic wrap, then in aluminum foil, and freeze for up to 3 months. When you’re ready to serve, thaw overnight in the refrigerator, bring to room temperature, then make the glaze and pour it over. Alternatively, you can freeze individual slices for quick breakfasts. I always keep a loaf in my freezer during the fall for those mornings when I need something special.
Reheating: For the best texture, reheat slices in a 300°F oven for 5-7 minutes or in the microwave for 15-20 seconds. The oven method keeps the exterior slightly crisp while warming the interior perfectly. The microwave is faster but can make the bread a bit soft.
The flavors actually develop and deepen after the first day. I often find that day-old bread tastes even better than fresh—the apple flavor has had time to meld with the spices, and the texture becomes even more tender.
Nutritional Information & Benefits
Here’s the approximate nutritional breakdown for one slice (based on 10 slices per loaf):
- Calories: 320
- Total Fat: 12g
- Saturated Fat: 3g
- Cholesterol: 40mg
- Sodium: 200mg
- Total Carbohydrates: 50g
- Dietary Fiber: 2g
- Sugars: 32g
- Protein: 4g
While this is definitely a treat, there are some redeeming qualities. Apples are a great source of dietary fiber and vitamin C, especially if you leave the peel on (though I peel mine for texture). Cinnamon has anti-inflammatory properties and may help regulate blood sugar. And real maple syrup contains antioxidants and minerals like zinc and manganese—though let’s be honest, we’re eating this because it tastes amazing, not because it’s a health food.
For those watching their sugar intake, you can reduce the granulated sugar to ½ cup and the brown sugar to ⅓ cup without significantly affecting the texture. The glaze is harder to reduce, but you can drizzle it sparingly or skip it altogether for a less sweet version.
This recipe contains gluten, dairy, and eggs. For allergen-friendly versions, see the variations section above.
Conclusion
This Maple Glazed Apple Fritter Bread is more than just a recipe—it’s a way to capture everything we love about fall in a single loaf. The tender, moist crumb. The pockets of soft, cinnamon-spiced apple. That crackly maple glaze that shatters slightly when you bite into it. It’s the kind of bread that makes you slow down and savor the moment, whether you’re eating it for breakfast, dessert, or an afternoon snack with a cup of tea.
I love this recipe because it’s forgiving enough for beginners but impressive enough for experienced bakers. It uses simple ingredients you probably already have, comes together in minutes, and fills your kitchen with the most incredible aroma. Every time I make it, I think of Mrs. Kowalski and her tiny kitchen, and I hope this bread becomes that memory for someone else, too.
I’d love to hear how this turns out for you! Did you try any variations? Did your family love it as much as mine does? Drop a comment below and let me know. And if you share a photo on social media, tag me so I can see your beautiful creation. Happy baking, friends—may your kitchen smell like autumn and your heart feel full.
Frequently Asked Questions
Can I use frozen apples for this recipe?
Fresh apples work best because frozen apples release a lot of moisture as they thaw, which can make your bread soggy. If you only have frozen apples, thaw them completely, pat them dry with paper towels, and toss them with the flour as directed. You may need to add an extra 5-10 minutes to the baking time.
Why did my bread sink in the middle?
A sunken middle usually means the bread was underbaked or the oven temperature was too low. Make sure your oven is properly preheated to 350°F and use an oven thermometer to verify the temperature. Also, avoid opening the oven door during the first 30 minutes of baking—the rush of cold air can cause the bread to collapse.
Can I make this bread without a loaf pan?
Absolutely! You can bake this in an 8×8 square pan for a shorter, wider bread that bakes in about 35-40 minutes. Or divide the batter among muffin tins for apple fritter muffins. Just adjust the baking time accordingly and keep an eye on it.
How do I know when the bread is done baking?
Insert a toothpick into the center of the loaf. If it comes out clean or with just a few moist crumbs, it’s done. The edges should be pulling away from the pan slightly, and the top should be golden brown. For the most accurate result, use an instant-read thermometer—the center should read 200-205°F.
Can I skip the maple glaze?
You can, but honestly, the glaze is what makes this bread special. It adds that signature crackly top and brings all the flavors together. If you want a lighter version, try a simple dusting of powdered sugar or a drizzle of honey instead. But for the full experience, don’t skip the glaze.
Pin This Recipe!
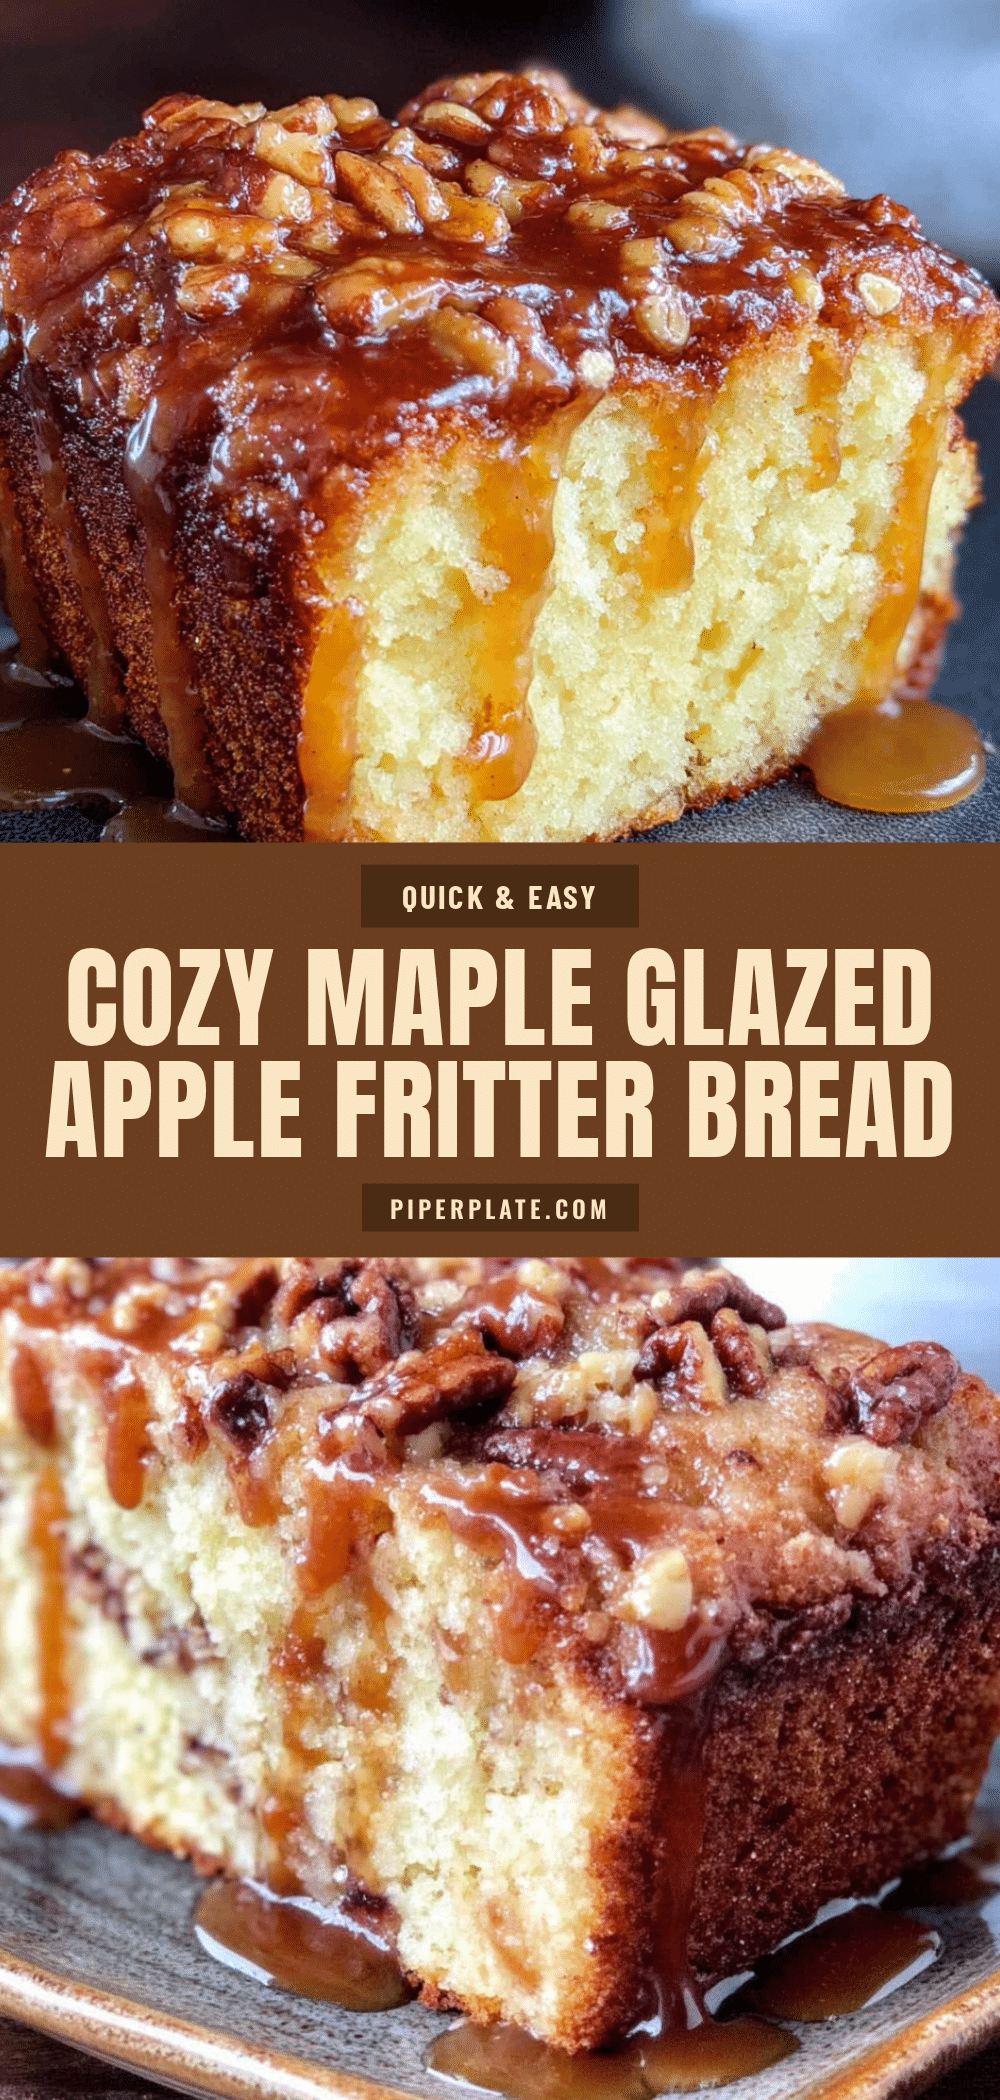
Cozy Maple Glazed Apple Fritter Bread: Easy Recipe
This Maple Glazed Apple Fritter Bread is a tender, moist loaf filled with cinnamon-spiced apples and topped with a crackly maple glaze. It’s the perfect fall treat that comes together in minutes and fills your kitchen with the most incredible aroma.
- Prep Time: 15 minutes
- Cook Time: 55 minutes
- Total Time: 1 hour 10 minutes
- Yield: 10 servings 1x
- Category: Dessert
- Cuisine: American
Ingredients
- 2 cups (240g) all-purpose flour
- ¾ cup (150g) granulated sugar
- ½ cup (100g) light brown sugar, packed
- 2 teaspoons baking powder
- ½ teaspoon fine sea salt
- 2 teaspoons ground cinnamon
- ¼ teaspoon ground nutmeg
- 2 large eggs, room temperature
- ½ cup (120ml) vegetable oil
- ½ cup (120ml) milk, room temperature
- 2 teaspoons pure vanilla extract
- 2 medium apples (about 300g total), peeled, cored, and diced into ½-inch pieces
- ¼ cup (60ml) pure maple syrup
- 2 tablespoons (28g) unsalted butter
- ¾ cup (90g) powdered sugar
- 2 tablespoons granulated sugar (for cinnamon-sugar layer)
- 1 teaspoon ground cinnamon (for cinnamon-sugar layer)
Instructions
- Preheat oven to 350°F (175°C). Line a 9×5-inch loaf pan with parchment paper, leaving overhang on the long sides. Lightly spray exposed sides with cooking spray.
- Peel, core, and dice apples into ½-inch pieces. Toss with 1 tablespoon of the measured flour to prevent sinking. Set aside.
- In a small bowl, mix 2 tablespoons granulated sugar with 1 teaspoon cinnamon for the cinnamon-sugar layer. Set aside.
- In a large bowl, whisk together flour, baking powder, salt, 1 teaspoon cinnamon, and nutmeg.
- In a separate large bowl, whisk together granulated sugar, brown sugar, eggs, vegetable oil, milk, and vanilla extract until smooth and slightly thickened.
- Pour wet ingredients into dry ingredients. Stir with a rubber spatula until just combined (a few streaks of flour are fine). Do not overmix.
- Fold in the flour-coated apple pieces gently until evenly distributed.
- Pour half the batter into the prepared pan and spread evenly. Sprinkle half the cinnamon-sugar mixture over the batter. Add remaining batter on top and spread carefully. Sprinkle remaining cinnamon-sugar on top. Gently swirl with a butter knife (2-3 figure-eight motions).
- Bake for 50-60 minutes, until a toothpick inserted in the center comes out clean or with a few moist crumbs. If top browns too quickly after 40 minutes, tent with foil.
- Cool in pan for 15 minutes, then lift out using parchment sling and transfer to a wire rack to cool completely.
- While bread cools, make glaze: In a small saucepan over medium heat, combine maple syrup and butter. Stir until butter melts and mixture is smooth. Remove from heat and whisk in powdered sugar until smooth. Let sit 2-3 minutes to thicken slightly.
- Pour glaze over cooled bread, letting it drip down sides. Let set 10-15 minutes before slicing.
Notes
Don’t skip flour-coating the apples to prevent sinking. Room temperature ingredients ensure a tender crumb. Let bread cool completely before glazing to achieve a crackly top. For best results, use a kitchen scale for flour.
Nutrition
- Serving Size: 1 slice
- Calories: 320
- Sugar: 32
- Sodium: 200
- Fat: 12
- Saturated Fat: 3
- Carbohydrates: 50
- Fiber: 2
- Protein: 4
Keywords: apple fritter bread, maple glaze, fall baking, apple bread, quick bread, easy recipe


