Love this? Save it for later!
Share the inspiration with your friends
The school Halloween party was in six hours and I’d completely forgotten. My daughter had reminded me every day for two weeks, and somehow, between work deadlines and carpool chaos, it had slipped my mind completely. Everyone else would be bringing elaborate cupcakes with fondant bats, pretzel broomsticks, and those adorable Rice Krispie treat pumpkins with actual candy stems. I had a half-empty bag of confectioners’ sugar, some egg whites, and a serious lack of time. Let me tell you, the panic was real.
I stared at my pantry, honestly ready to throw in the towel and grab a bag of store-bought cookies on the way. But then I remembered this ridiculously simple recipe for meringue cookies that I’d made once, years ago, for a different occasion. The shape was all wrong for Halloween, but the technique was perfect. I mean, what if I just piped them differently? What if I didn’t bother with any of that fancy food coloring and just let them be white? Ghosts are white, right? That’s when it clicked. These easy ghost meringue cookies were born out of pure desperation, and let me tell you, they were the hit of the party. The moms were asking for the recipe, the kids were obsessed, and my daughter looked at me like I was some kind of kitchen wizard. Honestly, I just got lucky.
Maybe you’ve been there—scrambling at the last minute, feeling like you’ve dropped the ball. But here’s the thing: sometimes the best recipes come from those moments of panic. These ghost meringue cookies aren’t just easy; they’re a lifesaver. They look impressive, they taste like little clouds of vanilla heaven, and they require zero special ingredients. No food coloring, no complicated decorations, just pure, spooky simplicity. And that’s why I keep making them, year after year.
Why You’ll Love This Recipe
These ghost meringue cookies aren’t just another Halloween treat. They’ve become my go-to for a reason, and I think they’ll become yours too. I’ve tested this recipe more times than I can count, tweaking the oven temperature and the piping technique until it’s practically foolproof. Here’s what makes them so special:
- Incredibly Easy: You only need three main ingredients. Three! If you can whip egg whites and sugar, you can make these. No baking powder, no butter, no fuss.
- No Food Coloring Needed: This is the secret sauce. By simply piping the meringue into a ghost shape and leaving them plain white, you get the perfect spooky look without any artificial dyes. It’s a win for your pantry and for anyone avoiding food coloring.
- Perfect for Last-Minute Plans: From start to finish, these cookies come together in under 30 minutes of active time. The oven does the rest of the work. They’re ideal for school parties, last-minute potlucks, or a fun rainy-day activity with the kids.
- Naturally Gluten-Free & Low-Fat: Meringues are naturally gluten-free and have almost no fat. They’re a lighter option in a season full of heavy, butter-laden treats. You can feel good about handing them out.
- A Total Crowd-Pleaser: They’re light, airy, and melt in your mouth. Kids love the ghost shape, and adults love the nostalgic, simple sweetness. I’ve never seen a plate of these last more than a few minutes at any gathering.
What makes my version different? It’s the technique. I’ve learned that the key to a perfect ghost meringue is not just the shape, but the texture. You want them crisp on the outside with a slight, marshmallowy chew on the inside. My method for slowly drying them out in the oven guarantees that perfect contrast every single time. This isn’t just another recipe; it’s the one that will save your Halloween, just like it saved mine.
What Ingredients You Will Need
You won’t believe how simple this list is. The beauty of these ghost meringue cookies is that they rely on a few high-quality ingredients to create something magical. There’s no need for fancy extracts or specialty stores.
- 3 Large Egg Whites: It’s crucial that your eggs are at room temperature. Cold egg whites won’t whip up to their full volume. I usually take my eggs out of the fridge about 30 minutes before I start. If you’re in a hurry, you can place them in a bowl of warm (not hot) water for 5-10 minutes. For the best results, I recommend using fresh, high-quality eggs. The fresher the egg, the stiffer the whites will whip.
- ¾ Cup (150g) Granulated Sugar: This is the backbone of your meringue. Do not substitute with powdered sugar or brown sugar. The granulated sugar dissolves into the egg whites, creating a stable, glossy structure. For an even smoother meringue, you can use superfine sugar (sometimes called caster sugar), but regular granulated works perfectly fine.
- 1 Teaspoon Vanilla Extract: This adds a lovely warmth and flavor. I prefer pure vanilla extract over imitation for a cleaner taste, but either will work. You could also experiment with other extracts like almond or peppermint for a different flavor profile.
- ¼ Teaspoon Cream of Tartar: This is the magic stabilizer. It’s an acid that helps the egg whites hold their shape and prevents them from deflating. It also helps create a whiter, glossier meringue. If you don’t have cream of tartar, you can substitute it with ½ teaspoon of lemon juice or white vinegar.
- Pinch of Salt: A tiny pinch balances the sweetness and enhances the overall flavor. Don’t skip it!
Equipment Needed
You don’t need a professional pastry kitchen to make these. Here’s what you’ll want to have on hand:
- Electric Mixer: A stand mixer is ideal, but a hand-held electric mixer works perfectly too. Whipping meringue by hand is possible, but it will take a very long time and a lot of elbow grease. I’ve done it once, and let me tell you, I won’t be doing it again.
- Large, Clean Mixing Bowl: Glass or metal is best. Plastic bowls can sometimes hold onto a little grease, which will prevent your egg whites from whipping up properly. Make sure the bowl is completely clean and dry.
- Piping Bag & Tip: A piping bag is the easiest way to get the ghost shape. I use a disposable plastic bag with a small round tip (like a Wilton #12 or #1A). If you don’t have a piping bag, you can use a sturdy zip-top bag with a tiny corner snipped off. It won’t be as precise, but it will work!
- Baking Sheet & Parchment Paper: Line your baking sheet with parchment paper. This is non-negotiable. The meringues will stick to a bare pan. Parchment paper ensures they release easily and clean-up is a breeze.
Preparation Method
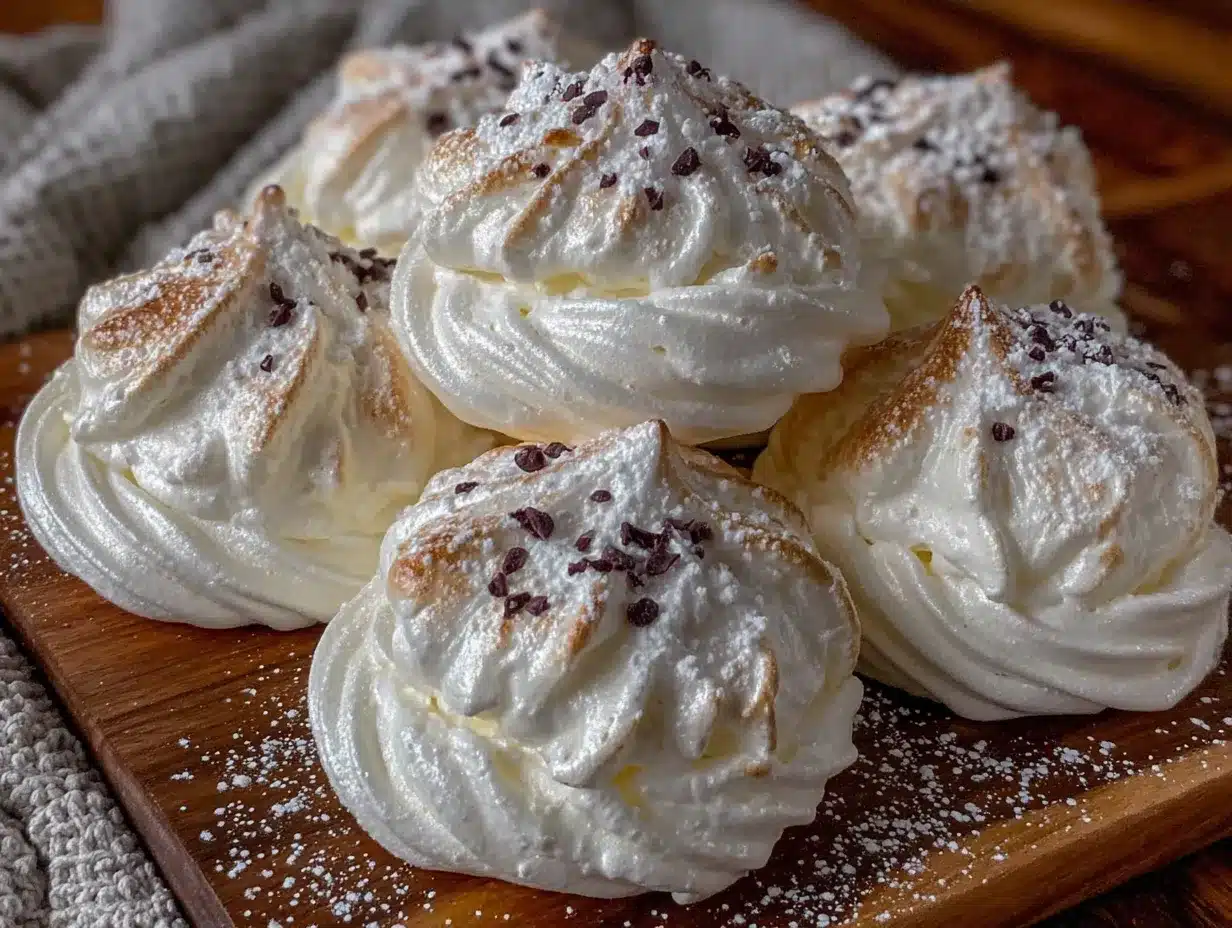
This is where the magic happens. Follow these steps closely, and you’ll have a tray of adorable ghosts in no time.
- Preheat & Prepare: Preheat your oven to 200°F (93°C). Line a large baking sheet with parchment paper. This low temperature is the key to drying the meringues out without browning them.
- Start Whipping: Place your room-temperature egg whites and cream of tartar in your large, clean mixing bowl. Using the whisk attachment on your electric mixer, start on low speed. Whip for about 1-2 minutes until the mixture becomes frothy and bubbly, like the top of a cappuccino.
- Gradually Add Sugar: With the mixer still running on low, begin adding the granulated sugar, one tablespoon at a time. Don’t dump it all in at once! Adding it slowly allows the sugar to dissolve properly. This step takes patience, but it’s crucial for a smooth, non-grainy meringue.
- Whip to Stiff Peaks: Once all the sugar is added, increase the mixer speed to medium-high. Whip for another 5-7 minutes. You’re looking for “stiff peaks.” This means when you lift the whisk attachment out of the bowl, the meringue forms a sharp, upright peak that doesn’t flop over. The mixture should be glossy, white, and thick. A good test is to rub a tiny bit between your fingers—if it feels smooth and not grainy, the sugar has dissolved.
- Add Flavor: Add your vanilla extract and a tiny pinch of salt. Whip on low speed for just 10-15 seconds until it’s fully incorporated. Over-mixing at this stage can deflate your meringue.
- Fill Your Piping Bag: Spoon your meringue into your prepared piping bag fitted with the round tip. Don’t overfill it—about halfway is perfect. Twist the top of the bag to seal it and push the meringue down towards the tip.
- Pipe the Ghosts: Hold the piping bag straight up and down, about ½ inch above the parchment paper. Squeeze gently to create a small, round base. Then, without releasing pressure, lift the bag straight up about 1-1.5 inches to form the ghost’s body. Stop squeezing and pull the bag away in a quick, upward motion. You’ll be left with a little peak on top. Don’t worry if they’re not perfect—each ghost has its own personality!
- Bake Low and Slow: Place the baking sheet in the preheated oven. Bake for 60-75 minutes. The meringues are done when they are completely dry and firm to the touch. They should easily peel off the parchment paper. If they stick, they need more time. The key is not to let them brown at all—the pure white color is what makes them look like ghosts.
- Cool Completely: Turn off the oven and leave the meringues inside with the door slightly ajar (I use a wooden spoon handle to prop it open) for at least an hour. This allows them to cool slowly and prevents them from cracking from a sudden temperature change.
Pro-Tip: If your kitchen is very humid, your meringues might take a little longer to dry out. Don’t rush the process. Patience is your best friend here.
Cooking Tips & Techniques
I’ve made my fair share of flat, sticky, or browned meringues. Here’s what I’ve learned the hard way so you don’t have to.
- The Grease Factor: This is the number one reason meringues fail. Any trace of fat (egg yolk, oil, butter) will prevent your egg whites from whipping. Make sure your bowl and whisk are spotlessly clean. When separating your eggs, use three small bowls: one to crack the egg into, one for the yolks, and one for the whites. That way, if you break a yolk, it only ruins one egg, not the whole batch.
- Don’t Over-Whip: You want stiff peaks, but you don’t want to go past that point. If you whip too long, the meringue can become dry, grainy, and start to separate. You’ll see the glossy sheen disappear and it will look a little curdled. If that happens, unfortunately, you have to start over.
- Weather Matters: Meringues are notoriously finicky in humid weather. The sugar in the meringue is hygroscopic, meaning it attracts moisture from the air. On a rainy day, your meringues might take much longer to dry out or might become sticky after baking. If you can, make these on a dry day for the best results.
- The Oven Door Trick: I cannot stress this enough—do not open the oven door during the first 30 minutes of baking. The rush of cool air can cause the meringues to collapse. The “leave them in the oven to cool” trick is my favorite way to ensure they stay crisp and don’t develop a sticky center.
Variations & Adaptations
Once you’ve mastered the basic ghost, the possibilities are endless. Here are a few of my favorite ways to change things up.
- Chocolate Ghosts: For a chocolate version, replace 2 tablespoons of the granulated sugar with 2 tablespoons of unsweetened cocoa powder. Sift it together with the sugar before you start. You’ll get a pale brown ghost that’s deliciously chocolatey. They look a little like dirt ghosts, which is honestly kind of fun.
- Peppermint Specters: Swap the vanilla extract for ½ teaspoon of peppermint extract. These are perfect for Christmas or a winter-themed party. You can even crush up a candy cane and sprinkle the tiny pieces on top of the ghosts before baking for a festive crunch.
- Mini Meringue Kisses: If piping ghosts feels too tricky, just pipe small, round kisses. They look like little meringue mushrooms or tiny ghosts that have been squished. They taste just as good and are even easier to make.
- Vegan Meringues: You can absolutely make these vegan! Use the liquid from a can of chickpeas (aquafaba) instead of egg whites. 3 tablespoons of aquafaba is roughly equivalent to one egg white. Whip it with the cream of tartar until frothy, then add the sugar. It takes a little longer to whip to stiff peaks, but it works beautifully.
Serving & Storage Suggestions
These ghost meringue cookies are best served as a light, airy treat. They’re perfect on their own, but here are a few ideas to make them even more special.
- Serving: Arrange them on a spooky platter or in a decorative jar. They look amazing on a Halloween dessert table next to other treats. You can also use them as a fun, edible topper for a bowl of chocolate pudding or ice cream.
- Storage: This is the most important part. Meringues are extremely sensitive to moisture. Store them in an airtight container at room temperature. Do not refrigerate them! The refrigerator is a humid environment that will make them sticky and soft. I like to add a silica gel packet (the kind you find in shoe boxes) to the container to help absorb any excess moisture. It sounds weird, but it works.
- How Long They Last: Properly stored, these meringues will stay crisp for up to two weeks. They might lose a tiny bit of their crunch after a week, but they’ll still be delicious. Do not freeze them, as the thawing process will make them soggy.
Nutritional Information & Benefits
While these are still a sweet treat, they are a much lighter option than a traditional cookie or cupcake.
- Per Serving (1 ghost meringue): Approximately 20-25 calories, 0g fat, 5g carbohydrates (all sugar), 0g fiber, 1g protein. These are estimates and will vary based on the exact size of your ghosts.
- Healthier Highlights: These cookies are fat-free, cholesterol-free, and naturally gluten-free. They are a great option for anyone with dietary restrictions who still wants to enjoy a Halloween treat.
- Potential Allergens: They contain eggs. If you use the vegan aquafaba option, they become completely free of the top 9 allergens.
- Personal Perspective: I love that I can give these to my kids without worrying about a sugar crash from all the butter and heavy cream in other desserts. They satisfy the sweet tooth without the guilt. It’s a small win, but in the chaos of Halloween, I’ll take it!
Conclusion
These ghost meringue cookies are proof that you don’t need a ton of time, money, or fancy ingredients to create something truly special. They are the perfect last-minute Halloween treat that looks like you spent hours on them. Honestly, the secret is out—they’re almost too easy. I love that they bring a smile to everyone’s face, from the littlest goblins to the adults who remember them from their own childhoods.
I encourage you to make these your own. Pipe them a little taller, make them tiny, or add a sprinkle of edible glitter for a magical touch. The best part about this recipe is how forgiving it is. So, next time you’re in a pinch, or even if you’re just looking for a fun, simple project, give these a try.
Have you made these ghost meringue cookies? I’d love to hear how they turned out! Did you try a different flavor or add a special decoration? Drop a comment below and share your spooky creations. And if you loved this recipe, don’t forget to pin it for later and share it with a friend who needs a Halloween hero!
Frequently Asked Questions
Can I use liquid egg whites from a carton?
I honestly don’t recommend it. Carton egg whites are pasteurized, which can make them harder to whip to stiff peaks. They often contain stabilizers that can affect the final texture. For the best, fluffiest meringues, stick with fresh eggs.
Why are my meringues sticky?
Sticky meringues are usually a sign that they weren’t baked long enough or that they were stored in a humid environment. Make sure they are completely dry and firm to the touch before you take them out of the oven. Storing them in an airtight container with a silica gel packet can also help.
Can I make these ahead of time for a party?
Absolutely! In fact, I prefer to make them a day or two in advance. As long as you store them properly in an airtight container at room temperature, they will stay perfectly crisp. Just don’t make them in rainy or humid weather.
My meringues cracked in the oven. What did I do wrong?
A few small cracks are normal and even give the ghosts a bit of character! Major cracking usually happens from a sudden change in temperature. This is why we cool them in the oven with the door cracked open. Also, make sure your oven temperature is accurate—an oven that runs too hot can cause them to expand and crack too quickly.
Can I add food coloring to make other Halloween shapes?
Of course! While the beauty of this recipe is that it doesn’t need food coloring for the ghosts, you can absolutely add a few drops of gel food coloring to make green monsters, orange pumpkins, or purple bats. Just fold the color in gently at the very end before piping. Gel coloring is best because it won’t add extra liquid to your meringue.
Pin This Recipe!
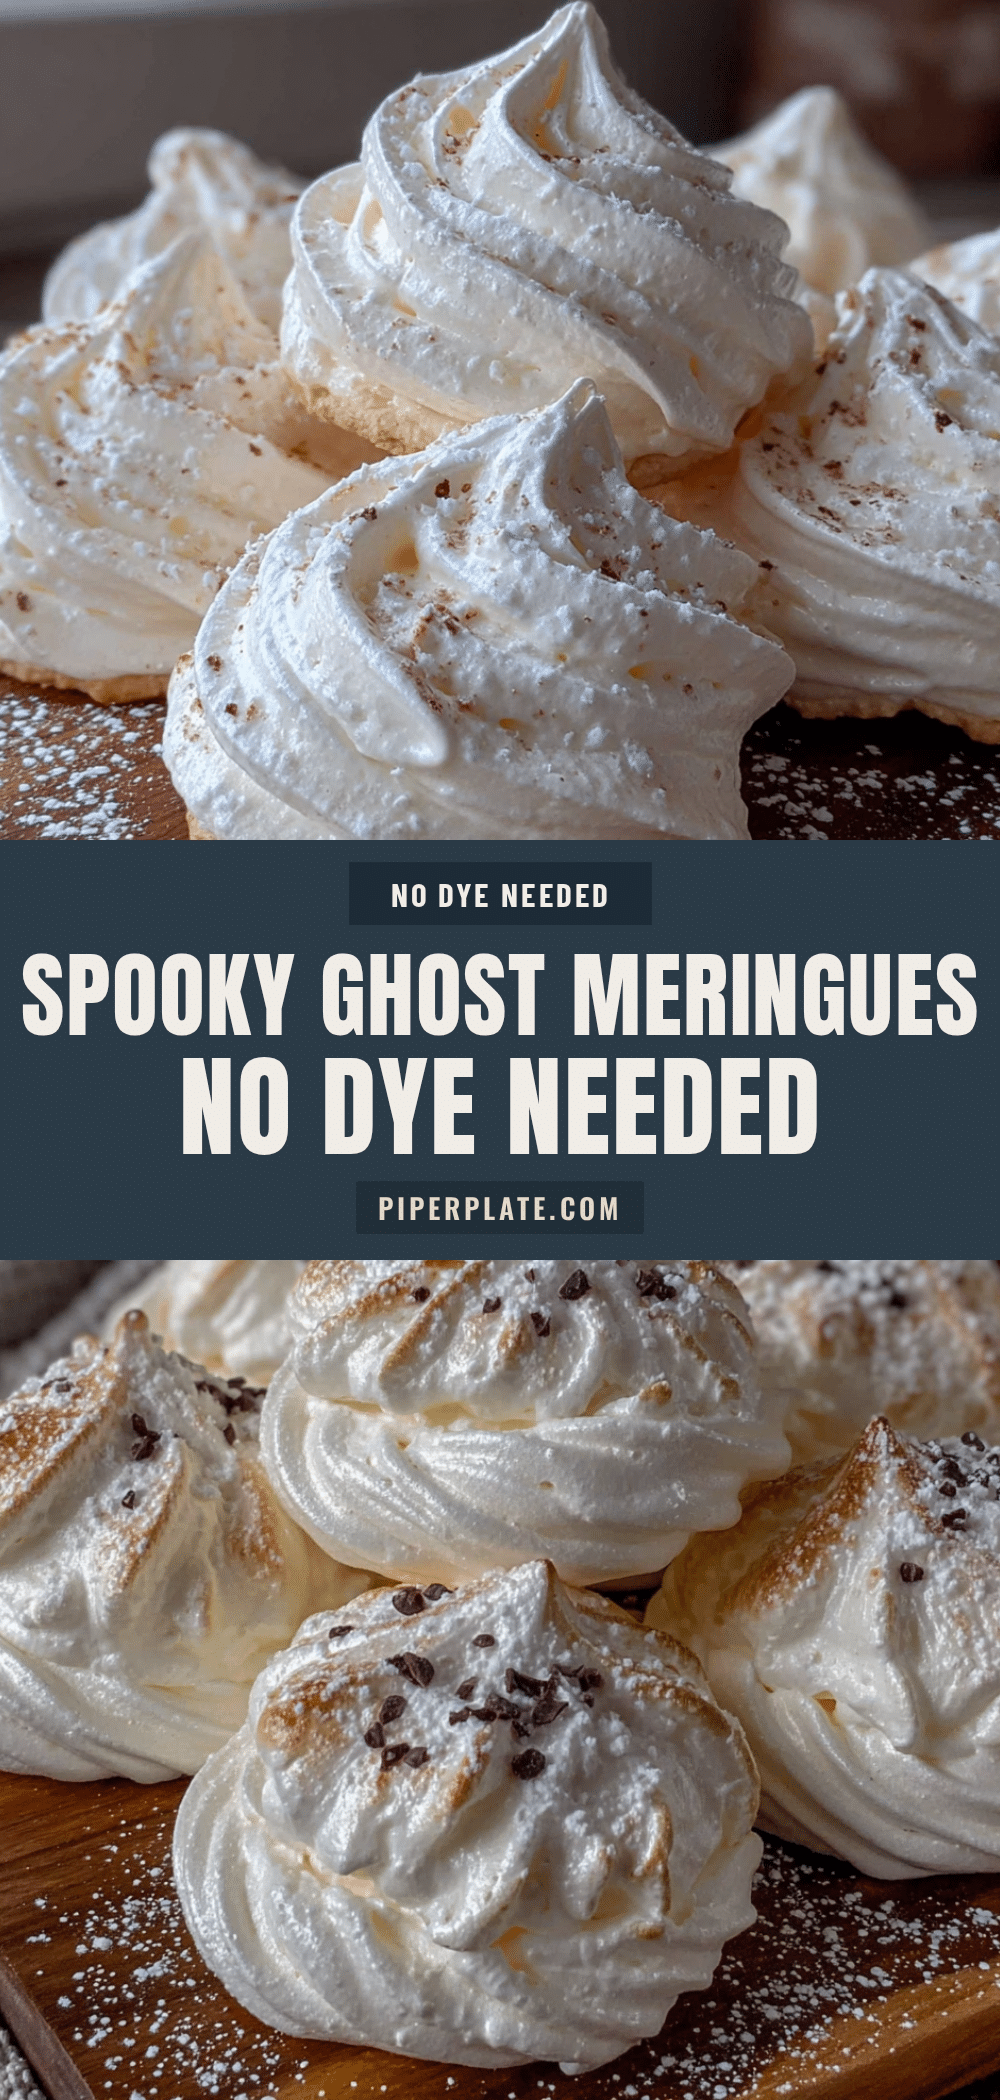
Easy Ghost Meringue Cookies: Best No-Dye Halloween Treat
These ghost meringue cookies are a lifesaver for last-minute Halloween treats. Made with just three main ingredients and no food coloring, they are light, airy, and perfect for school parties or spooky gatherings.
- Prep Time: 20 minutes
- Cook Time: 60-75 minutes
- Total Time: 1 hour 35 minutes to 1 hour 50 minutes
- Yield: 24 servings 1x
- Category: Dessert
- Cuisine: American
Ingredients
- 3 large egg whites, at room temperature
- ¾ cup (150g) granulated sugar
- 1 teaspoon vanilla extract
- ¼ teaspoon cream of tartar
- Pinch of salt
Instructions
- Preheat oven to 200°F (93°C). Line a large baking sheet with parchment paper.
- Place room-temperature egg whites and cream of tartar in a large, clean mixing bowl. Using an electric mixer with whisk attachment, whip on low speed for 1-2 minutes until frothy and bubbly.
- With mixer running on low, gradually add granulated sugar, one tablespoon at a time, allowing it to dissolve.
- Increase mixer speed to medium-high and whip for 5-7 minutes until stiff, glossy peaks form. The mixture should be thick and smooth when rubbed between fingers.
- Add vanilla extract and pinch of salt. Whip on low speed for 10-15 seconds until just combined.
- Spoon meringue into a piping bag fitted with a small round tip (e.g., Wilton #12 or #1A).
- Pipe ghosts onto prepared baking sheet: squeeze a small round base, then lift bag straight up about 1-1.5 inches to form the body. Stop squeezing and pull away quickly to create a peak.
- Bake for 60-75 minutes until meringues are completely dry and firm to the touch. They should easily peel off parchment paper.
- Turn off oven and leave meringues inside with door slightly ajar for at least 1 hour to cool slowly.
Notes
Ensure all equipment is completely clean and grease-free. For best results, make on a dry day. Do not open oven door during first 30 minutes of baking. Store in an airtight container at room temperature with a silica gel packet for up to 2 weeks. Do not refrigerate or freeze.
Nutrition
- Serving Size: 1 ghost meringue
- Calories: 2025
- Sugar: 5
- Sodium: 10
- Carbohydrates: 5
- Protein: 1
Keywords: ghost meringue cookies, Halloween cookies, no-dye Halloween treat, easy meringue recipe, gluten-free Halloween treat, low-fat cookies, last-minute Halloween dessert


