Love this? Save it for later!
Share the inspiration with your friends
My friend Tom had insisted for years that pickles were overrated. Seriously, he claimed to hate anything that smelled like vinegar or had that crunch. Then one Saturday morning, I whipped up these Quick Garlic Dill Refrigerator Pickles ready in 24 hours, mostly just to prove a point to myself. The next day, I caught him sneaking into the kitchen, jar in hand, munching away like it was the best snack he’d had all week. Honestly, I wasn’t even mad—I was a little smug, though, because this recipe totally changed the pickle game for him. Maybe you’ve been there, doubting a recipe until it quietly surprises you. The tangy garlic, fresh dill, and that satisfying snap made all the difference. Plus, the fact that these pickles don’t need endless waiting or fancy equipment means you can enjoy homemade pickles without turning your kitchen upside down.
Let me tell you—this recipe stuck around because it’s straightforward, fast, and hits that perfect balance of tart and herbal without being overpowering. The first time I made it, I forgot to tighten the jar lid properly, which led to a small vinegar spill (classic), but the pickles themselves were flawless. Each batch has been a little celebration of crunchy, garlicky goodness ever since. If you’re skeptical about making your own pickles or think it’s too complicated, this Quick Garlic Dill Refrigerator Pickles recipe might just be your unexpected new favorite. It’s like turning a skeptic into a believer without even trying.
Why You’ll Love This Recipe
After testing countless pickle recipes and tuning this one with input from home cooks and a couple of chef friends, I can say this Quick Garlic Dill Refrigerator Pickles recipe has a few serious perks:
- Quick & Easy: Ready to enjoy in just 24 hours — no weeks of waiting in sight. Perfect for last-minute cravings or spontaneous BBQs.
- Simple Ingredients: You probably have all the essentials in your pantry and fridge already—garlic, fresh dill, cucumbers, vinegar.
- Perfect for Any Occasion: Whether it’s a weeknight snack, a burger topping, or a picnic side, these pickles bring a fresh burst of flavor.
- Crowd-Pleaser: Even picky eaters like Tom have been converted by the crisp texture and balanced garlicky kick.
- Unbelievably Delicious: The brine is just right—bright, tangy, with a subtle herbal undertone that lingers without overwhelming.
This isn’t your run-of-the-mill pickle. The magic lies in the garlic-dill combo that’s fresh and vibrant, plus a brine that’s perfectly balanced to keep the cucumbers crunchy. I also love how this recipe skips the canning fuss but still delivers that satisfying homemade pickle punch. Honestly, it’s the kind of recipe that makes you close your eyes on the first bite and think, “Yep, this is exactly what I needed.” It’s comfort food with a crisp twist and zero stress.
What Ingredients You Will Need
This recipe uses straightforward, wholesome ingredients that work together to create that bold, fresh flavor and perfect crunch without any fuss. Most of these are pantry staples, with just a few fresh touches.
- Mini cucumbers or Kirby cucumbers – about 1 pound (450 g), sliced into spears or rounds (they hold up best for pickling)
- Fresh dill sprigs – 4 to 5 sprigs (you want them fragrant and green, not wilted)
- Garlic cloves – 3 to 4, peeled and smashed (the star of the show for that garlicky punch)
- White vinegar – 1 cup (240 ml) (I recommend Heinz for a clean, sharp flavor)
- Water – 1 cup (240 ml) (filtered or tap is fine)
- Granulated sugar – 1 tablespoon (balances the acidity just right)
- Kosher salt – 1 tablespoon (use Diamond Crystal if you can, it dissolves nicely)
- Black peppercorns – 1 teaspoon (adds subtle spice without heat)
- Red pepper flakes – optional, 1/4 teaspoon (for a gentle kick)
Feel free to swap out the white vinegar with apple cider vinegar if you want a fruitier note, or use Himalayan pink salt if that’s what you have on hand. For a dairy-free brine, no worries—there’s no dairy here anyway! And if you can’t find fresh dill, dried dill weed could work in a pinch, but fresh really makes the flavor pop. In summer, I like to toss in a few thin slices of fresh jalapeño for a smoky heat.
Equipment Needed
To make these Quick Garlic Dill Refrigerator Pickles, you don’t need much more than what’s already in most kitchens.
- A quart-sized (1-liter) glass jar with a tight-fitting lid – Mason jars or any clean, sealable jar work great
- A medium saucepan – to bring the brine to a simmer
- A sharp knife and cutting board – for prepping the cucumbers and garlic
- Measuring cups and spoons – for accuracy in brine ingredients
- Tongs or a fork – for handling the pickles when serving
If you don’t have a Mason jar, a clean recycled glass jar with a screw lid from store-bought pickles can be reused. Just double-check for any cracks or chips. I’ve also used BPA-free plastic containers when I was in a pinch, but glass is definitely my go-to for the best flavor and safety. Keeping your knife sharp really helps cut those cucumbers cleanly, which keeps the texture crisp.
Preparation Method
- Prepare the cucumbers: Wash 1 pound (450 g) of mini or Kirby cucumbers thoroughly. Slice them into spears about 3 inches (7.5 cm) long, or into 1/4-inch (6 mm) thick rounds, depending on your preference. The spears will hold more brine and crunch, while rounds are perfect for sandwiches. Set aside.
- Make the brine: In a medium saucepan, combine 1 cup (240 ml) white vinegar, 1 cup (240 ml) water, 1 tablespoon granulated sugar, and 1 tablespoon kosher salt. Heat over medium heat, stirring until the sugar and salt dissolve completely. This should take about 3 to 5 minutes. Remove from heat and let it cool slightly (about 5 minutes).
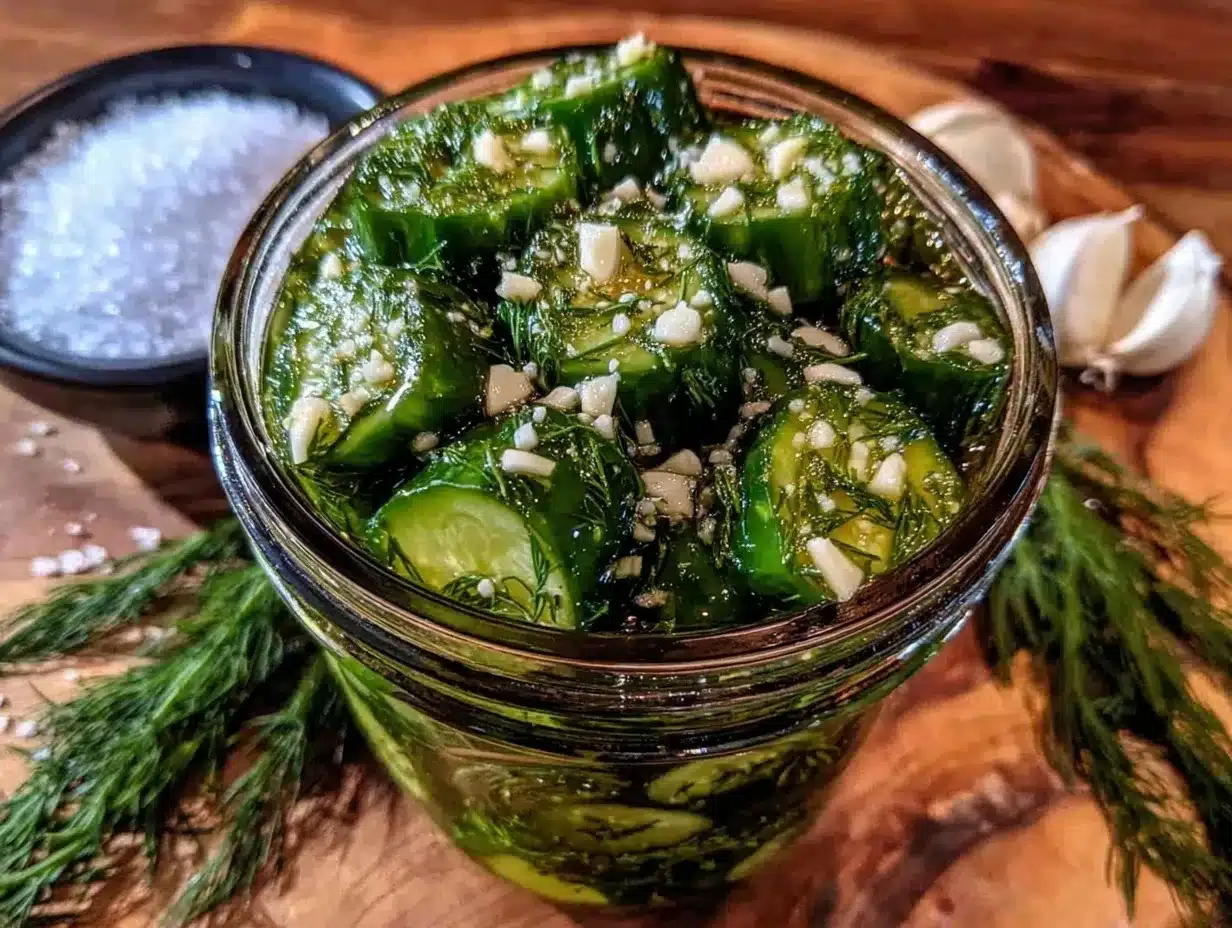
- Pack the jar: Into your clean quart-sized (1-liter) jar, add 3 to 4 smashed garlic cloves, 4 to 5 sprigs of fresh dill, 1 teaspoon black peppercorns, and optional 1/4 teaspoon red pepper flakes for heat. Then tightly pack the cucumber slices or spears on top, leaving about 1/2 inch (1.3 cm) of headspace at the top.
- Pour the brine: Carefully pour the warm brine over the cucumbers until fully submerged. Use a clean utensil to gently press the cucumbers down if needed. Seal the jar with the lid.
- Cool and refrigerate: Let the jar cool to room temperature before placing it in the fridge. This helps avoid condensation which can dilute the brine. Refrigerate for at least 24 hours before tasting. The longer they sit, the more intense the flavor.
- Enjoy: After 24 hours, your Quick Garlic Dill Refrigerator Pickles are ready to munch. They keep well for up to 2 weeks in the fridge, though they rarely last that long at my place!
Some quick tips: if your cucumbers seem a bit watery, pat them dry before packing to keep the brine crisp. Also, don’t skip smashing the garlic—that releases more flavor than just chopping. If you notice the brine tastes too sharp after 24 hours, a little extra sugar or a splash more water can mellow it out. And trust me, giving them a gentle shake or rolling the jar every day helps distribute flavors evenly.
Cooking Tips & Techniques
Making refrigerator pickles is straightforward, but a few tricks can make the difference between soggy slices and perfectly crunchy bites.
- Choose the right cucumbers: Kirby or mini cucumbers are ideal because they have a firmer skin and less watery flesh. Regular slicing cucumbers tend to get mushy fast.
- Don’t skip the salt: Kosher salt dissolves easily and doesn’t contain additives that can cloud your brine. It also helps draw moisture out of the cucumbers for that classic crunch.
- Smash the garlic: Crushing releases oils and intensifies flavor. You can leave the skins on for a bit of extra bite or peel them fully for a milder tone.
- Warm the brine, but don’t boil: Just heat it enough to dissolve the salt and sugar. Boiling can dull the fresh flavor of the vinegar and herbs.
- Pack tight but don’t crush: You want the cucumbers snug in the jar, but crushing them releases water and ruins texture.
- Refrigeration time matters: Less than 24 hours and the flavor will be faint; more than 48 hours and they get delightfully tangy and punchy.
I learned the hard way that a loose lid or warm brine can cause cloudy water and soft pickles. After a few failed batches, I stick to these basics and the results are reliably crunchy every time. It’s also handy to keep a small bowl nearby to catch any brine drips when opening the jar, because it can be a bit messy if you’re eager to dig in.
Variations & Adaptations
This Quick Garlic Dill Refrigerator Pickles recipe is wonderfully flexible and adapts well to different tastes and dietary needs.
- Spicy Kick: Add sliced jalapeños or increase red pepper flakes for heat lovers. I once added smoked paprika for a smoky twist that surprised everyone at a summer potluck.
- Low-Sodium: Reduce the kosher salt to 1/2 tablespoon and add a splash of lemon juice for tang. Just know the pickles won’t keep quite as long.
- Herb Swap: Try fresh tarragon or thyme instead of dill for a different herbal note. Thyme gives a subtle earthiness that pairs nicely with garlic.
- Sweet & Sour: Double the sugar for a sweeter pickle, great for those who prefer milder acidity.
- Vinegar Variations: Apple cider vinegar or rice vinegar can be used instead of white vinegar for unique flavor profiles—apple cider is fruitier, rice vinegar is milder.
For a crunchy, no-cook alternative, you can skip warming the brine entirely—just stir the salt and sugar into room temp vinegar and water until dissolved. It takes a bit longer for flavors to develop but still works well if you’re in a hurry. I once made a batch with lemon zest and it added a bright citrus zing that was unexpectedly refreshing.
Serving & Storage Suggestions
These pickles shine best chilled straight from the fridge, but they’re also fantastic at room temperature for sandwiches or charcuterie boards. Serve them alongside burgers, hot dogs, or even creamy potato salad for that perfect tangy contrast.
Store the pickles in their brine in a sealed glass jar in the refrigerator. They keep fresh and crisp for up to two weeks, though honestly, they’ve rarely lasted that long in my kitchen. If you want to extend the shelf life, keep the cucumbers fully submerged to prevent spoilage.
When reheating is necessary (like if you use them in warm dishes), avoid microwaving as it softens the crunch. Instead, toss them in at the last minute or warm gently on the stovetop. Flavors tend to deepen over time, so if you make them a few days ahead, expect an even more flavorful bite.
Pair these pickles with rich, savory foods like crispy garlic chicken or creamy dips to balance the acidity. They also bring a fresh lift to a hearty beef stew or a simple grilled cheese sandwich.
Nutritional Information & Benefits
One serving (about 3 spears or 6 slices) of these Quick Garlic Dill Refrigerator Pickles contains roughly:
| Calories | 10 |
|---|---|
| Carbohydrates | 2g |
| Sodium | 400mg |
| Fat | 0g |
| Protein | 0g |
Cucumbers provide hydration and fiber, while garlic offers antioxidant properties and may support heart health. The vinegar contains acetic acid, which some studies suggest can aid digestion and blood sugar control. These pickles are naturally gluten-free, low-calorie, and free from added preservatives, making them a smart snack or condiment for many dietary lifestyles.
Keep in mind the sodium content can be high due to the brine, so enjoy in moderation if you are watching salt intake. Personally, I appreciate how this recipe lets me indulge in crunchy, flavorful pickles without any artificial ingredients or long wait times, fitting nicely into my balanced eating habits.
Conclusion
If you’ve ever hesitated to make your own pickles, this Quick Garlic Dill Refrigerator Pickles recipe is a gentle nudge to give it a go. It’s simple, fast, and honestly, pretty hard to mess up once you follow the basics. I love this recipe because it combines that classic garlicky dill flavor with a perfect crunch, all without the fuss of canning or lengthy wait times. It’s the kind of recipe that invites you to customize and play around with flavors, making it truly your own.
Go ahead, grab some cucumbers and garlic, and try this out. Then come back and tell me if you caught anyone sneaking pickles (or maybe you were the one caught!). I’d love to hear your twists or how you served them. Happy pickling, friends!
FAQs
- How long do refrigerator pickles last? When stored properly in the fridge, they typically stay fresh and crunchy for up to 2 weeks.
- Can I use regular cucumbers instead of Kirby or mini cucumbers? You can, but regular slicing cucumbers tend to get mushy faster and won’t hold their crunch as well.
- Do I need to sterilize the jars for refrigerator pickles? No, since these pickles are stored in the fridge and not processed by canning, just use clean jars and lids.
- Can I make this recipe vegan or gluten-free? Yes! The recipe is naturally vegan and gluten-free as it contains no animal products or gluten ingredients.
- Why are my pickles sometimes mushy? Mushy pickles usually result from overripe cucumbers, too much water on the slices, or a brine that’s too weak. Patting cucumbers dry and using the right salt helps avoid this.
Pin This Recipe!
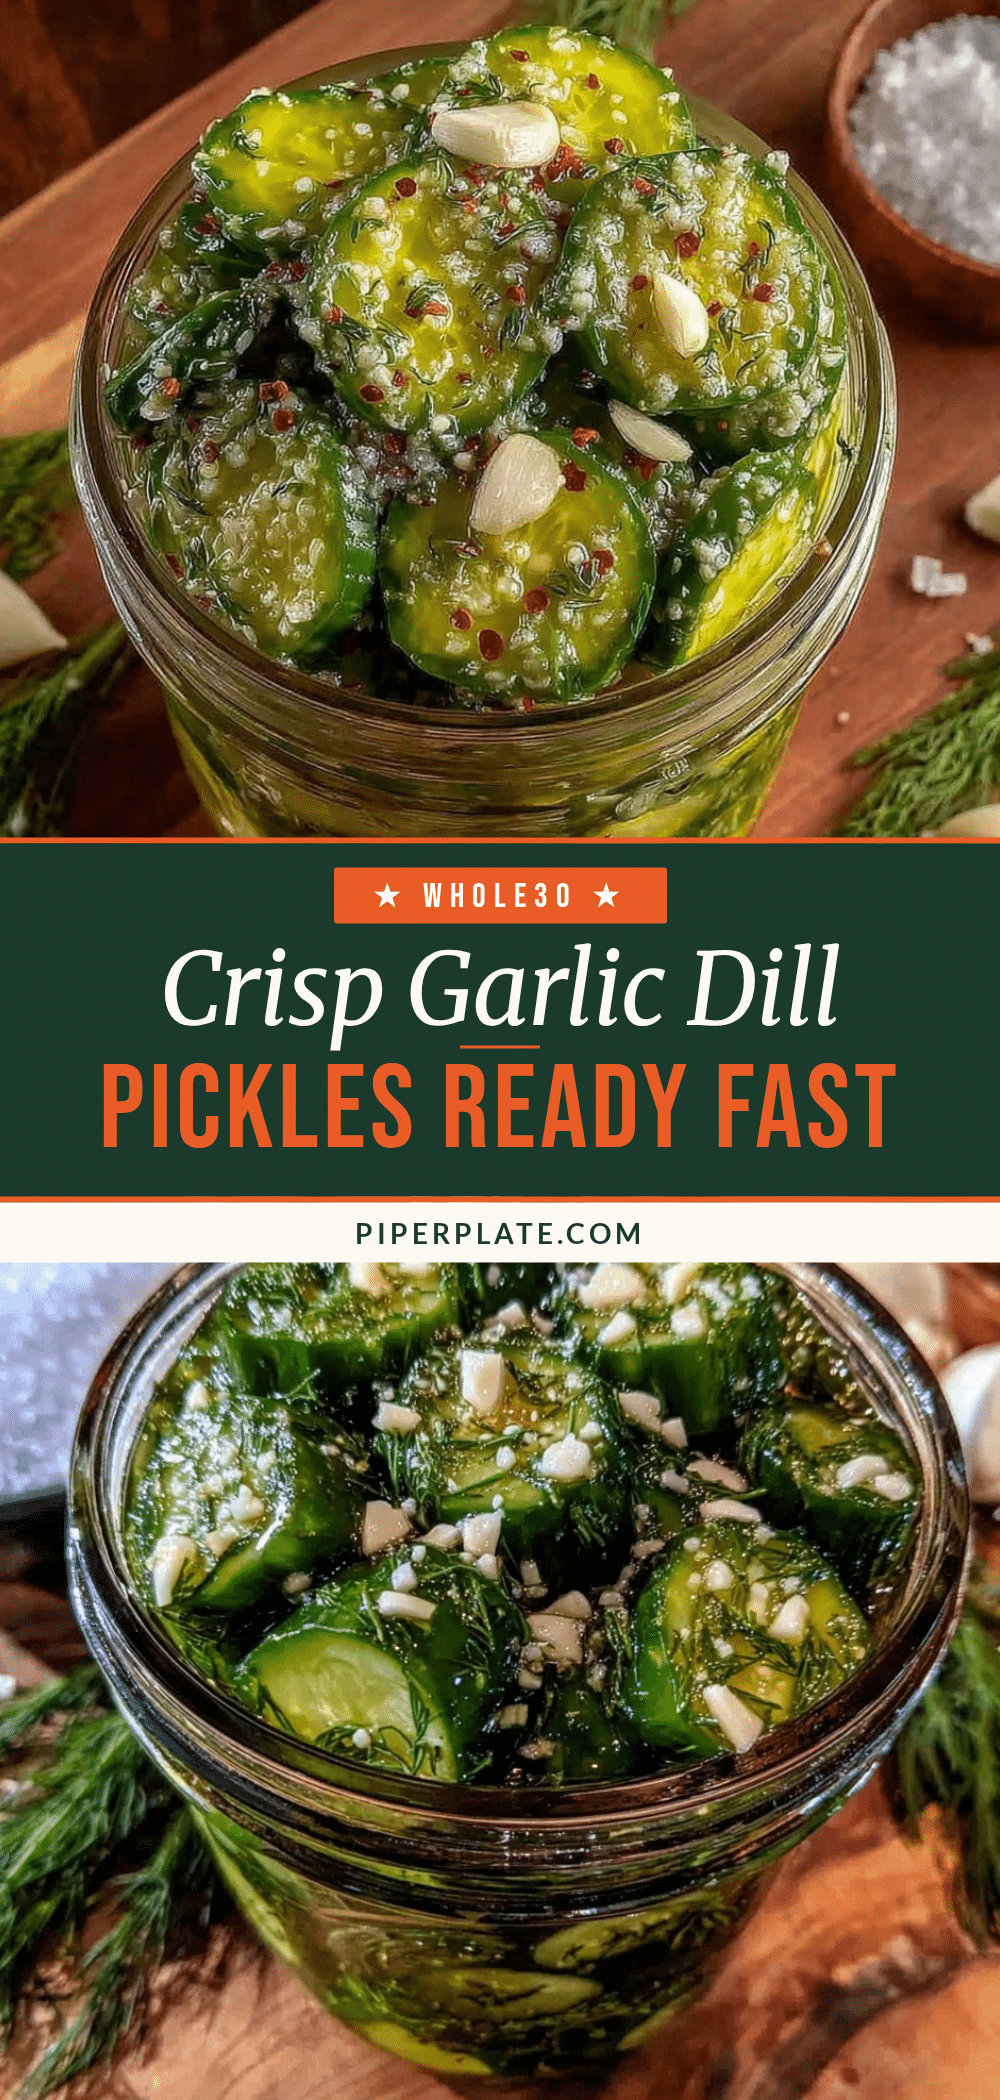
Quick Garlic Dill Refrigerator Pickles
A fast and easy homemade pickle recipe ready in 24 hours, featuring a tangy garlic and fresh dill flavor with a satisfying crunch.
- Prep Time: 10 minutes
- Cook Time: 5 minutes
- Total Time: 24 hours 15 minutes
- Yield: 4 servings 1x
- Category: Condiment
- Cuisine: American
Ingredients
- 1 pound (450 g) mini cucumbers or Kirby cucumbers, sliced into spears or rounds
- 4 to 5 fresh dill sprigs
- 3 to 4 garlic cloves, peeled and smashed
- 1 cup (240 ml) white vinegar
- 1 cup (240 ml) water
- 1 tablespoon granulated sugar
- 1 tablespoon kosher salt
- 1 teaspoon black peppercorns
- 1/4 teaspoon red pepper flakes (optional)
Instructions
- Wash 1 pound (450 g) of mini or Kirby cucumbers thoroughly. Slice into spears about 3 inches (7.5 cm) long or into 1/4-inch (6 mm) thick rounds.
- In a medium saucepan, combine 1 cup (240 ml) white vinegar, 1 cup (240 ml) water, 1 tablespoon granulated sugar, and 1 tablespoon kosher salt. Heat over medium heat, stirring until sugar and salt dissolve (3-5 minutes). Remove from heat and let cool about 5 minutes.
- In a clean quart-sized (1-liter) jar, add 3 to 4 smashed garlic cloves, 4 to 5 sprigs fresh dill, 1 teaspoon black peppercorns, and optional 1/4 teaspoon red pepper flakes.
- Tightly pack the cucumber slices or spears into the jar, leaving about 1/2 inch (1.3 cm) headspace.
- Pour the warm brine over the cucumbers until fully submerged. Use a utensil to gently press cucumbers down if needed. Seal the jar with the lid.
- Let the jar cool to room temperature, then refrigerate for at least 24 hours before tasting.
- Enjoy chilled or at room temperature. Keep refrigerated and consume within 2 weeks.
Notes
Pat cucumbers dry before packing to keep brine crisp. Smash garlic cloves to release more flavor. Warm brine just enough to dissolve salt and sugar; do not boil. Pack cucumbers tightly but do not crush. Refrigerate at least 24 hours for best flavor; longer for more tang. Shake or roll jar daily to distribute flavors evenly. Use fresh dill for best flavor; dried dill can be a substitute. Variations include adding jalapeños for heat or swapping vinegar types.
Nutrition
- Serving Size: About 3 spears or 6
- Calories: 10
- Sodium: 400
- Carbohydrates: 2
Keywords: quick pickles, garlic dill pickles, refrigerator pickles, easy homemade pickles, crunchy pickles, no canning pickles